Regala ai tuoi amici 10 $ di sconto sul loro primo ordine!
Invita un AMICO








I prezzi si aggiornano subito. Ogni lingua è una nostra traduzione, non Google.
Un progetto dalla nostra diretta RIGUARDA CARLEY e TONI in Stencil Heaven - Scopri questi fantastici design di Stamps By Me · 06/18/2021
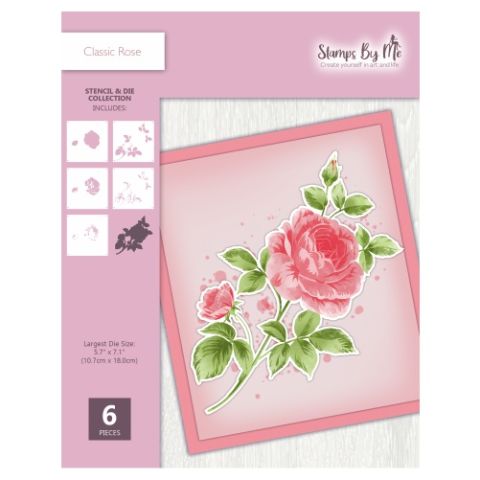
A five-layer stencilled rose card with soft pink, purple and green tones creating a shabby chic, vintage garden rose effect. The layering technique builds realistic depth and dimension to the flower.
Place stencil number one onto your cardstock and mark the registration hearts at the top.
Apply a soft pink ink through the first stencil layer using a brush.
Align stencil number two by matching the hearts and apply a darker shade of pink.
Position stencil number three and apply a purple shade to create shadow and cast depth on the rose petals.
Line up stencil number four using the heart guides and apply green ink for the leaves.
Place stencil number five and apply a darker green to add final dimension to the foliage.
Remove the stencil and place the coordinating outline die around the completed image.
Run the die through your machine to cut out the rose with all intricate details.
Mount onto a pink card base to complete the finished card.
Condividi il tuo progetto con la community di Stamps By Me - e conserva questa guida per la prossima volta.
Scritto direttamente dalla puntata. Vedi tutti i tutorial delle nostre puntate · tutorial gratuiti · guarda in diretta su My Telly · la versione precedente