Schenke deinen Freundinnen und Freunden 10 $ Rabatt auf ihre erste Bestellung!
Freunde WERBEN








 Community ShowcaseMo., 9. Nov. 5:00 Uhr
 Hobbymaker TVMo., 9. Nov. 9:00 Uhr
 Deal HuntersDi., 10. Nov. 9:00 Uhr
Preise ändern sich sofort. Jede Sprache ist unsere eigene Übersetzung, nicht Google.
Ein Projekt aus unserer Live-Show NOCHMAL ANSEHEN: Stencil Heaven mit CARLEY und TONI – Entdecke diese fantastischen Designs von Stamps By Me · 06.18.2021
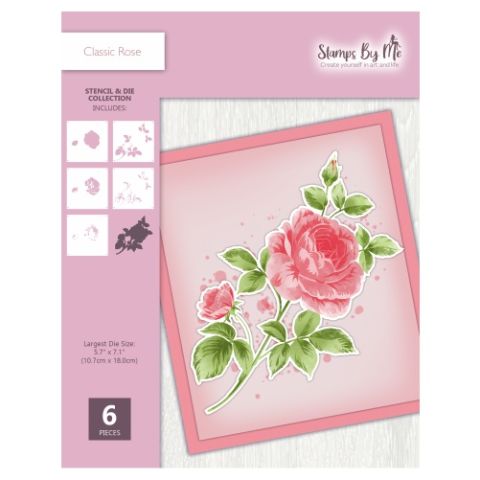
A five-layer stencilled rose card with soft pink, purple and green tones creating a shabby chic, vintage garden rose effect. The layering technique builds realistic depth and dimension to the flower.
Place stencil number one onto your cardstock and mark the registration hearts at the top.
Apply a soft pink ink through the first stencil layer using a brush.
Align stencil number two by matching the hearts and apply a darker shade of pink.
Position stencil number three and apply a purple shade to create shadow and cast depth on the rose petals.
Line up stencil number four using the heart guides and apply green ink for the leaves.
Place stencil number five and apply a darker green to add final dimension to the foliage.
Remove the stencil and place the coordinating outline die around the completed image.
Run the die through your machine to cut out the rose with all intricate details.
Mount onto a pink card base to complete the finished card.
Teile dein Projekt mit der Stamps By Me Community - und behalte diese Anleitung für das nächste Mal.
Direkt aus der Show aufgeschrieben. Alle Anleitungen aus unseren Shows · kostenlose Anleitungen · live auf My Telly ansehen · die bisherige Ansicht