Offrez à vos amis 10 $ de remise sur leur première commande !
Parrainez un AMI








 The Friday Final Cutven. 6 nov. 5 h 00
 Community Showcaselun. 9 nov. 5 h 00
 Hobbymaker TVlun. 9 nov. 9 h 00
Les prix sont mis à jour immédiatement. Chaque langue est notre propre traduction, pas Google.
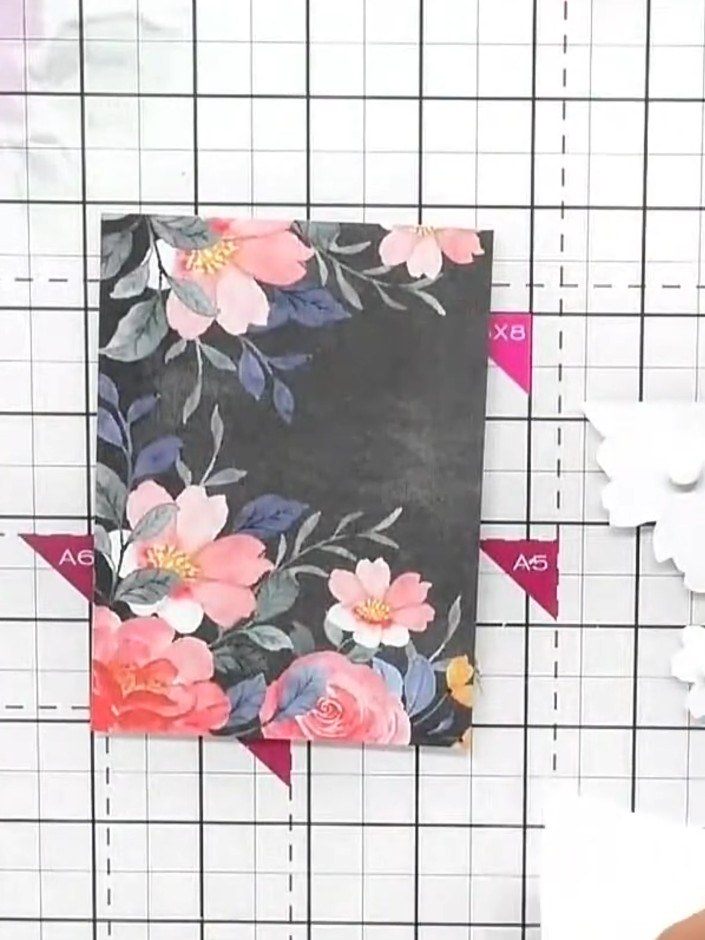
Une création de notre émission en direct TOUT NOUVEAU LANCEMENT CREATE AND CRAFT - Rejoignez Toni pour ses dernières nouveautés et idées - émission 1 - diffusée le 12 juin 23 · 06/12/2023
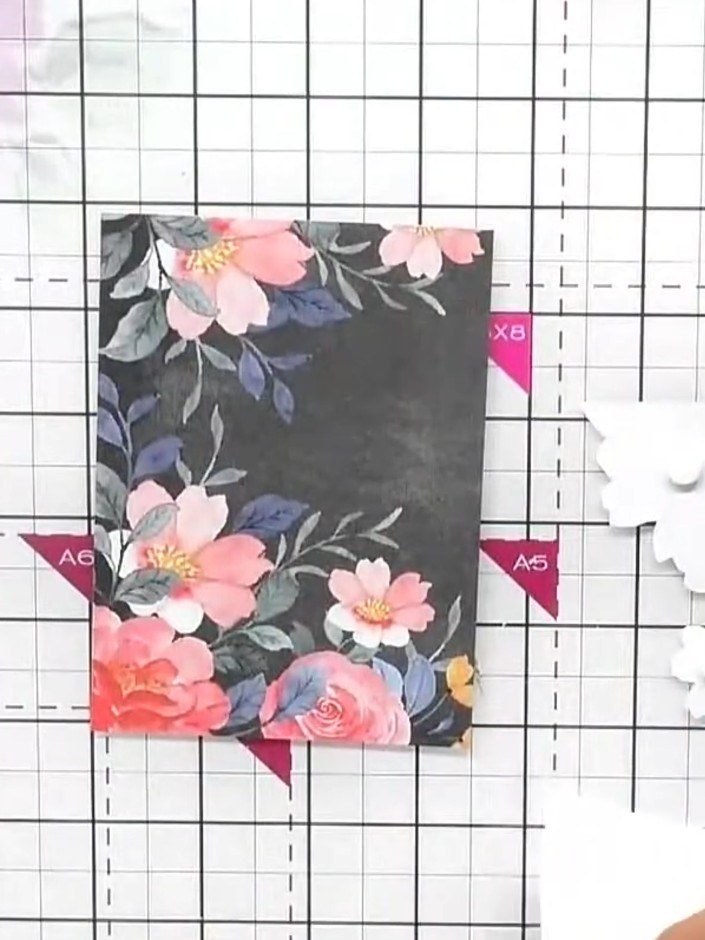
Réalisez une superbe carte florale sur fond sombre, ornée de fleurs roses, corail et bleues. Ce projet express utilise un topper prêt à l'emploi en découpage (decoupage), découpé au détail pour plus de relief, superposé avec des pastilles mousse 3D et terminé par une bannière de texte tamponnée en blanc. Le résultat : une carte digne d'un professionnel, parfaite pour un anniversaire ou une occasion spéciale.
 1
Coupez une petite carte vierge noire à pliure latérale pour servir de base.
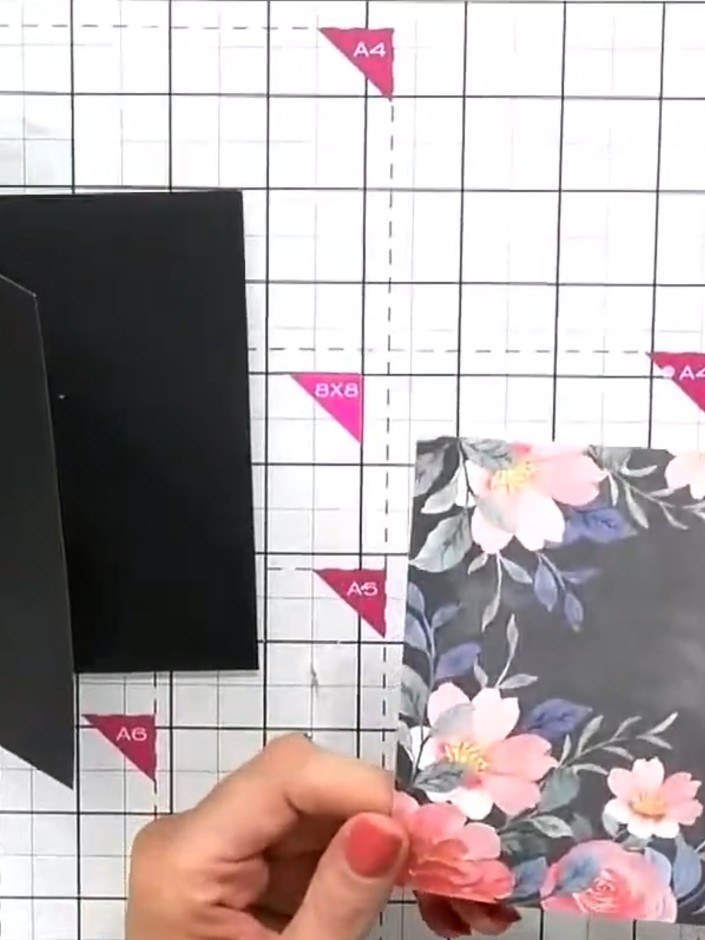 2
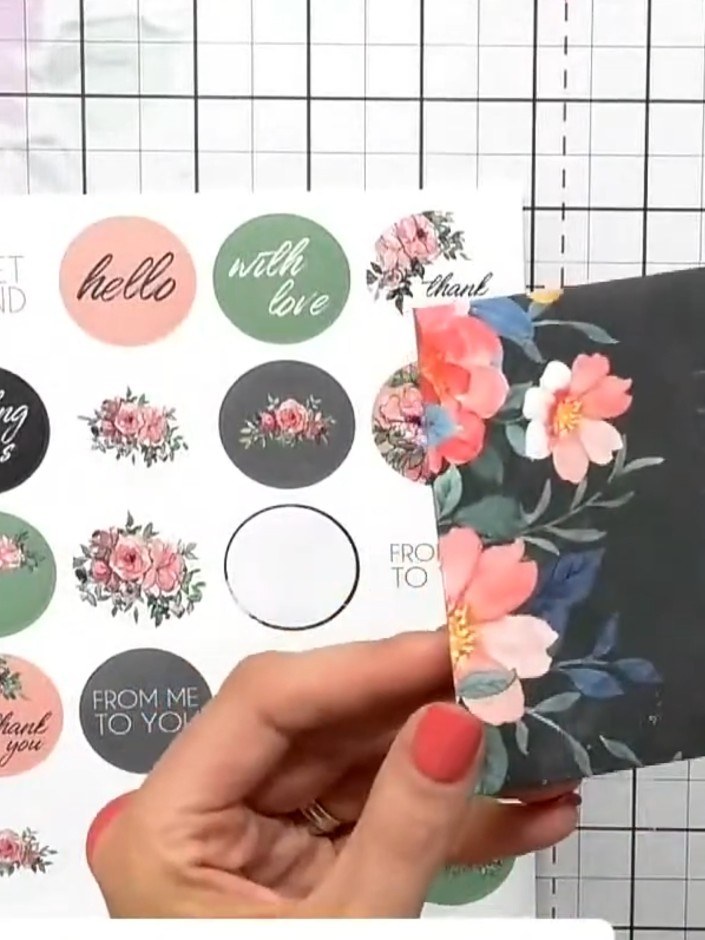
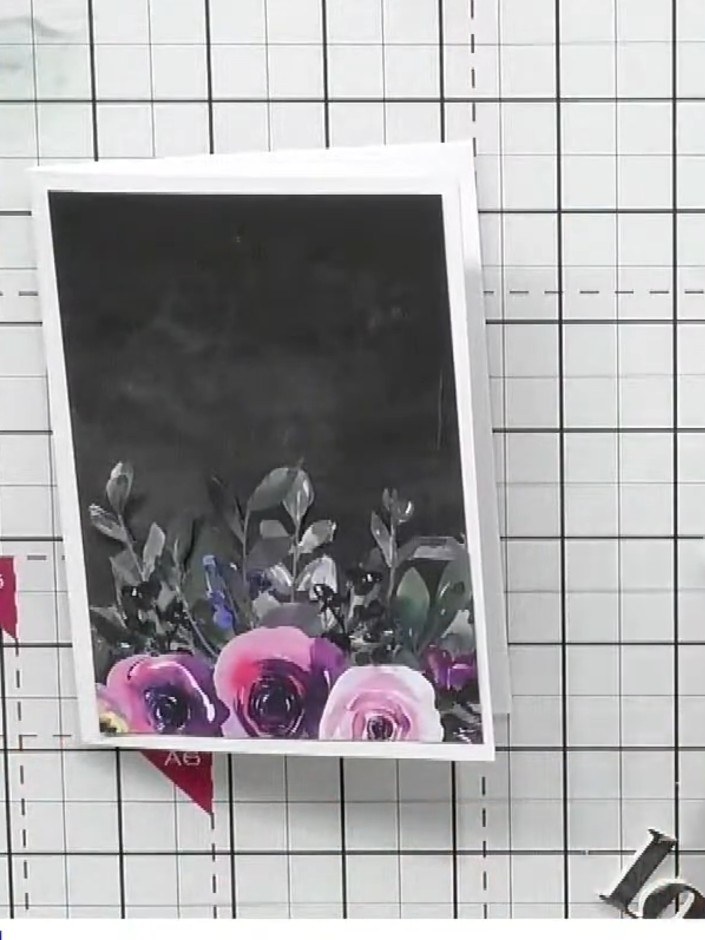
Choisissez l'un des toppers prêts à l'emploi de votre collection. Choose a design that complements your card base - here a floral topper with pink and blue flowers on a dark grey background is being used.
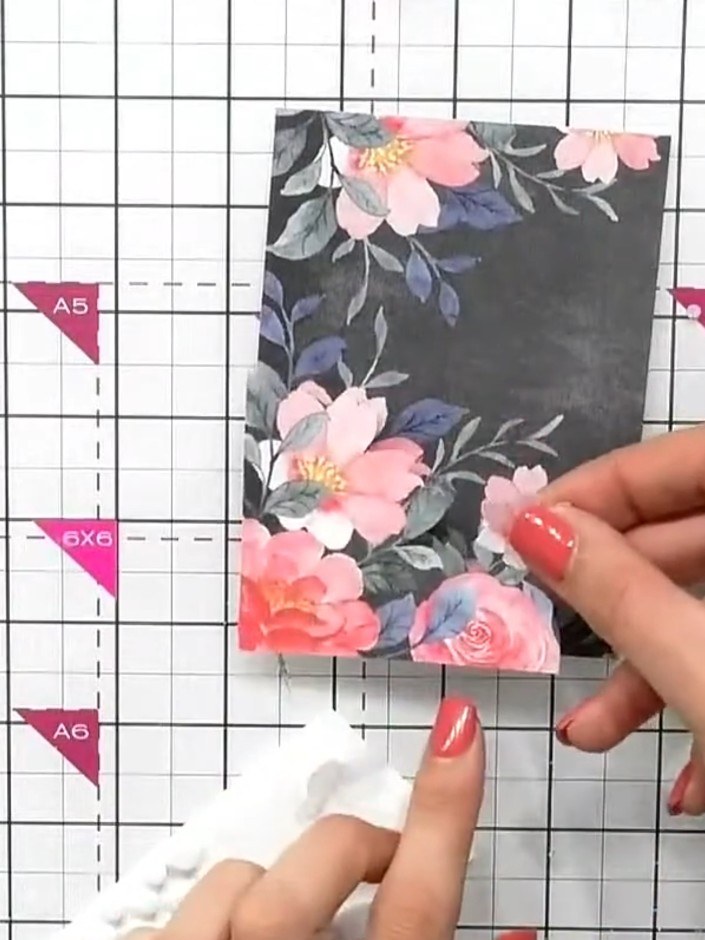 3
Take a second topper from the collection and carefully fussy-cut around some of the outer floral elements to create separate layered pieces. Set these cut-out elements aside to use as dimensional layers on your card.
 4
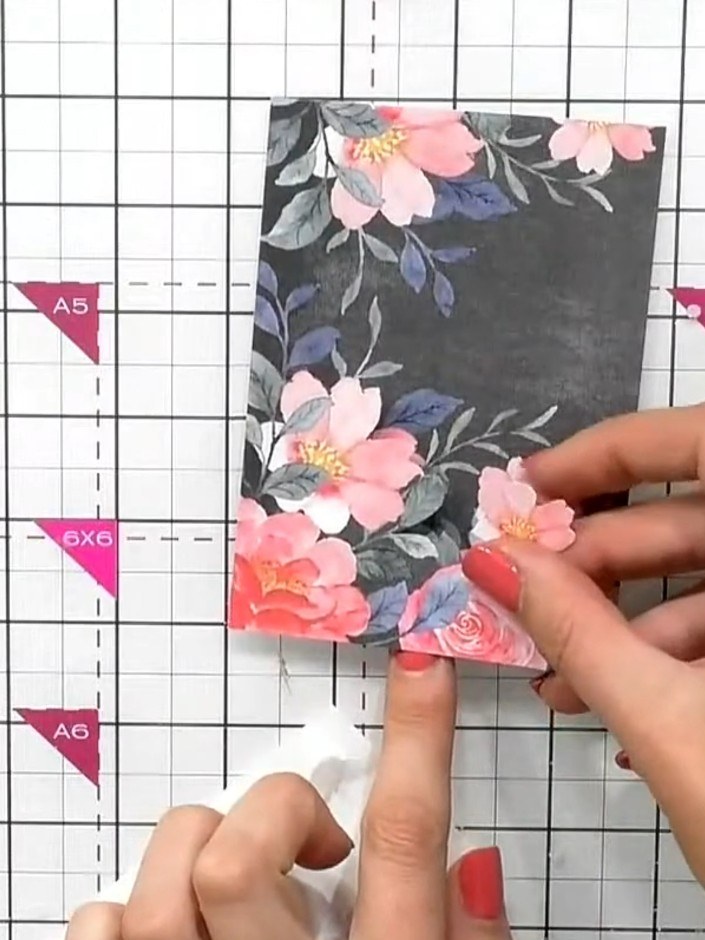
Apply foam pads to the back of your fussy-cut floral elements. Use as many foam pads as needed to ensure the elements are securely attached and will create dimension when added to your card.
 5
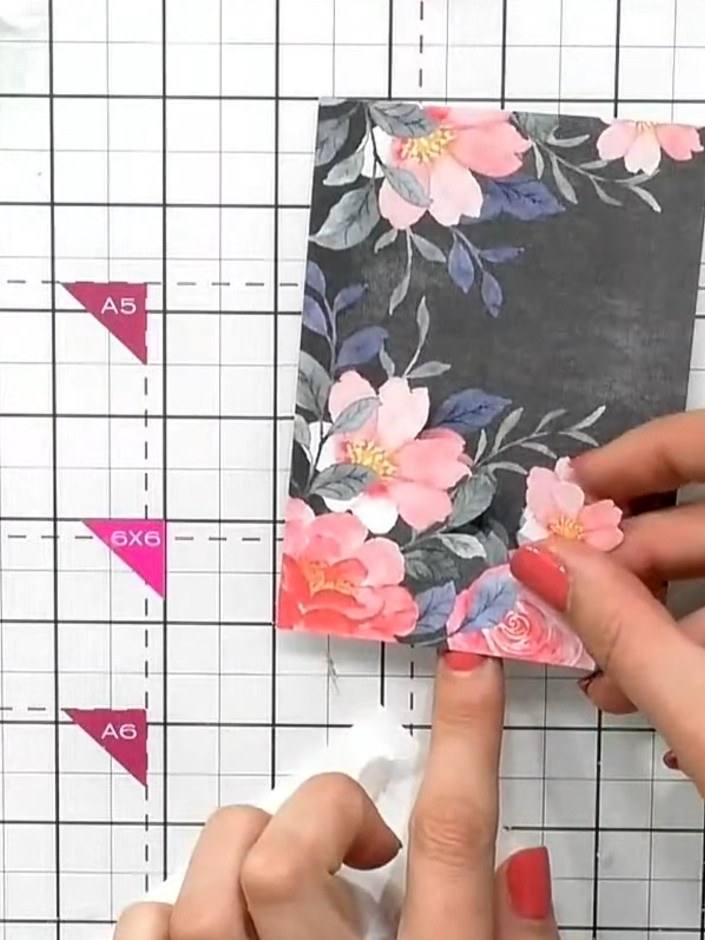
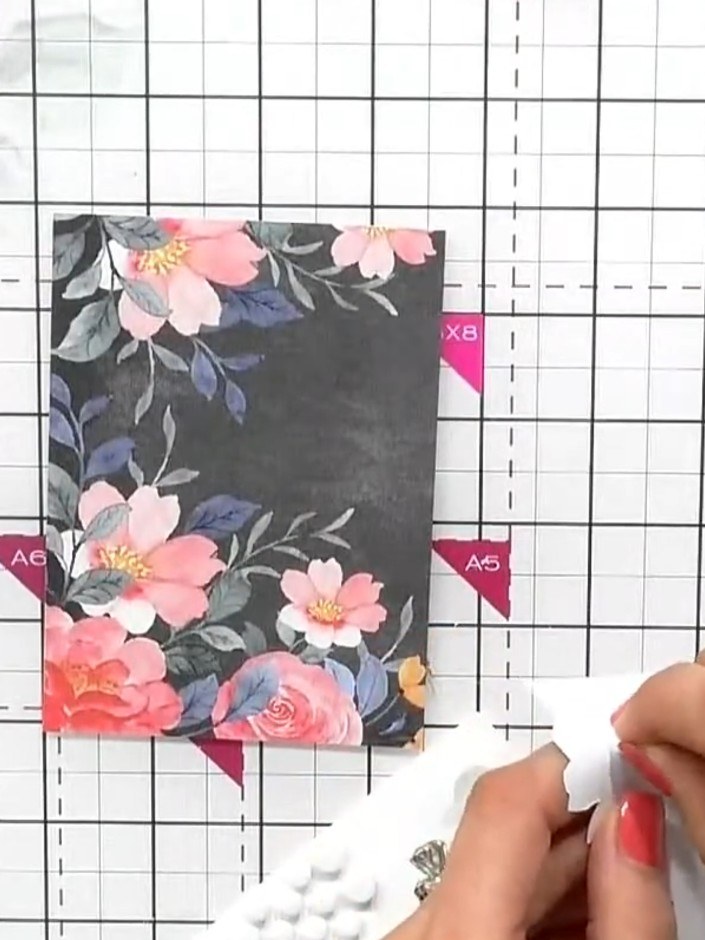
Adhere the padded floral elements to the first topper using adhesive. Layer them to create dimension, positioning the pink flowers at the corners and edges of the dark floral background.
 6
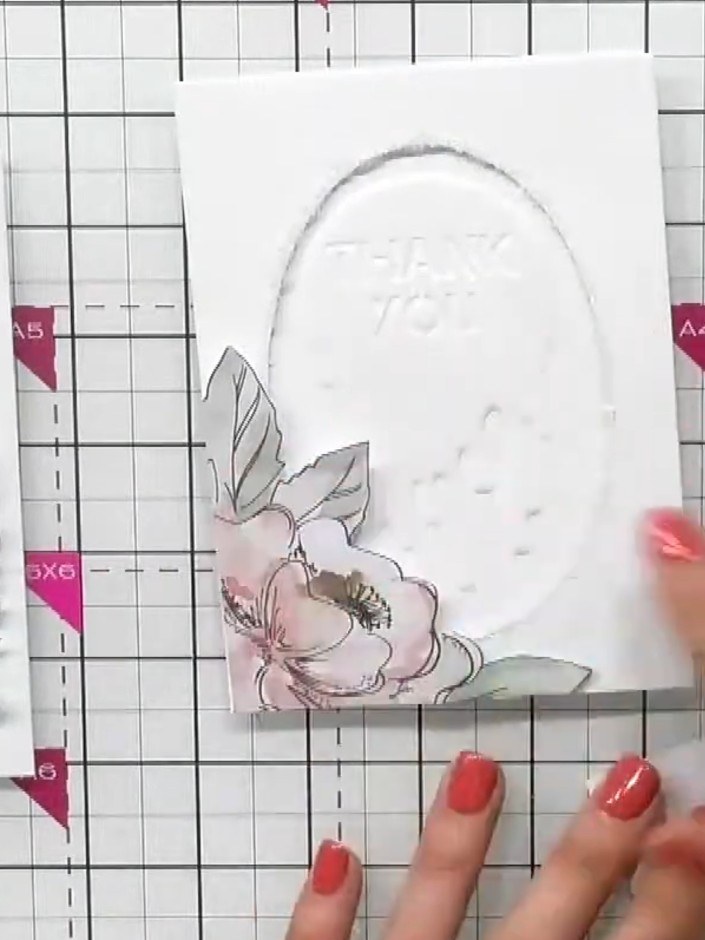
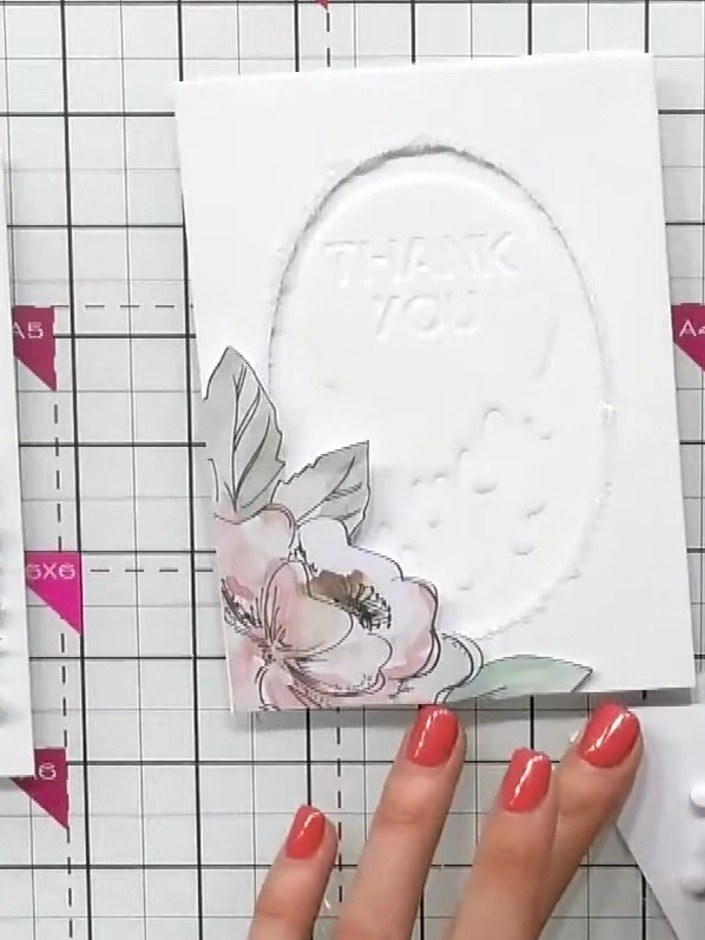
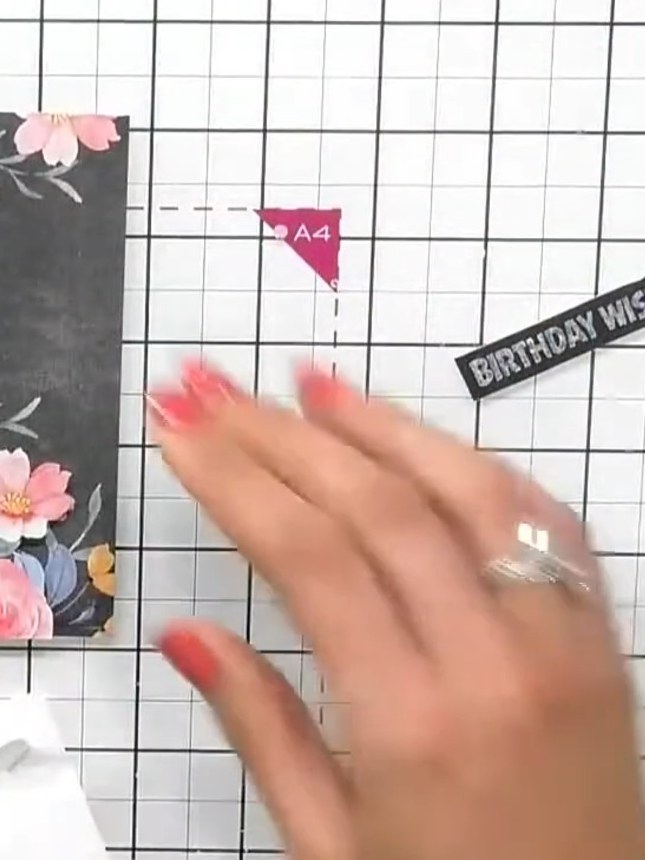
Stamp a sentiment in white ink onto a separate piece of card. Layer the stamped sentiment onto your card using foam pads for dimension.
 7
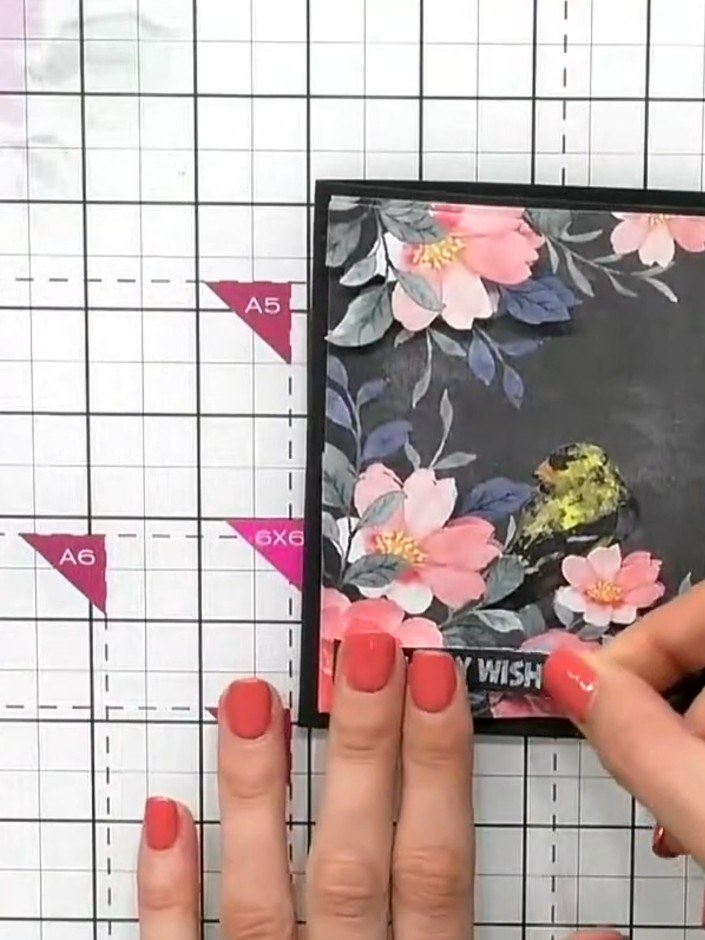
Position the 'BIRTHDAY WISHES' sentiment banner in the top right corner of the card front and attach it using foam pads or adhesive.
 8
Glue the complete topper arrangement to your card base, positioning it centrally on the front of the card.
Partagez votre création avec la communauté Stamps By Me - et gardez ce tutoriel pour la prochaine fois.
Rédigé à partir de l’émission elle-même. Tous les tutoriels de nos émissions · tutoriels gratuits · en direct sur My Telly · l’ancienne présentation