Offrez à vos amis 10 $ de remise sur leur première commande !
Parrainez un AMI








 The Thursday DropDemain 13 h 00
 The Friday Final Cutven. 6 nov. 5 h 00
 Community Showcaselun. 9 nov. 5 h 00
Les prix sont mis à jour immédiatement. Chaque langue est notre propre traduction, pas Google.
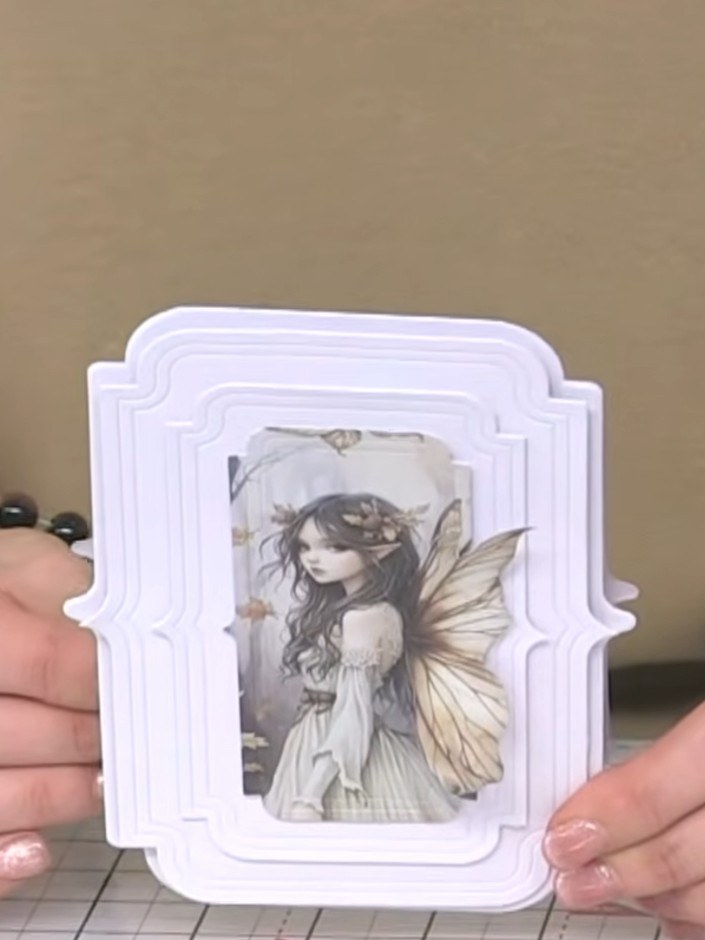
Une création de notre émission en direct ONE DAY SPECIAL - Retrouvez Toni pour son tout nouveau lancement - Diffusée le 3 octobre 2025 · 10/03/2025
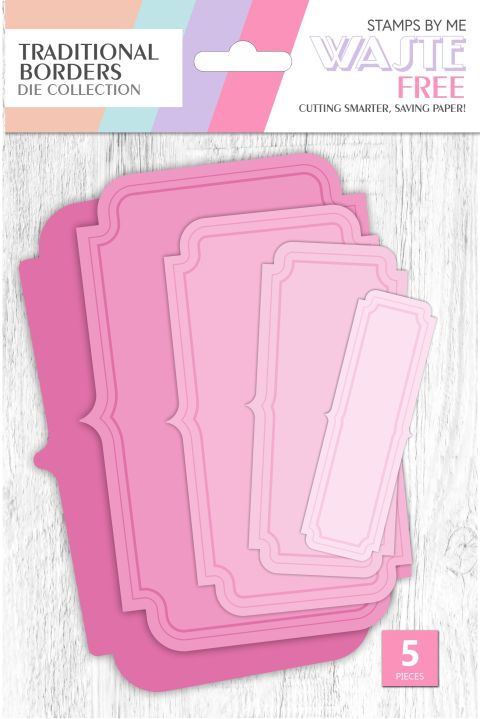
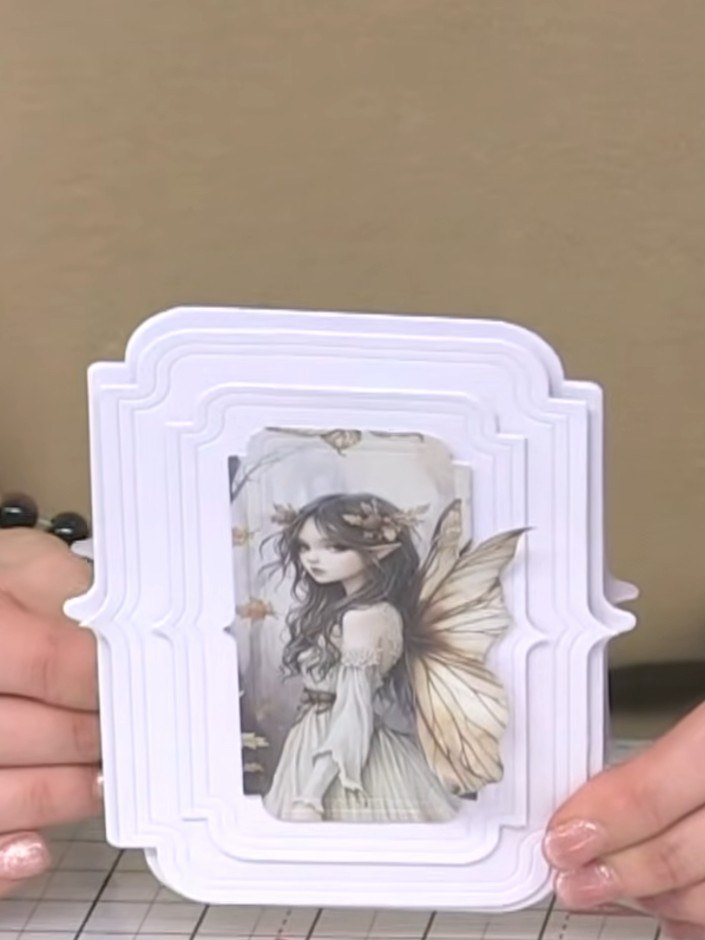
Créez une élégante carte à forme découpée ornée d’une magnifique illustration de fée aux ailes délicates, ajourées pour laisser apparaître les couches en dessous. Avec des matrices de découpe à bordures décoratives traditionnelles, vous allez rainer et plier la carte pour lui donner du relief, puis superposer papiers imprimés et éléments détourés pour composer un décor féérique en trois dimensions, dans de doux tons neutres et dorés.
 1
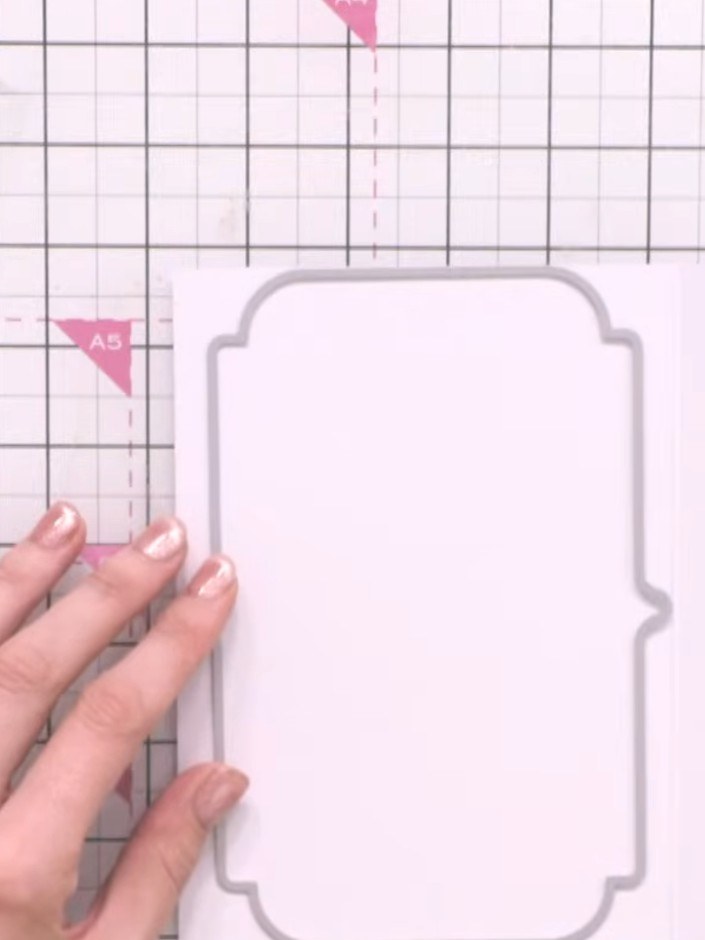
Cut two pieces from white cardstock using the traditional borders die. Position the die on the cardstock and run through your die-cutting machine.
 2
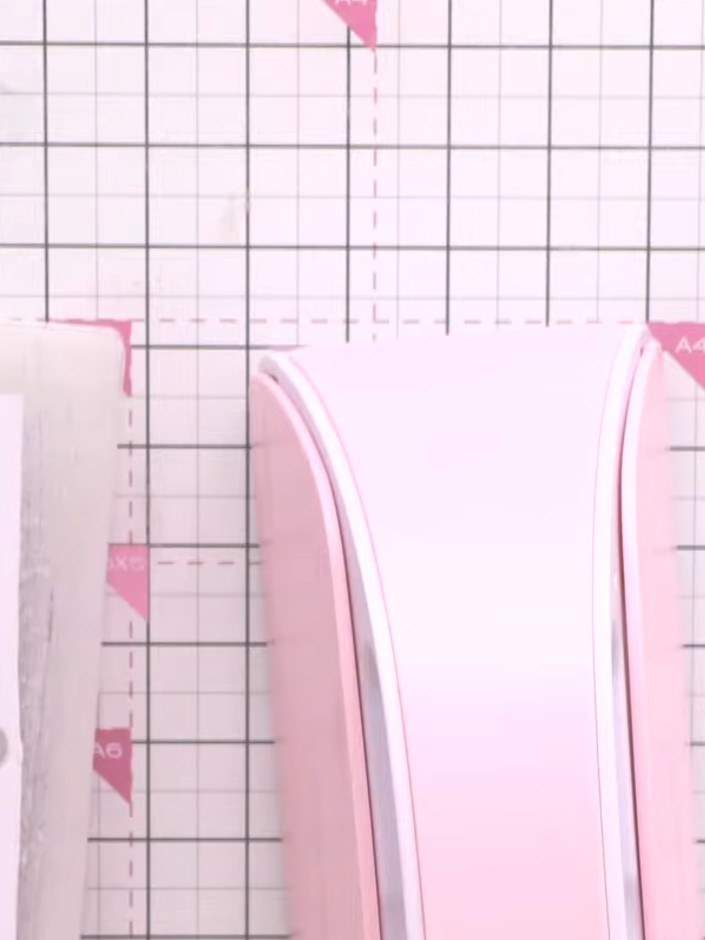
Score the top edge of one of the cut pink pieces using a scoring tool on your craft mat.
 3
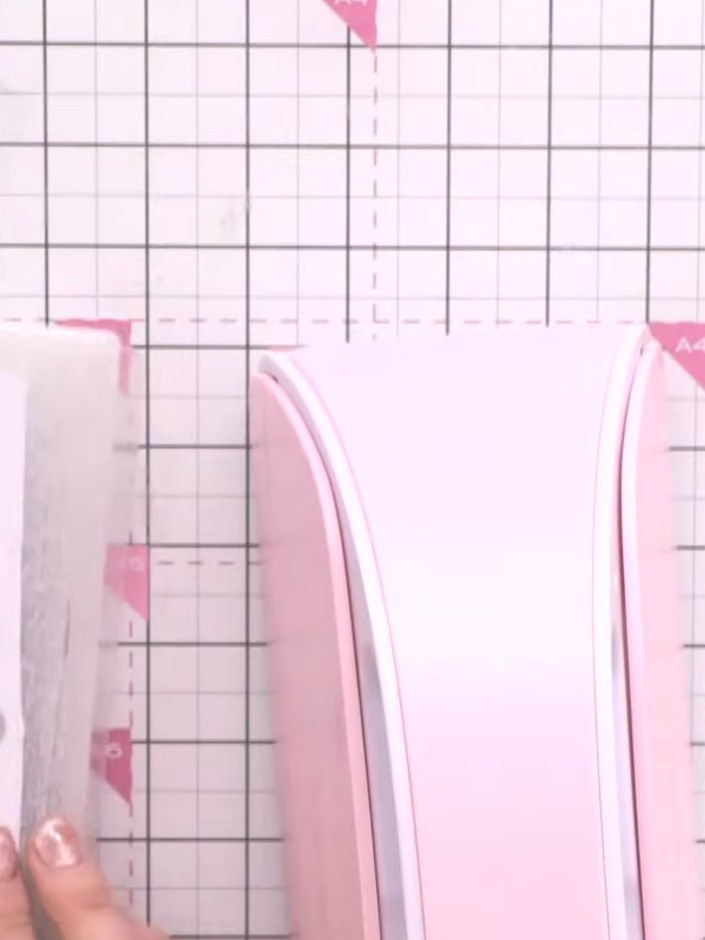
Fold along the scored line to create a crease in the pink card.
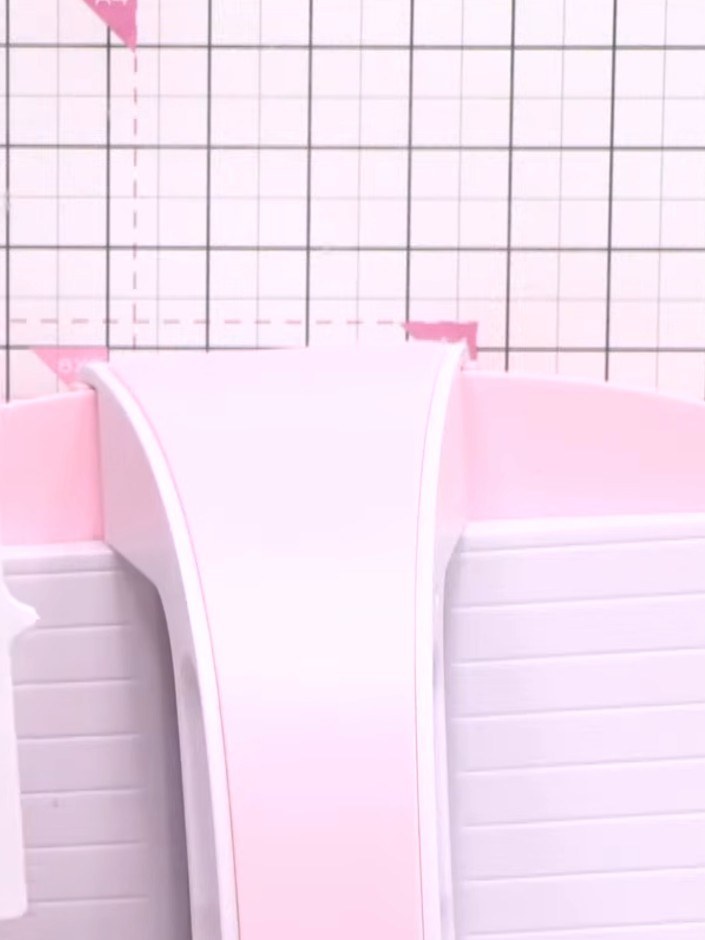
Adhere the folded piece to the back of the card base using tape or glue to create dimension. Position it carefully to ensure the shaped edge is visible when the card is viewed from the front.
 5
Layer the second cut piece on top of the first using adhesive foam pads to add dimension and height to your card front.
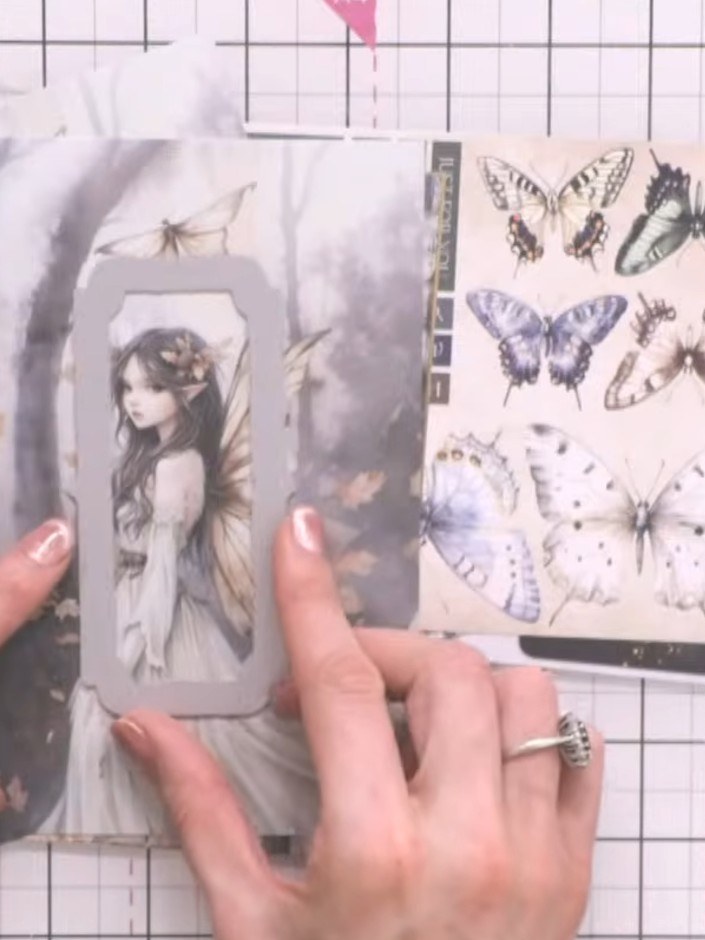
Fussy cut a small fairy motif from your patterned paper. Carefully cut around the outline of the fairy design to create a detailed embellishment for your card.
 7
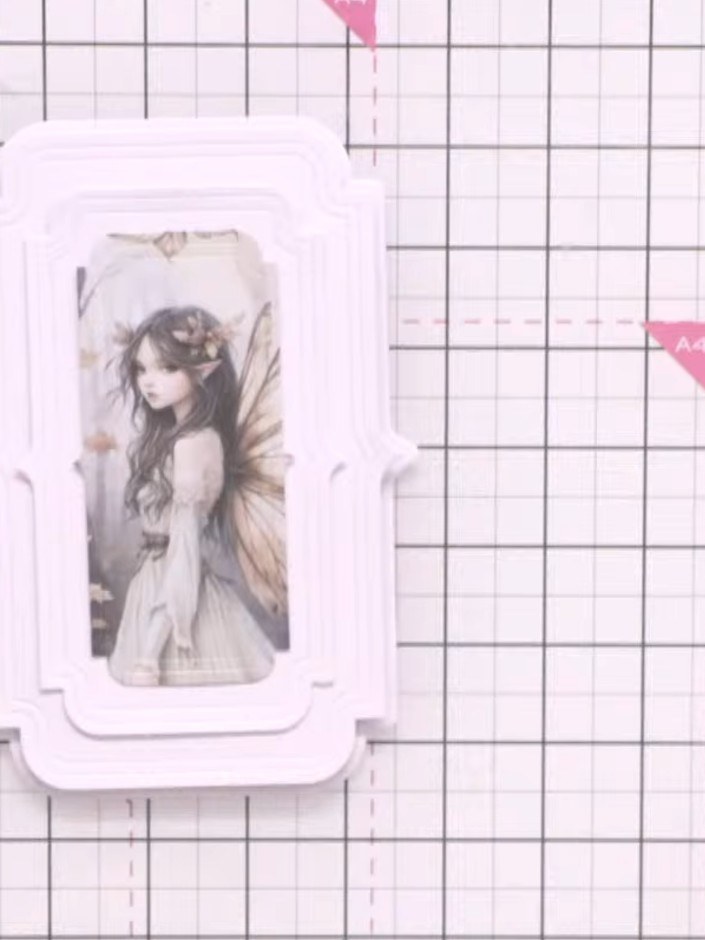
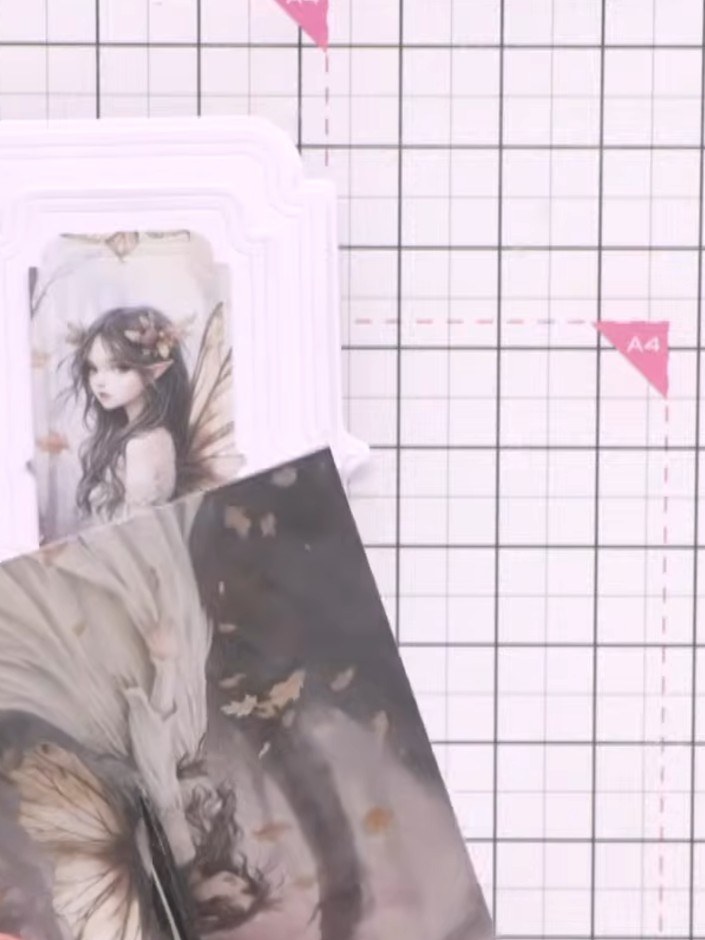
Carefully fussy cut around the fairy wings from the patterned paper using scissors or a craft knife. Take your time to cut precisely around the wing shapes to create clean edges.
 8
Apply adhesive to the back of the white layered fairy frame and attach it to the front of your card base, positioning it centrally.
 9
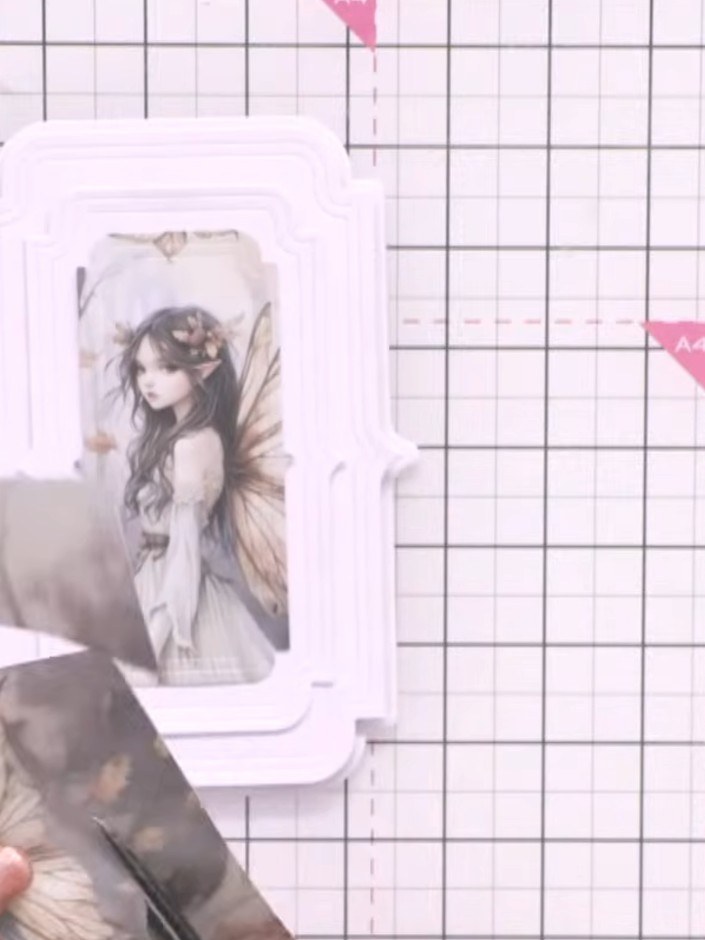
Adhere the die-cut fairy wings to the back of the fairy image topper, positioning them so they extend outward from her shoulders.
 10
Add optional embellishments from the paper pad, such as butterflies or preprinted words, to enhance your card design.
 11
Optional: Add sparkle around the edges of the card using a sparkle pen or glitter for extra shine and dimension.
Partagez votre création avec la communauté Stamps By Me - et gardez ce tutoriel pour la prochaine fois.
Rédigé à partir de l’émission elle-même. Tous les tutoriels de nos émissions · tutoriels gratuits · en direct sur My Telly · l’ancienne présentation