Offrez à vos amis 10 $ de remise sur leur première commande !
Parrainez un AMI








 The Friday Final Cutven. 6 nov. 5 h 00
 Community Showcaselun. 9 nov. 5 h 00
 Hobbymaker TVlun. 9 nov. 9 h 00
Les prix sont mis à jour immédiatement. Chaque langue est notre propre traduction, pas Google.
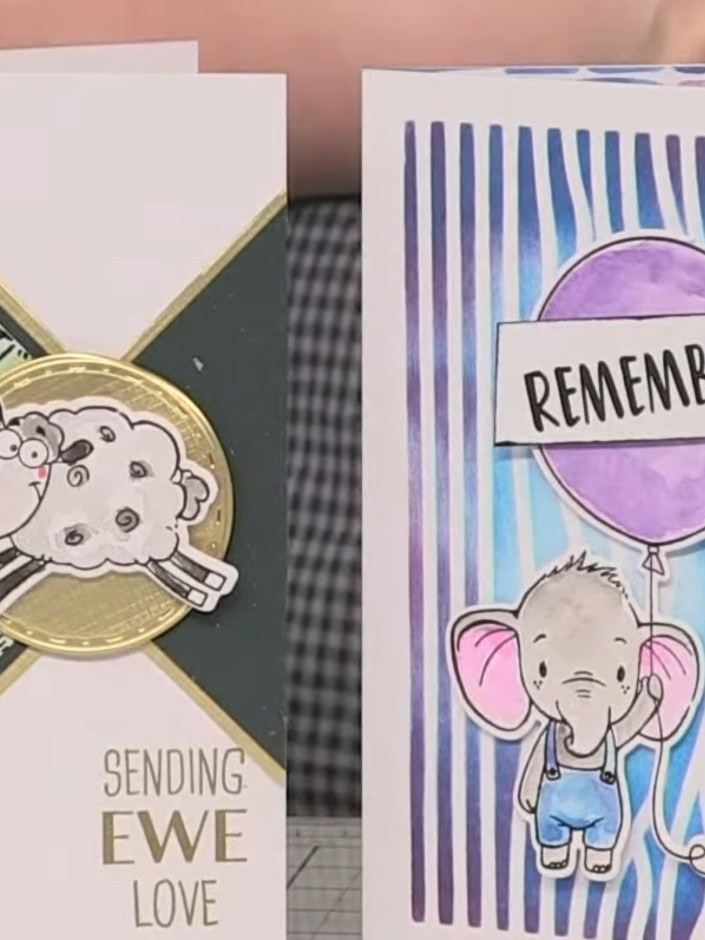
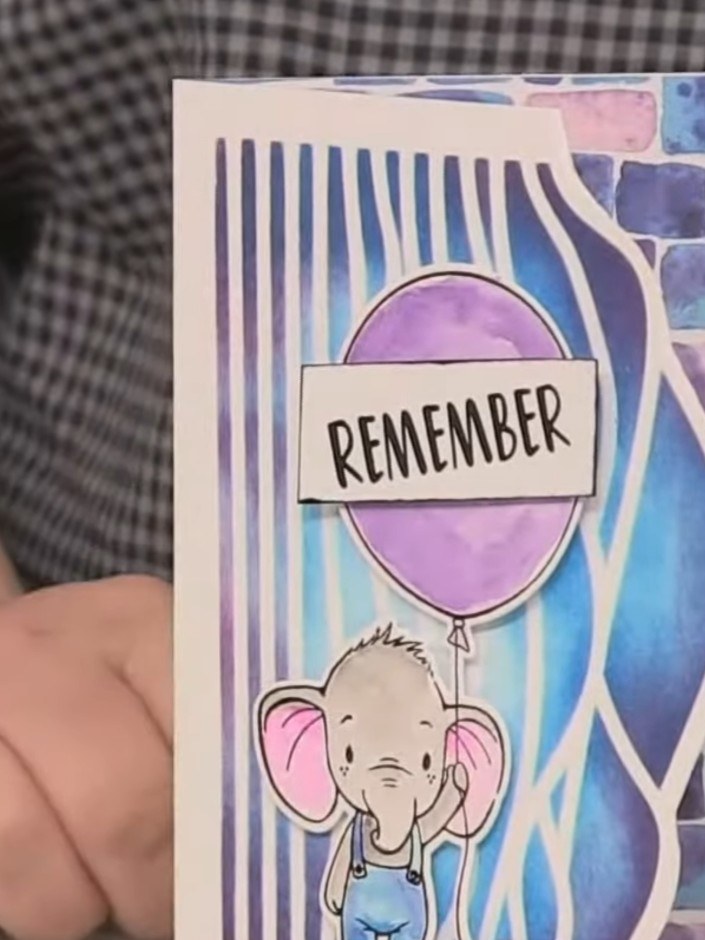
Une création de notre émission en direct MONDAY MADNESS - Rejoignez Simon d'AVAGO-INK EN DIRECT - Diffusion du 21 mars · 03/21/2022
Create a charming clean and simple card featuring a watercoloured farmyard scene in fresh greens with a sweet die-cut sheep character. The design uses layered triangular panels with gold metallic accents and an embossed sentiment reading 'Sending EWE Love', perfect for a contemporary masculine card with a playful twist. Master simple watercolouring techniques and dimensional layering to achieve this fresh, modern look.
 1
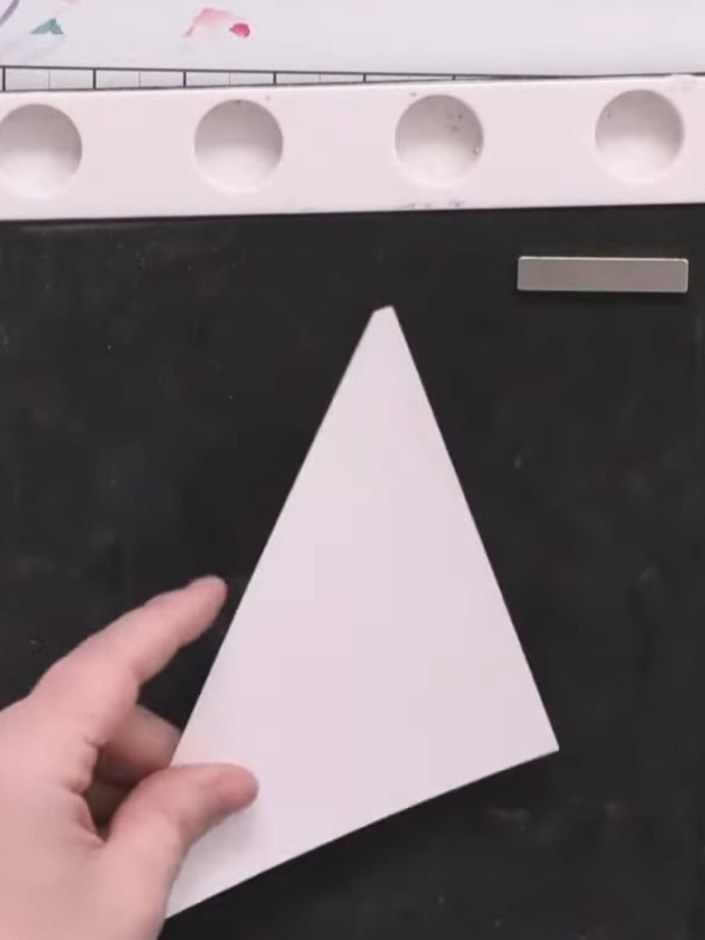
Pre-cut three triangles from watercolour cardstock. Place a triangle on the black magnetic glass to create an instant backdrop for stamping.
 2
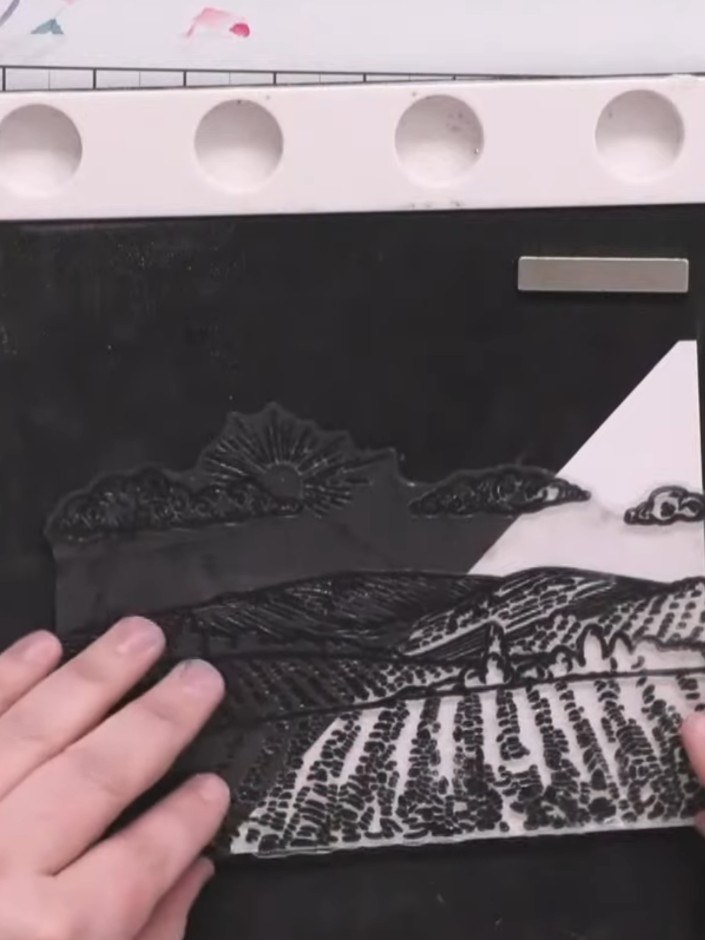
Stamp the large farmyard background image from the Farm Animals 2 stamp set onto a triangle using Versafine Onyx Black ink, inking only the area you need for your design.
 3
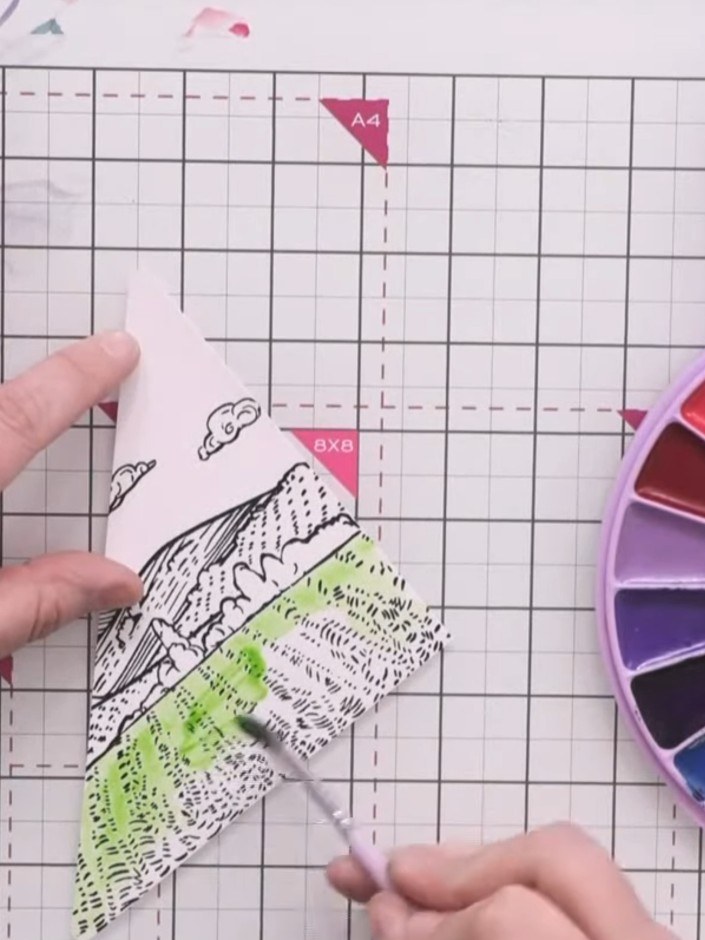
Using a light green from the watercolour palette, apply a wash across the stamped image. Build up the colour as desired to create depth and interest in the scene.
 4
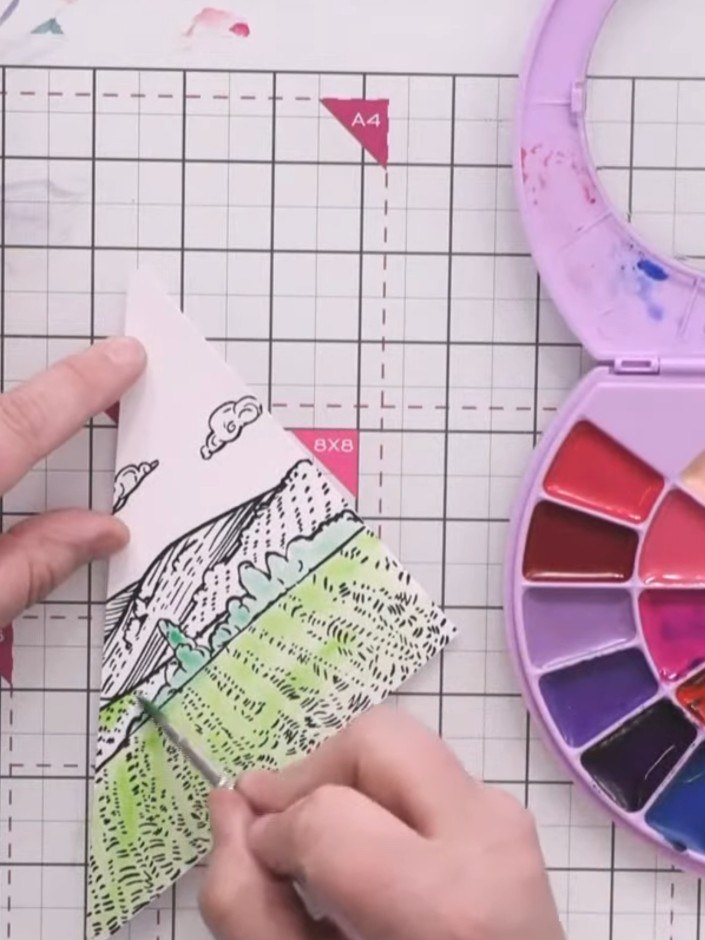
Add darker green watercolour to the tree line area. Blend the greens together to create a more vibrant background colour for the landscape.
 5
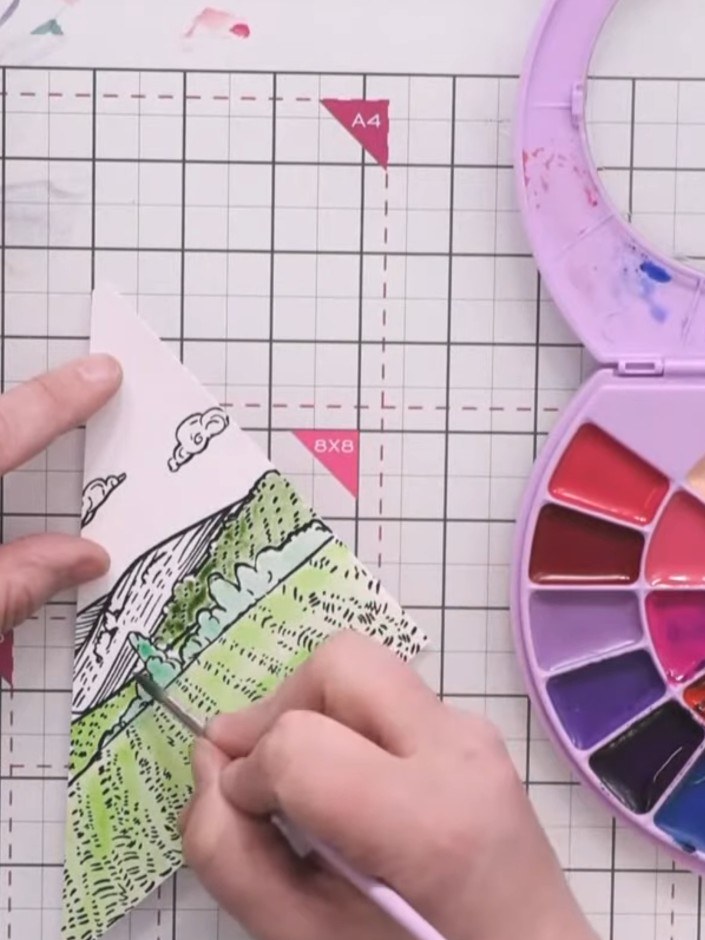
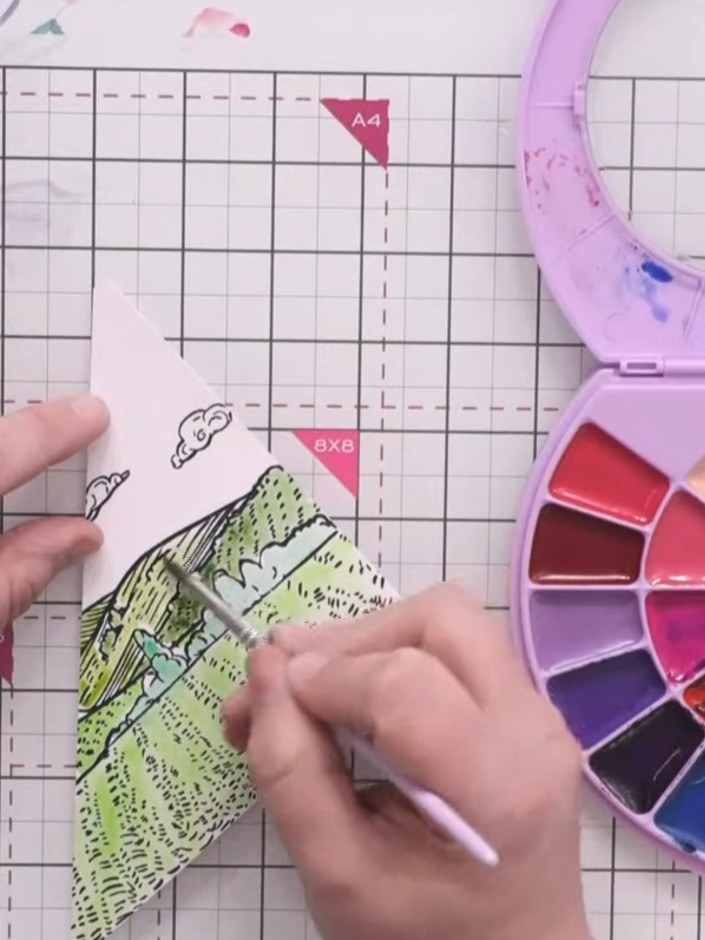
Add black watercolour to darken the green areas of the landscape. Use yellow to complete the base layer of the scene, filling in any remaining areas.
 6
Add definition to the hillside by painting darker lines along the furrow marks using green and yellow watercolours. Add shading to create depth on the hillside.
 7
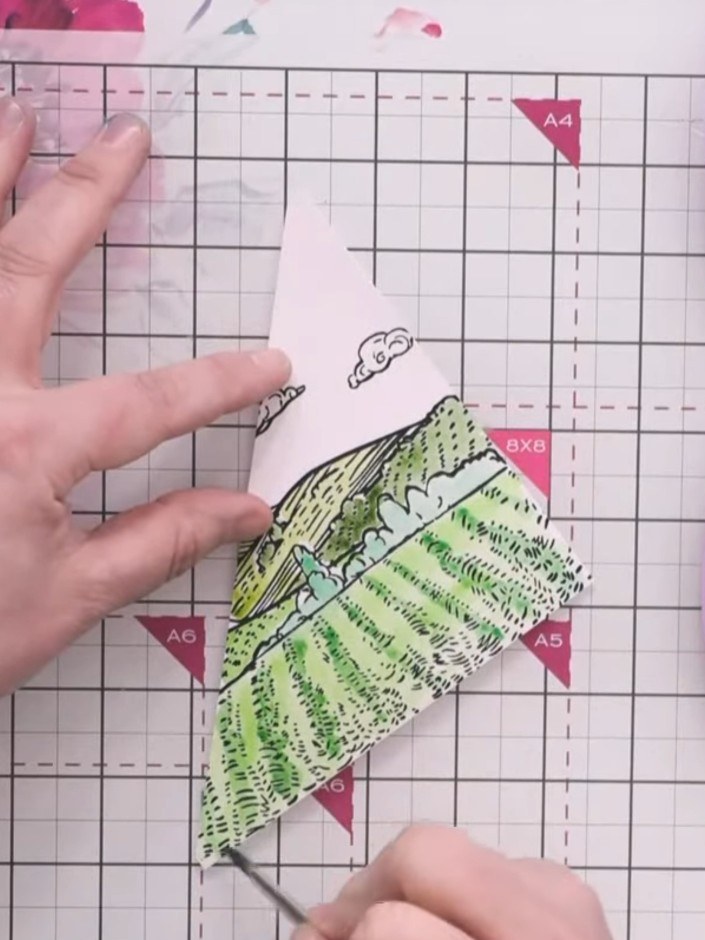
Using a water brush or paintbrush with green watercolour, darken a few bushes on the hill with additional shading to add more tone and depth to the scene.
 8
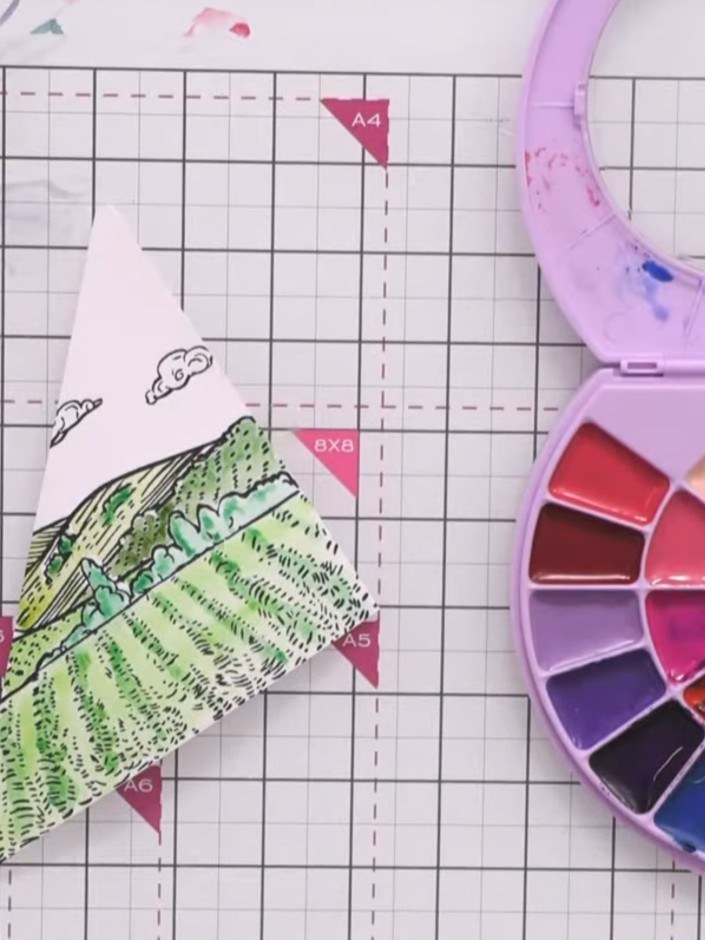
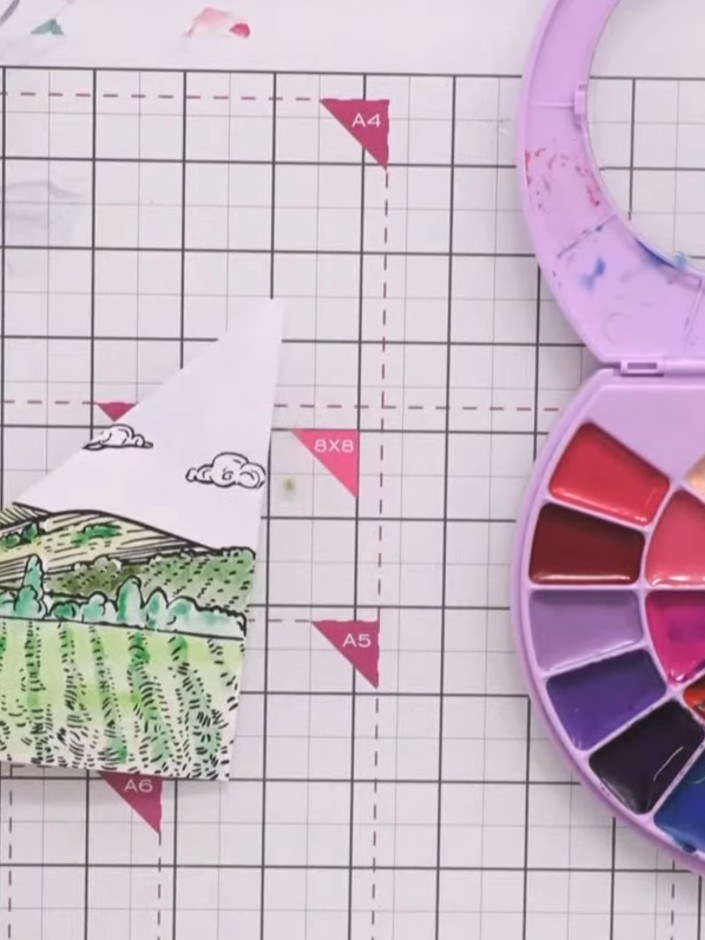
Apply a very pale blue wash to the sky area using watercolour. Start from the clouds and brush downwards towards the hills, creating a light sky effect.
 9
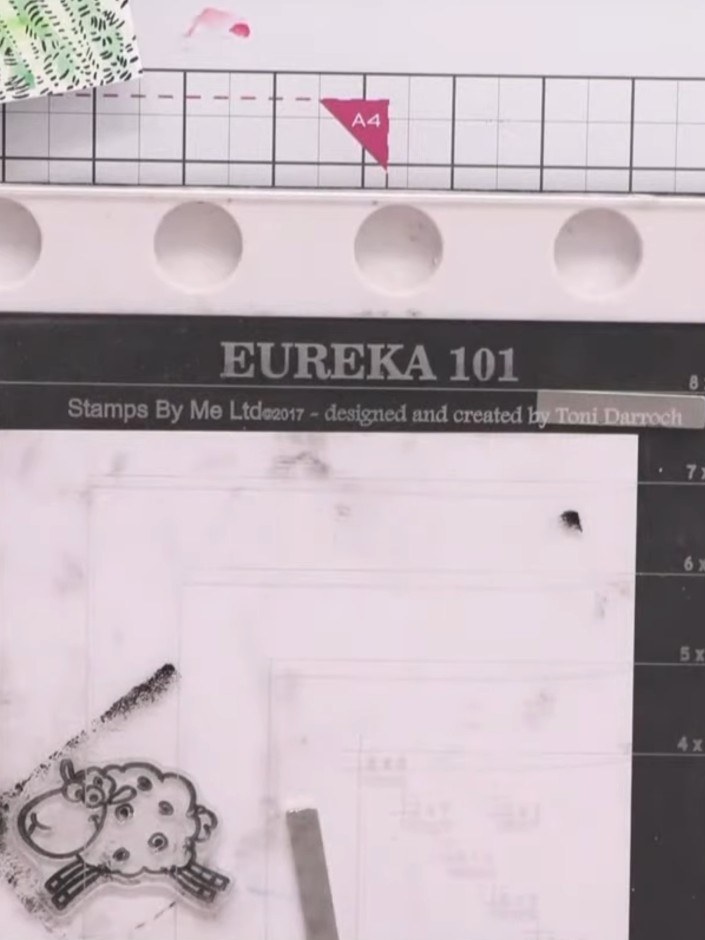
Heat-set the painted landscape panel using a heat tool to dry the watercolours completely before proceeding to the next step.
 10
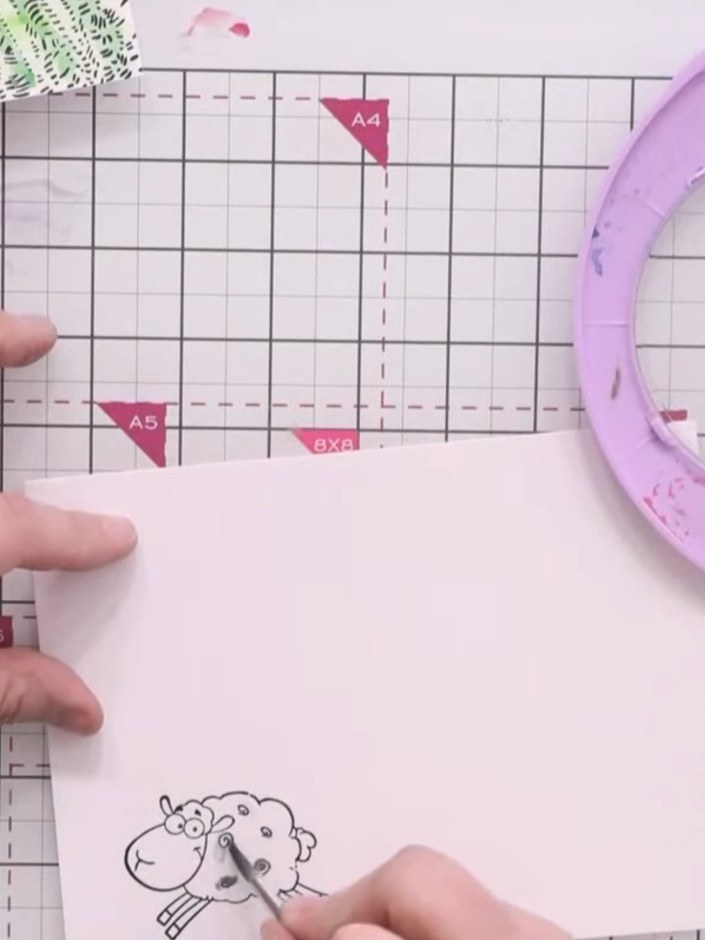
Stamp the sheep character from the Farm Animals 2 collection onto white cardstock using Versafine Onyx Black ink. Ensure a clear, crisp impression.
 11
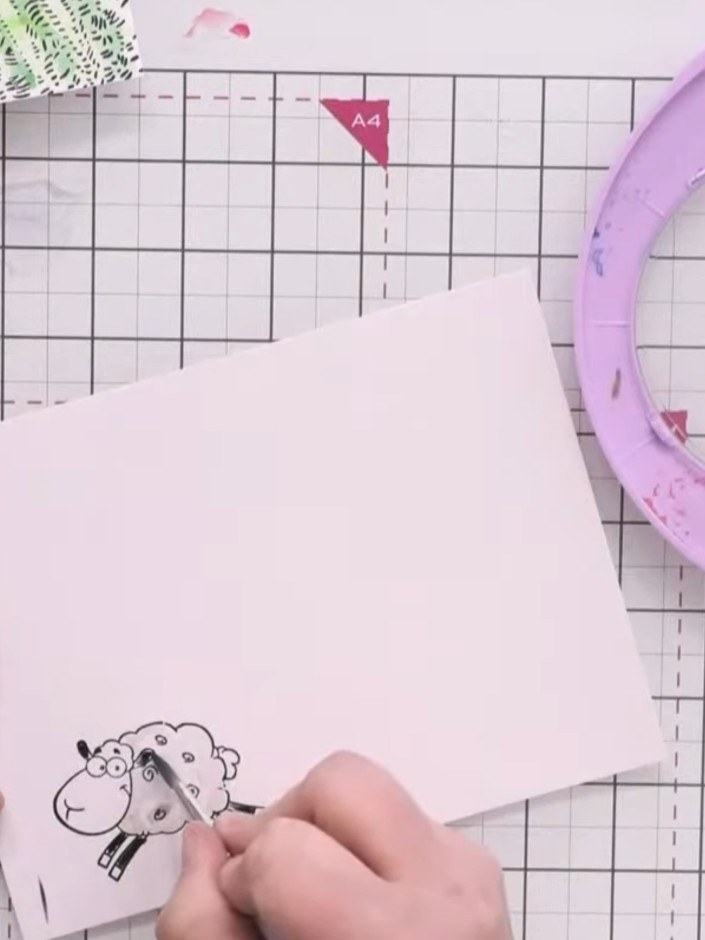
Watercolour the sheep with grey from your palette, adding darker grey tones to the fleece. Use black watercolour for the legs and ears.
 12
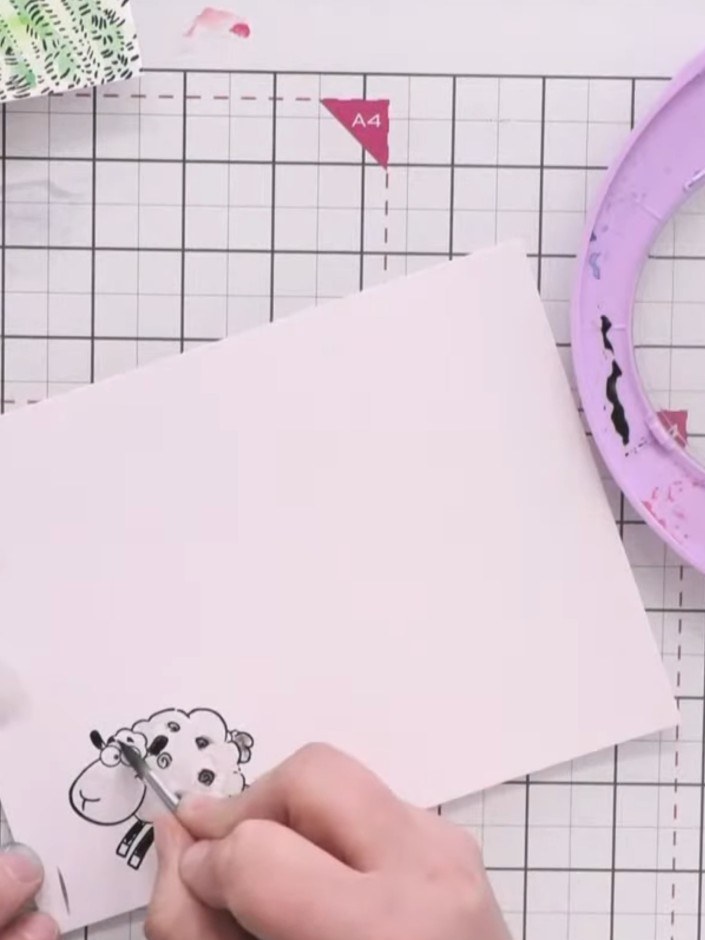
Add red cheeks to the sheep using the watercolour palette. Darken the tail and hooves with a darker colour for definition.
 13
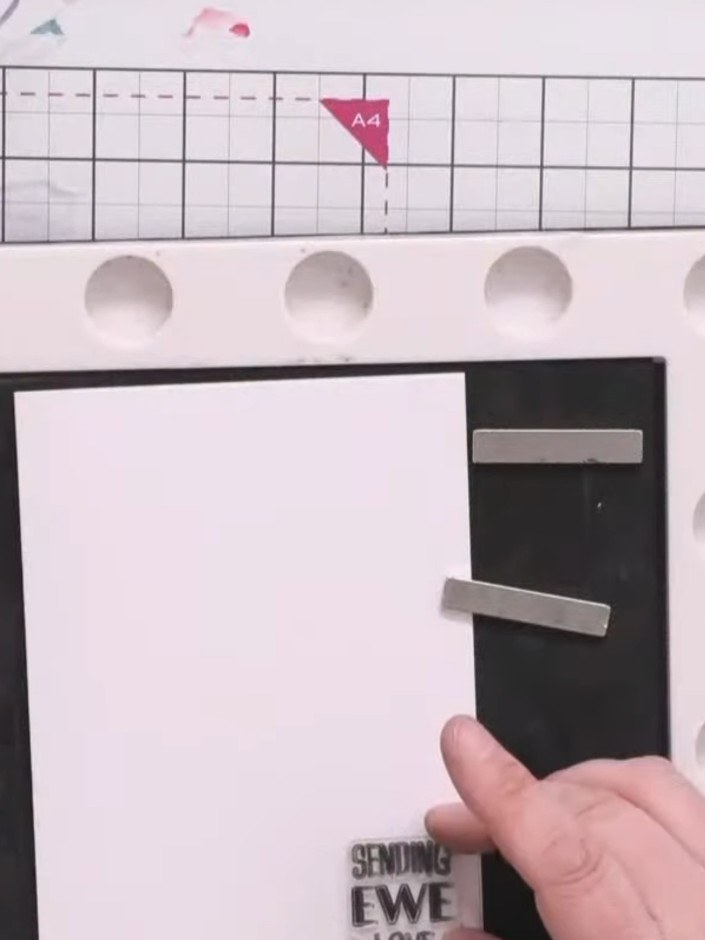
Heat-set the stamped sheep image to dry the watercolour completely. Once dry, die-cut the sheep using the coordinating die from the Farm Animals 2 stamp and die set.
 14
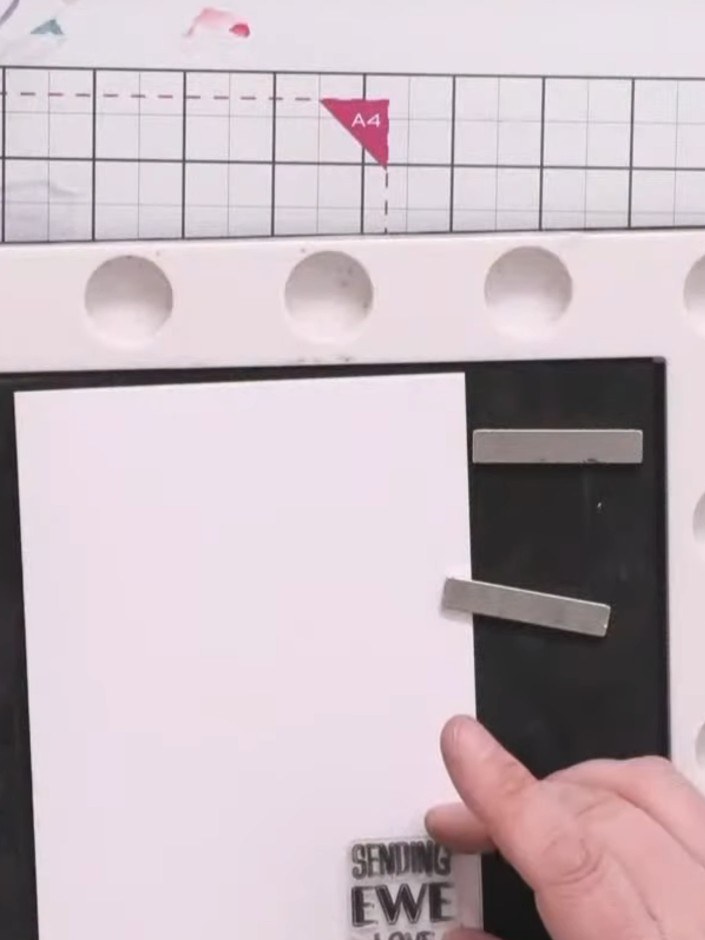
Stamp the 'Sending you love' sentiment onto the bottom corner of the white card blank using Versafine black ink and embossing pads. Rub gently to ensure good ink coverage.
 15
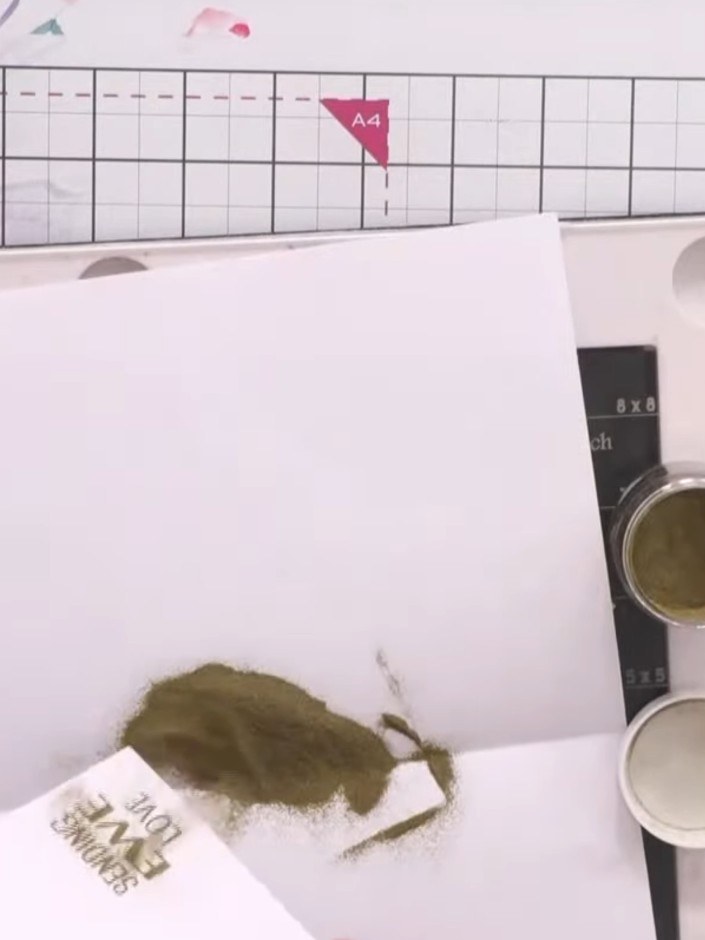
Apply clear embossing powder to the stamped sentiment in the bottom corner. Heat-set the embossing powder using a heat gun until the powder melts and creates a raised, glossy finish.
 16
Apply gold Izink embossing powder to the sentiment stamp and heat-set with a heat tool to create a shiny gold finish.
Partagez votre création avec la communauté Stamps By Me - et gardez ce tutoriel pour la prochaine fois.
Rédigé à partir de l’émission elle-même. Tous les tutoriels de nos émissions · tutoriels gratuits · en direct sur My Telly · l’ancienne présentation