Offrez à vos amis 10 $ de remise sur leur première commande !
Parrainez un AMI








 The Thursday Dropjeu. 5 nov. 13 h 00
 The Friday Final Cutven. 6 nov. 5 h 00
 Community Showcaselun. 9 nov. 5 h 00
Les prix sont mis à jour immédiatement. Chaque langue est notre propre traduction, pas Google.
Une création de notre émission en direct QUATTRO-D ATELIER GRATUIT - Retrouvez Toni pour un moment RIEN QU'À VOUS, à la découverte du merveilleux univers de Q-D - Diffusion : 24 août 22 · 08/24/2022
Create a stunning textured card featuring a clear embossed peony design enhanced with the dry brush technique. Using mica-based confetti inks, you'll build up beautiful metallic layers in blues, golds and complementary colours that mimic hand-painted watercolours. The permanent, non-smudging finish gives a professional waxy sheen perfect for special occasions.
 1
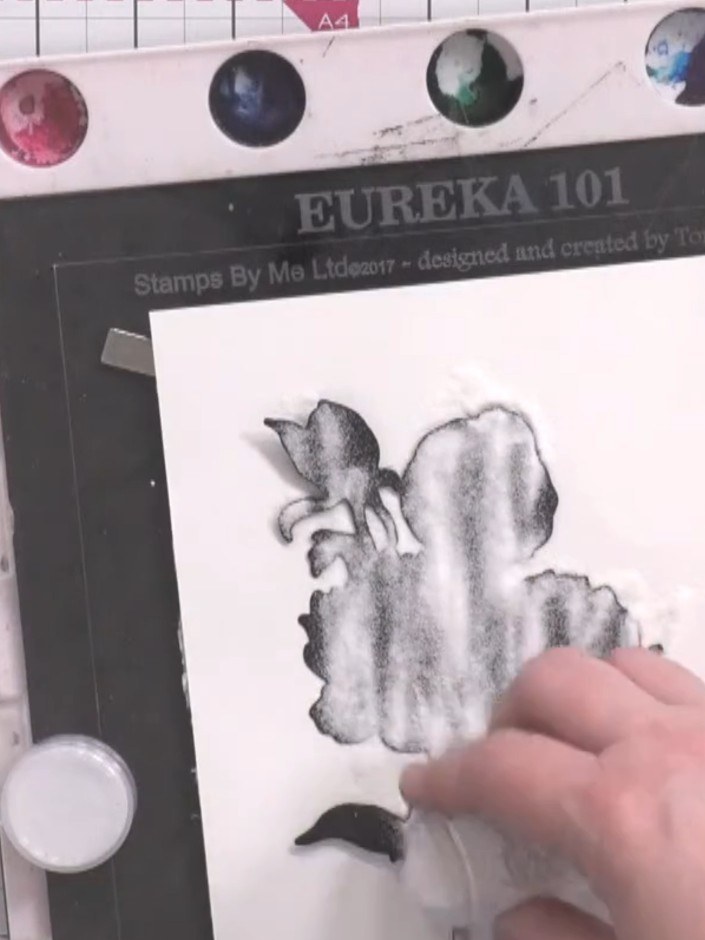
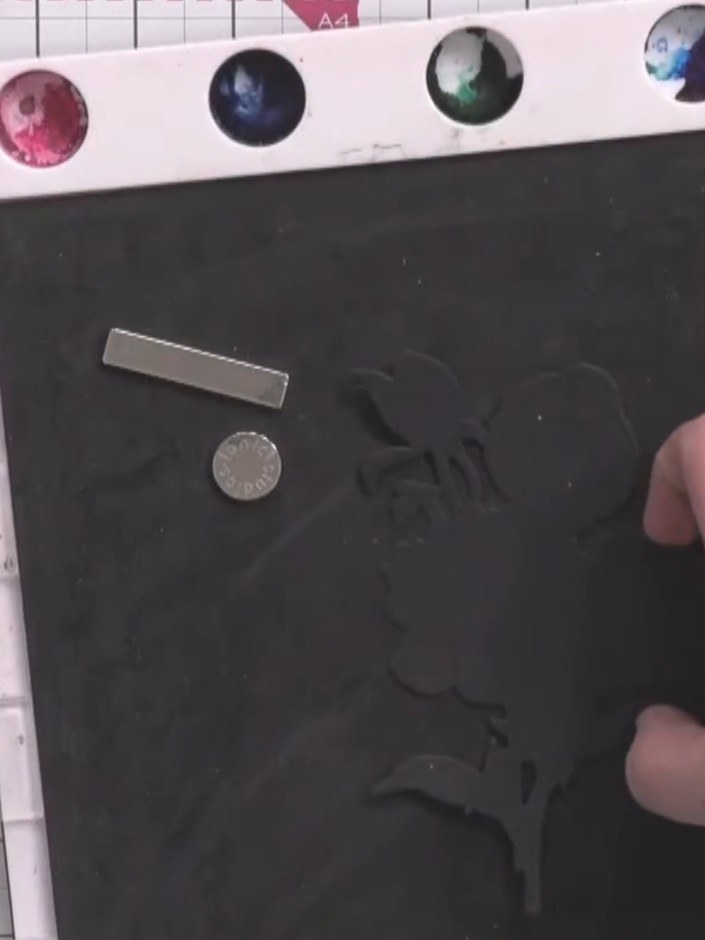
Die-cut your black card stock using the peony die from the Stamps By Me Quattro D set. Use a die-cutting machine to cut through the card stock cleanly.
 2
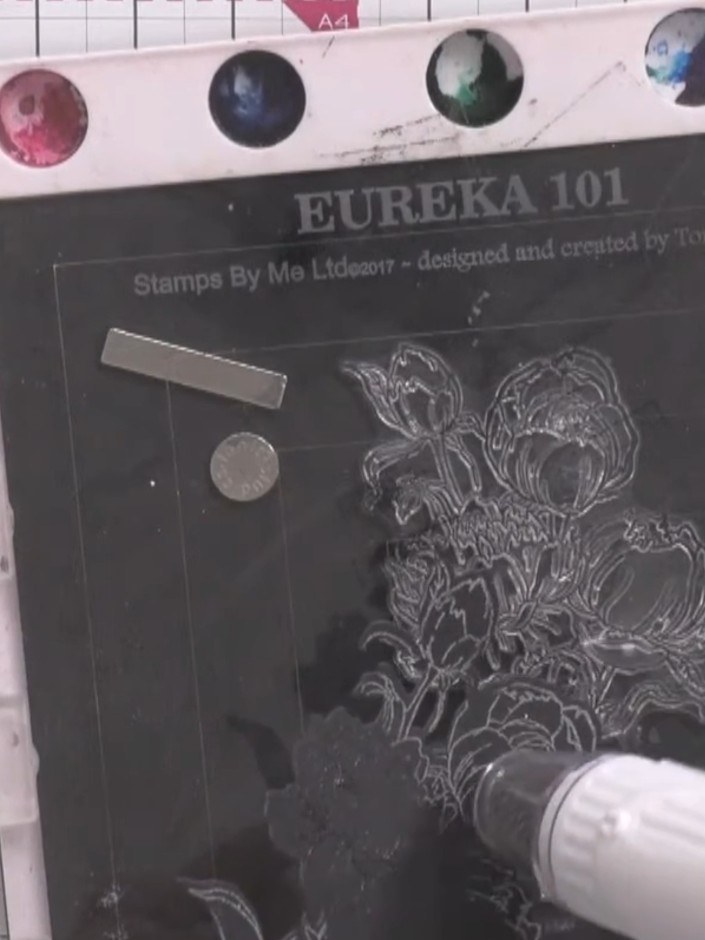
Stamp the peony image onto white cardstock using clear embossing ink. Sprinkle clear embossing powder over the stamped image and heat-set with a heat tool until the powder melts and becomes glossy.
 3
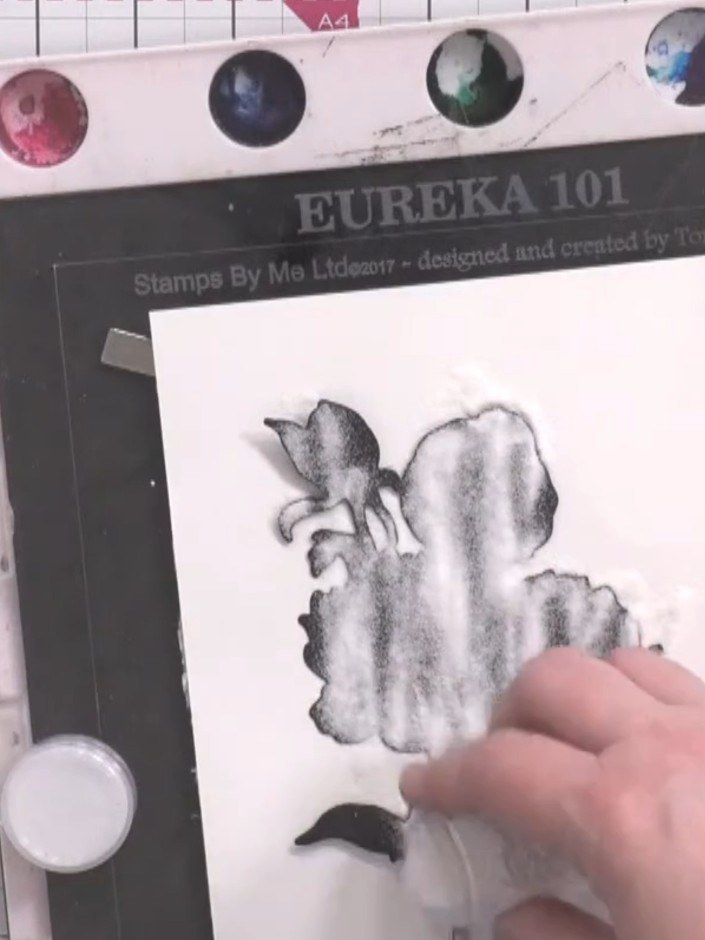
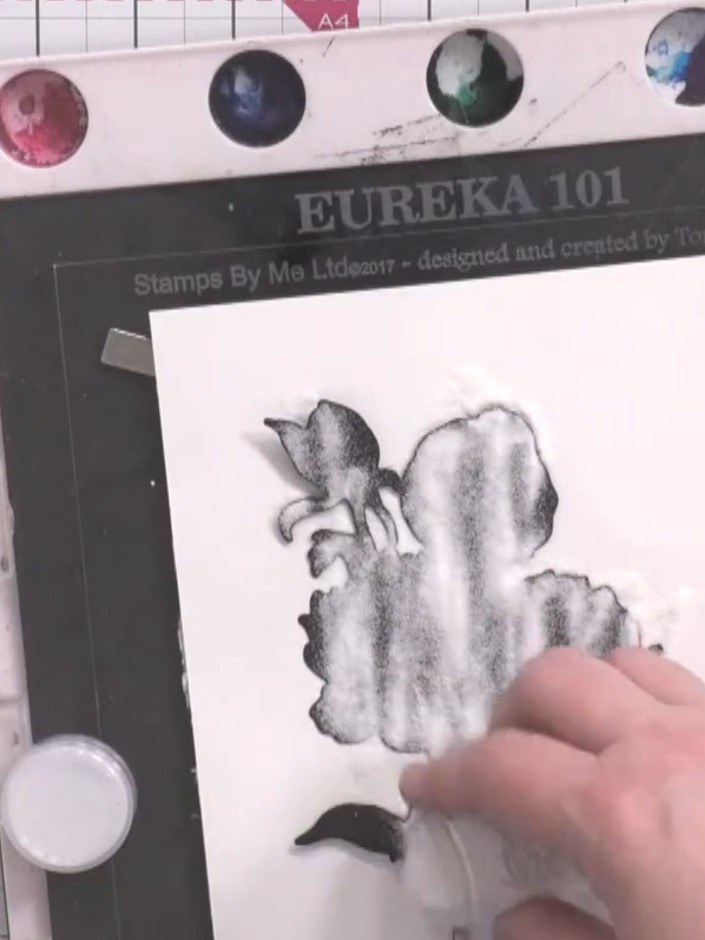
Dip your brush into the confetti ink and remove most of the moisture by wiping it on a paper towel until the brush is nearly dry.
 4
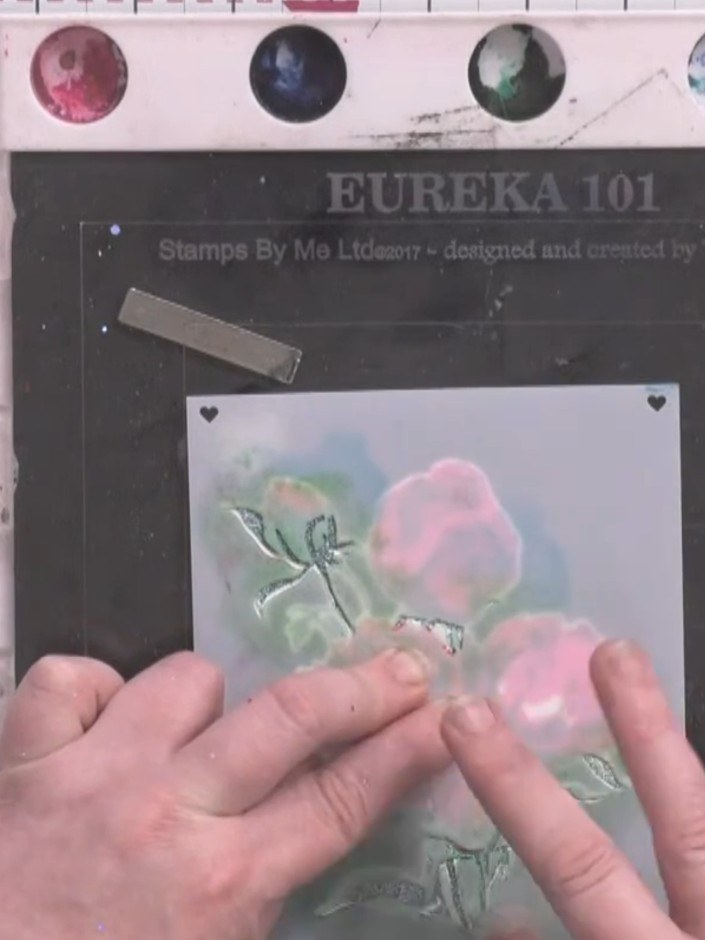
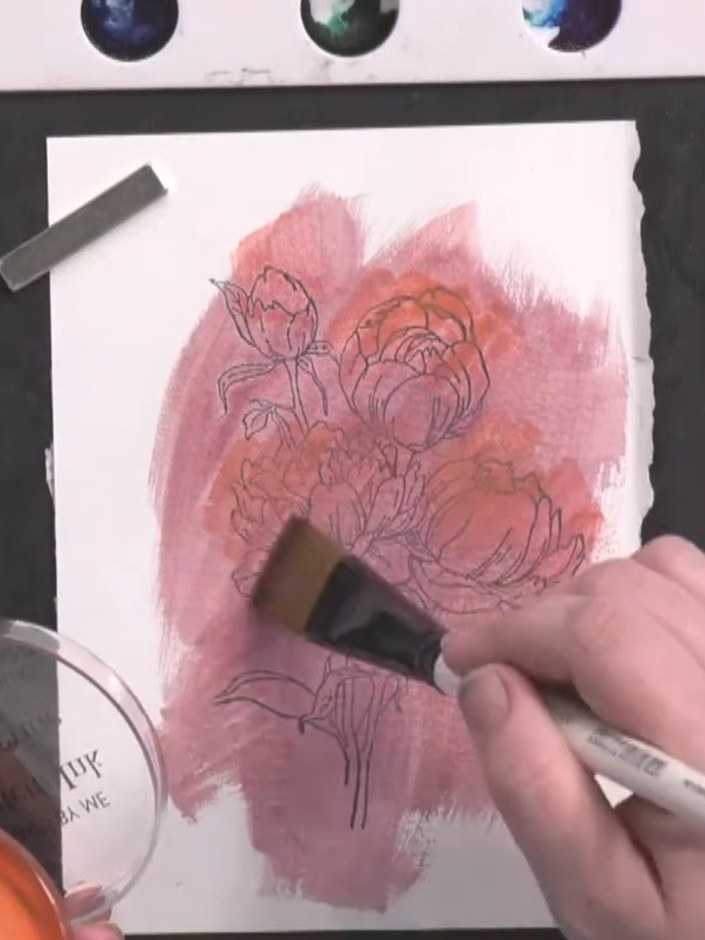
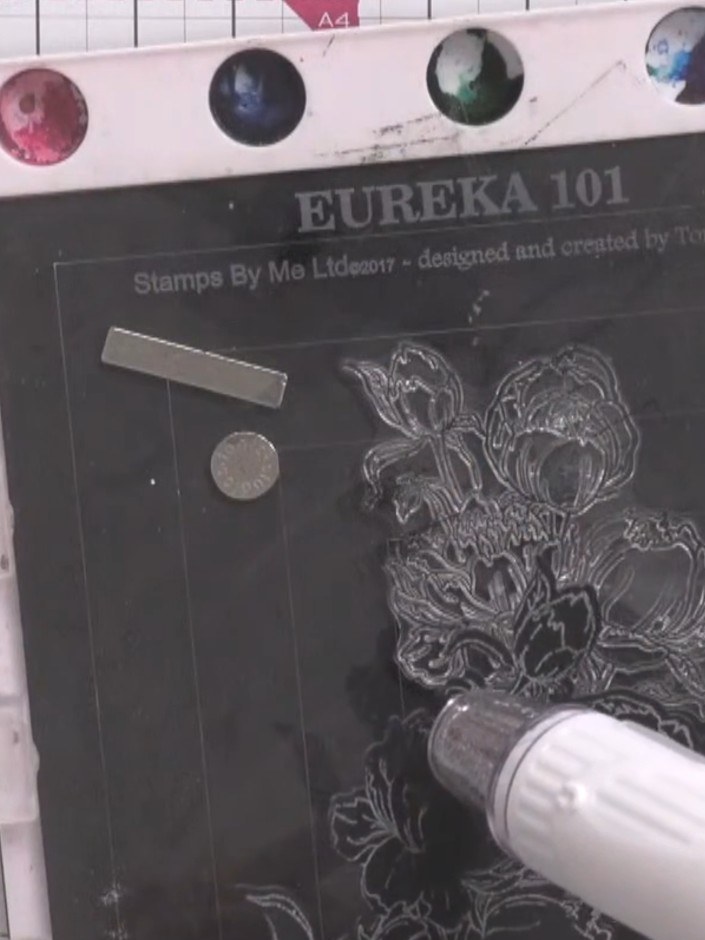
Gently brush the dry confetti ink across the embossed peony design using light, sweeping strokes with minimal pressure. Work the ink into the raised areas to create subtle shading and dimension on the flower petals and leaves.
 5
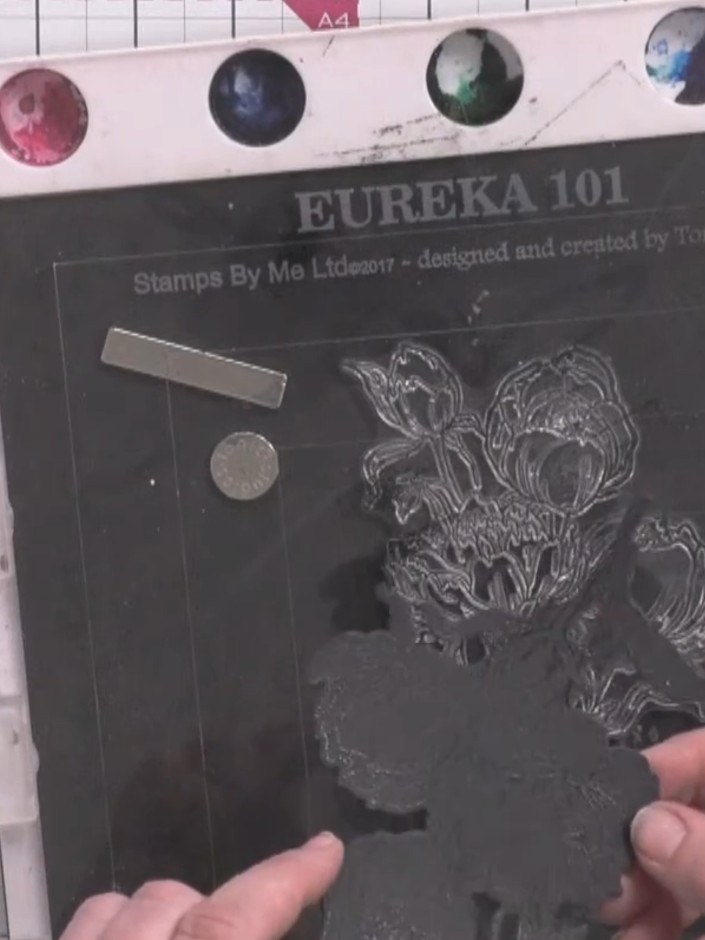
Wash your brush and apply a second Confetti Ink colour over the first, layering the colours to add depth to the peony image. Use a heat tool to dry the ink completely between layers.
 6
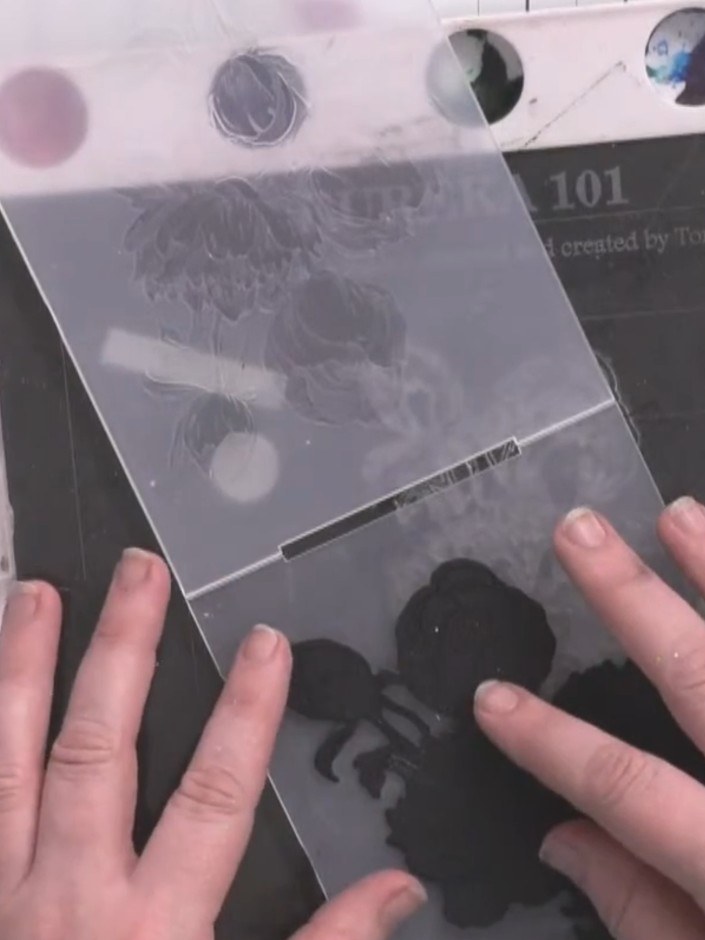
Add a third colour if desired, building up the shading gradually with the heat tool to create a soft, blended effect on the stamped peony image.
 7
Allow the inks to dry completely. Once set, the Confetti Inks will not rub off and the sparkle will remain permanent on your card.
Partagez votre création avec la communauté Stamps By Me - et gardez ce tutoriel pour la prochaine fois.
Rédigé à partir de l’émission elle-même. Tous les tutoriels de nos émissions · tutoriels gratuits · en direct sur My Telly · l’ancienne présentation