Offrez à vos amis 10 $ de remise sur leur première commande !
Parrainez un AMI








 The Friday Final Cutven. 6 nov. 5 h 00
 Community Showcaselun. 9 nov. 5 h 00
 Hobbymaker Tvlun. 9 nov. 9 h 00
Les prix sont mis à jour immédiatement. Chaque langue est notre propre traduction, pas Google.
Un projet de notre émission en direct QUATTRO-D ATELIER GRATUIT - Retrouvez Toni pour un moment RIEN QU'À VOUS, à la découverte du merveilleux univers de Q-D - Diffusion : 24 août 22 · 08/24/2022 · à voir dès 12:00
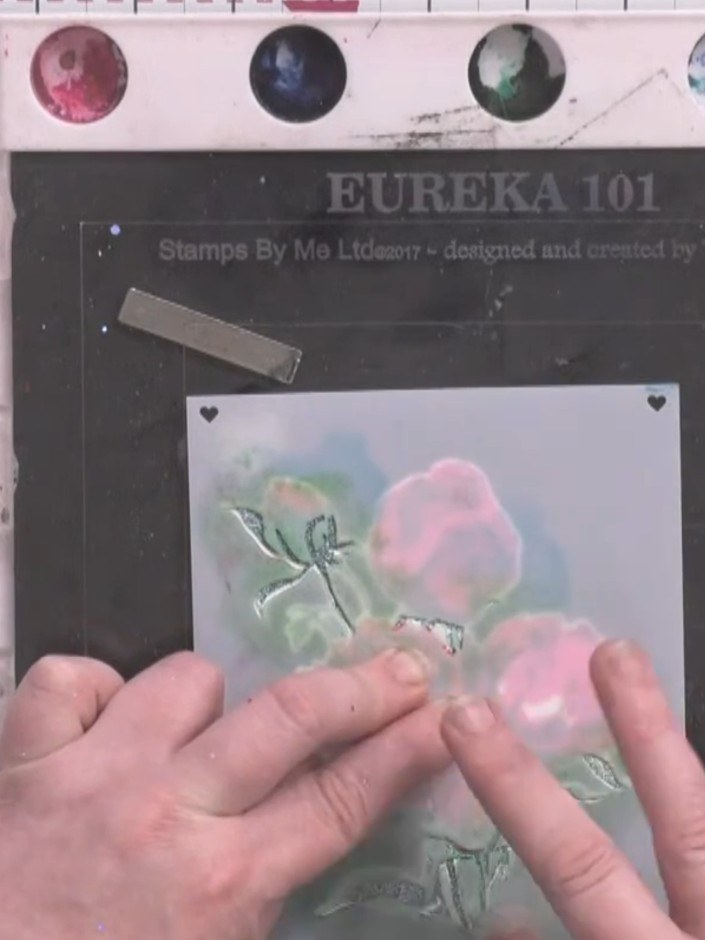
Create a stunning layered peony card featuring rich dimensional florals in soft pinks and greens with metallic accents. Using the Quattro-D technique, you'll build up multiple layers through die-cutting, stencilling, embossing and stamping to achieve beautiful depth and sparkle. The finished card showcases a gorgeous peony design with textured embossing powder in complementary colours for a truly eye-catching result.
 STAMPS BY ME QUATTRO D - PEONIES - 100622AVOIR
 STAMPS BY ME CONFETTI INK - BLUEBELL - 180822AVOIR
 STAMPS BY ME CONFETTI INK - BLUSH - 180822BVOIR
 STAMPS BY ME CONFETTI INK - CHOCOLAT - 180822CVOIR
 STAMPS BY ME CONFETTI INK - GRAPHITE - 180822FVOIR
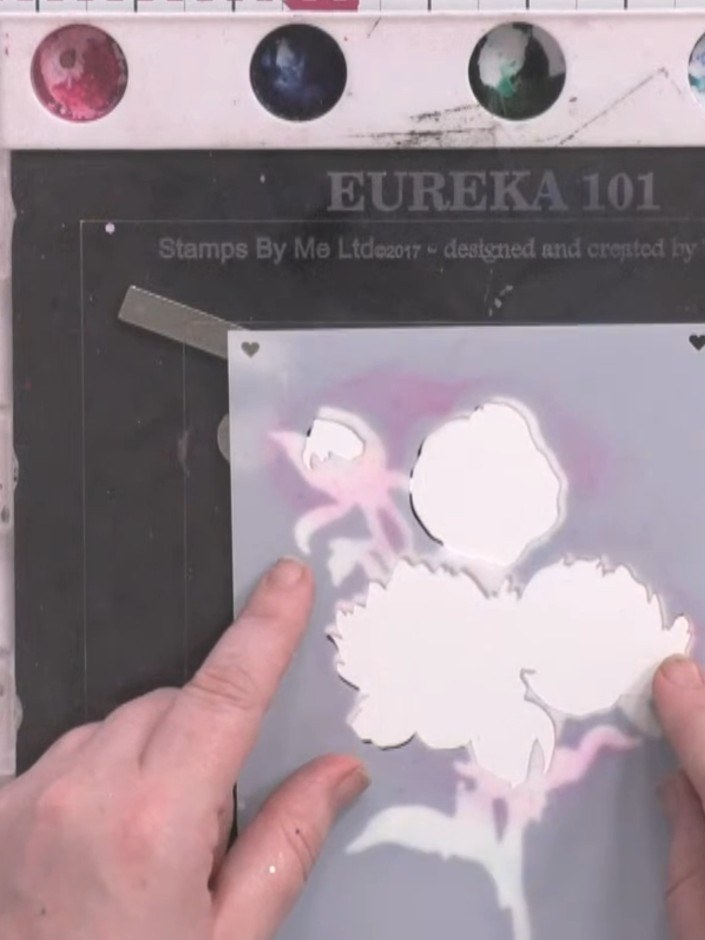
Découpez votre papier cartonné noir avec la matrice de découpe pivoine Quattro-D pour évider la forme de la fleur. Ensure the die is positioned correctly with the right side up.
▶ voir cette étape (12:30)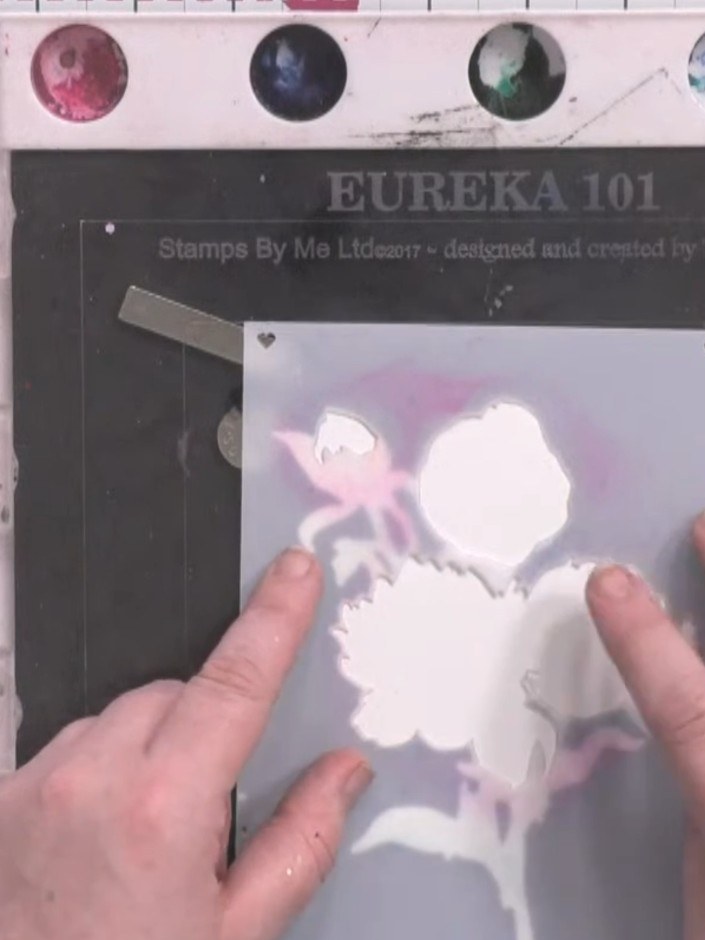
Apply embossing sticky ink through the first layer of the Peonies stencil using an embossing tool or dauber. Ensure all areas of the stencil design are thoroughly covered with the sticky ink.
▶ voir cette étape (13:00)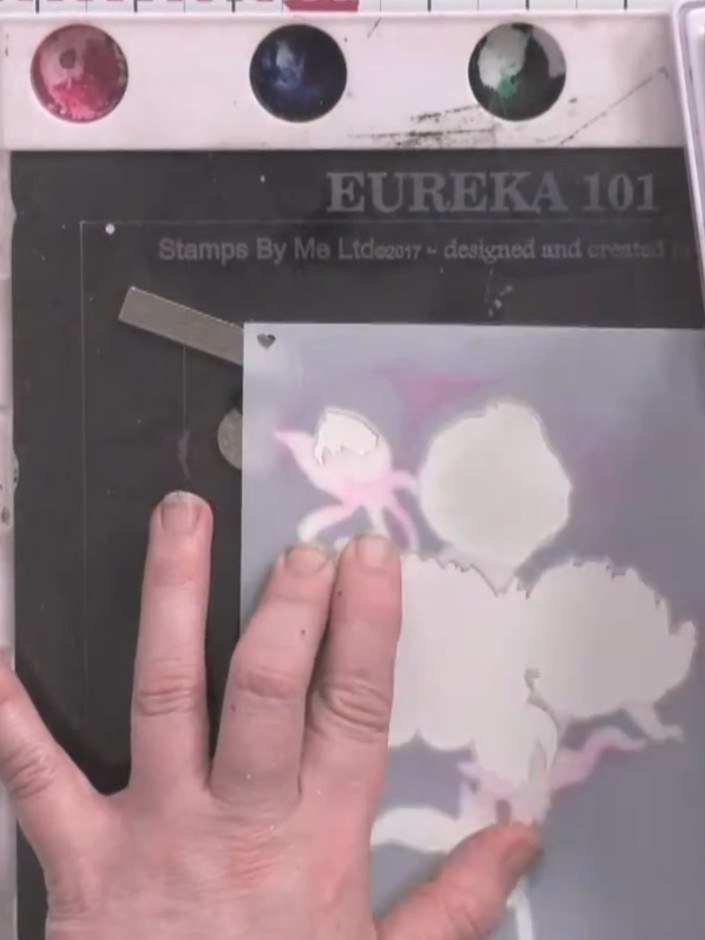
Sprinkle popping pink embossing powder over the stencilled image. Heat with an embossing gun until the powder melts and creates a raised, glossy finish.
▶ voir cette étape (13:30)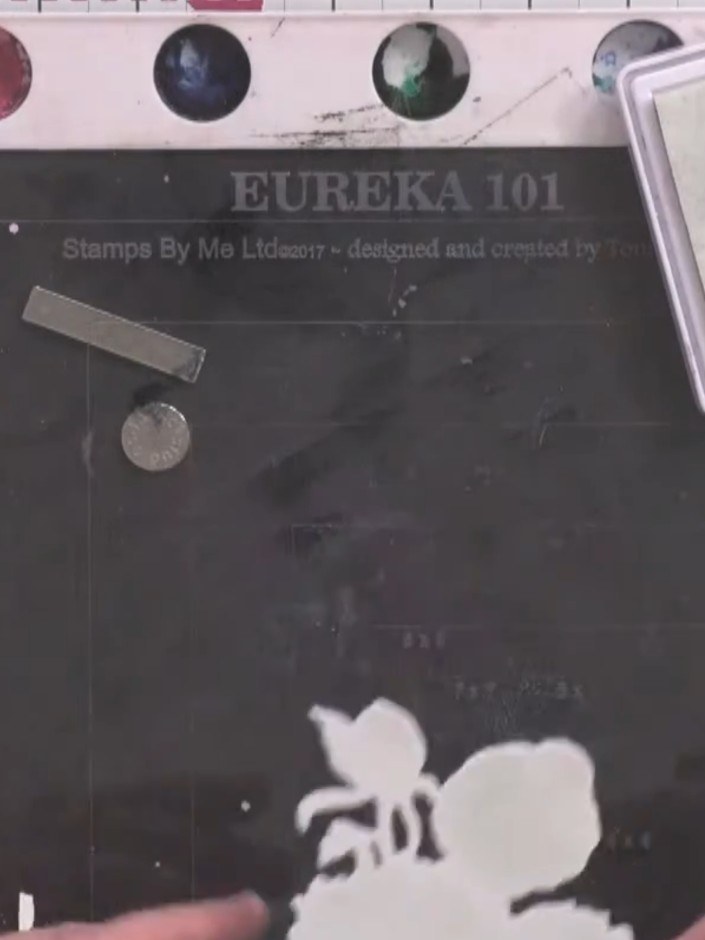
Position the second numbered layer of the stencil over your card and apply a different colour of Confetti Ink through the stencil. Sprinkle with embossing powder and heat emboss to set.
▶ voir cette étape (14:00)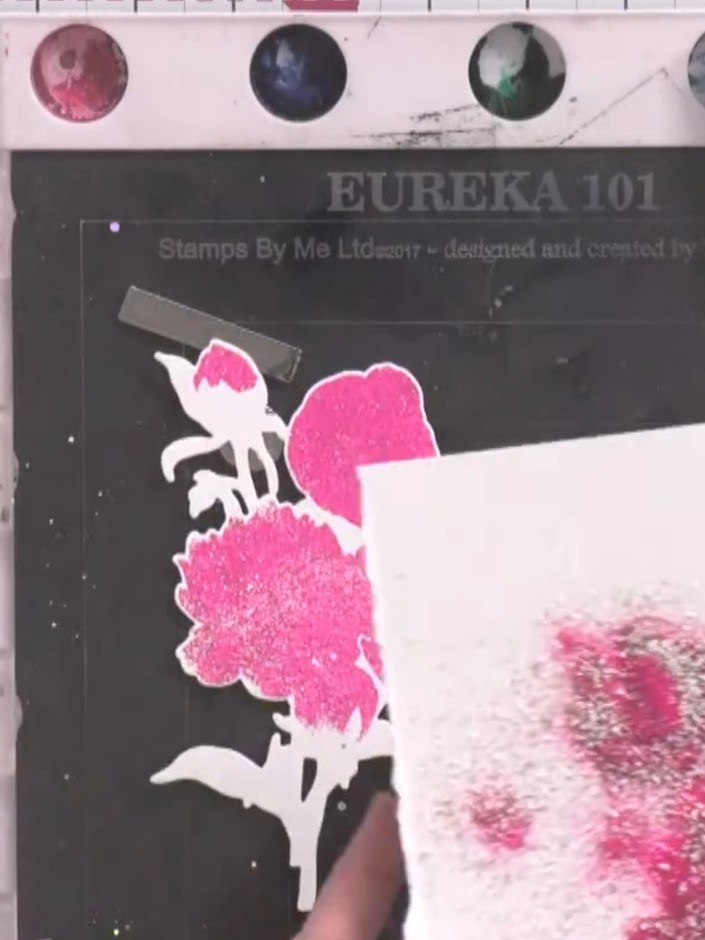
Continue building up the peony by adding layers three and four. Use different confetti ink colours such as bluebell and graphite to add dimension and depth to the flower.
▶ voir cette étape (14:30)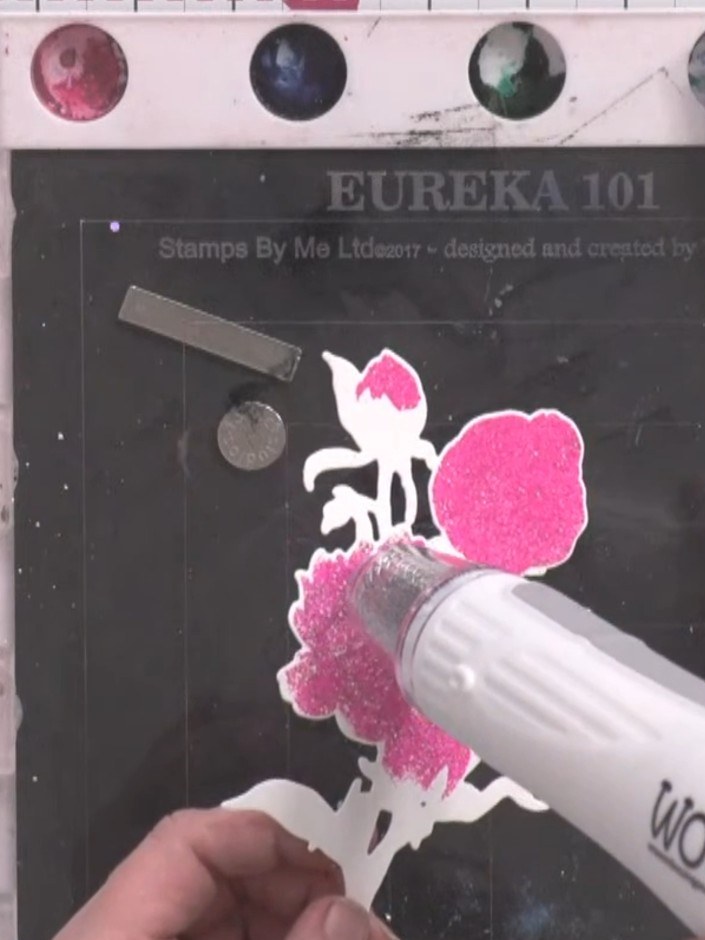
Use the heat tool to thoroughly heat each pink peony layer, ensuring the embossing powders melt together and blend seamlessly. Work systematically across all the die-cut pieces.
▶ voir cette étape (15:00)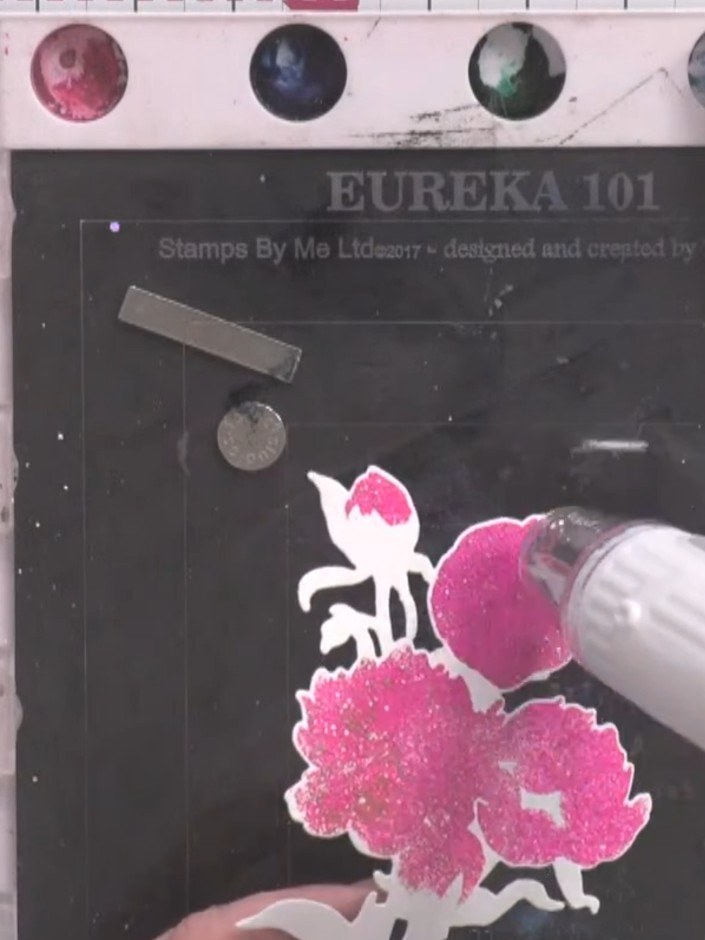
Using a heat tool, apply heat to all the glittered peony layers until the embossing powder melts and creates a glossy finish. Work systematically across each piece, ensuring even coverage.
▶ voir cette étape (15:30)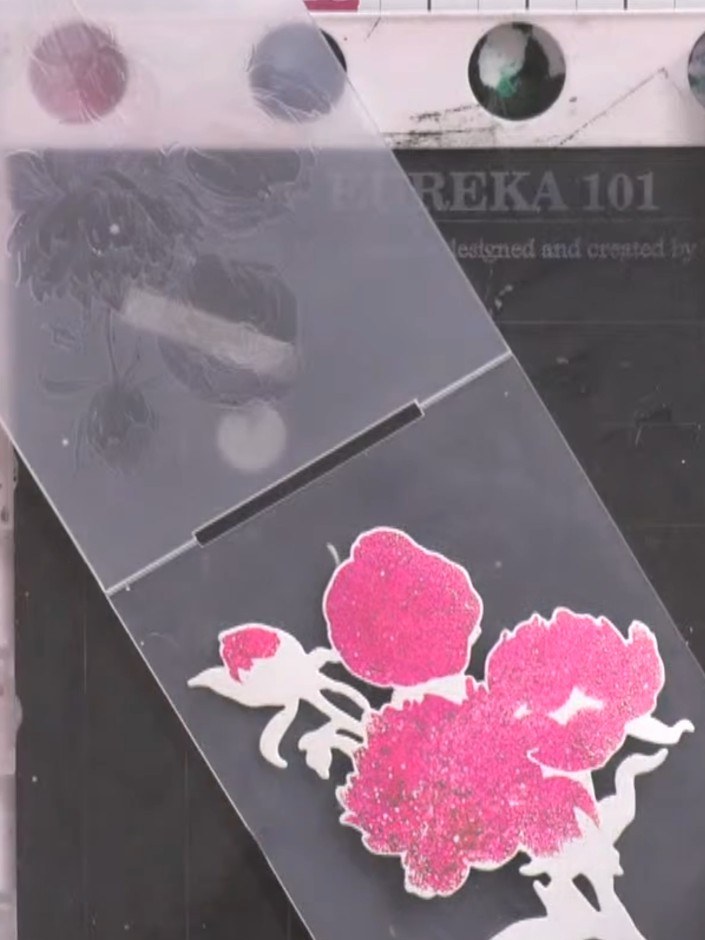
Use a heat tool to set the embossing powder on the stamped peony image, moving the heat tool over the surface until the powder melts and becomes glossy. This completes your dimensional floral element ready for layering onto your card.
▶ voir cette étape (16:00)Rédigé à partir de l'émission elle-même. Découvrez tous les guides de nos émissions · tutoriels gratuits · regarder en direct sur My Telly