Offrez à vos amis 10 $ de remise sur leur première commande !
Parrainez un AMI








 The Friday Final Cutven. 6 nov. 5 h 00
 Community Showcaselun. 9 nov. 5 h 00
 Hobbymaker TVlun. 9 nov. 9 h 00
Les prix sont mis à jour immédiatement. Chaque langue est notre propre traduction, pas Google.
Une création de notre émission en direct Émission Create and Craft 28 FÉVR. 23 - Retrouvez Toni pour ses dernières nouveautés et idées créatives - émission 1 · 02/28/2023
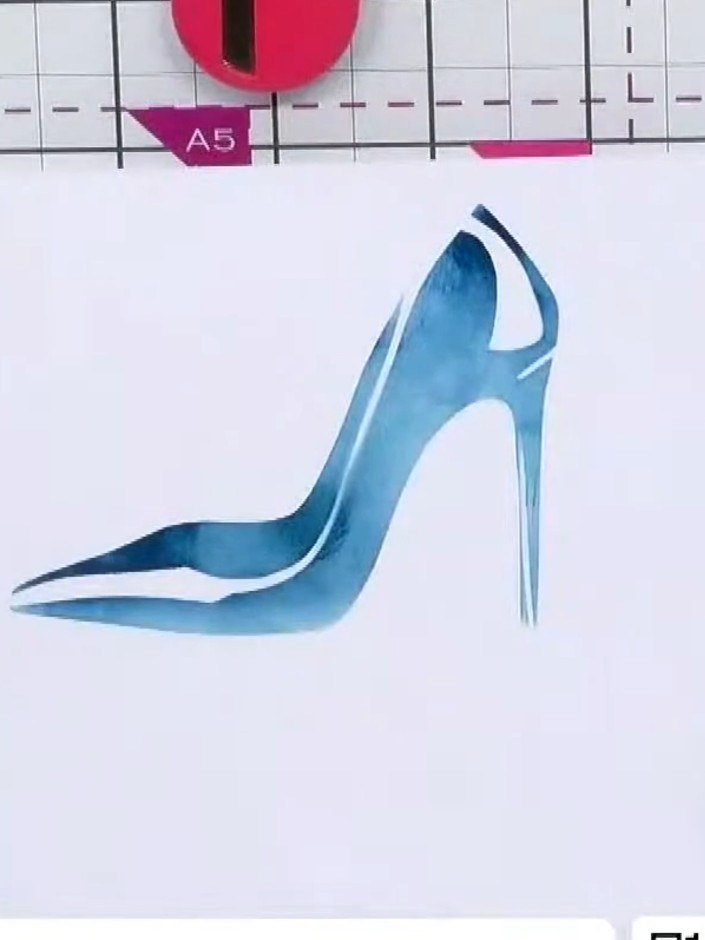
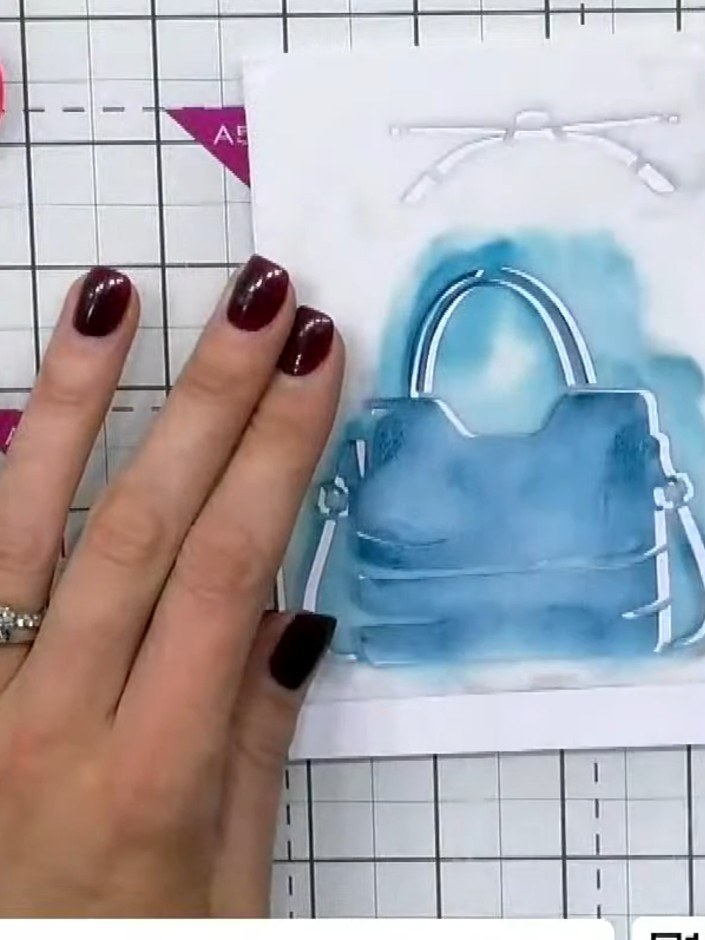
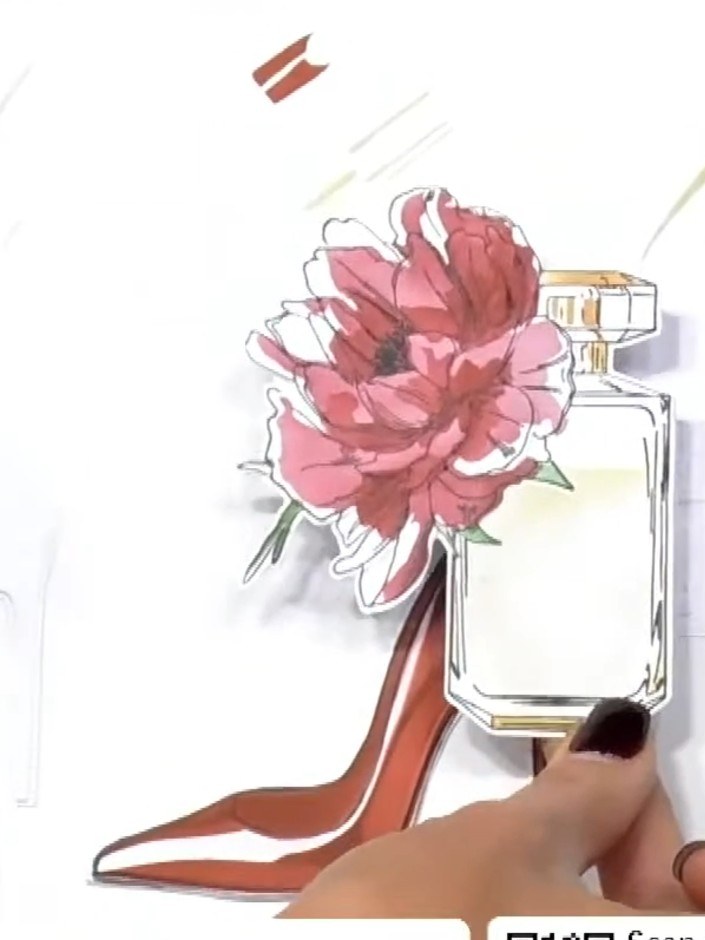
Réalisez une carte élégante ornée d’un sac à main tendance dans de riches tons bleu canard. Ce projet associe un superbe gaufrage d’écritures calligraphiées à des couches de papier cartonné rose pour une finition raffinée et très mode. Le tampon de sac à main en volume est la vedette de la carte...
 1
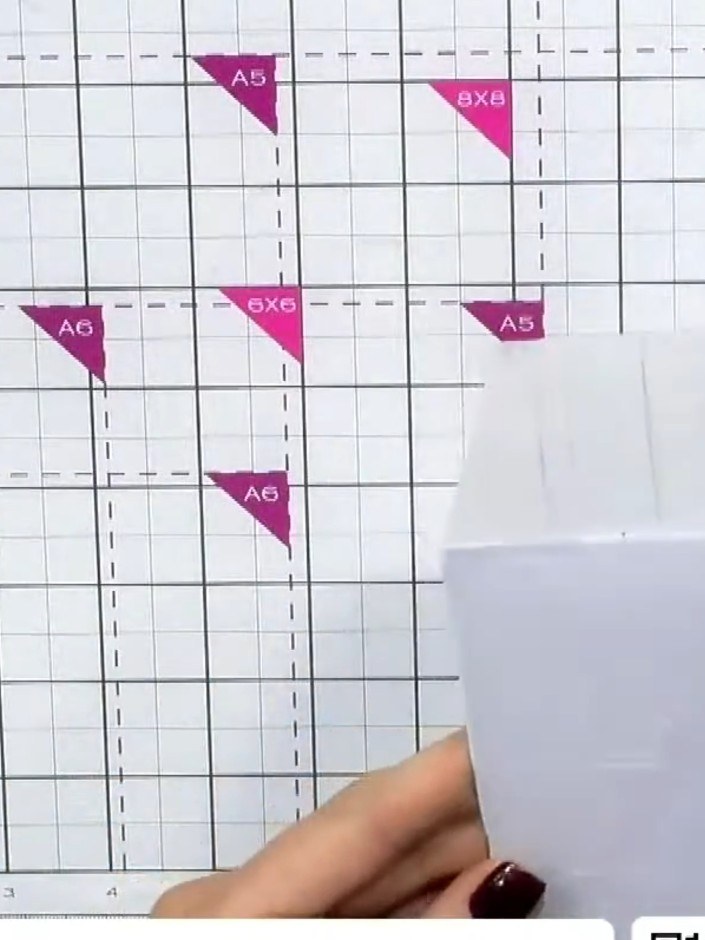
Cut a piece of white or pale pink cardstock to your desired card size. The example shown uses an A5 landscape card base with a pink ombre gradient effect.
 2
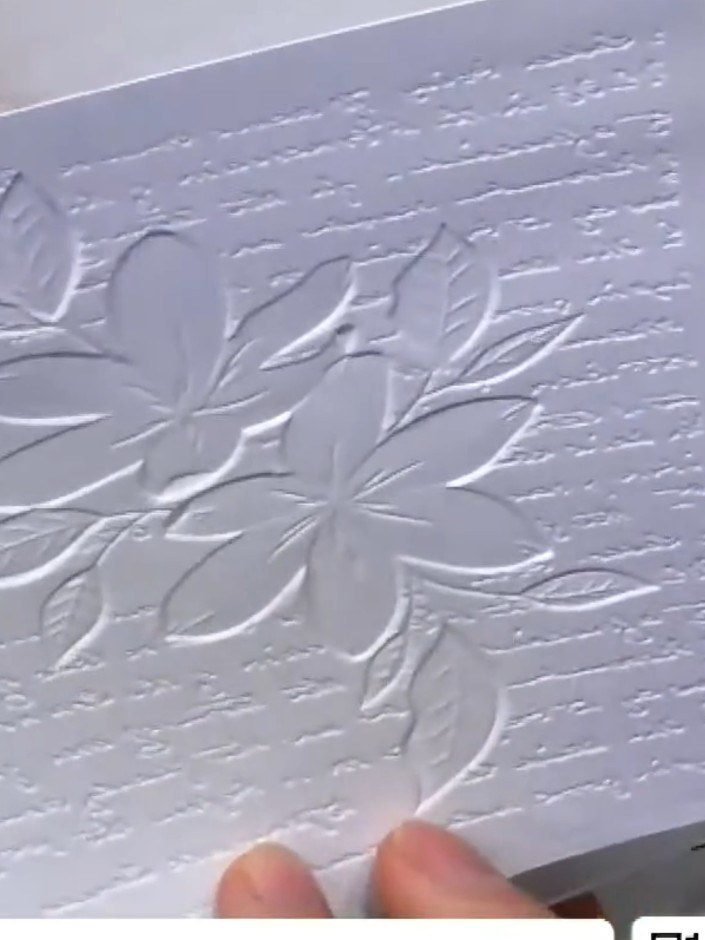
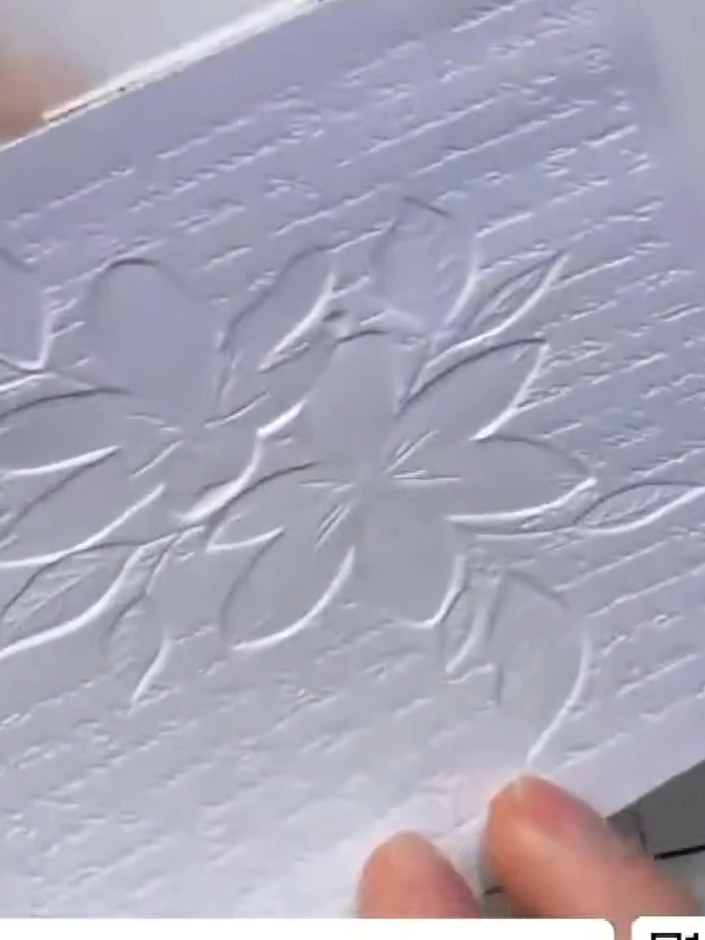
Place your white cardstock into the embossing folder, ensuring it is positioned correctly. Run the folder through your die-cutting and embossing machine to create the raised design on the cardstock.
 3
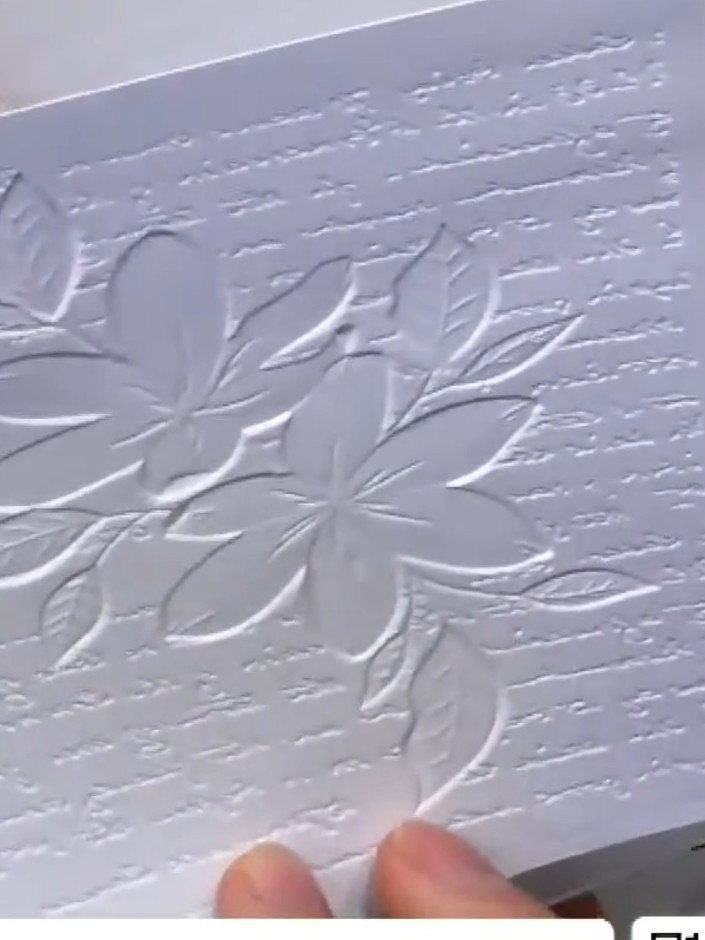
Open the embossed card to view the raised detail on the front and the debossed (recessed) detail on the back. The embossed design shows a beautiful floral pattern with dimensional texture.
 4
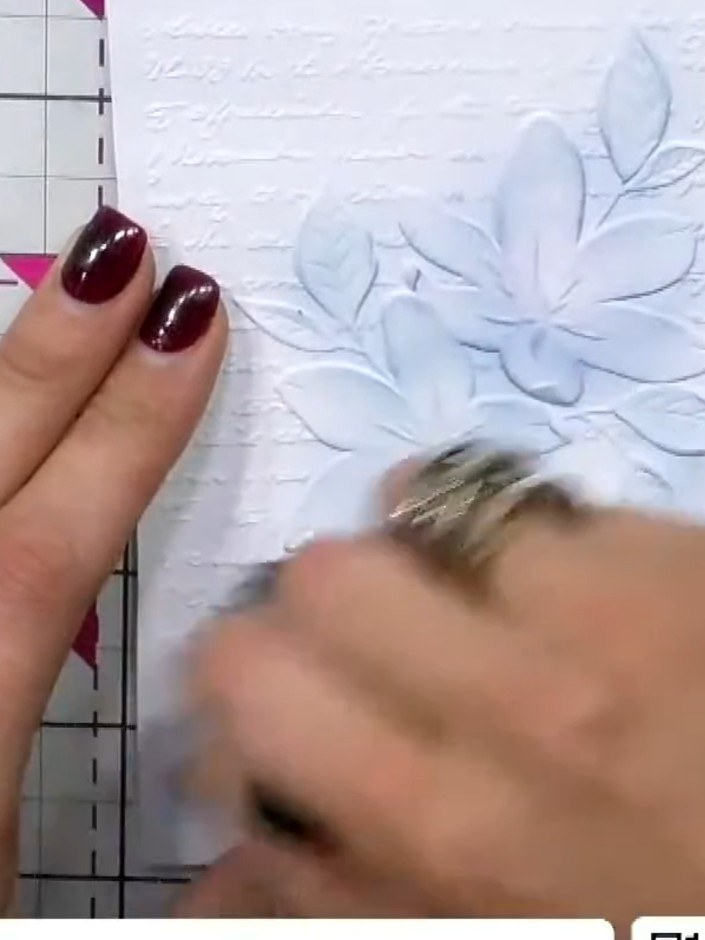
Optional: Use a blending brush or ink pad to add colour to the debossed areas on the back of the card for subtle shading. This will enhance the embossed floral design and add depth to your finished card.
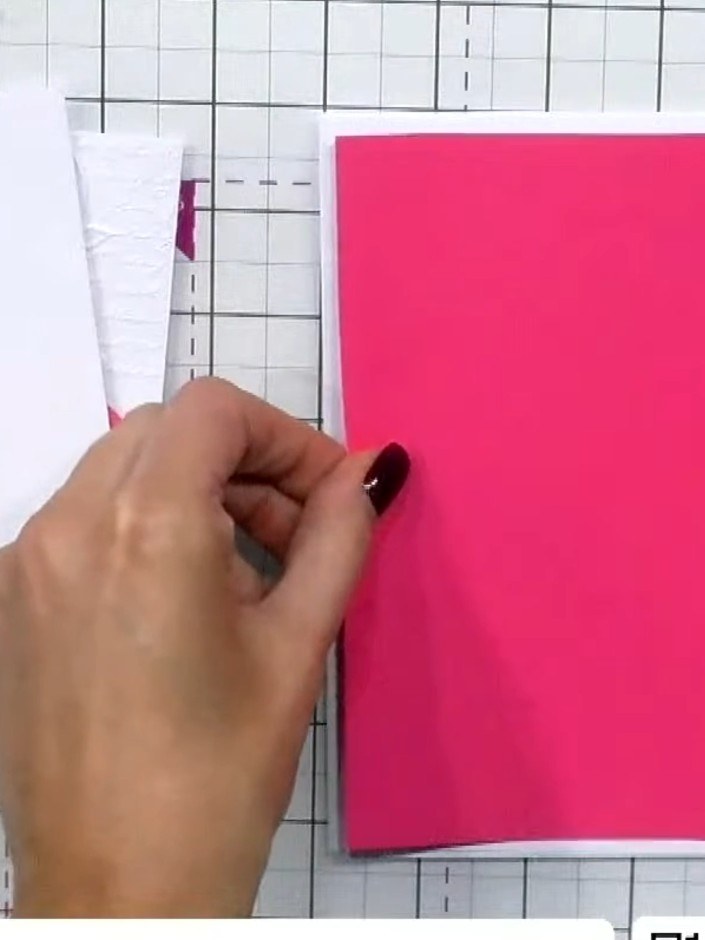 5
Cut a second piece of pink patterned cardstock from the collection. Layer it onto your white card base using double-sided tape or adhesive.
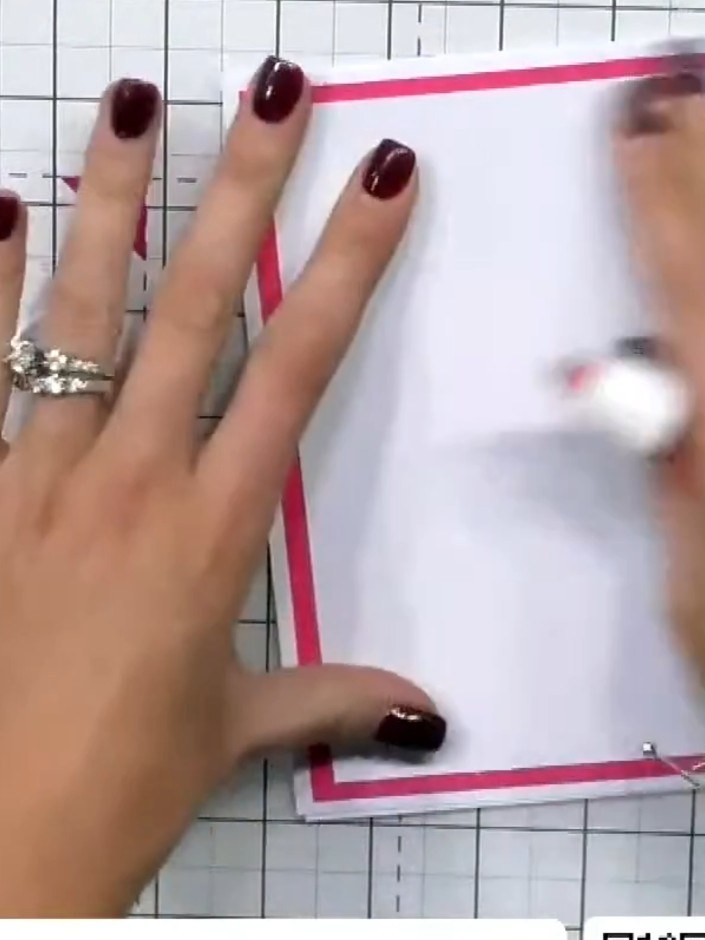 6
Attach the embossed white piece to the front of your pink card base, positioning it centrally as your focal point.
Add a die-cut or stamped sentiment to complete your card if desired, or leave the white space for a clean, simple design. Position any embellishment in the lower corner or centre of the embossed panel.
Partagez votre création avec la communauté Stamps By Me - et gardez ce tutoriel pour la prochaine fois.
Rédigé à partir de l’émission elle-même. Tous les tutoriels de nos émissions · tutoriels gratuits · en direct sur My Telly · l’ancienne présentation