Cochez ce que vous avez - cet appareil s’en souvient.
Étape par étape
touchez une image pour l’agrandir · touchez TERMINÉ au fur et à mesure - cet appareil s’en souvient
Étape 1 sur 10
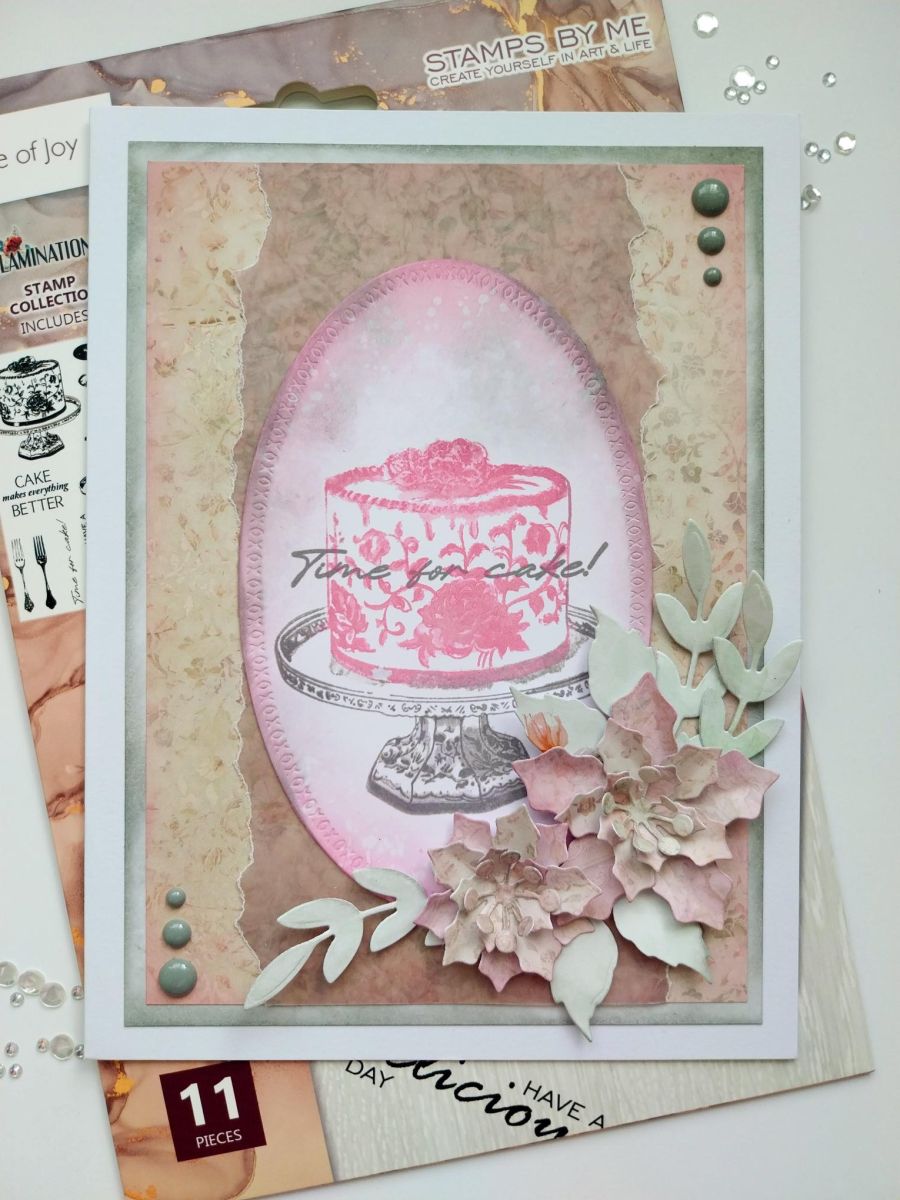
Die cut an oval from white card, large enough to stamp the cake on to.
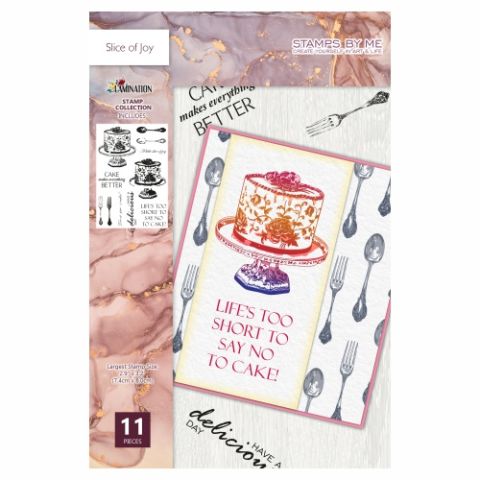
Ink up the solid stamp in the Distress inks, Kitsch Flamingo for the cake element and Hickory Smoke for the cake stand. Spritz lightly with water and stamp onto the oval.
Étape 2 sur 10
Ink up the detailed stamp with the same inks and stamp over your solid image. You may need to stamp a couple of times to get the detail clear and crisp.
Étape 3 sur 10
Blend around the edges of the stamped oval with your inks, splatter lightly with water and mop up the excess ink with a paper towel.
Étape 4 sur 10
Stamp your sentiment across the centre of the cake, with the Versafine.
Étape 5 sur 10
Trim a sheet of Sweet Serenity paper to 5 x 7" and blend around the edges with the Kitsch Flamingo. Tear a panel of the Sweet Serenity coordinating vellum.
Étape 6 sur 10
Adhere the vellum panel down the centre of the paper and then the stamped oval in the centre of the vellum.
Étape 7 sur 10
Cut a piece of white card to 5 1/4 x 7 1/4" and blend around the edges with Hickory Smoke, to create a coordinating "mat".
Étape 8 sur 10
Adhere your artwork onto the inked "mat" and then onto your card blank.
Add enamel dots bottom left and top right.
Étape 9 sur 10
Using your Holly & Berry dies, cut out a selection of flowers and foliage from coordinating Sweet Serenity papers.
Étape 10 sur 10
Adhere your die cut elements to create your 3D display, around the bottom right curve of the stamped oval.
Bravo, c’est fait !
Partagez votre création avec la communauté Stamps By Me - et gardez ce tutoriel pour la prochaine fois.
Bonjour ! Je suis l'assistante créative IA de Toni : je connais les projets des émissions de Toni, nos tutoriels et tout ce qui se trouve dans la boutique. Posez-moi toutes vos questions, par exemple « Quelles matrices de découpe vont avec ce set de tampons ? » ou « De quoi ai-je besoin pour débuter le mélange d'encres ? »
Un assistant IA (et non Toni en personne), qui répond à partir des émissions de Toni et de notre boutique – merci de vérifier la fiche produit avant d'acheter.