Étape 1 sur 10
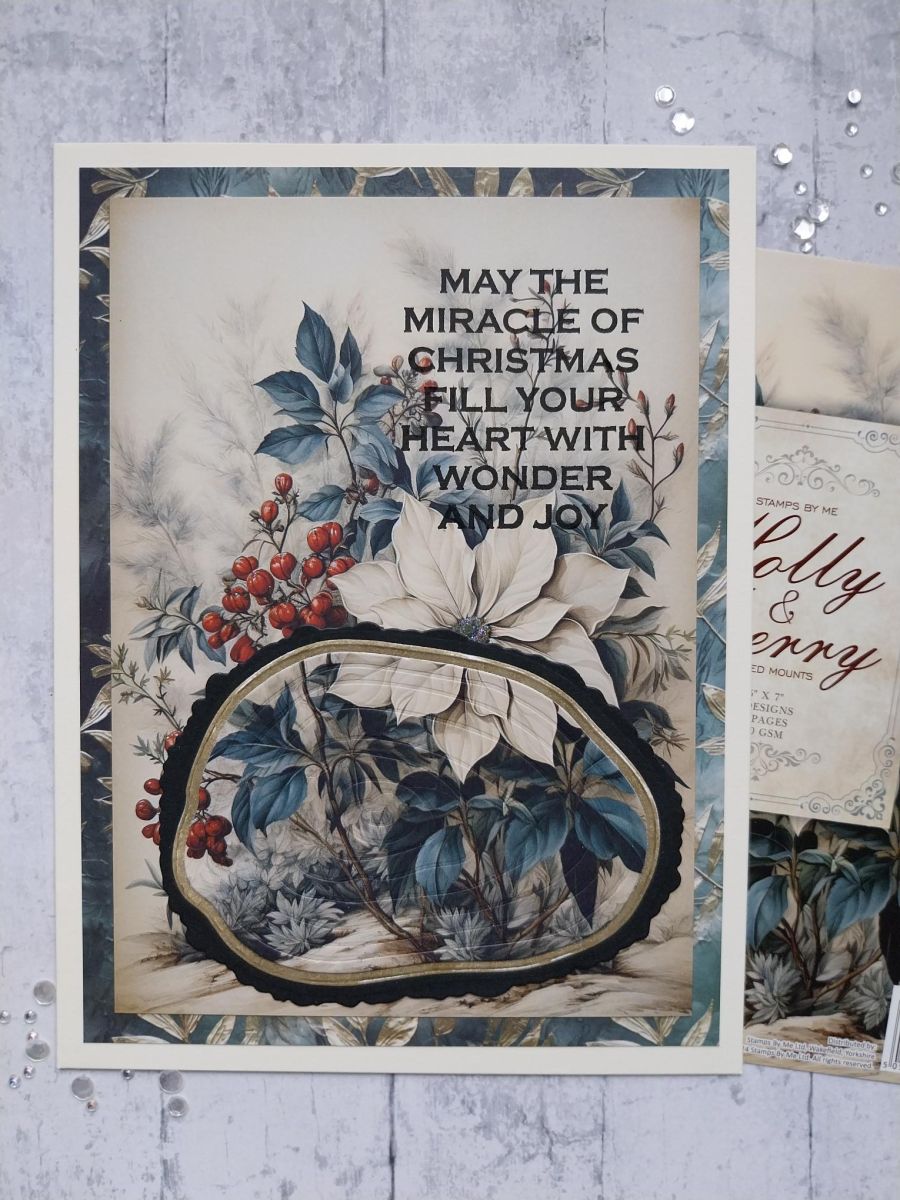
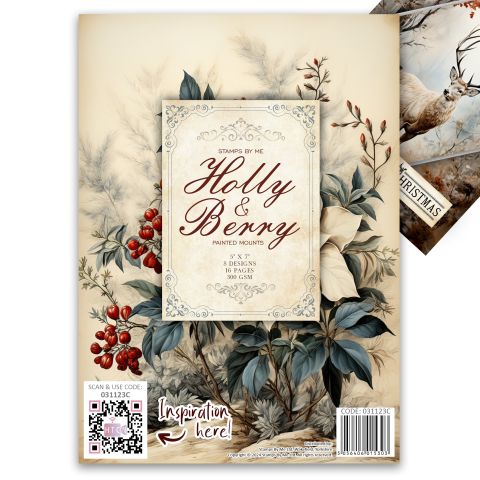
Choose a coordinating paper from the Evergreen pack, to go with this Holly & Berry painted mount. Trim the paper to 5 1/2 x 7 1/2".








 The Friday Final Cutven. 6 nov. 5 h 00
 Community Showcaselun. 9 nov. 5 h 00
 Hobbymaker TVlun. 9 nov. 9 h 00
Les prix sont mis à jour immédiatement. Chaque langue est notre propre traduction, pas Google.
 Holly & Berry - Painted MountsSupports peints Holly & Berry Painted Mounts9,99 $ACHETER✓ AJOUTÉ
Choose a coordinating paper from the Evergreen pack, to go with this Holly & Berry painted mount. Trim the paper to 5 1/2 x 7 1/2".
Position the 3 Oak Slices dies onto this area of the painted mount (to ensure they all fit), then carefully remove the 2 outer dies, secure the centre solid die in place and run through your die machine.
Now die cut the outer die in black cardstock and the middle die from white cardstock, as seen here.
Blend the Frayed Burlap onto the white Oak slice. You don't need to cover it all as your painted mount Oak slice will cover most of it up.
Adhere the 3 die cut Oak slices together.
Adhere the die-cut paper onto the background paper.
Stamp your chosen sentiment in Midnight, to the top right of the painted mount. I chose my sentiment from the Special Wishes Stamp & Die Collection.
Adhere your die-cut Oak slice back in place, ensuring you match up the printed design. This technique is known as the " spotlight" or "eclipse" technique.
Adhere your artwork onto your card blank.
To finish, use your Stickles to add a touch of sparkle where required.
Partagez votre création avec la communauté Stamps By Me - et gardez ce tutoriel pour la prochaine fois.
Vous préférez l’ancienne présentation ? Ouvrir l’ancienne page.



