Étape 1 sur 8
Cut two pieces of white card, 5" square and 3 x 5".
Cut two pieces of your chosen plain paper from the collection, 5 1/2" square and 3 1/4 x 5".








 The Friday Final Cutven. 6 nov. 5 h 00
 Community Showcaselun. 9 nov. 5 h 00
 Hobbymaker TVlun. 9 nov. 9 h 00
Les prix sont mis à jour immédiatement. Chaque langue est notre propre traduction, pas Google.
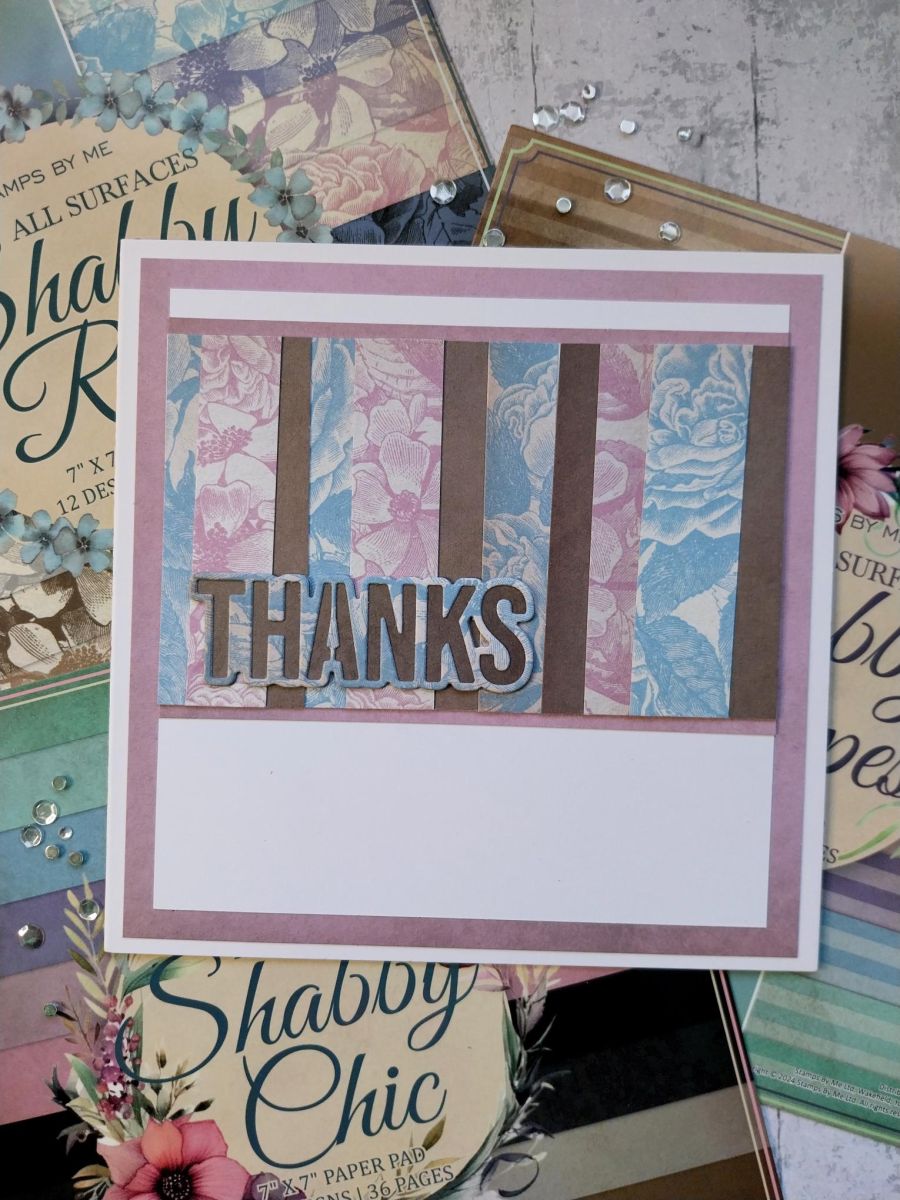
Cut two pieces of white card, 5" square and 3 x 5".
Cut two pieces of your chosen plain paper from the collection, 5 1/2" square and 3 1/4 x 5".
Cut strips from all three of the paper packs, in various widths and about 3 1/2" in length....a great way to use up all your off-cuts!!!
Place the white 3 x 5" card onto your glass mat and randomly adhere the paper strips vertically onto your white panel (don't worry about overhangs).
Once the panel is completely covered, you can trim off all the overhanging paper to reveal your patterned panel, as seen here.
Mat your covered panel onto the coordinating paper panel you cut earlier, ensuring the two side edges are flush and an equal amount of paper is visible top and bottom.
Adhere this near the top of a piece of white card cut to 5" square.
Adhere to the 5 1/2" panel of paper you cut earlier and then secure to the front of your card blank.
Die cut the detailed sentiment die and the layer die, from coordinating papers.
Adhere the die-cut sentiment together and glue across the bottom left of the covered panel, to finish your card.
Partagez votre création avec la communauté Stamps By Me - et gardez ce tutoriel pour la prochaine fois.
Vous préférez l’ancienne présentation ? Ouvrir l’ancienne page.



