Cochez ce que vous avez - cet appareil s’en souvient.
Étape par étape
touchez une image pour l’agrandir · touchez TERMINÉ au fur et à mesure - cet appareil s’en souvient
Étape 1 sur 8
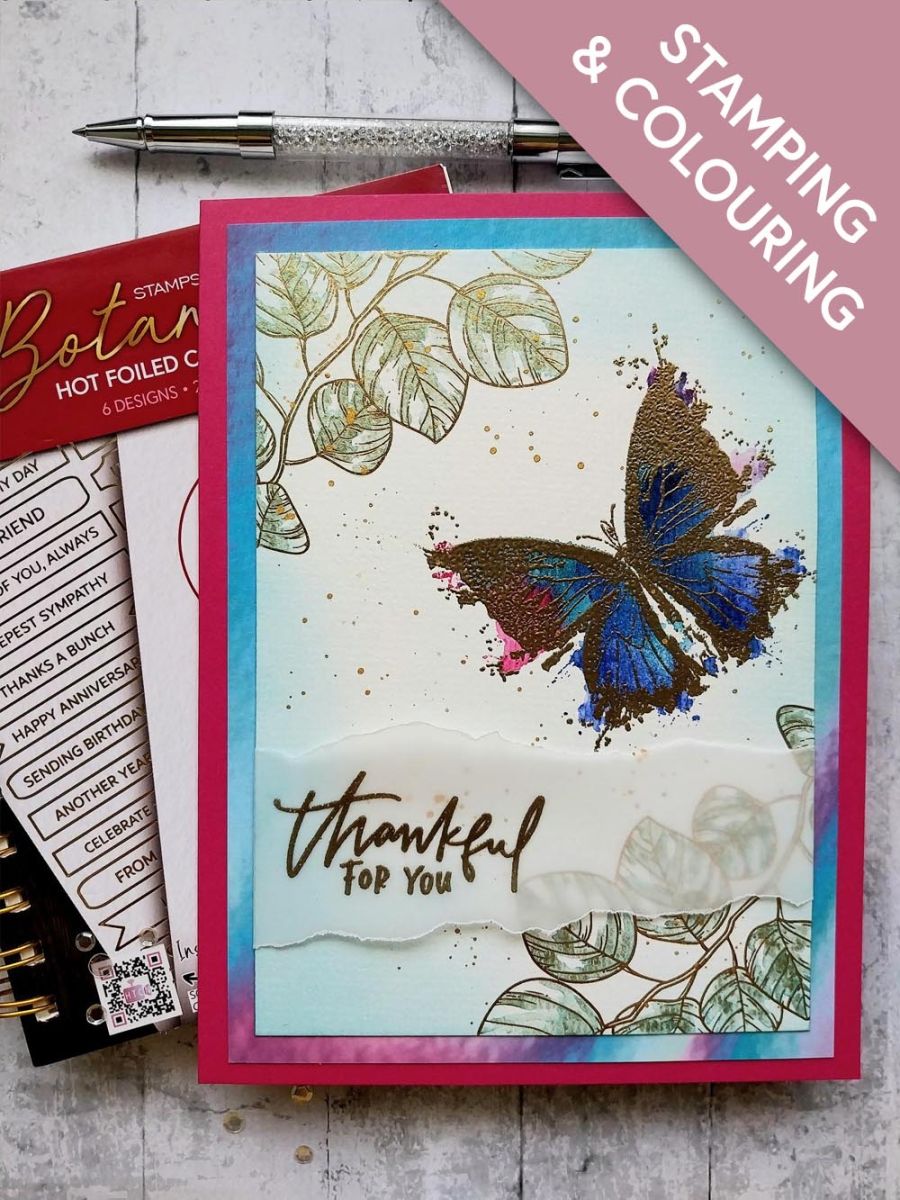
Remove this beautiful foliage design from the Botanicals colouring book. Paint clean water in a couple of the leaves, then drop your paints in to the water and allow it to move freely. This is referred to as the "wet-in-wet" technique. Repeat this in each leaf, until your design is complete.
Étape 2 sur 8
Ink the solid lamination stamp, from Thankful For You, with your dye inks and spritz with a little water. Stamp coming on to the right side of your artwork. Dry thoroughly with your heat tool.
Étape 3 sur 8
Wipe over the card with your anti-static bag before stamping the detailed lamination stamp, over the inky butterfly, with the WOW sticky embossing ink. NB: You may have to re-ink and stamp several times, to get a clear impression on the textured watercolour card. Sprinkle the Gold embossing powder over your stamped image, decanting any excess powder back in to the pot. Get your heat tool hot before heat setting the powder.
Étape 4 sur 8
Add water to your Confetti ink and splatter over your artwork.
Étape 5 sur 8
Ink around the edges of the card with Tiffany.
Étape 6 sur 8
Tear a panel of vellum a few centimetres longer than the card and deep enough to take the sentiment.
Wipe over the vellum with your anti-static bag, stamp the sentiment in the sticky ink then apply the embossing powder and heat set. Remember to heat your tool first, as this will minimise burning and warping the vellum.
Étape 7 sur 8
Trim this paper from the Holographic paper pack, to 7 1/2 x 5 1/2".
Étape 8 sur 8
Mat your artwork on to the holographic paper and then on to the Fushia card blank.
Bravo, c’est fait !
Partagez votre création avec la communauté Stamps By Me - et gardez ce tutoriel pour la prochaine fois.
Bonjour ! Je suis l'assistante créative IA de Toni : je connais les projets des émissions de Toni, nos tutoriels et tout ce qui se trouve dans la boutique. Posez-moi toutes vos questions, par exemple « Quelles matrices de découpe vont avec ce set de tampons ? » ou « De quoi ai-je besoin pour débuter le mélange d'encres ? »
Un assistant IA (et non Toni en personne), qui répond à partir des émissions de Toni et de notre boutique – merci de vérifier la fiche produit avant d'acheter.