¡Regálales a tus amigos $10 de descuento en su primer pedido!
Recomienda a un AMIGO








 HSN InspirationMañana 1:00 p. m.
 Hidden Gemsmié 4 nov 5:00 a. m.
 The Thursday Dropjue 5 nov 1:00 p. m.
Los precios cambian al instante. Cada idioma es nuestra propia traducción, no Google.
Un proyecto de nuestro programa en vivo COMMUNITY SHOWCASE - Transmitido el 2 de noviembre de 2026 · 11/02/2026 · velo desde 22:30
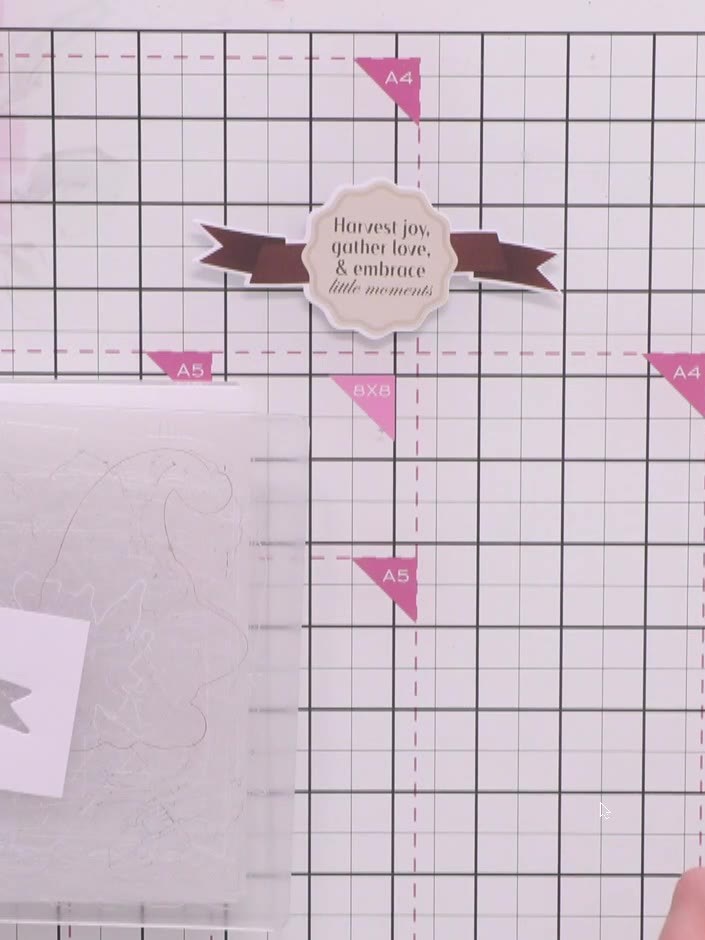
Create an elegant place name tag for your autumn dining table using the Golden Harvest card kit. This decorative piece features warm brown and cream tones with sentiment labels and ribbon embellishments arranged on a white card base. The project uses simple layering and assembly techniques to transform card elements into a charming table decoration.
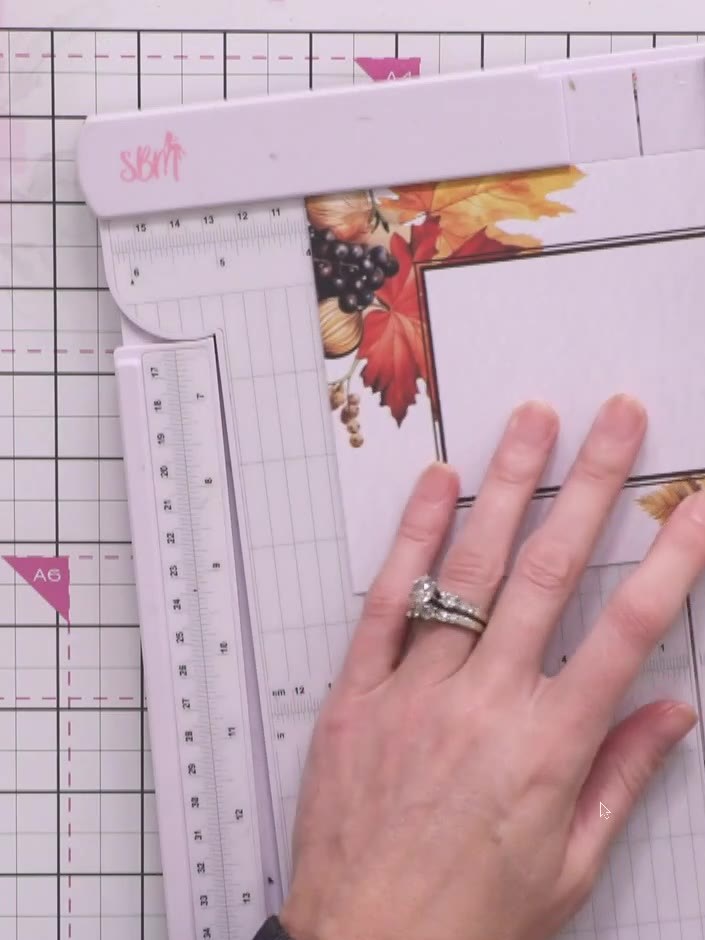
Score one of the card blanks from the kit in half lengthways using a scoring tool and ruler. Fold the card along the scored line to create a crisp centre fold.
▶ ver este paso (22:30)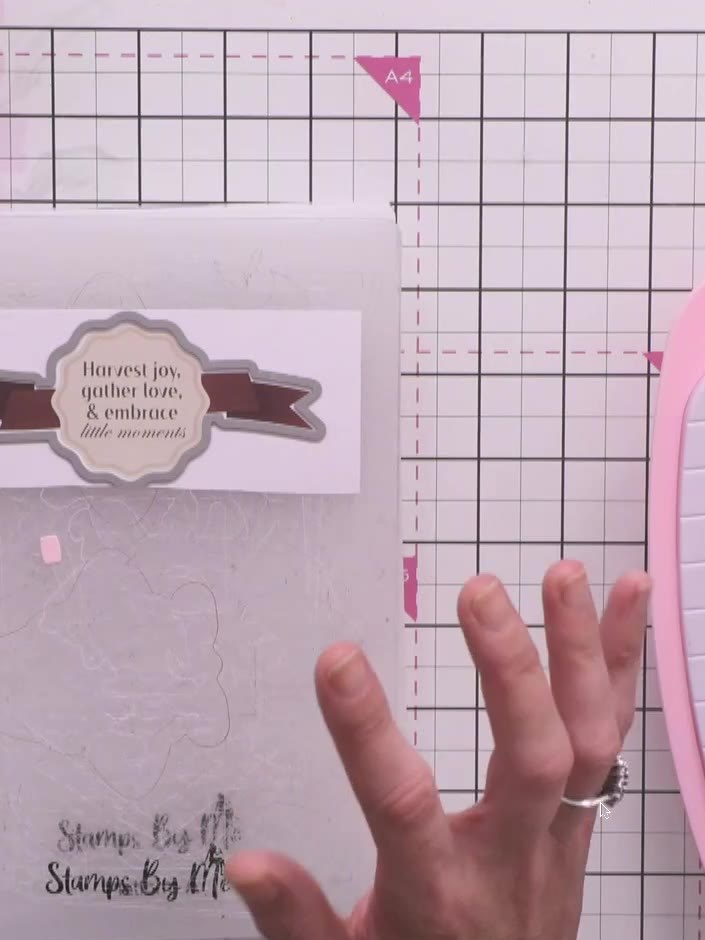
Cut a second piece of white card using the die from the kit to create a matching shape for the backing layer.
▶ ver este paso (24:15)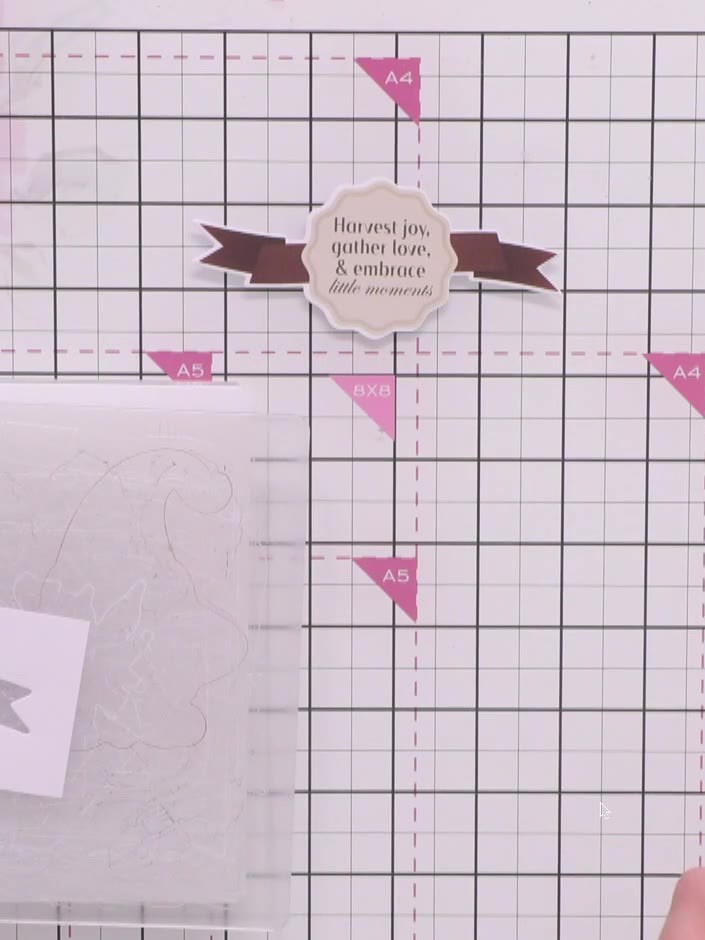
Cut out the centre of the white die-cut piece to create an open window frame. Carefully remove the inner section, leaving the outer frame intact.
▶ ver este paso (25:45)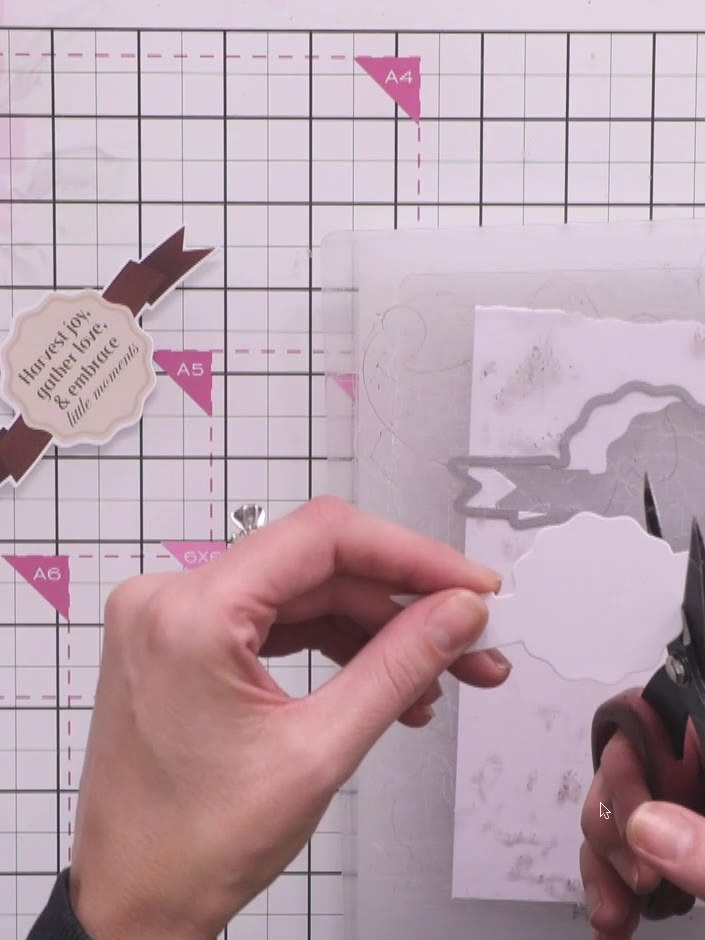
Trim the edges of the white frame piece with scissors to match the scalloped shape of your scored card base.
▶ ver este paso (26:30)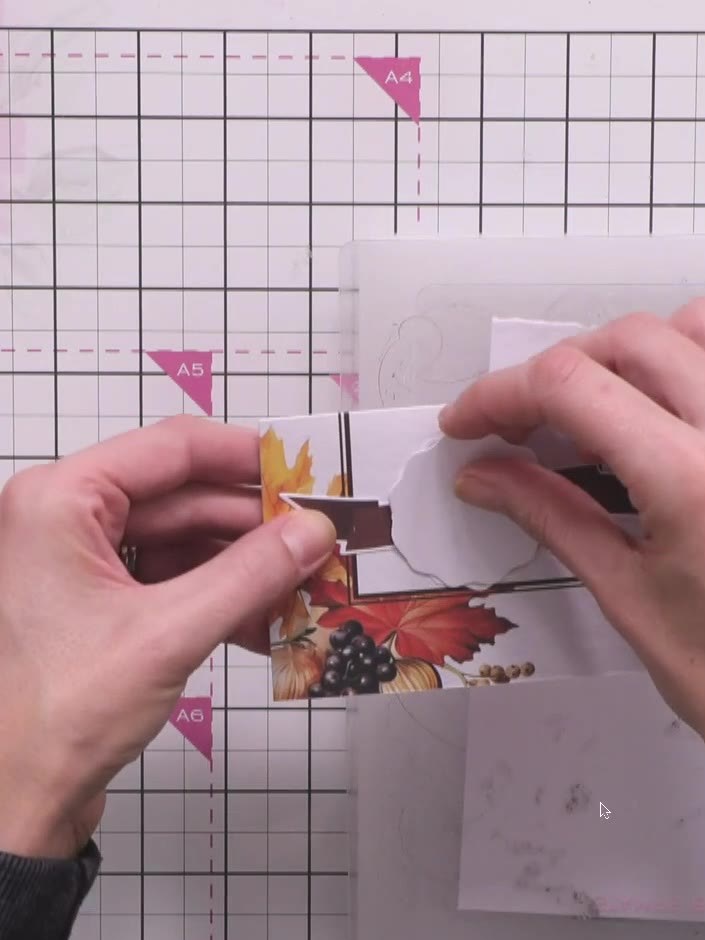
Apply foam pads to the back of the hexagonal frame piece and position it centrally on your scored card base, ensuring it sits neatly over the autumn floral design.
▶ ver este paso (27:00)Redactado a partir del propio programa. Mira todas las guías de nuestros programas · guías paso a paso gratis · mira en vivo en My Telly
