¡Regálales a tus amigos $10 de descuento en su primer pedido!
Recomienda a un AMIGO








 Deal Huntersmar 3 nov 9:00 a. m.
 HSN Inspirationmar 3 nov 1:00 p. m.
 Hidden Gemsmié 4 nov 5:00 a. m.
Los precios cambian al instante. Los idiomas los traduce Google.
Un proyecto de nuestro programa en vivo Thirsty Brush - Acompaña a Emma en unas manualidades de lo más divertidas y sin miedo a ensuciarse, transmitido el 11 feb · 02/11/2022
Create dimensional paper flowers using die-cut elements and layer them onto a decorated candle with ribbon and stamped embellishments. This technique transforms simple die cuts into sculptural flowers by twisting and shaping the pieces.
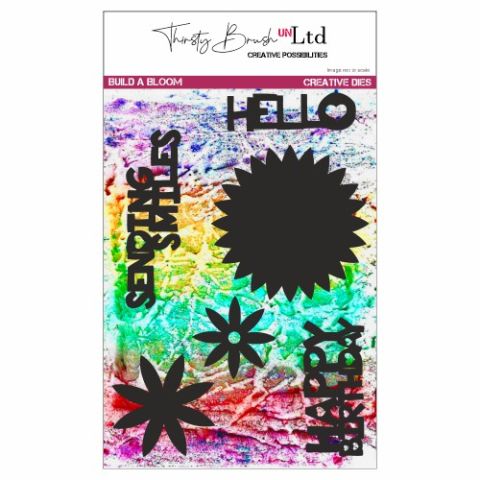
Die-cut the build a bloom flower elements three times each to create multiple layers.
Twist and shape each die-cut layer to create a dimensional, three-dimensional flower form.
Remove the stamen or wire elements from the centre of each flower.
Wrap ribbon or twine around the candle to create a decorative band.
Use a hot glue gun to attach the dimensional flowers to the ribbon on the candle.
Die-cut the fancy flowers design and fold it in half to create a decorative accent.
Stamp words or sentiments onto white card and layer them onto black card for contrast.
Attach the stamped sentiment to the candle decoration using glue.
Comparte tu proyecto con la comunidad de Stamps By Me - y guarda esta guía para la próxima vez.
Escrito a partir del propio programa. Todas las guías de nuestros programas · guías gratis · en vivo en My Telly · el diseño anterior