¡Regálales a tus amigos $10 de descuento en su primer pedido!
Recomienda a un AMIGO








Un proyecto de nuestro programa en vivo HSN Item 811158 - Embossing Folders and Dies · 09/26/2022 · velo desde 1:45
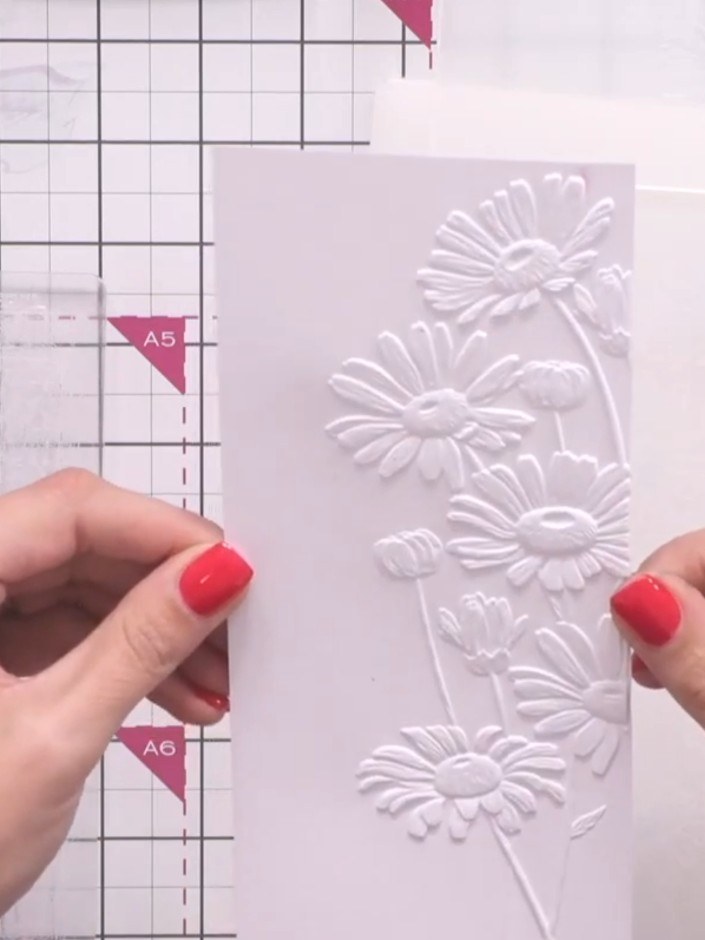
Create a striking card featuring a beautiful daisy meadow design with dimensional appeal. This elegant project combines embossing and selective inking techniques on white cardstock, then uses die-cutting to create a raised 3D topper with crisp, professional edges. The result is a sophisticated card with shop-bought quality that showcases delicate floral details in soft, natural tones.
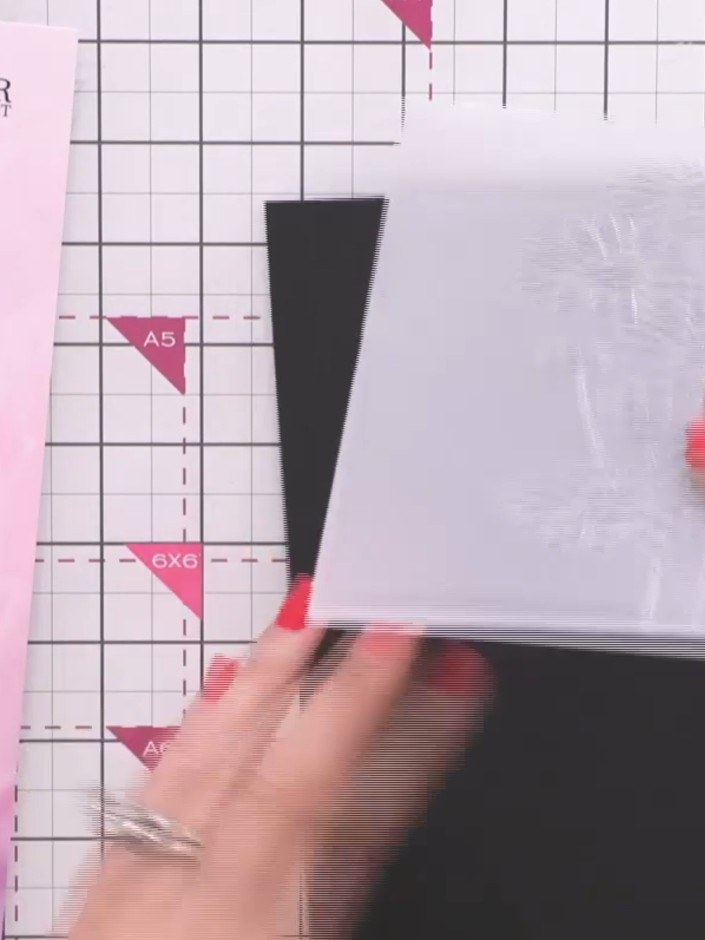
Place a piece of white cardstock inside the centre of the Daisy Meadow embossing folder.
▶ ver este paso (2:15)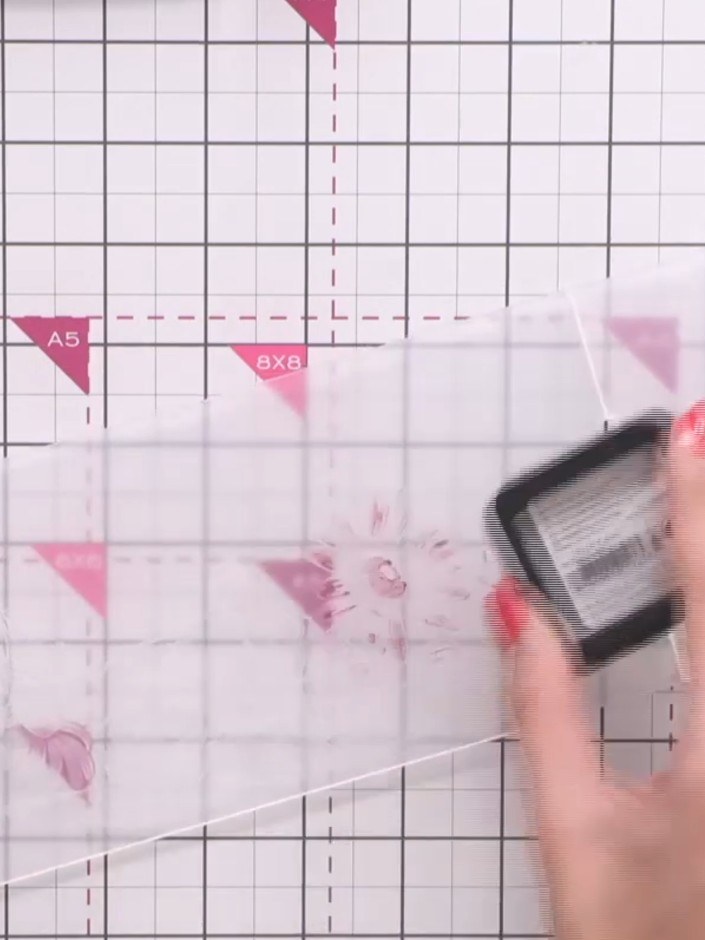
Apply ink to the raised elements of the embossing folder using an ink pad. Select colours of your choice, such as blue and purple tones, to add colour to the embossed design.
▶ ver este paso (2:45)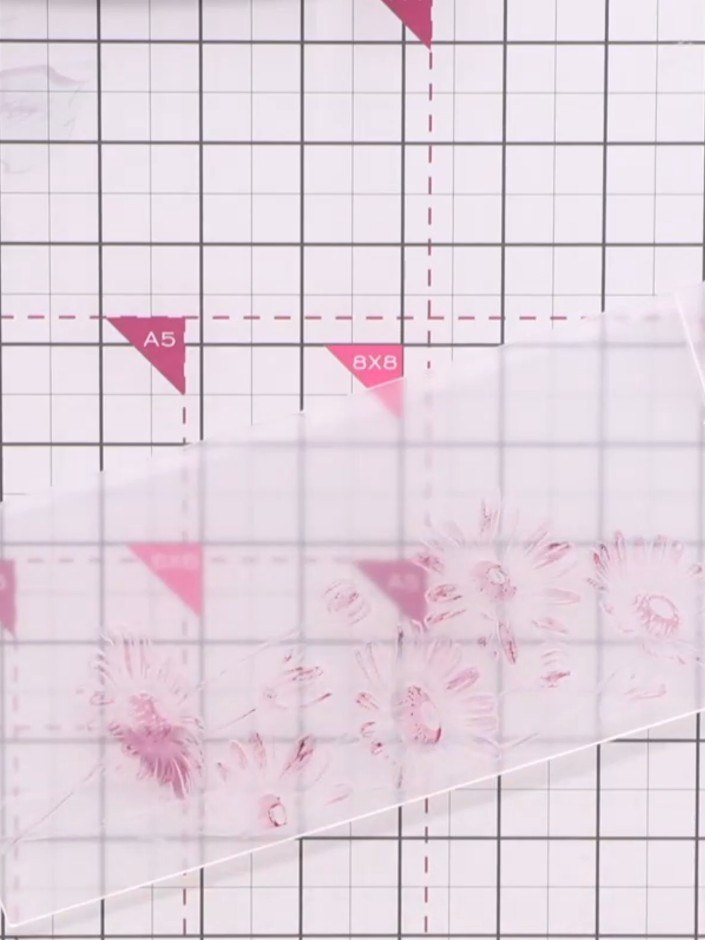
Place the inked cardstock over the daisy design inside the embossing folder, ensuring it is positioned correctly over the pattern.
▶ ver este paso (3:00)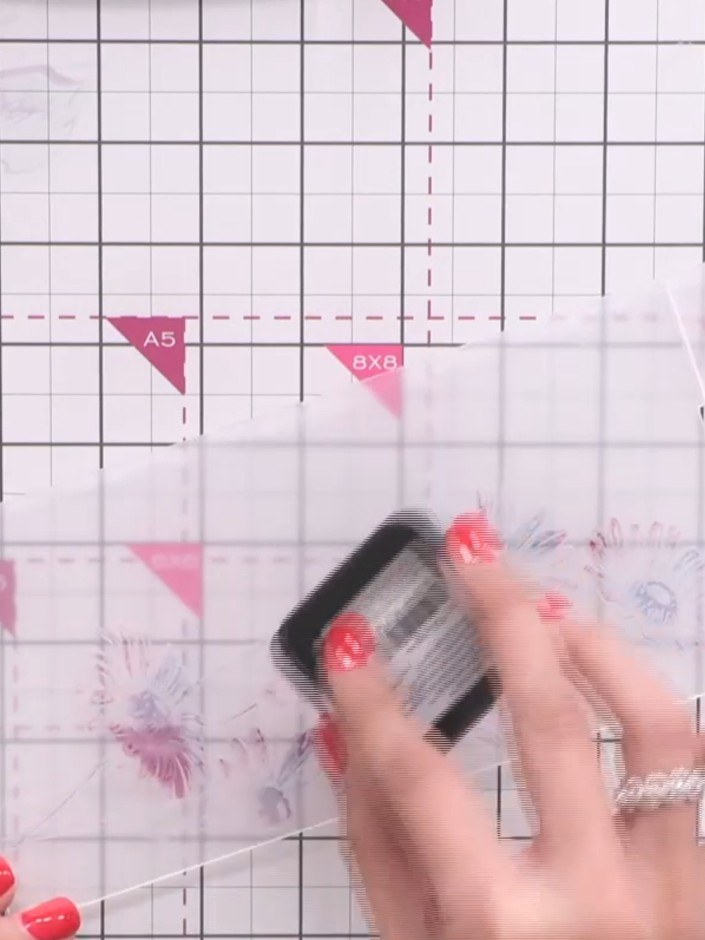
Close the embossing folder and run it through your die-cutting machine using the correct plate recommended by the manufacturer.
▶ ver este paso (3:30)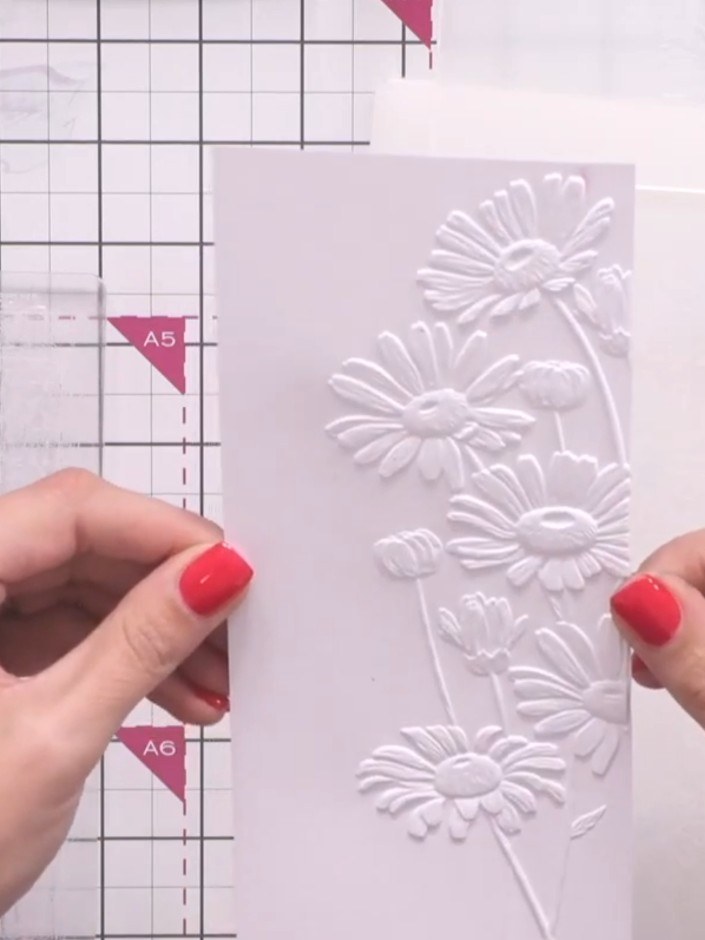
Remove the embossed cardstock from the die-cutting machine. The white cardstock will now show the raised 3D daisy design with the coloured detail visible in the embossed flowers.
▶ ver este paso (4:00)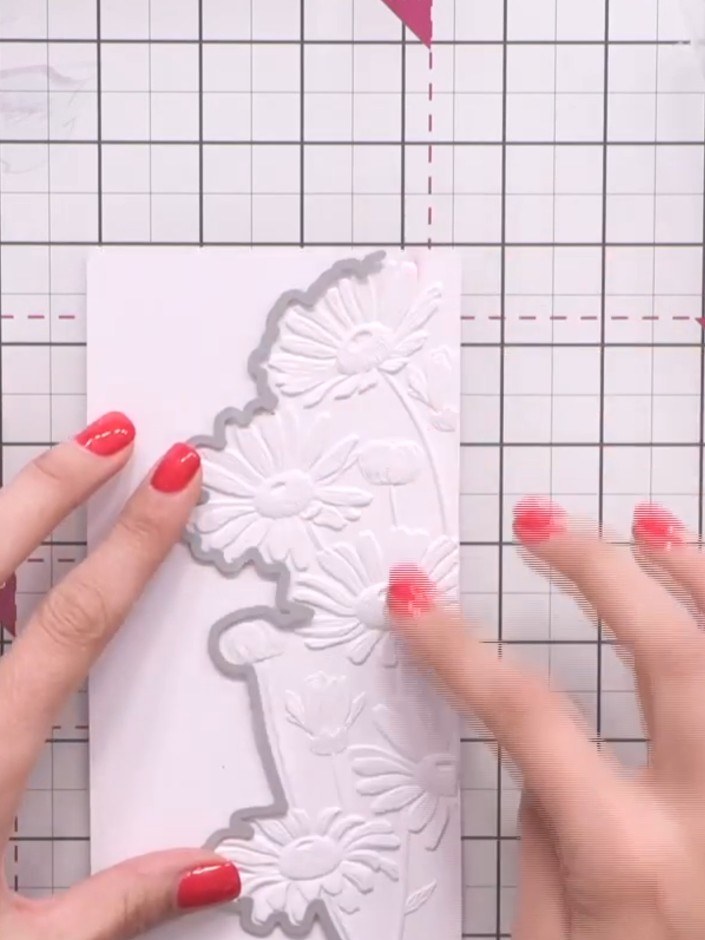
Position the coordinating die around the embossed daisy design on your card to outline the section you wish to cut out.
▶ ver este paso (4:45)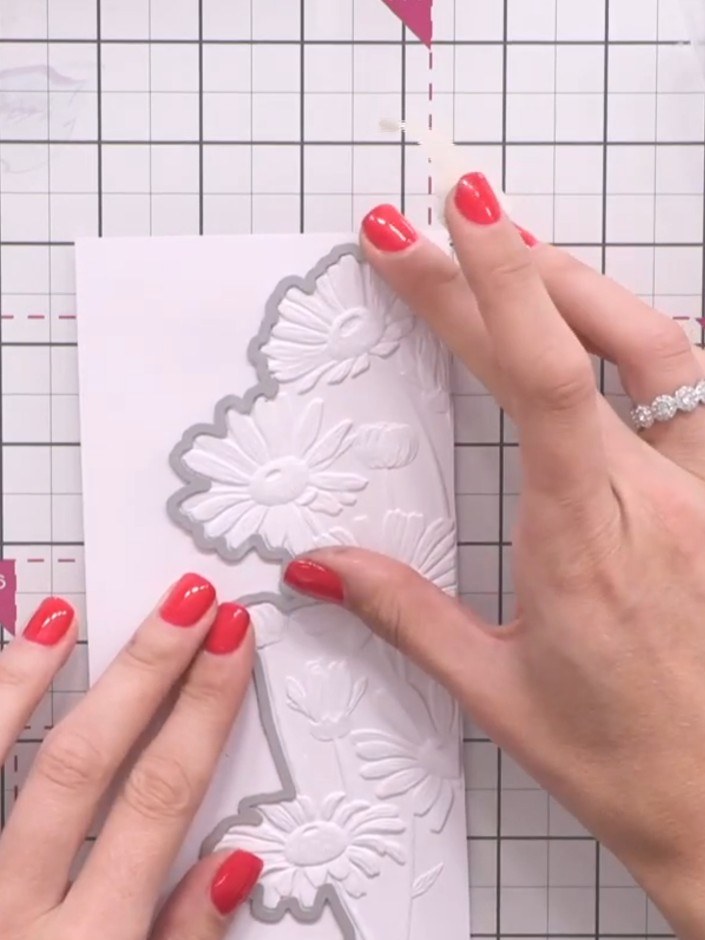
Run the embossed cardstock and die through your cutting machine to cut out the design with a clean, precise edge.
▶ ver este paso (5:00)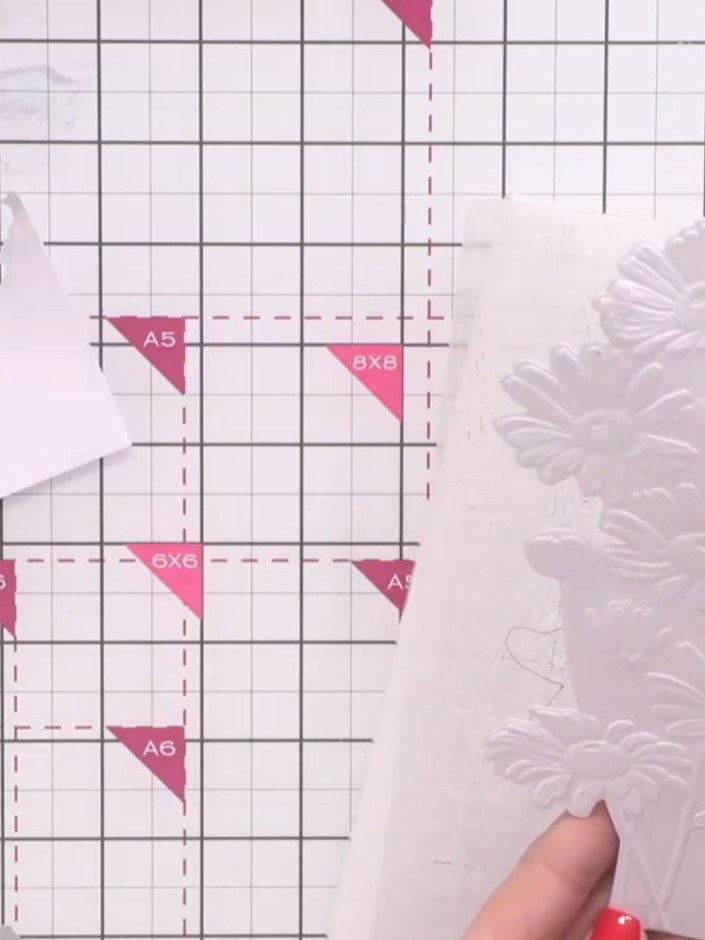
Carefully remove the die-cut embossed daisy topper from the white cardstock, leaving the bottom edge attached to keep the flowers aligned.
▶ ver este paso (5:45)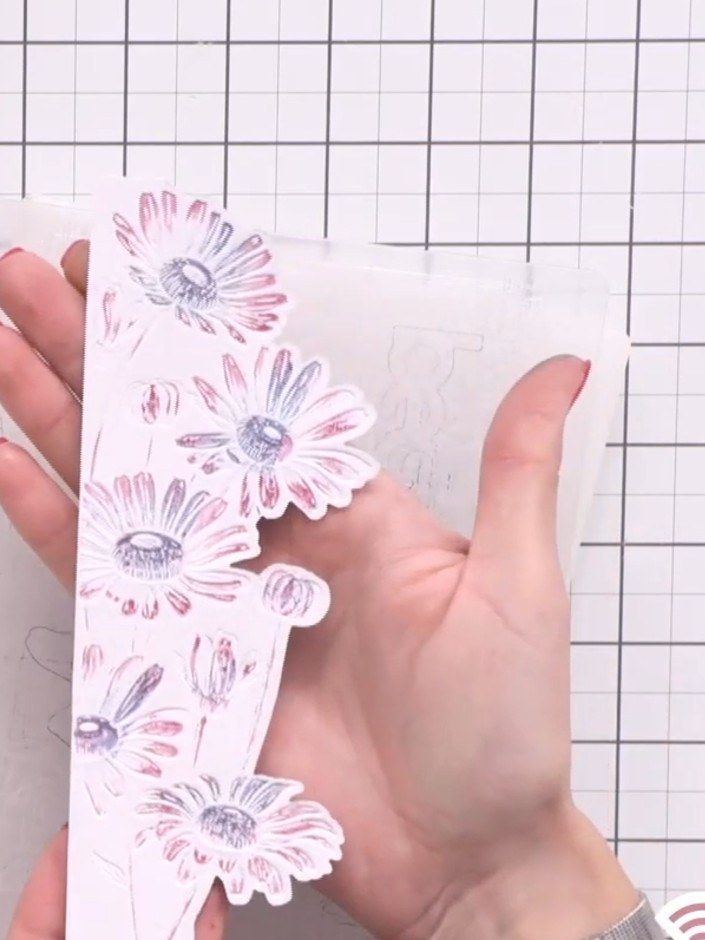
Adhere foam pads to the back of the die-cut daisy topper to create dimension.
▶ ver este paso (6:00)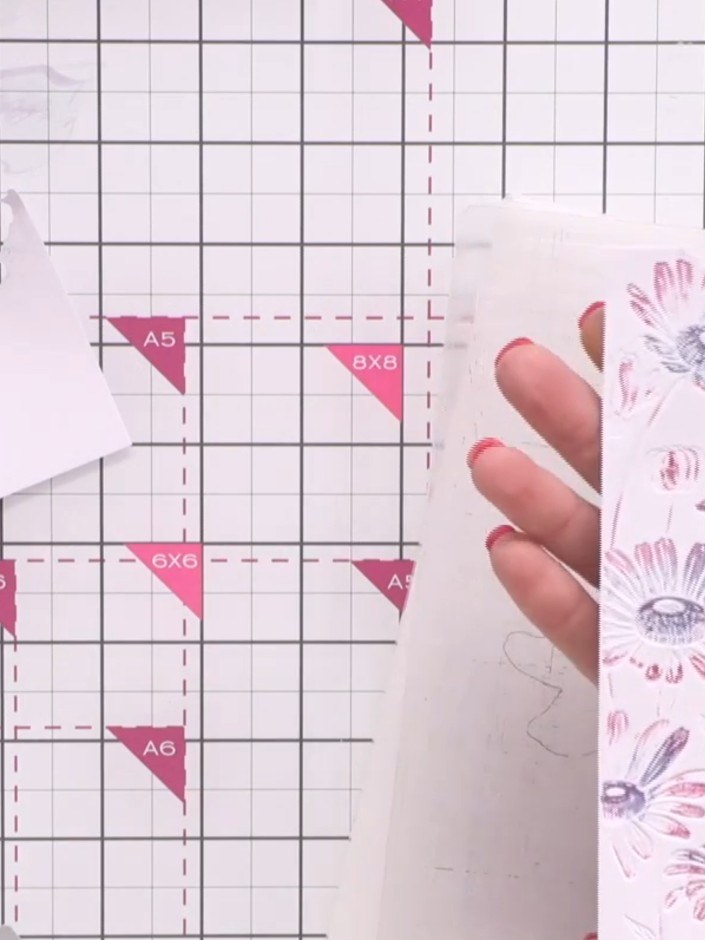
Attach the dimensional topper to your card base using foam pads or adhesive to complete the design. Position it centrally on the card front to create an elevated, eye-catching focal point.
▶ ver este paso (6:15)Redactado a partir del propio programa. Mira todas las guías de nuestros programas · guías paso a paso gratis · mira en vivo en My Telly