¡Regálales a tus amigos $10 de descuento en su primer pedido!
Recomienda a un AMIGO








Un proyecto de nuestro programa en vivo HSN Item 811137 - Live Your Story, My Sunshine · 09/26/2022 · velo desde 1:00
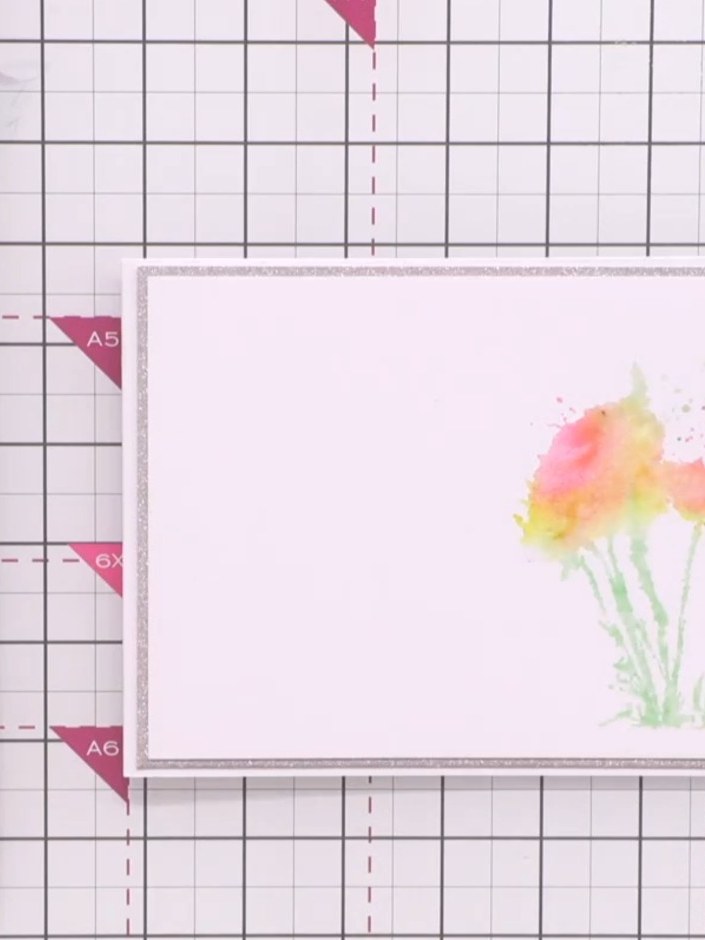
Create a beautiful landscape card using a two-part lamination stamp technique that produces a realistic watercolour finish. The design features layered colours in coral pink, yellow and green that blend together to look like hand-painted flowers, with a delicate outline stamp adding detail and definition. The finished card is mounted on a silver glitter mat for an elegant touch.
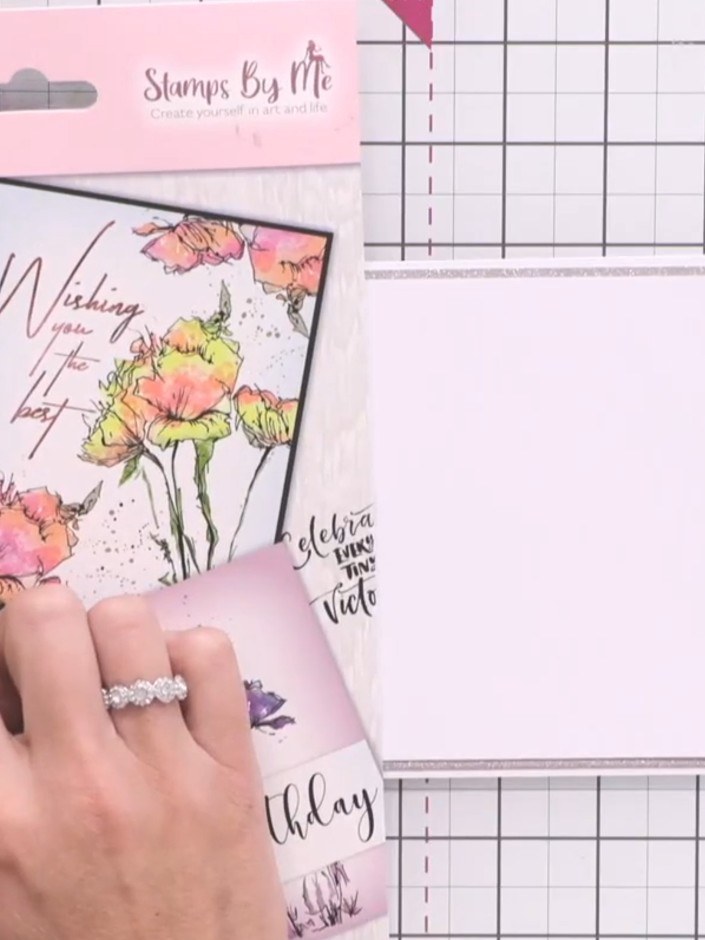
Examine your stamp set and identify the two parts: the solid stamp element used for adding colour and the outline stamp element used for adding detail and definition.
▶ ver este paso (1:15)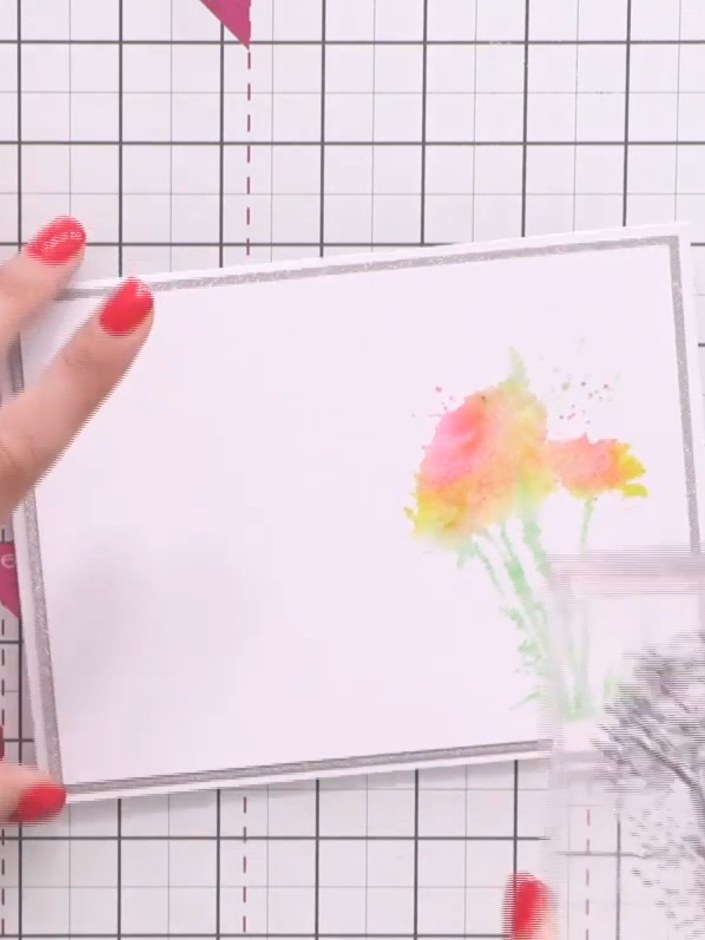
Apply yellow ink to the top portion of the solid stamp where you want the sky colour to appear.
▶ ver este paso (1:30)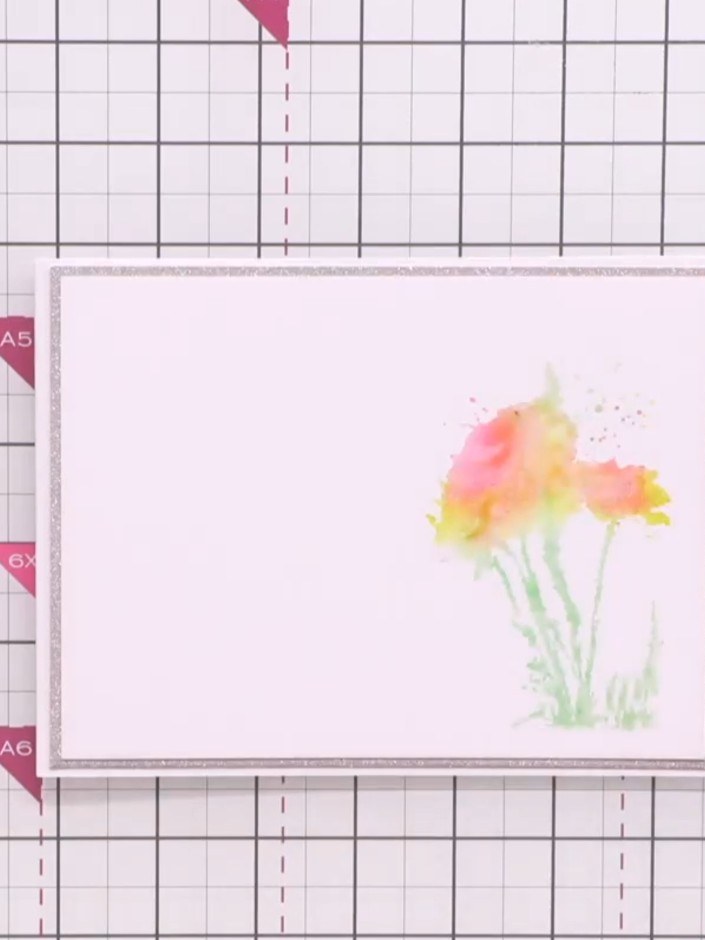
Apply pink ink to the middle section of the stamp, blending it with the yellow already applied.
▶ ver este paso (1:45)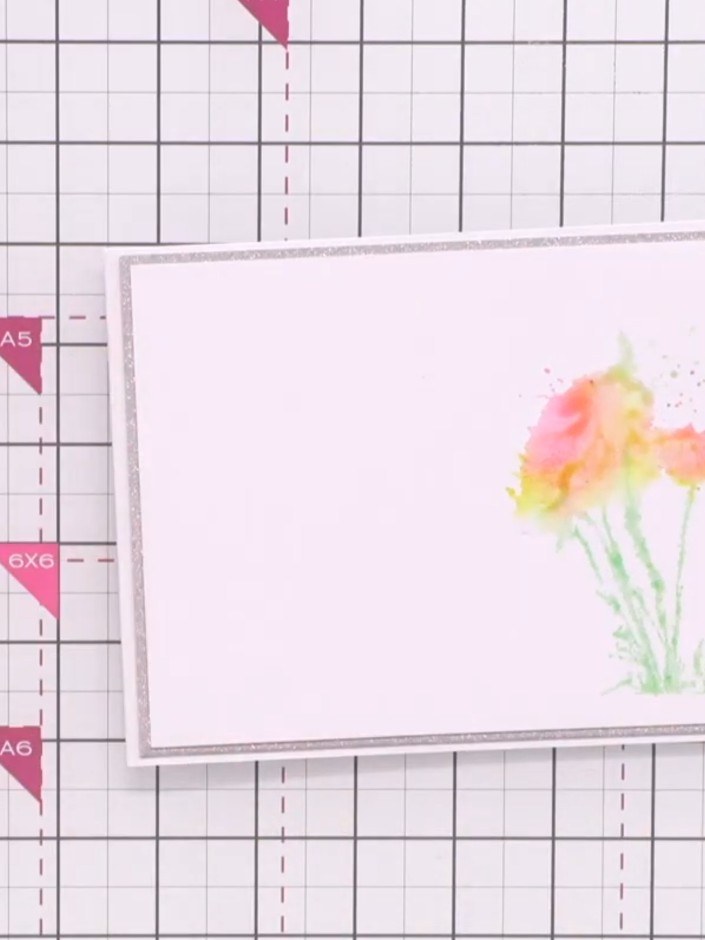
Apply green ink to the base of the floral stamp to create the landscape stems and foliage at the bottom of the design.
▶ ver este paso (2:00)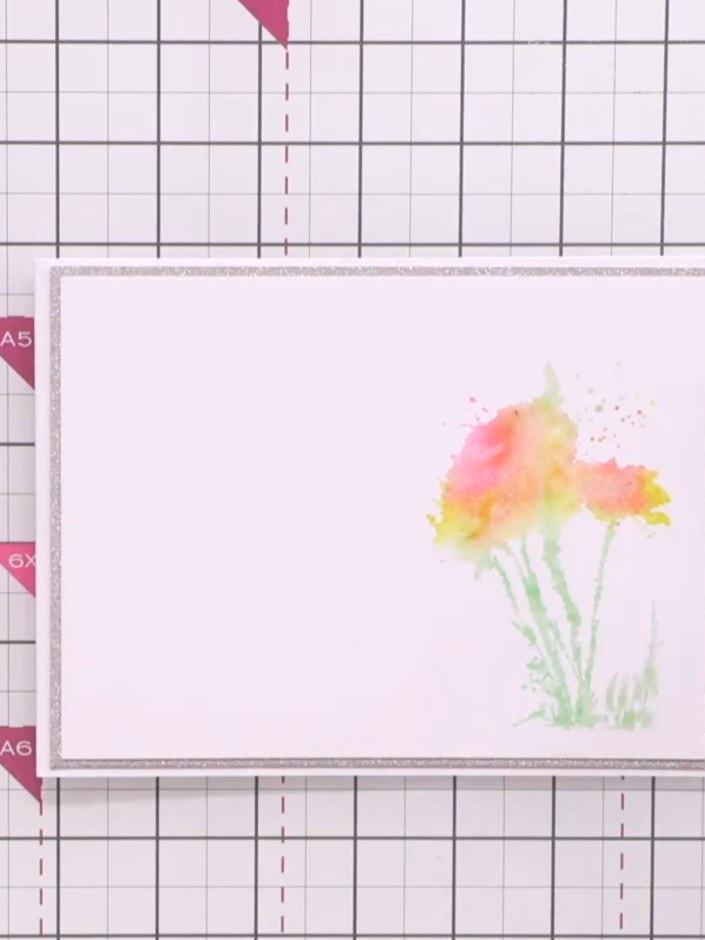
Spray water onto the stamped image to help blend the colours together naturally and create a soft watercolour effect.
▶ ver este paso (2:15)
Press the wet, coloured stamp firmly onto your white cardstock to transfer the watercolour blended flower design. Ensure even pressure for a clear impression.
▶ ver este paso (2:30)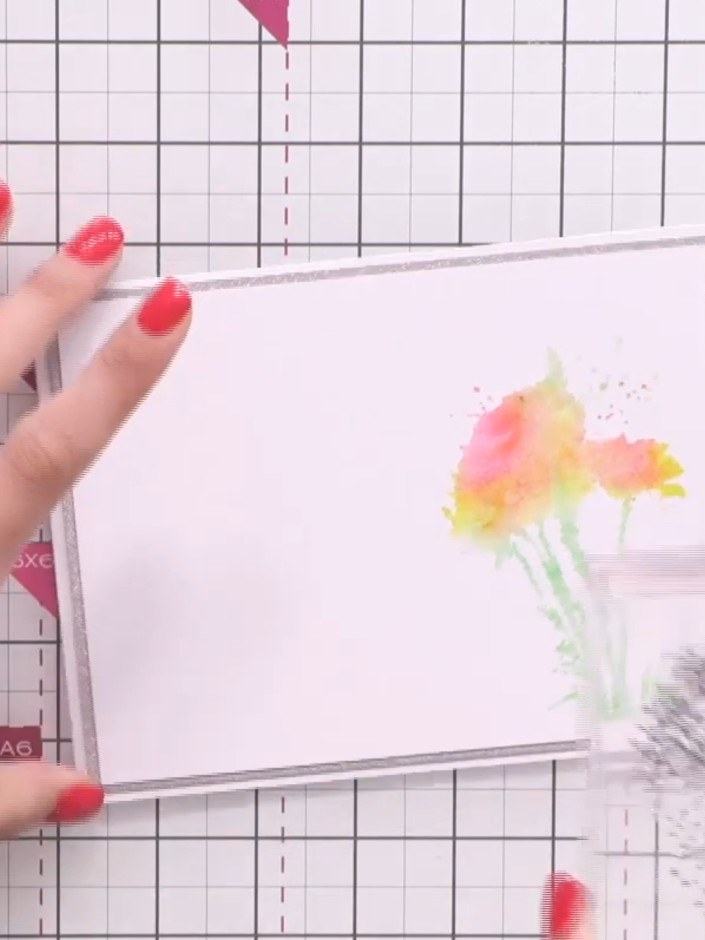
Stamp the outline floral image from the collection over your watercoloured design using black ink to add detail and definition to the flowers.
▶ ver este paso (2:45)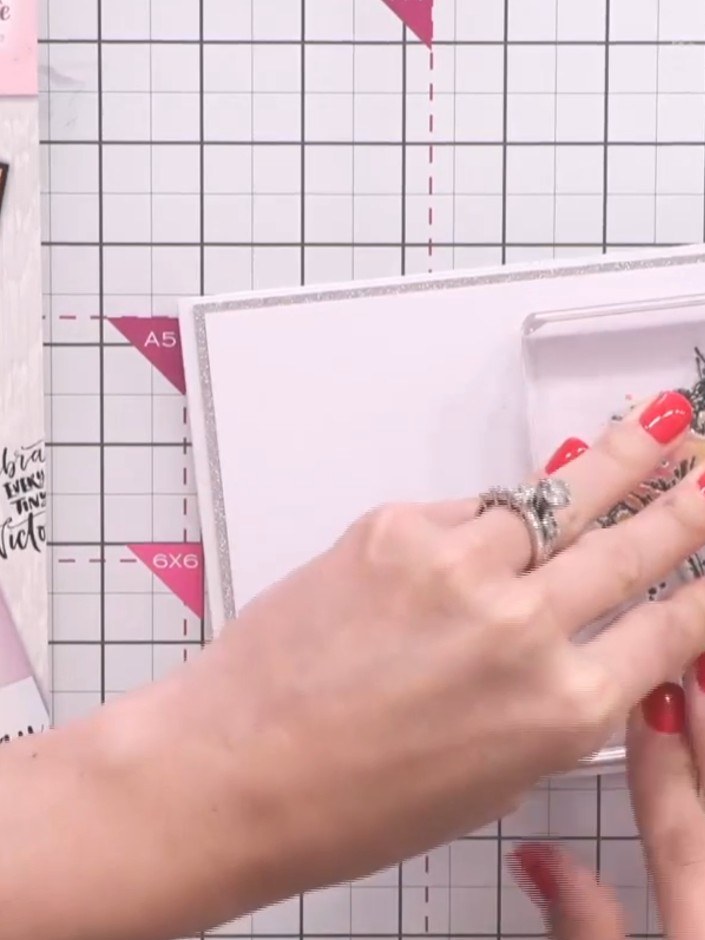
Select a sentiment stamp from the set and position it within or near your watercolour artwork. Place the stamp where it complements your design and press firmly to ensure a clear impression.
▶ ver este paso (3:15)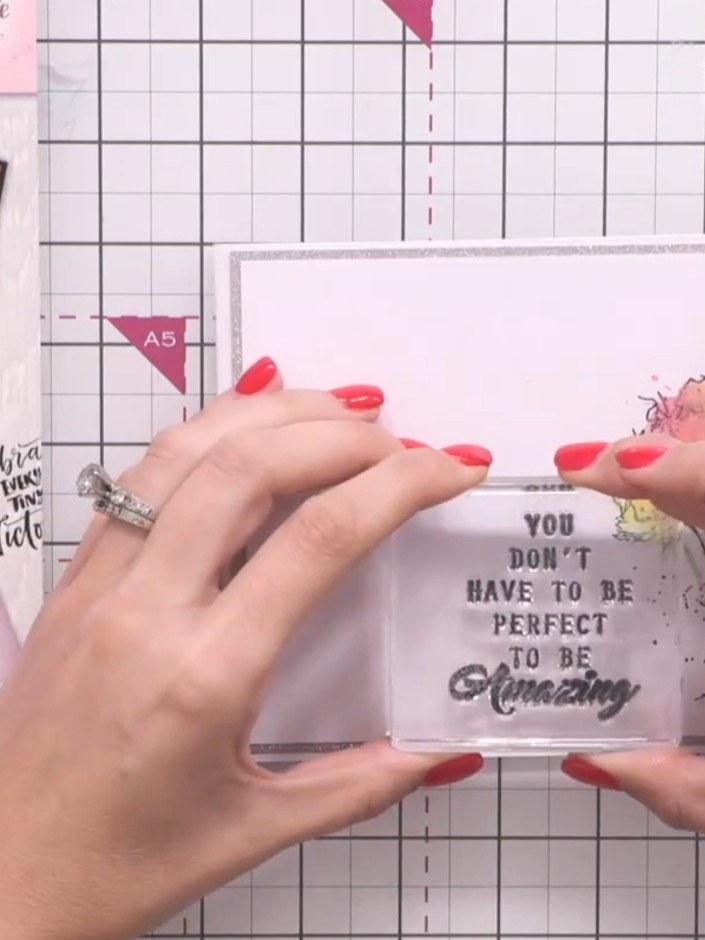
Stamp your chosen sentiment from the set onto the card front using black ink. Position the sentiment centrally on the card to complete your design.
▶ ver este paso (3:45)Redactado a partir del propio programa. Mira todas las guías de nuestros programas · guías paso a paso gratis · mira en vivo en My Telly