¡Regálales a tus amigos $10 de descuento en su primer pedido!
Recomienda a un AMIGO








Un proyecto de nuestro programa en vivo FRIDAY LAUNCH - Acompaña a Toni con sus productos más nuevos y demostraciones - Transmitido el 30 de septiembre 22 · 09/30/2022 · velo desde 32:00
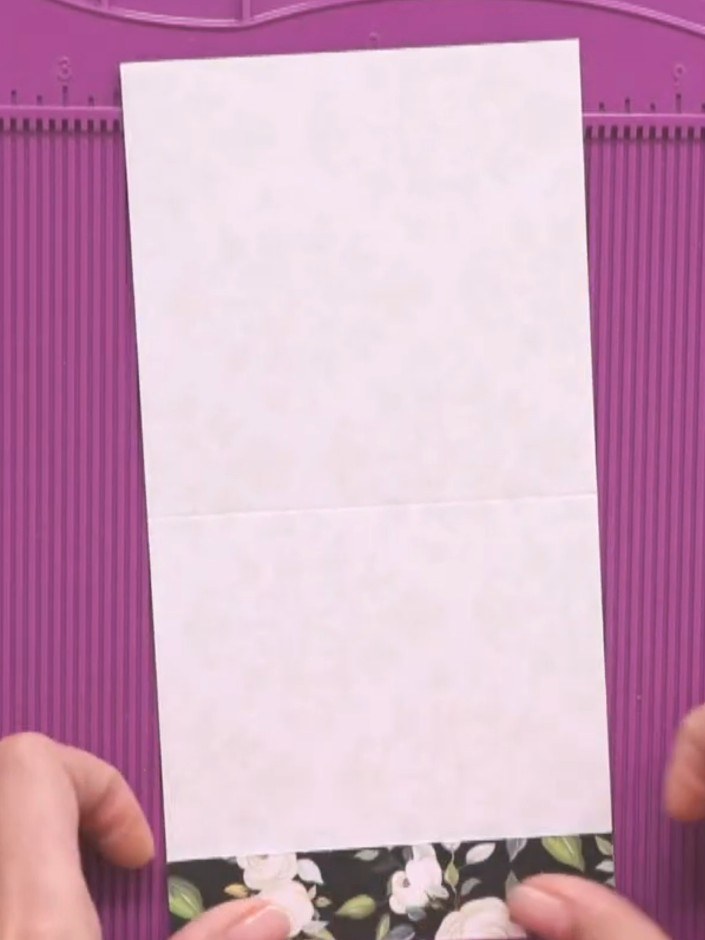
Create an interactive tunnel pocket page insert for your scrapbook album featuring elegant white florals on a black background. This clever design includes a sliding tag mechanism that allows you to display different photos or messages by pulling them through the channel opening. The project combines decorative patterned papers with quote strips and uses simple folding and layering techniques to create the tunnel effect.
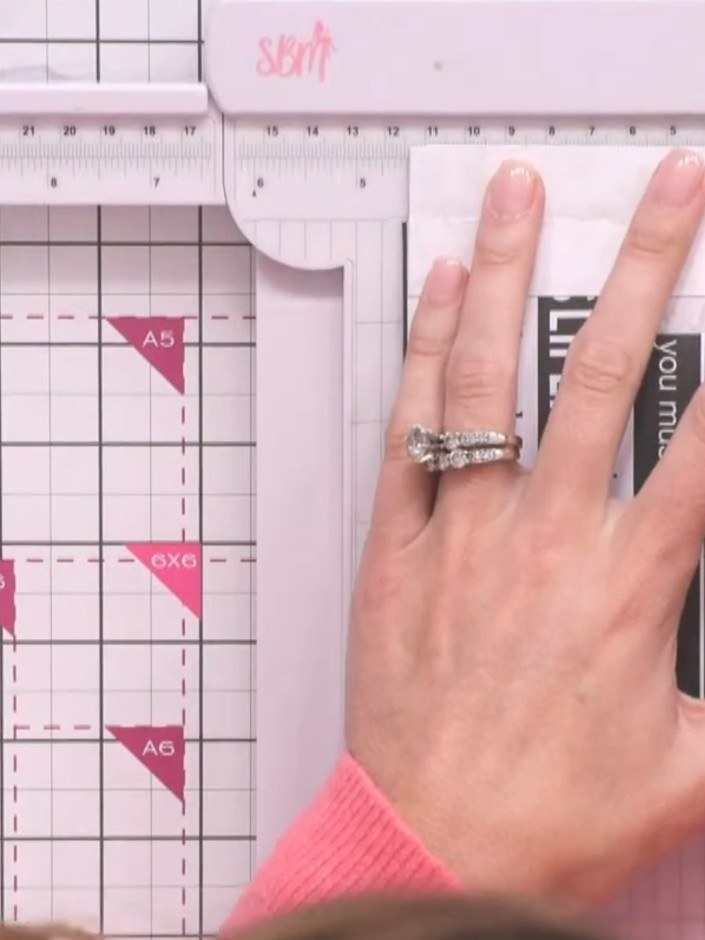
Measure the width of your album's hinge using a ruler to determine the tunnel width needed (approximately 1.5 inches or 4 cm).
▶ ver este paso (32:00)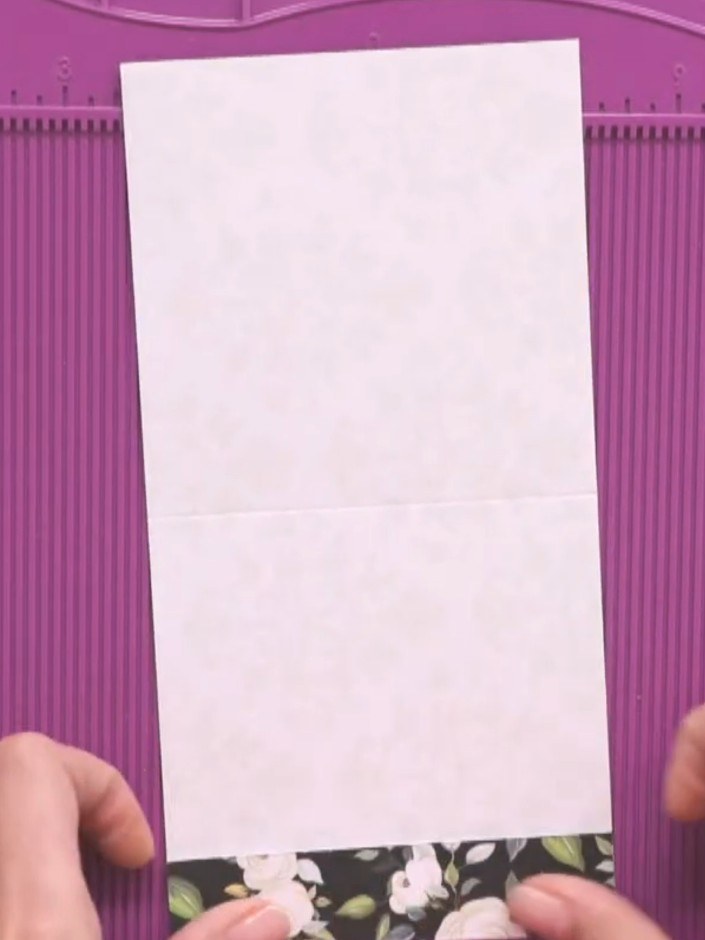
Cut a piece of white cardstock to fit your album's pocket depth, adding an extra 2.5 cm (1 inch) for the hinge allowance. Position the cardstock on your cutting mat with a decorative paper strip at the bottom edge.
▶ ver este paso (32:15)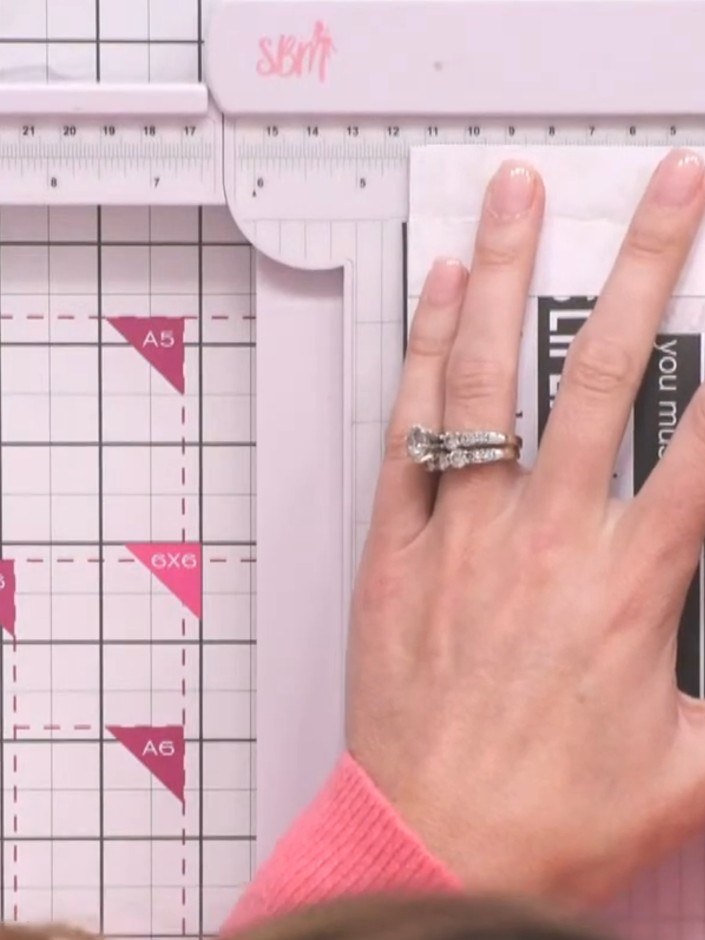
Score the pink card at 4.5 inches on each side using a ruler and scoring tool to mark where the tunnel opening will be positioned.
▶ ver este paso (32:30)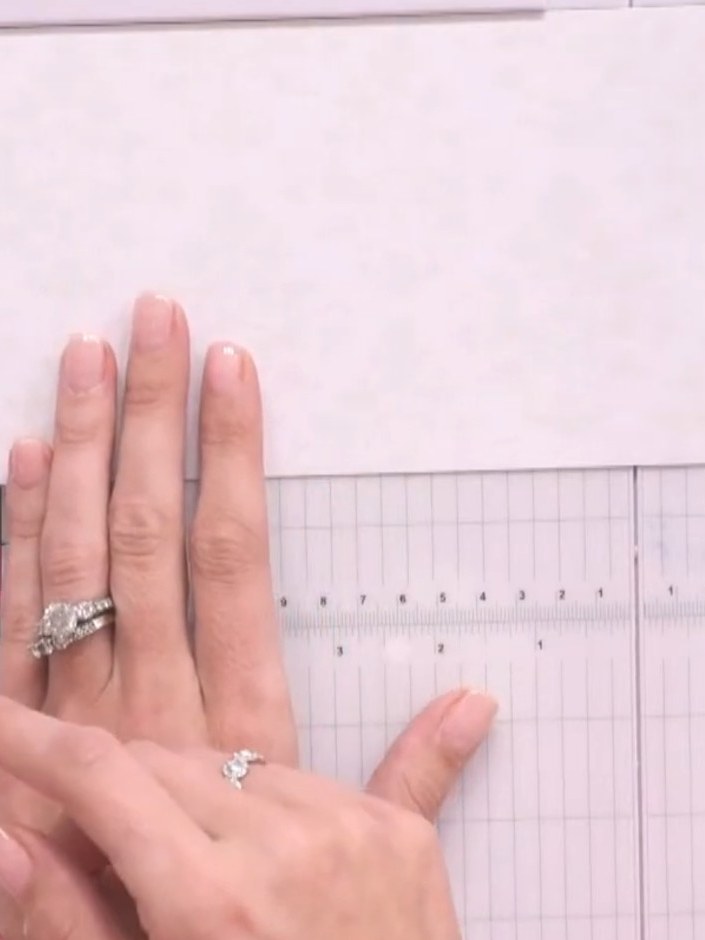
Score a line approximately 1 inch (2.5 cm) from the fold on your white cardstock to create the tunnel channel walls.
▶ ver este paso (33:00)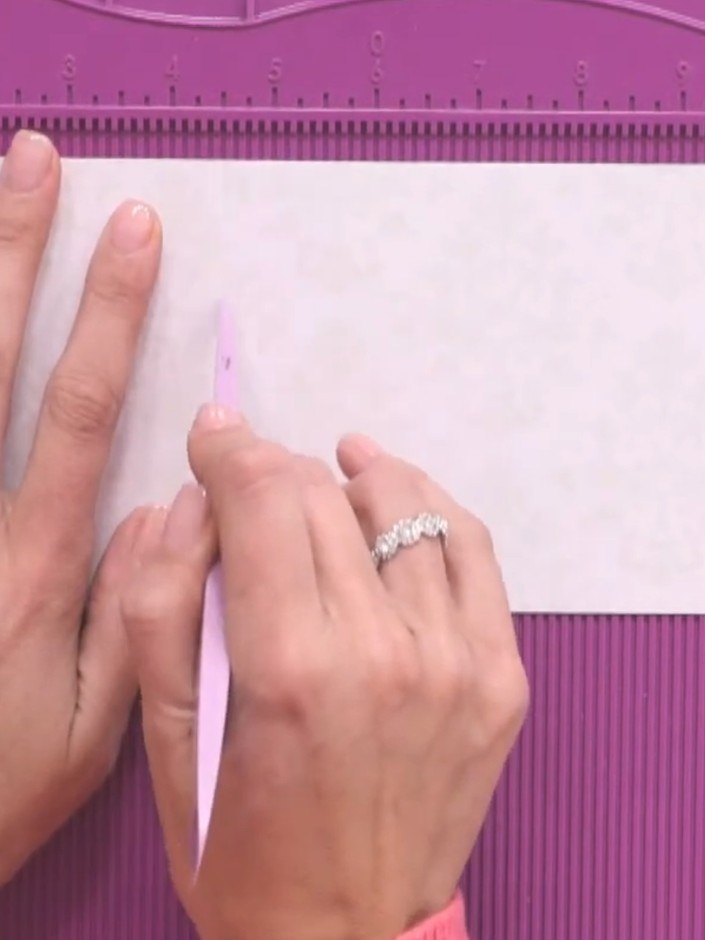
Use scissors to taper the edges of the tunnel opening on the white card panel. This removes bulk and ensures the tags will slide smoothly through the tunnel.
▶ ver este paso (33:30)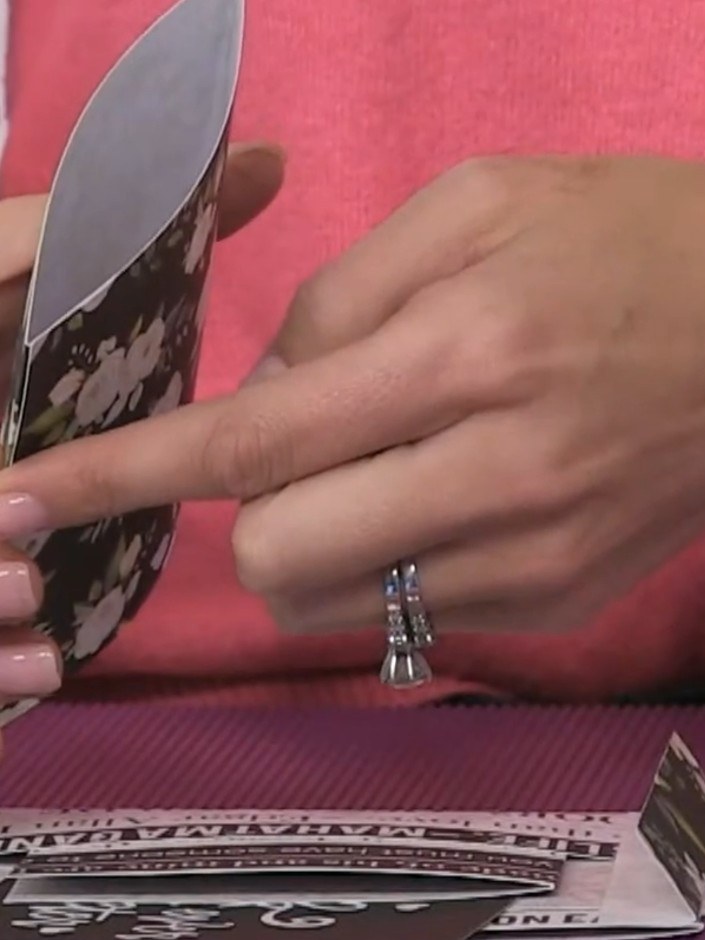
Adhere the tunnel page to the album's hinge using tape, ensuring the opening faces outward. Press firmly to secure the connection.
▶ ver este paso (34:00)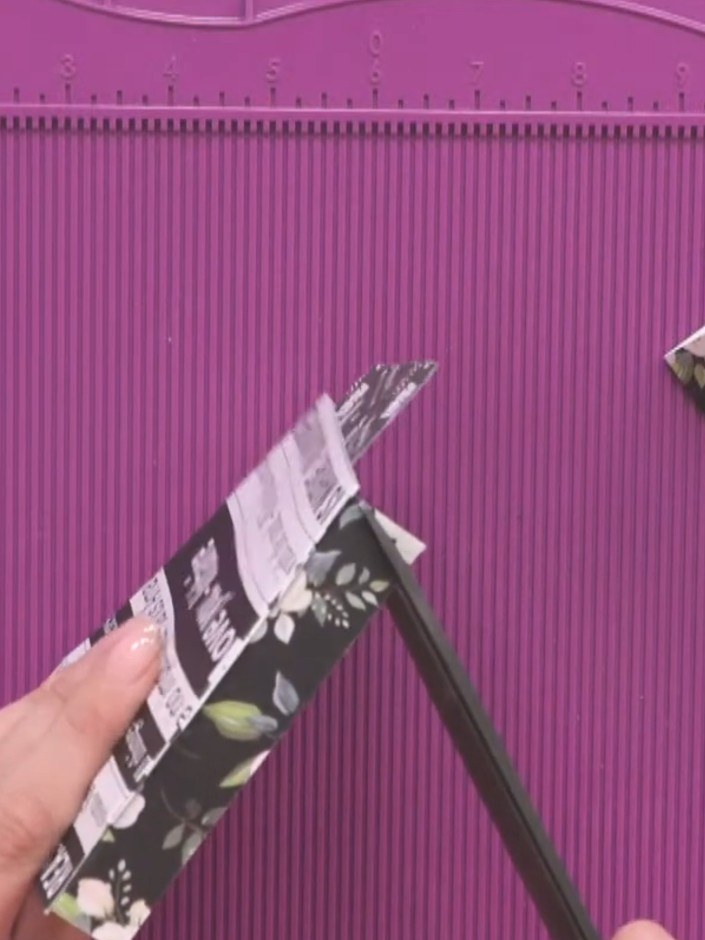
Test-fit your tags or cards through the tunnel pocket to ensure they slide freely without catching on the edges.
▶ ver este paso (34:30)Redactado a partir del propio programa. Mira todas las guías de nuestros programas · guías paso a paso gratis · mira en vivo en My Telly