¡Regálales a tus amigos $10 de descuento en su primer pedido!
Recomienda a un AMIGO








Un proyecto de nuestro programa en vivo CREATE AND CRAFT - Acompaña a Carley Duff en el programa 1 de lanzamiento de su nueva colección IMALA 22 - Transmitido el 4 OCT 22 · 10/04/2022 · velo desde 57:30
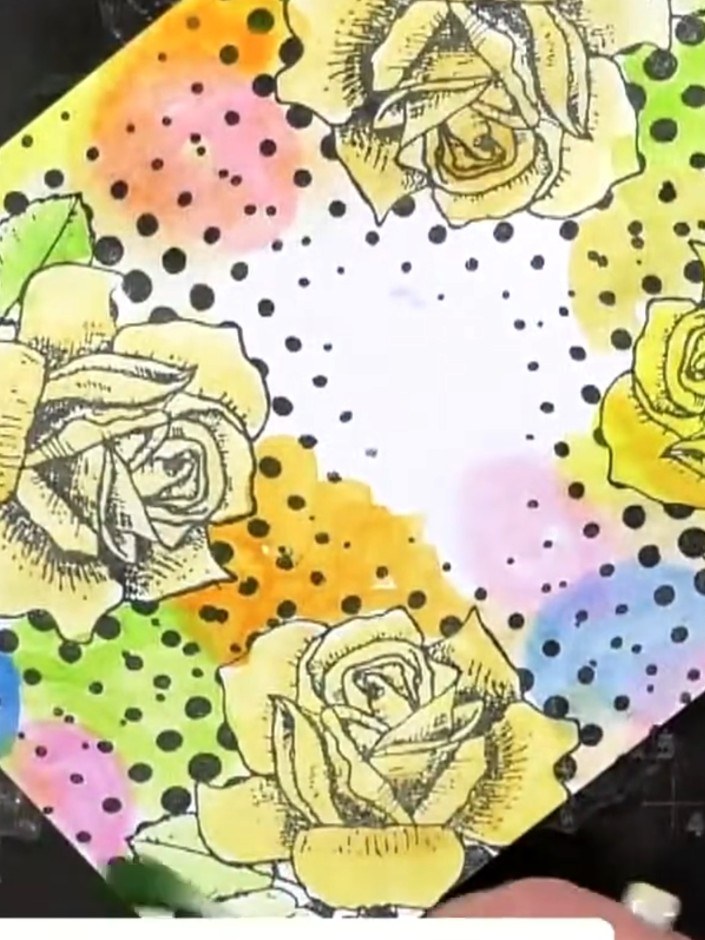
Create a vibrant, modern card background using the wet-on-wet watercolour technique with rainbow colours blending organically across the surface. Random stamped dots in coordinating colours are added to the wet watercolour, creating an artistic, contemporary effect. This loose, expressive technique combines fluid watercolour painting with stamping to produce a unique, eye-catching design featuring roses and polka dots.
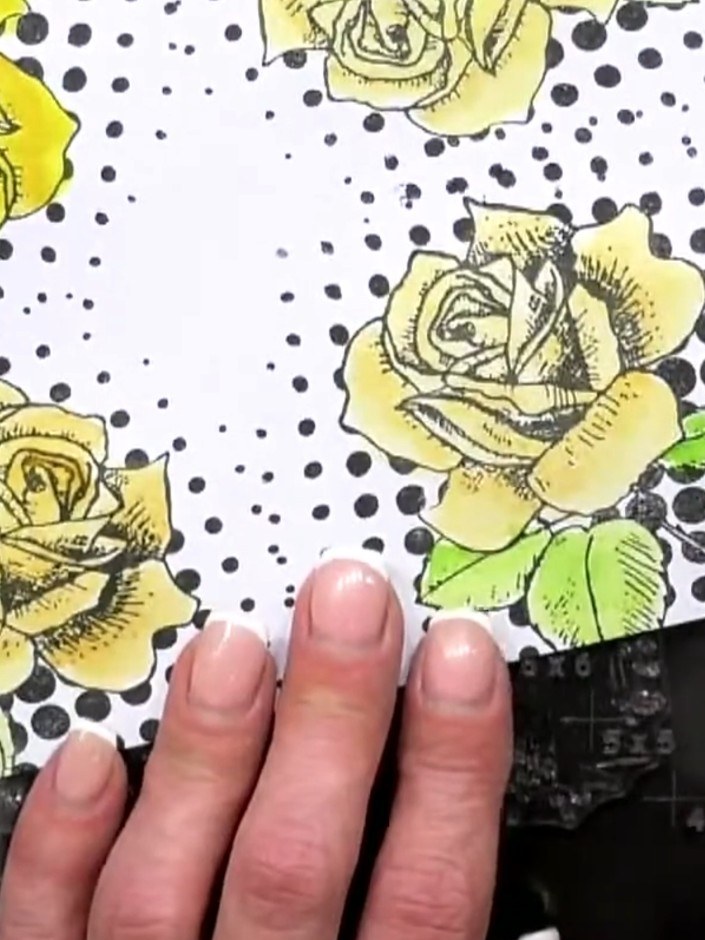
Stamp yellow roses and green leaves onto white cardstock using the IMALA stamp set and black ink. Add a polka dot background pattern using a dotted stamp.
▶ ver este paso (57:30)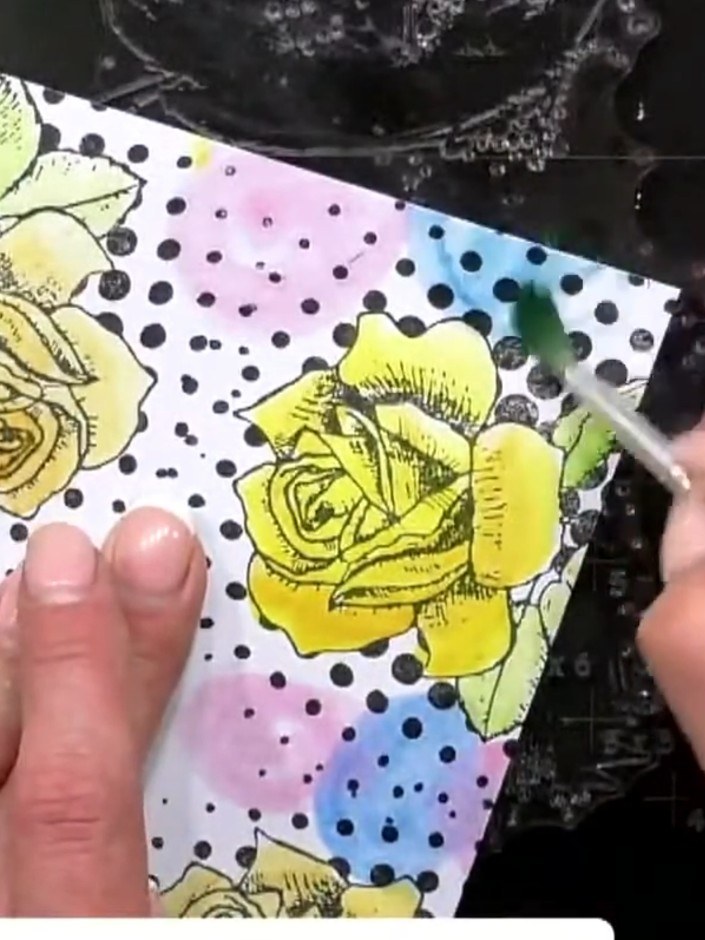
Wet the background area around the stamped roses with clean water using a water brush, avoiding the stamped images themselves.
▶ ver este paso (58:00)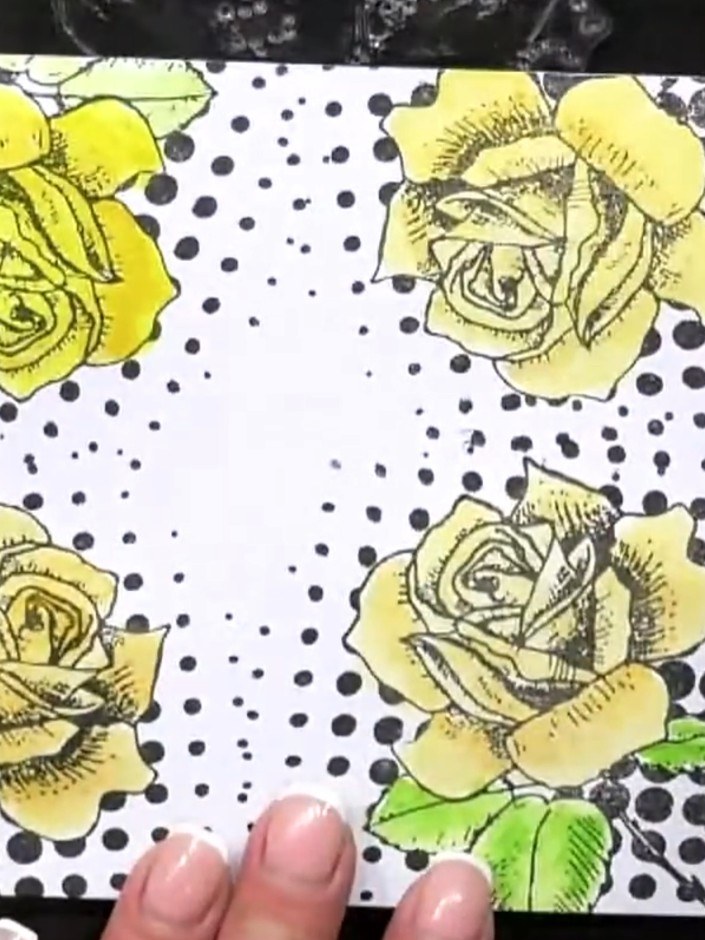
Drop watercolour paint onto the wet surface in various colours including yellow, pink, blue and green, allowing them to blend naturally on the polka dot background.
▶ ver este paso (58:15)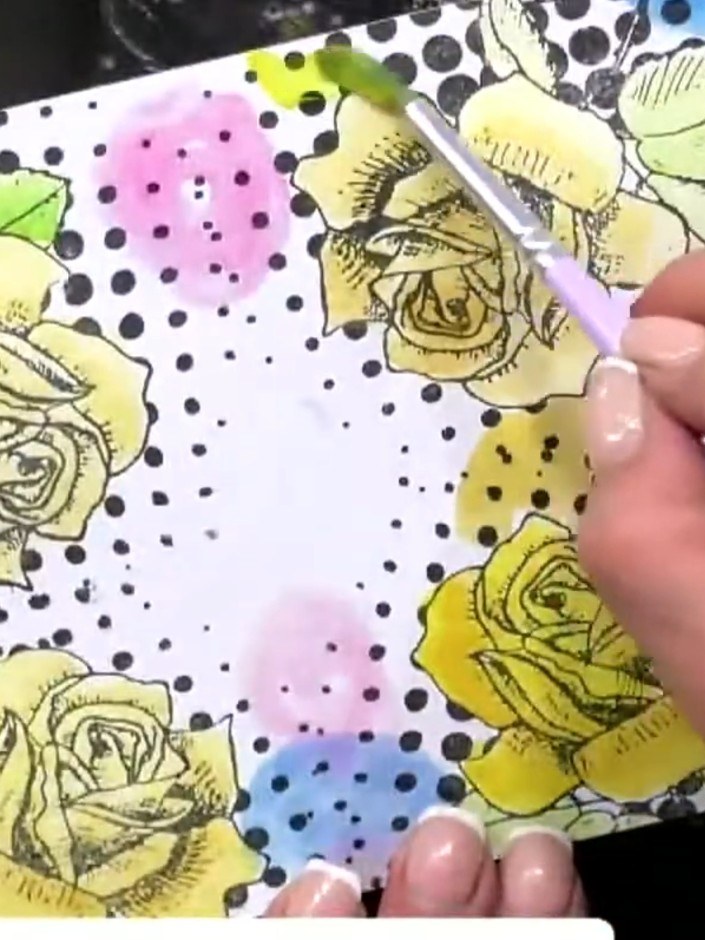
Add more water to the surface using a water brush to encourage the colours to diffuse and create soft edges between the rainbow hues.
▶ ver este paso (59:00)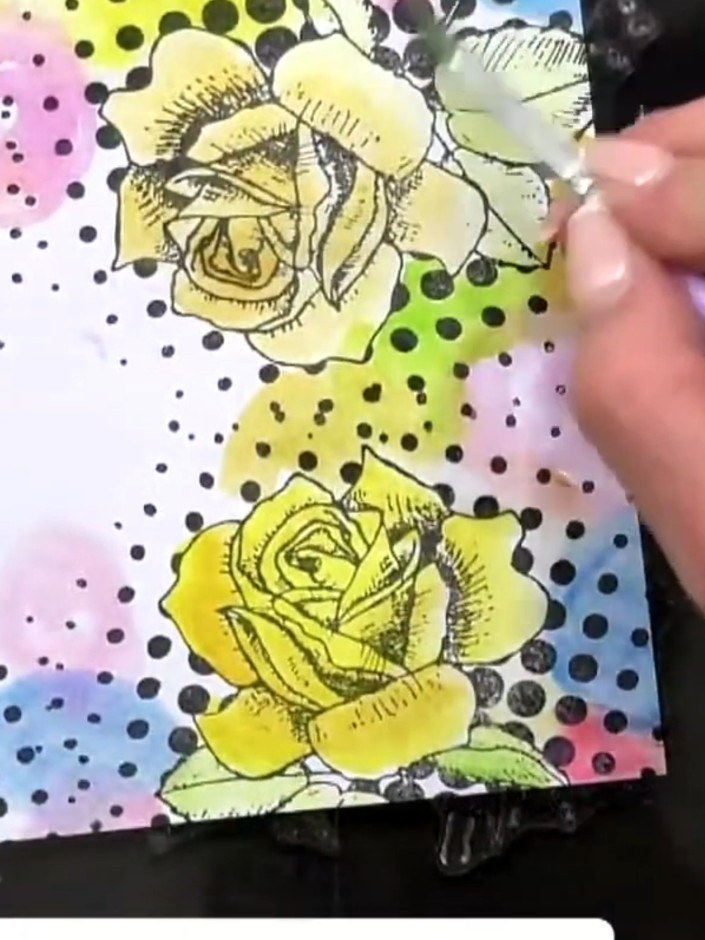
Using a contrasting colour ink (such as black), stamp random circles or dots over the wet watercolour background. Work across the entire surface, varying the placement and size of the dots for visual interest.
▶ ver este paso (59:30)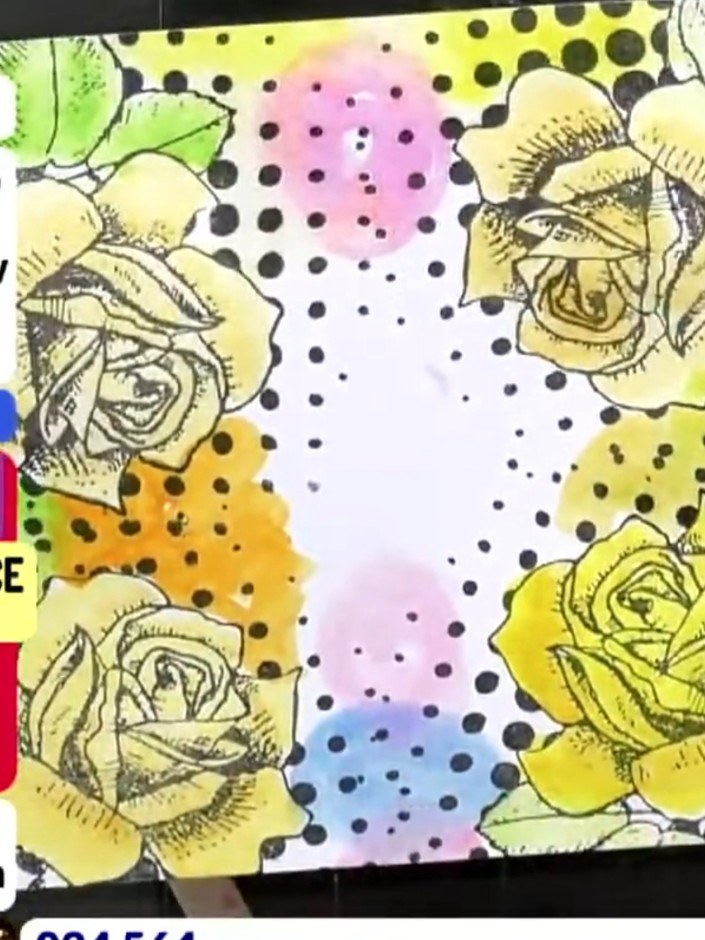
Step back and assess the balance of colour across the entire background. Check that the watercolour washes are evenly distributed and the stamped dots create visual interest throughout the design.
▶ ver este paso (1:00:00)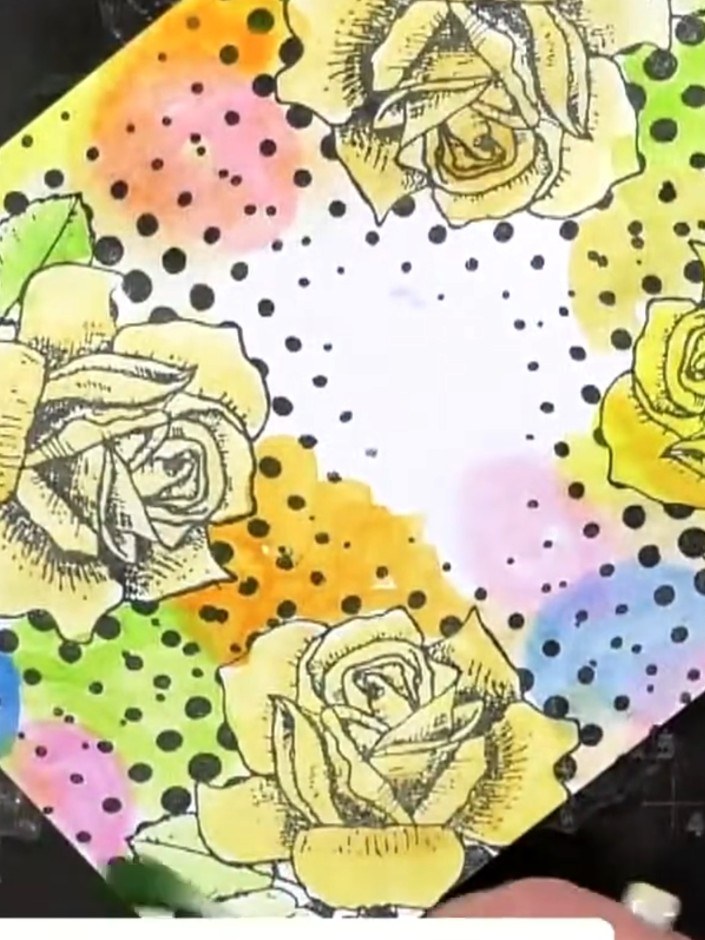
Add additional touches of colour to areas that need more depth or balance. Work the watercolour into the existing wet areas, allowing the colours to blend naturally. Focus on enhancing the rainbow effect around the stamped roses and polka dot background.
▶ ver este paso (1:00:30)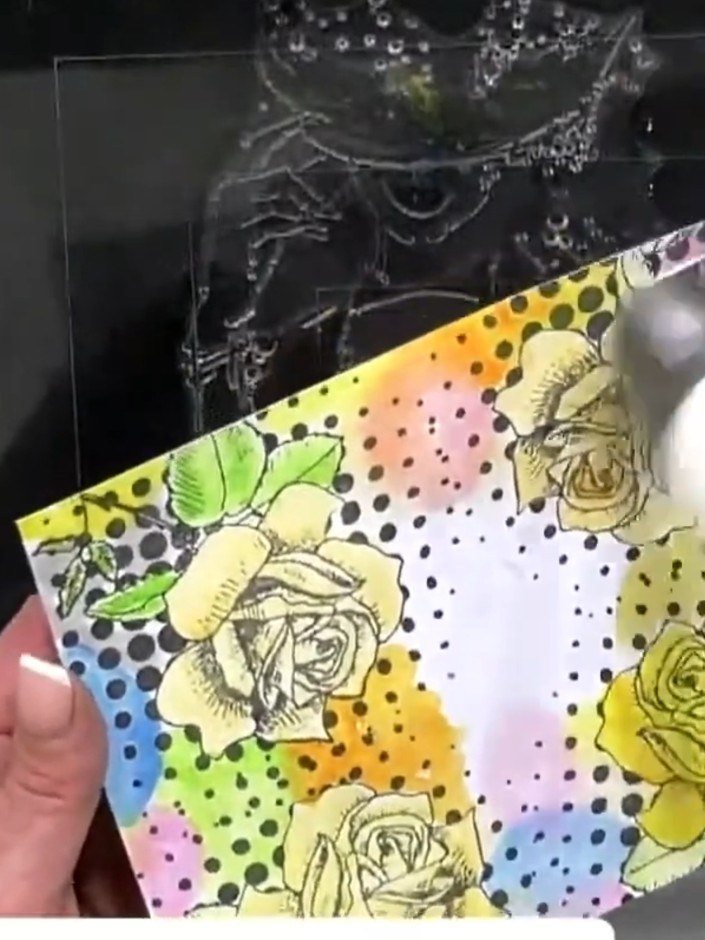
Soften the edges of the watercolour background by adding clean water with a damp brush. Blend gently to create smooth transitions between the colours.
▶ ver este paso (1:01:00)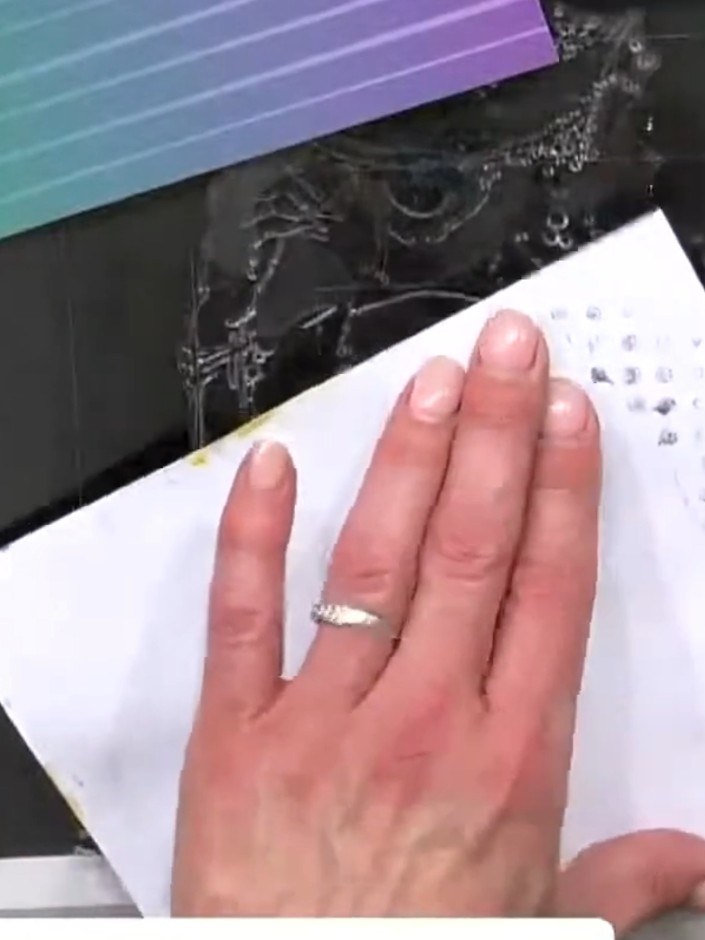
Use a heat tool to dry the watercoloured background completely, moving it over the entire surface until the paper is dry to the touch.
▶ ver este paso (1:01:30)Redactado a partir del propio programa. Mira todas las guías de nuestros programas · guías paso a paso gratis · mira en vivo en My Telly