ENLACES RÁPIDOS

info@howtocraftnetwork.com
Ahora somos más inteligentes: compra y mira con la app de SBMDESCARGA LA APPMíranos en vivo en tu smart TVVER CÓMODescubre nuestro canal IPTV exclusivo: visita my-telly.comVERAcumula puntos de fidelidad en cada pedidoMÁS INFORMACIÓN
Te damos la bienvenida a How to Craft Network
 
SBM SHOP
SÍGUENOS
REGÁLALES $10 DE DESCUENTO A TUS AMIGOS RECOMIENDA A UN AMIGO › DESCUBRE MY-TELLY.COM › AHORA SOMOS MÁS INTELIGENTES DESCARGA LA APP › CANAL GALARDONADO EN TU TV › ÚNETE AL CLUB PARA AHORRAR ›
 

Sparkle Embossed Iris Celebration Card

Un proyecto de nuestro programa en vivo CREATE AND CRAFT - NUEVO Y EXCLUSIVO - Acompaña a Toni con sus productos más recientes en el programa de inspiración 3 - Transmitido el 13 oct 22 · 10/13/2022 · velo desde 53:00
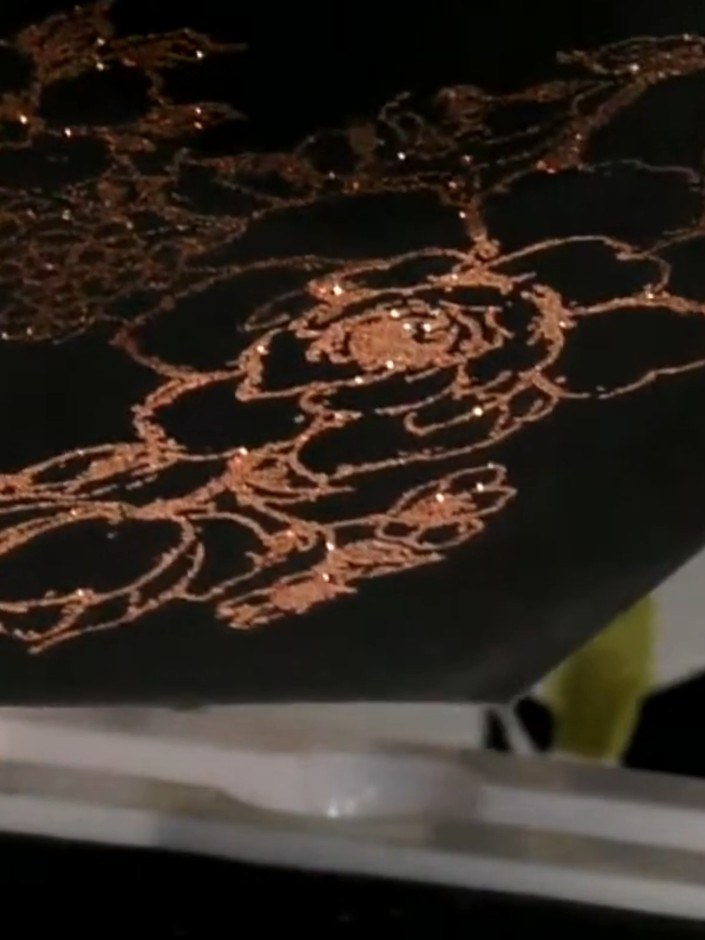
Sparkle Embossed Iris Celebration Card - the finished project
El proyecto terminado

Create a stunning celebration card featuring a beautiful iris flower with white embossed outlines and vibrant purple watercolour effects. This elegant design uses lamination stamps, embossing powder, and sparkle accents to achieve a sophisticated, gallery-quality finish. The 'Happy' sentiment is repeated in coordinating purple tones to complete this artistic greeting card.
DESCARGA ESTA GUÍA (PDF)

Paso a paso

  1. Step 1: Stamp the iris solid portion onto white cardstock using a white pigment ink pad. Position the stamp carefully

    Stamp the iris solid portion onto white cardstock using a white pigment ink pad. Position the stamp carefully and press firmly to ensure a clear impression.

    ▶ ver este paso (53:00)
  2. Dust the wet stamped image with clear embossing powder, ensuring complete coverage of the inked areas. ▶ watch 53:15
  3. Step 3: Heat set the embossing powder with a heat gun, moving it over the design until the powder melts and becomes gl

    Heat set the embossing powder with a heat gun, moving it over the design until the powder melts and becomes glossy and raised.

    ▶ ver este paso (53:30)
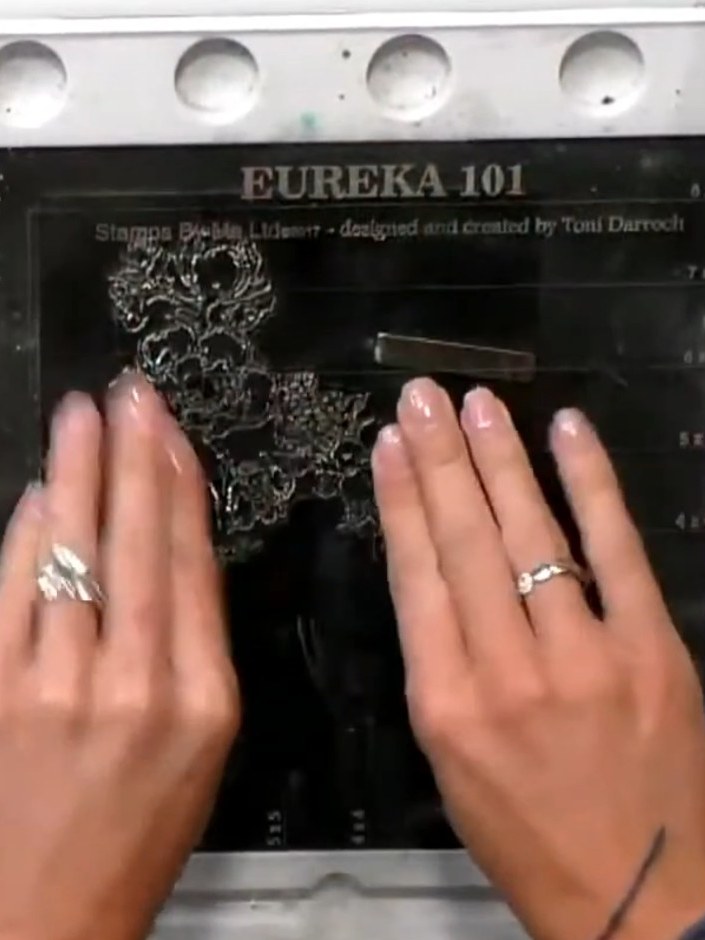
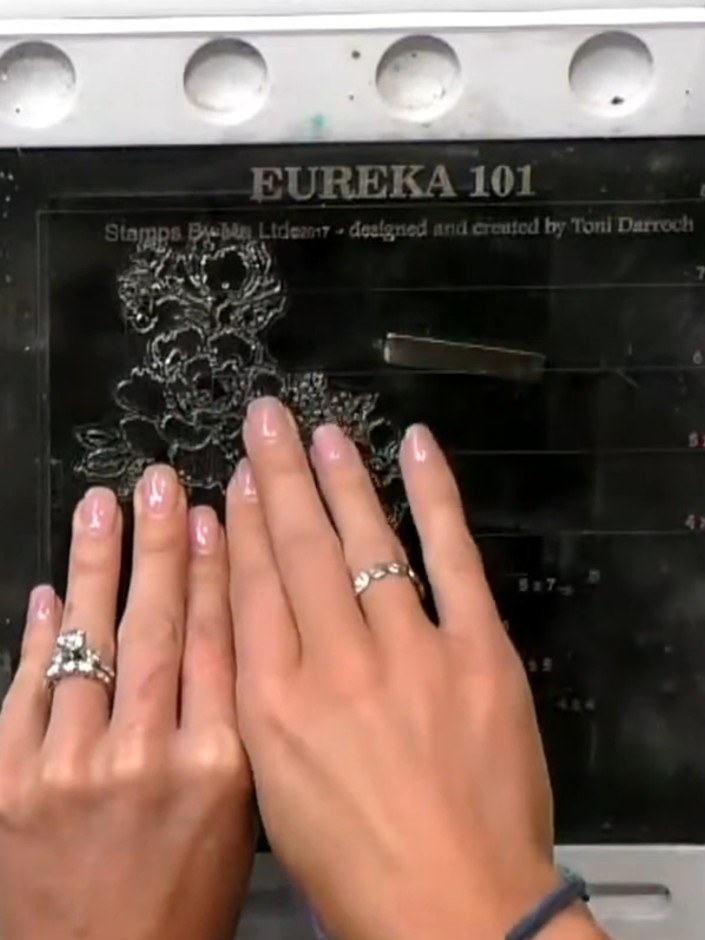
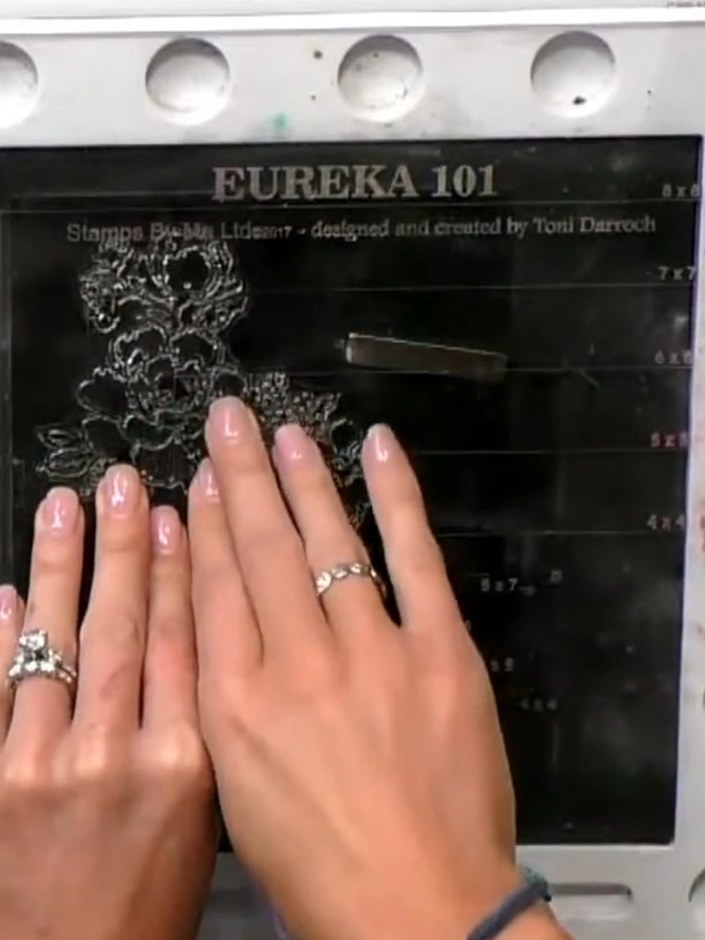
  4. Step 4: Position the iris outline stamp from the Eureka 101 set over the embossed design on the black card. Stamp the

    Position the iris outline stamp from the Eureka 101 set over the embossed design on the black card. Stamp the image using black ink, aligning it loosely with the embossed floral design beneath.

    ▶ ver este paso (54:00)
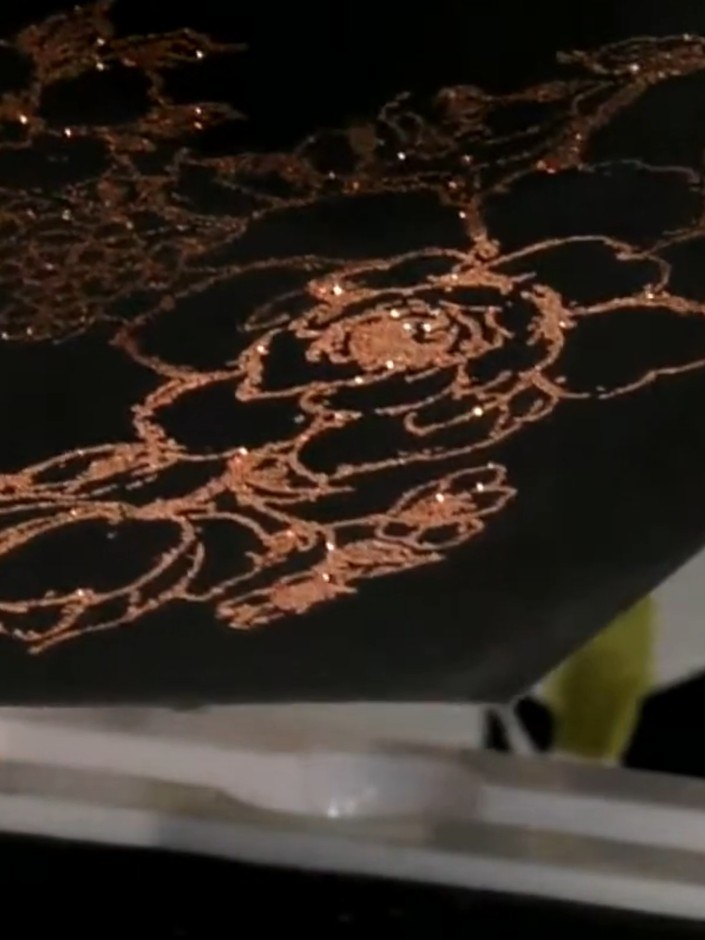
  5. Using black ink, stamp the sentiment 'happy' multiple times around the iris design on your card. ▶ watch 54:30
  6. Step 6: Use a white gel pen to add highlights to the embossed iris design, enhancing the details and creating dimensio

    Use a white gel pen to add highlights to the embossed iris design, enhancing the details and creating dimension on the black card.

    ▶ ver este paso (55:00)
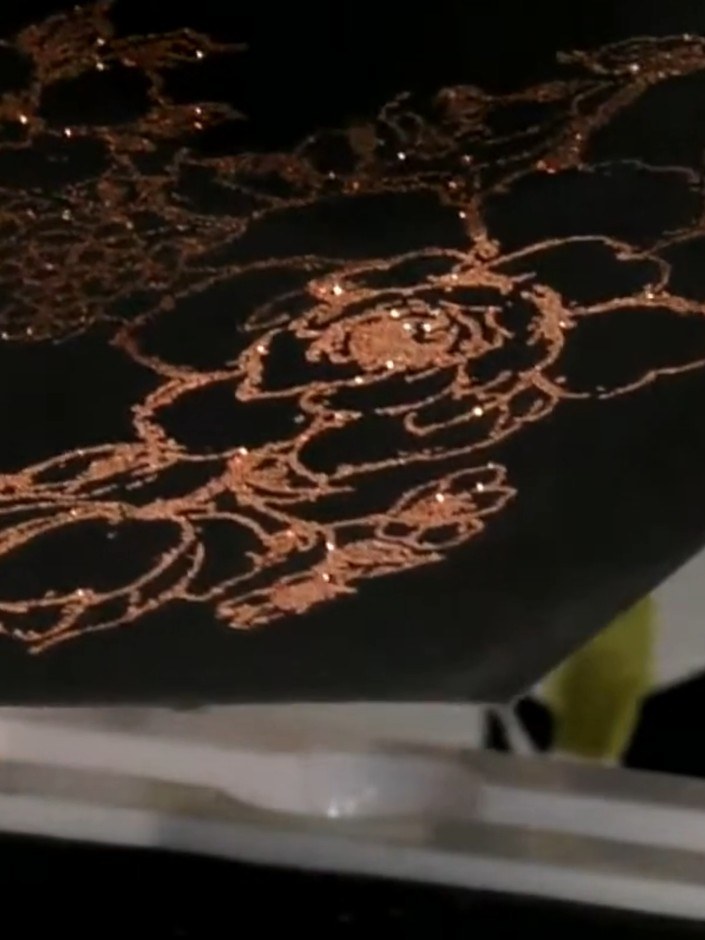
  7. Apply sparkle pen or pearly winks spray across the embossed floral design to add shimmer and shine to the card. Work gently over the raised areas to enhance the dimensional effect. ▶ watch 55:30
  8. Step 8: Mount the completed iris panel onto a white card base using adhesive. The rose gold embossed design should be

    Mount the completed iris panel onto a white card base using adhesive. The rose gold embossed design should be centred on the black card, creating an elegant finished card.

    ▶ ver este paso (56:00)

Consejos del programa

Más de este programa

Redactado a partir del propio programa. Mira todas las guías de nuestros programas · guías paso a paso gratis · mira en vivo en My Telly







