¡Regálales a tus amigos $10 de descuento en su primer pedido!
Recomienda a un AMIGO








Un proyecto de nuestro programa en vivo BLACK FRIDAY EN VIVO - Acompaña a Toni en su programa con las mejores ofertas de la historia y mucha inspiración - Transmitido el 25 de nov. del 22 · 11/25/2022 · velo desde 33:00
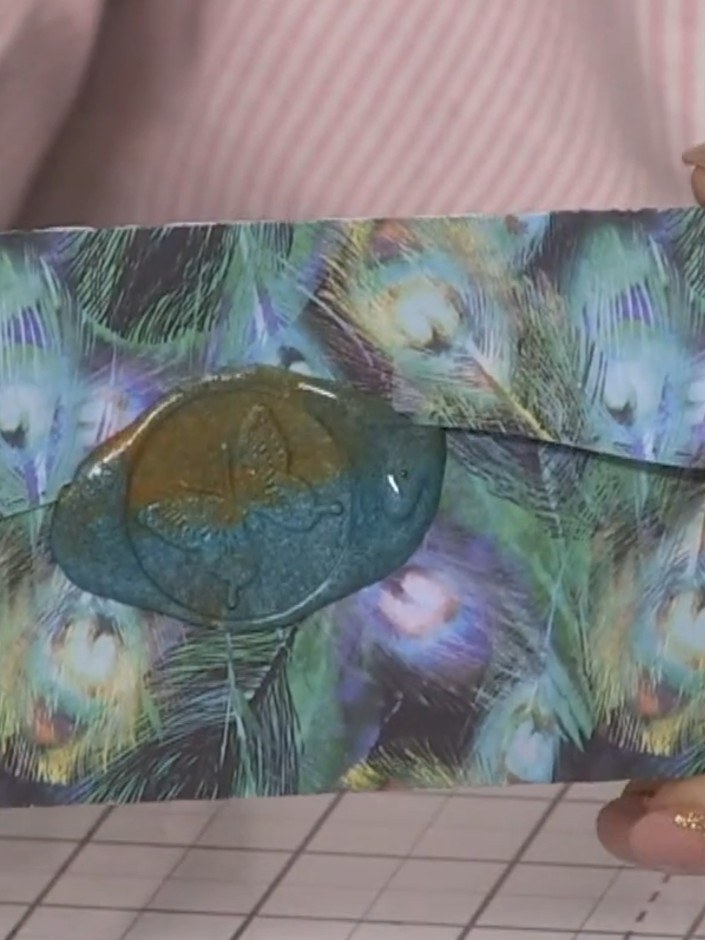
Create an elegant gift card wallet embellished with a decorative wax seal. This project features a peacock feather patterned paper wallet with a gold-toned wax seal closure, combining traditional wax sealing techniques with modern papercraft. The finished piece provides a sophisticated and professional presentation for gift cards or small tokens.
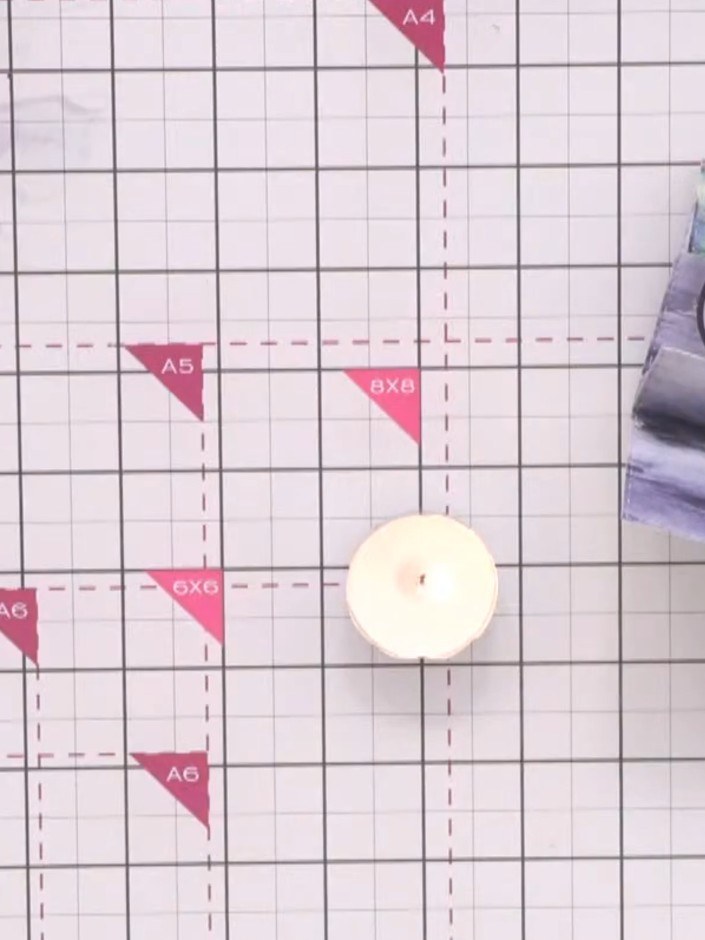
Light your wax seal candle and allow the wax to melt completely. Place the candle on your craft mat in a safe position while it heats.
▶ ver este paso (33:15)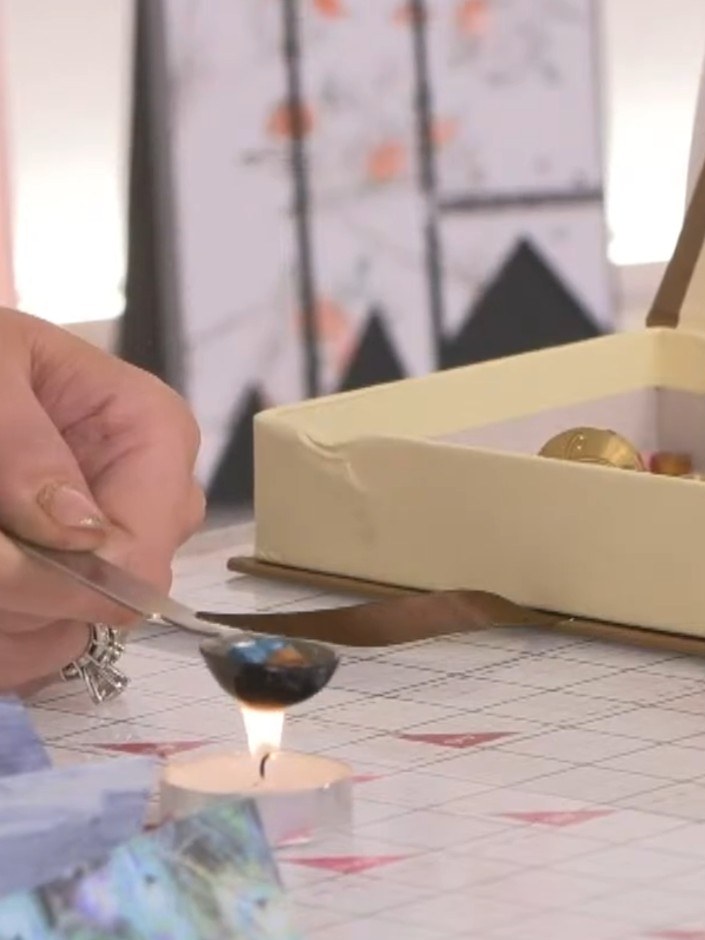
Select your wax colours from your collection. You can use a single colour or mix two or more together for a blended effect.
▶ ver este paso (34:00)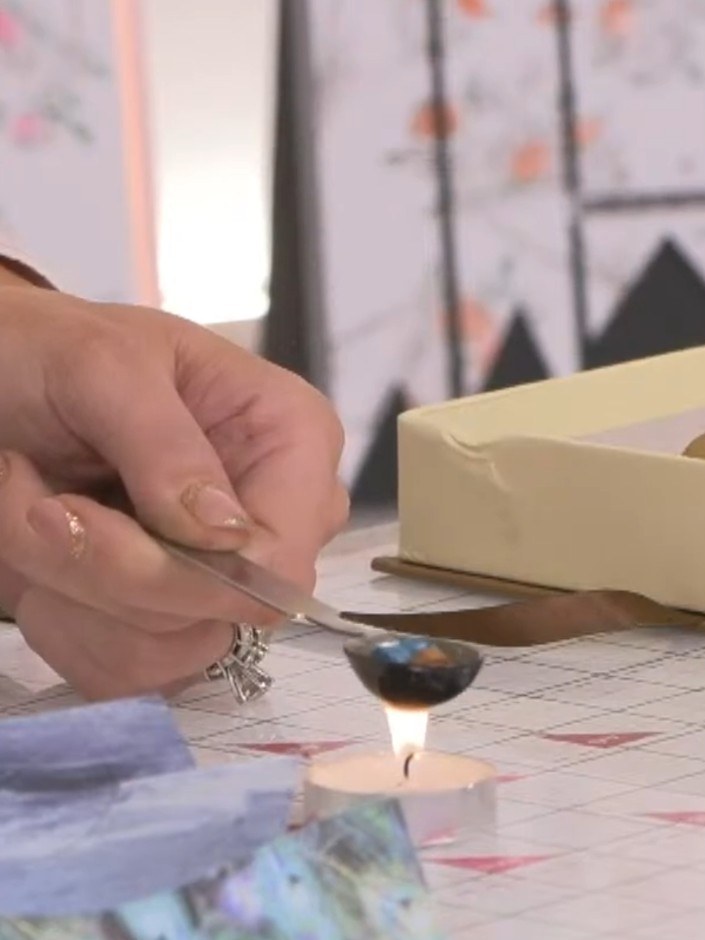
Hold the wax stick over the lit candle flame to melt it, allowing the melted wax to drip onto your chosen surface on the gift wallet or envelope.
▶ ver este paso (34:15)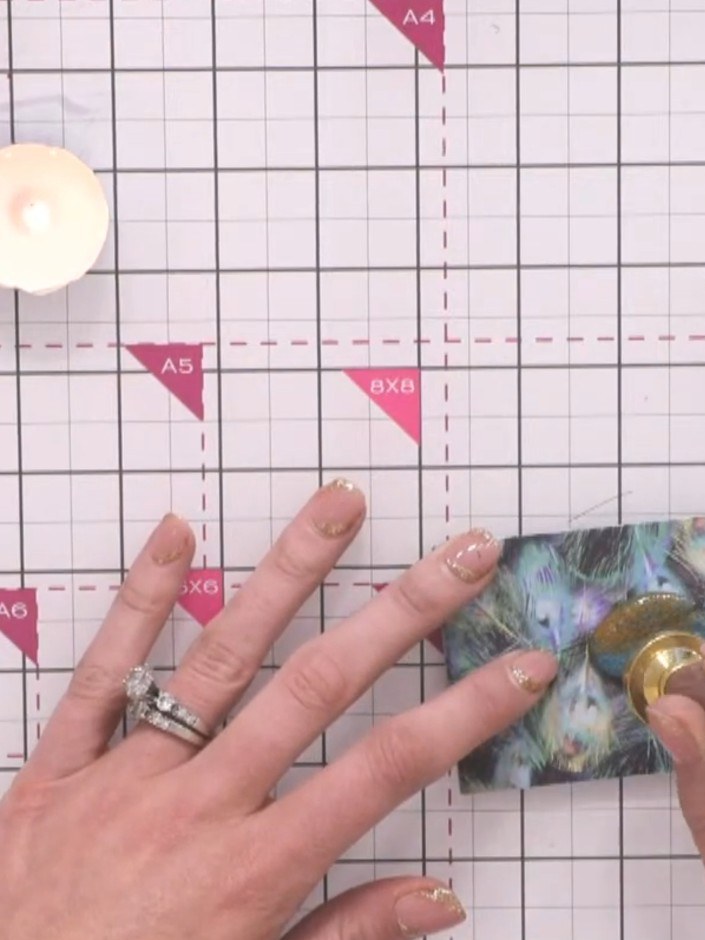
Pour the melted wax from the spoon onto your chosen location on the decorative paper to create a small blob. Take your time and work carefully to control the placement of the wax.
▶ ver este paso (37:45)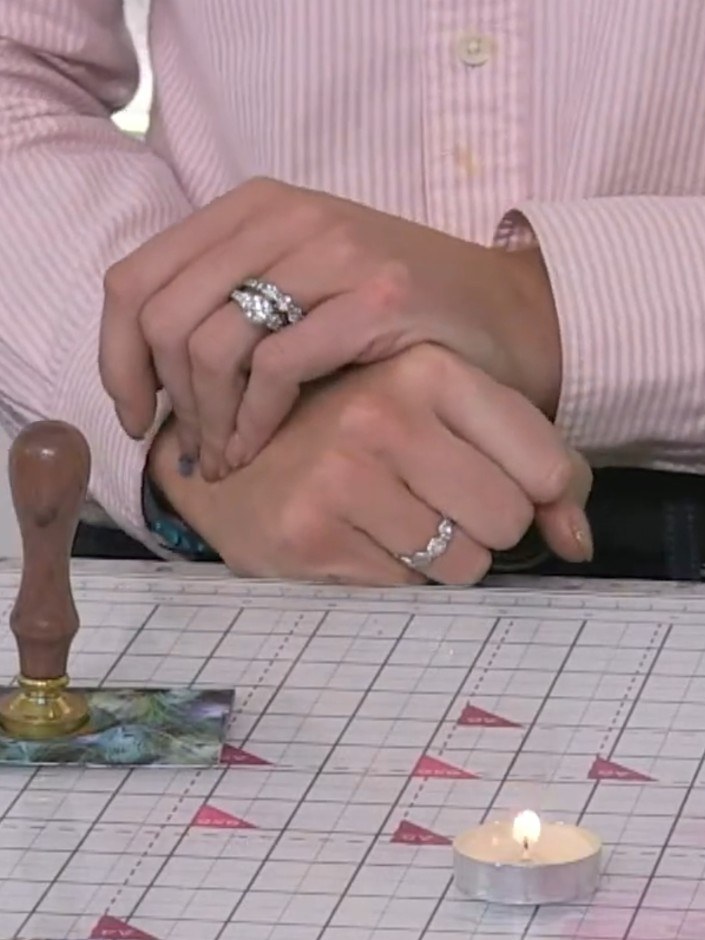
Select your chosen wax seal stamp head and push it firmly into the warm wax blob. Leave it for a second to set before lifting away to reveal the embossed design.
▶ mira este paso (38:00)
Hold the stamp in place on the wax for a second or two, then gently lift it away to reveal the seal impression.
▶ ver este paso (38:15)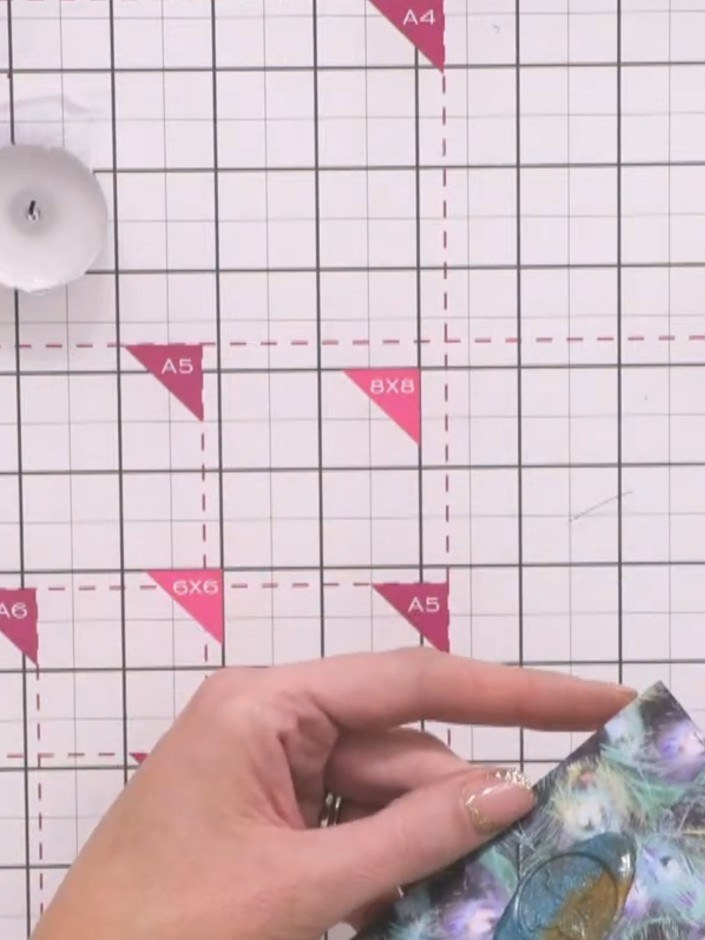
Before the wax seal sets, add gilding flakes, sparkle or dried flowers to the warm wax for extra embellishment. Press gently into the wax whilst still warm to ensure they adhere.
▶ ver este paso (38:45)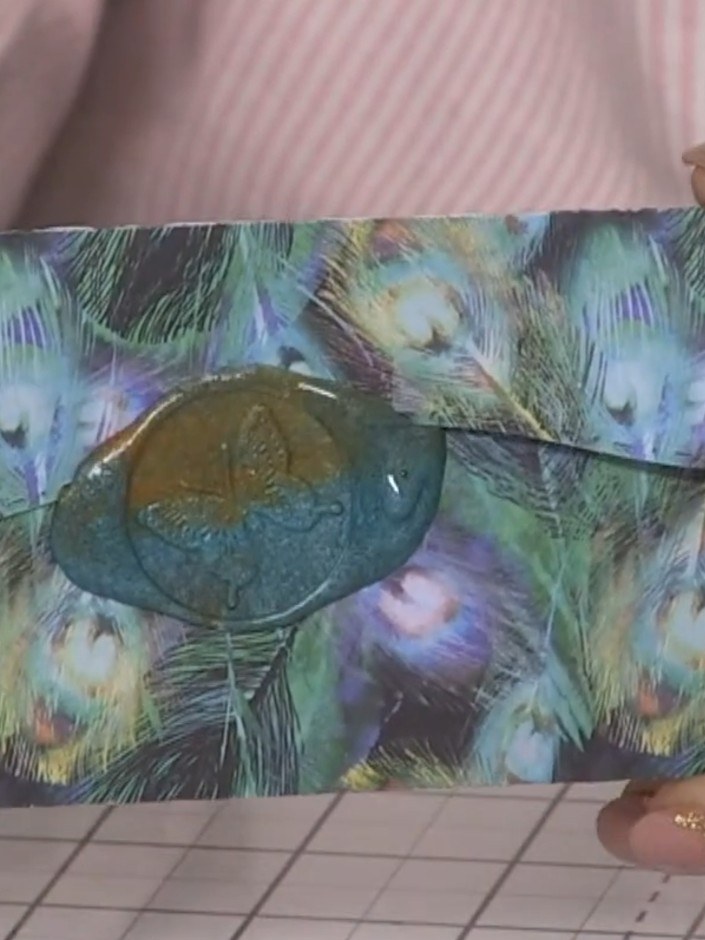
Allow the wax seal to cool and harden completely on the peacock feather patterned wallet before handling or posting.
▶ ver este paso (39:00)Redactado a partir del propio programa. Mira todas las guías de nuestros programas · guías paso a paso gratis · mira en vivo en My Telly