¡Regálales a tus amigos $10 de descuento en su primer pedido!
Recomienda a un AMIGO








Un proyecto de nuestro programa en vivo HOBBYMAKER TV - Acompáñanos en el programa más reciente - Transmitido a las 4 p.m. (hora del Reino Unido) el 24 de octubre de 2026 · 10/24/2026 · velo desde 14:45
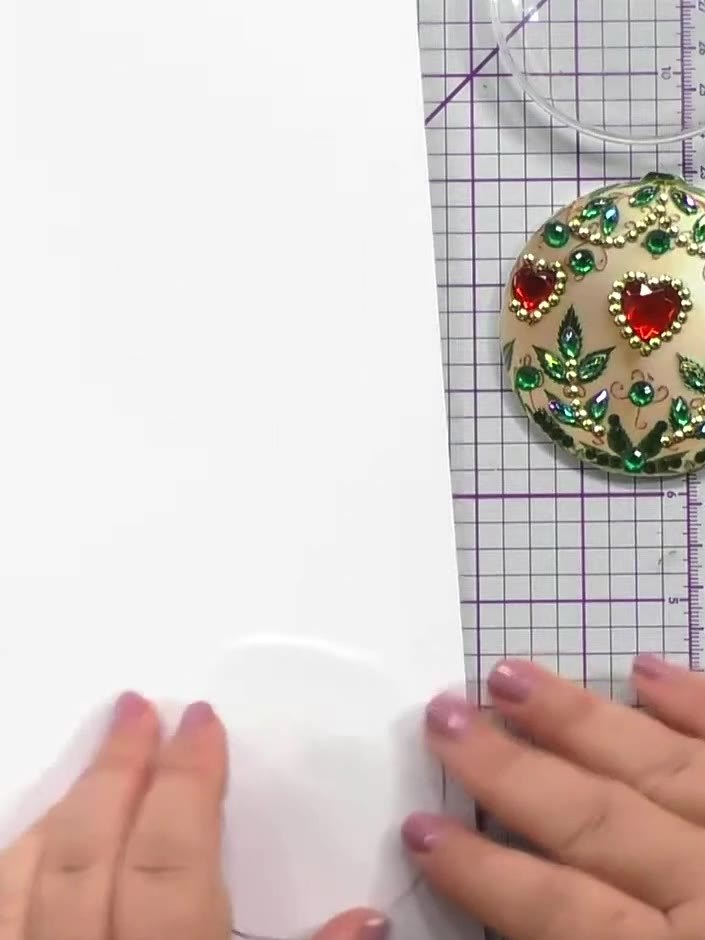
Create a beautiful fillable bauble decoration featuring a stamped sentiment on one side and sparkling crystal art on the other. This reversible ornament in soft mint green can be filled with sweets, sequins, or photos, making it a perfect personalised gift. The project combines stamping techniques with crystal art embellishment and ribbon finishing for a professional-looking hanging decoration.
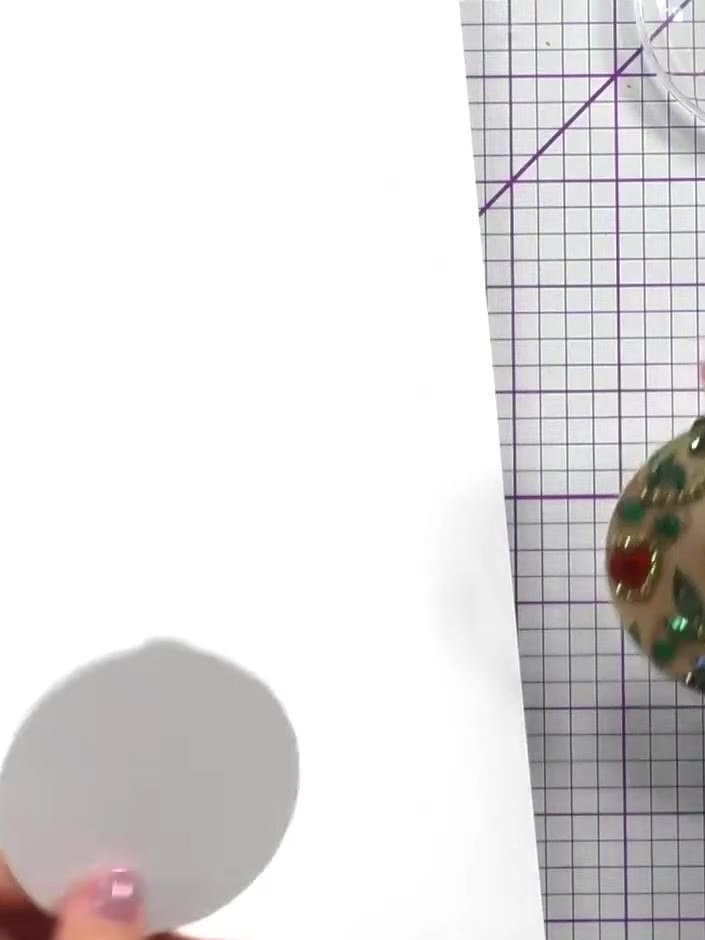
Draw around a fillable bauble onto stamping card and cut out the circle.
▶ ver este paso (15:00)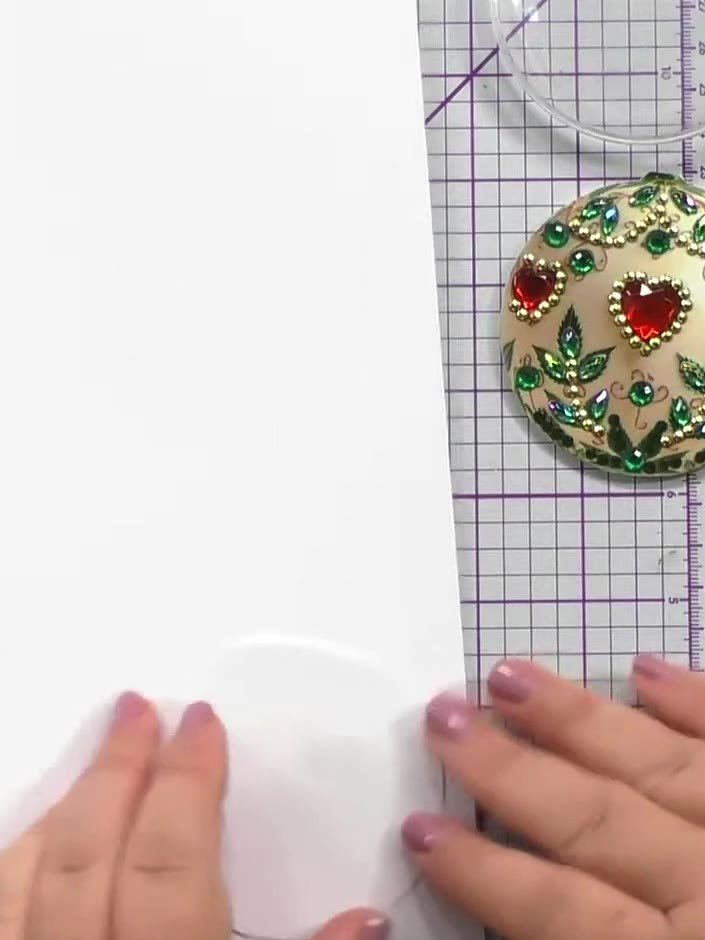
Prepare your bauble by decorating one side with crystals in a festive pattern. Use red heart-shaped crystals, green leaf designs, and gold beading to create your design. Ensure the decorated side is complete before moving to the next step.
▶ ver este paso (15:30)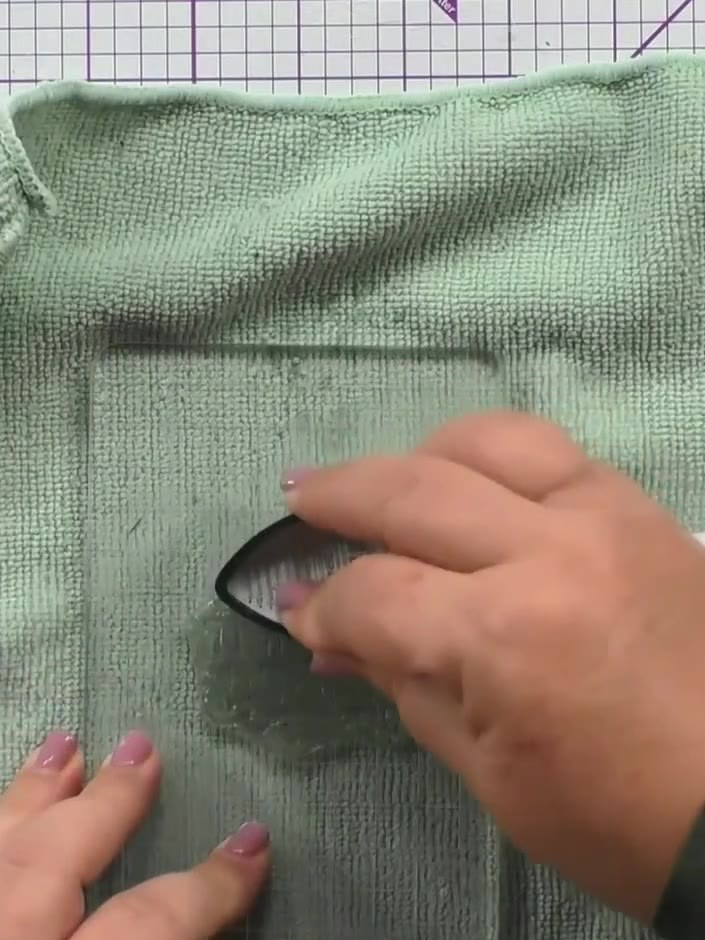
Select a large sentiment stamp such as 'Have a holly jolly Christmas' from your stamp collection. Position the stamp ready to use on your green fabric bauble.
▶ ver este paso (16:45)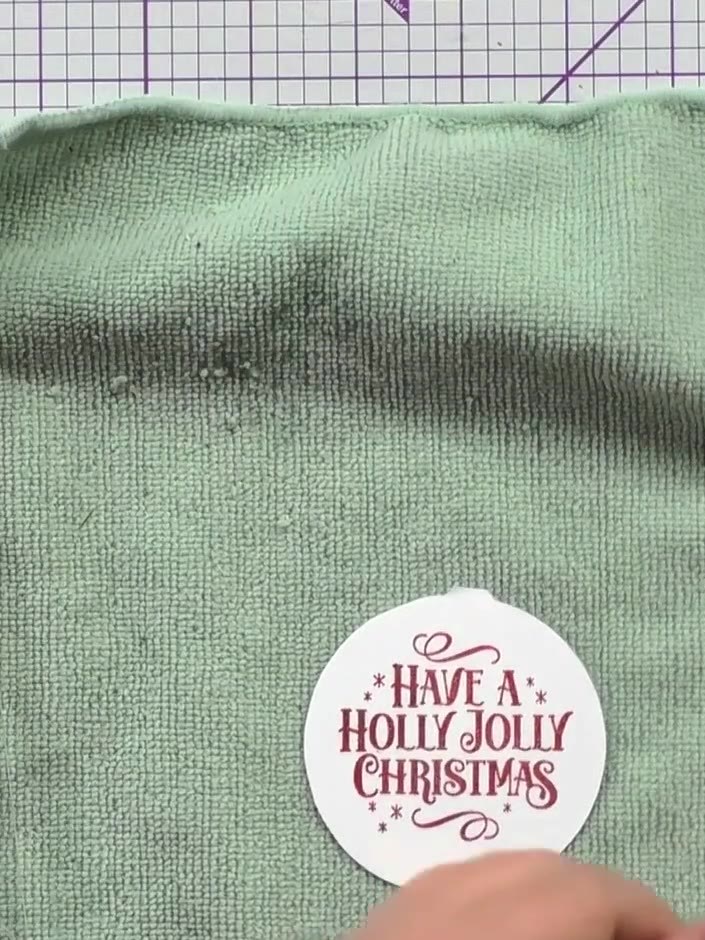
Stamp the 'Have a Holly Jolly Christmas' sentiment onto your white circle using red ink. Position the stamp centrally on the circle and press firmly to ensure a clear impression.
▶ ver este paso (17:00)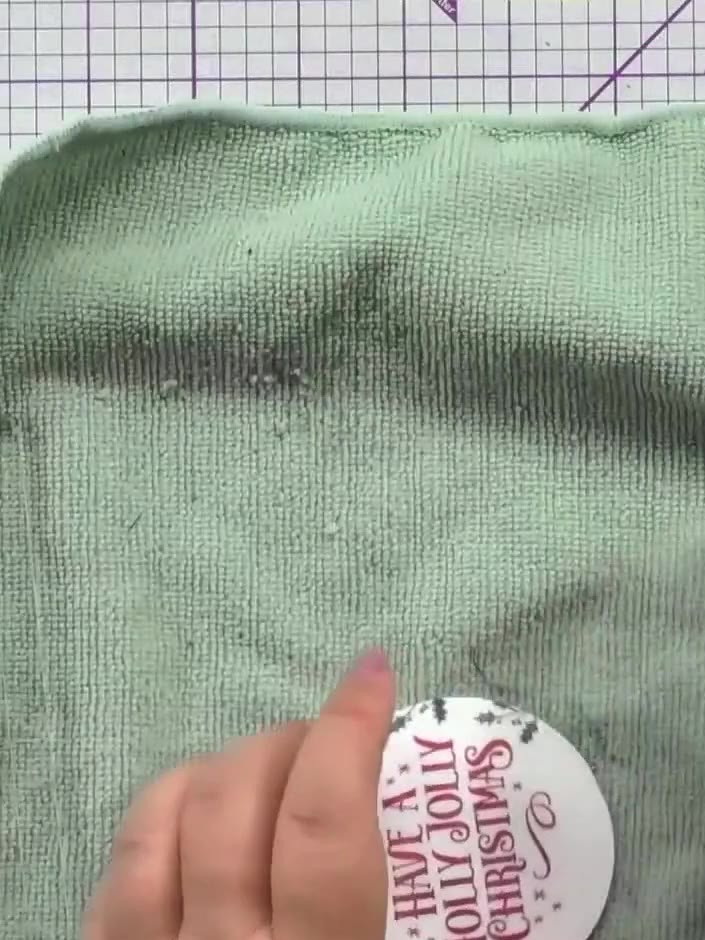
Stamp decorative holly leaf borders around the sentiment on the bauble using green ink. Position the stamps to frame the text and create a festive border design.
▶ ver este paso (18:15)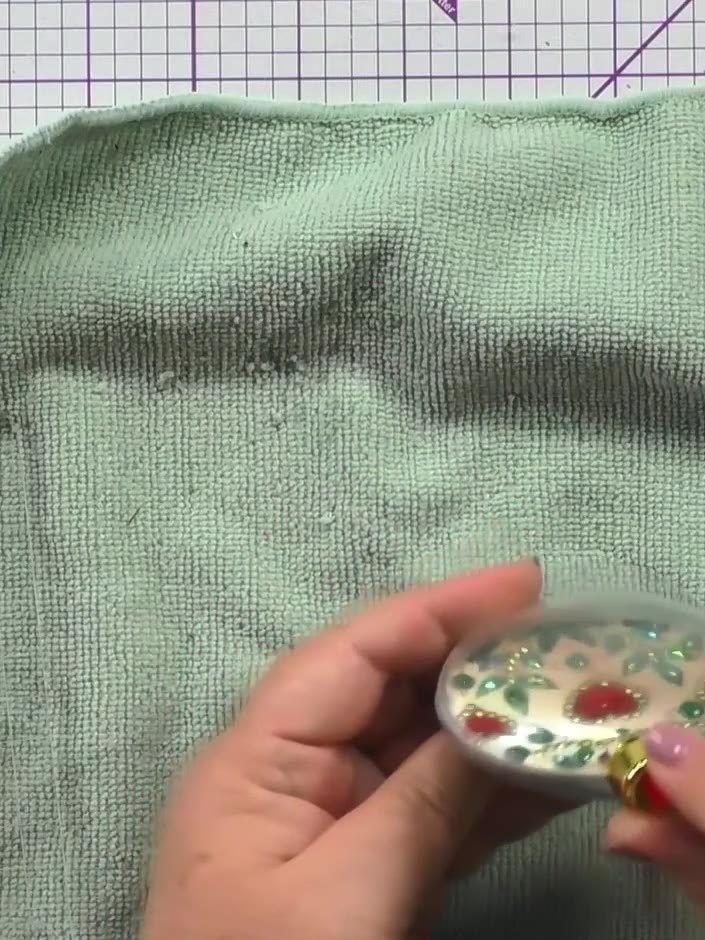
Place the stamped circle upside down inside one half of the bauble. Position the other clear bauble half on top to sandwich the design between the two halves.
▶ ver este paso (18:30)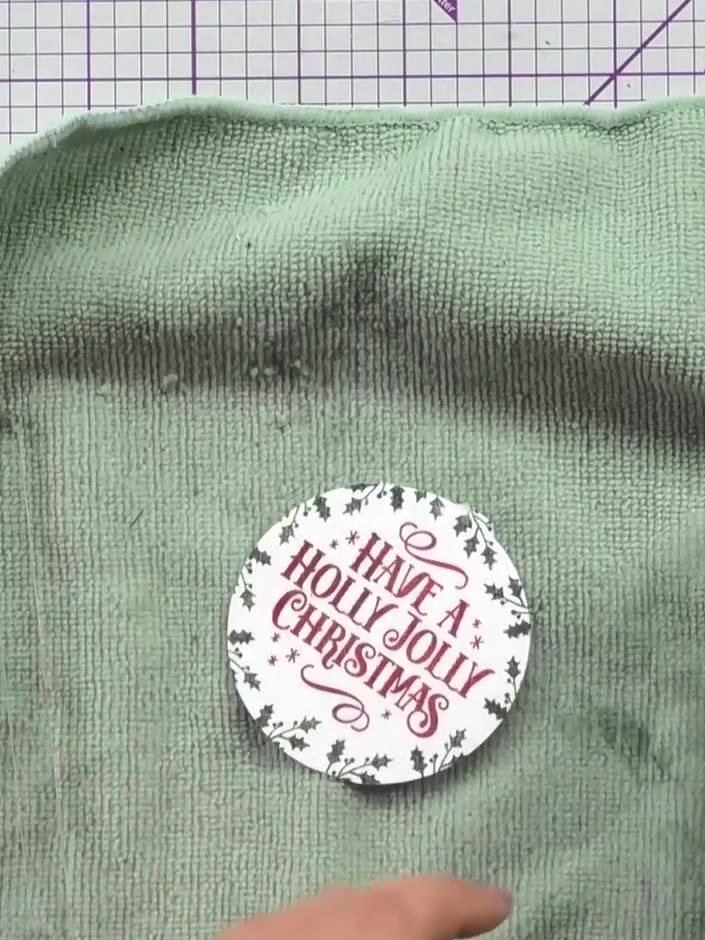
Fold the mint green bauble in half along the centre crease. Use a clip or peg to secure the bauble closed, keeping the sentiment and decorative elements visible on the front.
▶ ver este paso (18:30)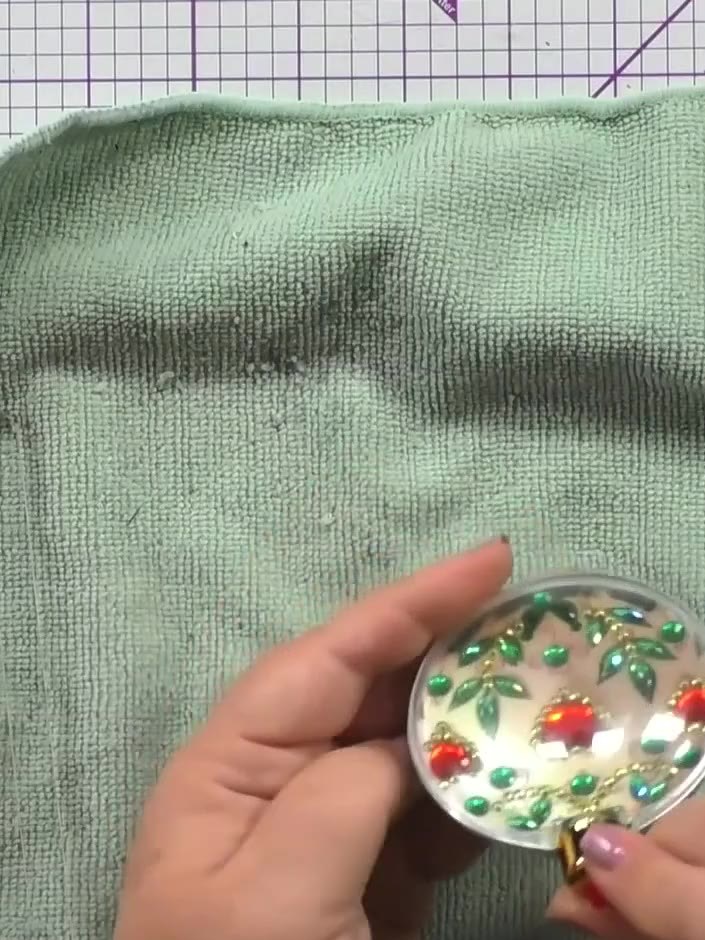
Fill the bauble with your choice of sweets, sequins, or other small decorative items before sealing it closed.
▶ ver este paso (18:45)Redactado a partir del propio programa. Mira todas las guías de nuestros programas · guías paso a paso gratis · mira en vivo en My Telly