¡Regálales a tus amigos $10 de descuento en su primer pedido!
Recomienda a un AMIGO








Un proyecto de nuestro programa en vivo FUNKY FOSSIL GOOD BAG SHOW - Acompaña a Sarah Gray y Toni Darroch en una hora llena de diversión - Transmitido el 2 de diciembre del 22 · 12/02/2022 · velo desde 17:00
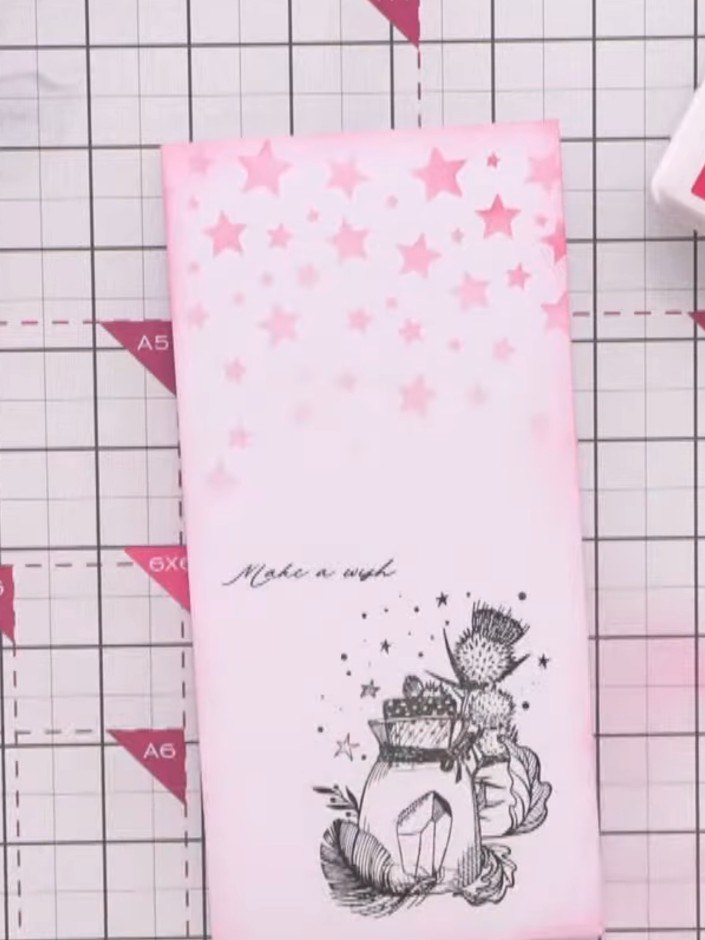
Create a beautiful card featuring stamped feathers in vibrant pink ink layered over watercolour rainbow papers. This elegant design combines detailed feather imagery with soft watercolour textures, finished with a white panel focal point and sentiment for a magical, artistic look.
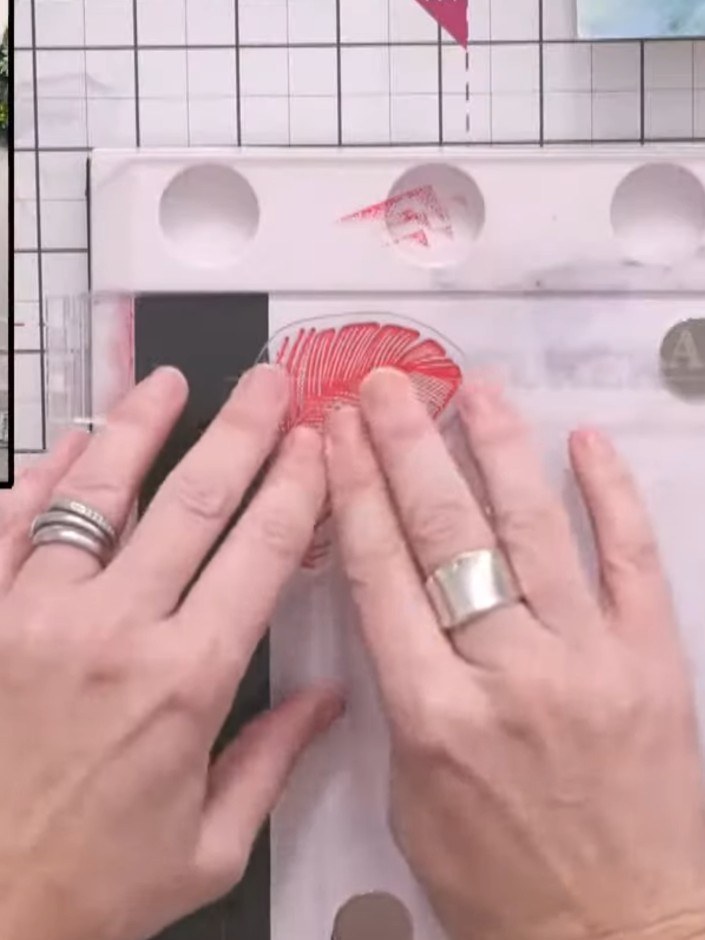
Ink the feather stamp with vibrant pink ink from the Stamps by Me collection. Press the stamp firmly onto the ink pad to ensure even coverage.
▶ ver este paso (19:00)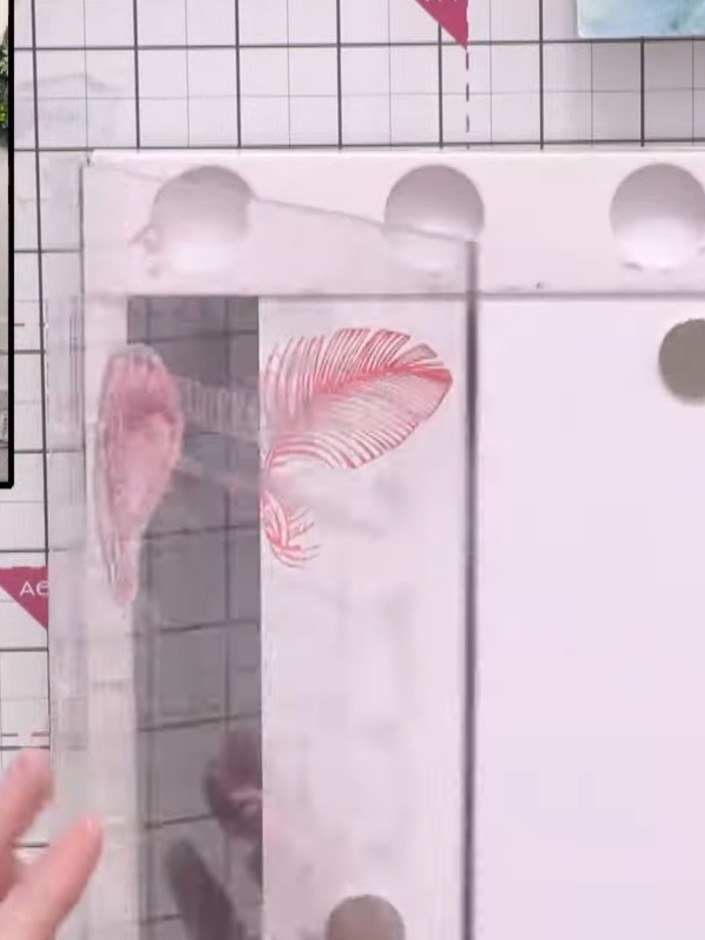
Stamp the feather images onto the left side of an A5 piece of white card stock using pink ink, leaving space for a focal point in the centre.
▶ ver este paso (19:15)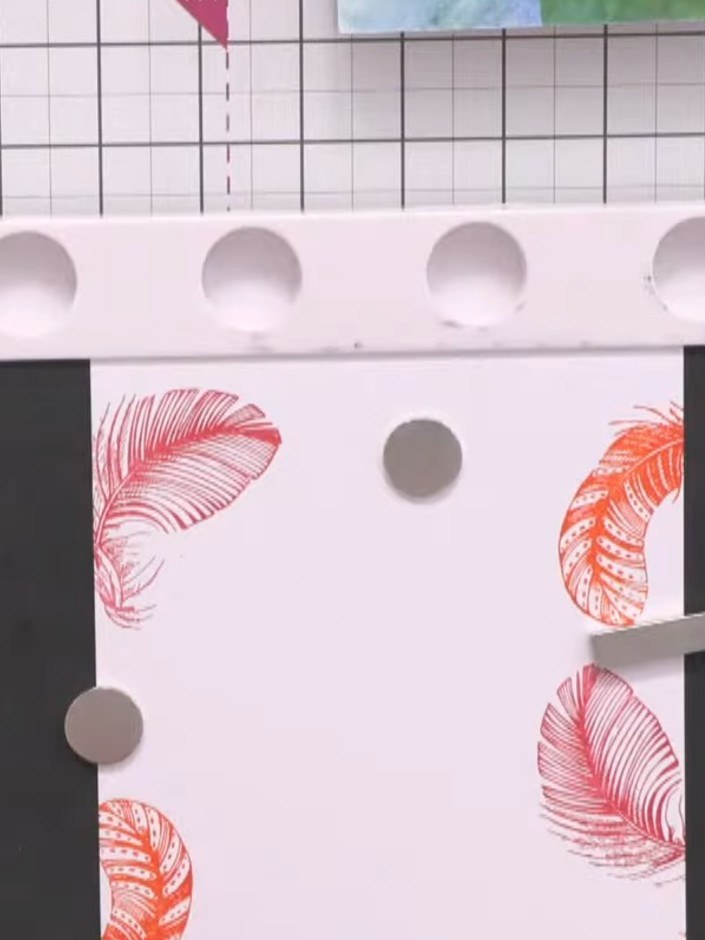
Stamp a second feather image in a different colour on another section of the white card. Position it to create a balanced design with the first feather.
▶ ver este paso (22:30)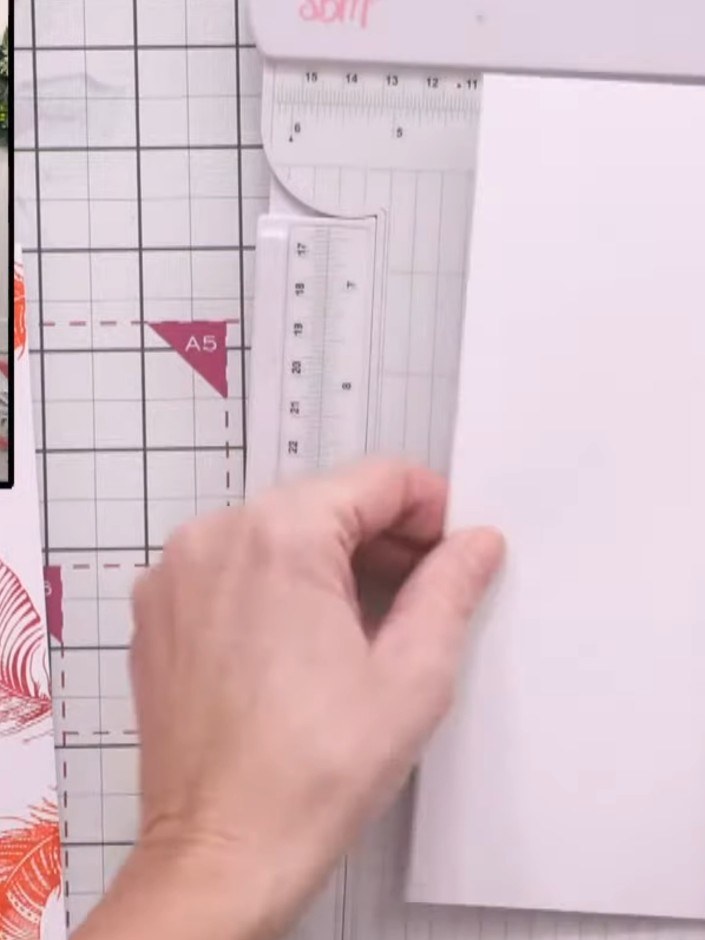
Cut a piece of the watercolour rainbow paper and position it down the middle of the card as a background panel.
▶ ver este paso (25:30)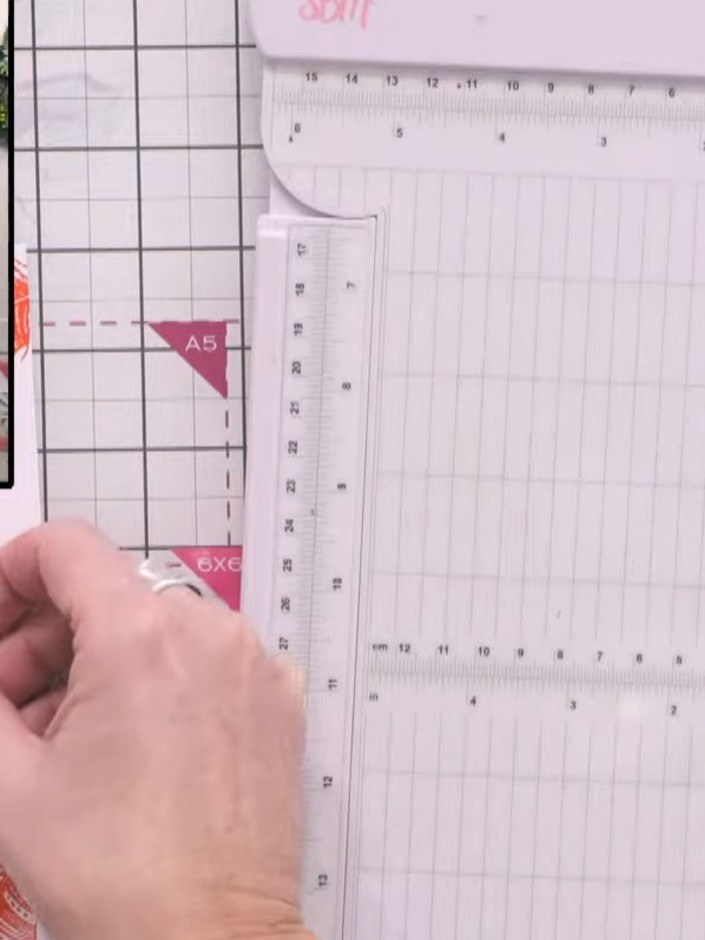
Layer a white panel over your watercolour paper to create contrast and provide space for your focal point. Position the white panel centrally on top of the watercoloured background.
▶ ver este paso (25:45)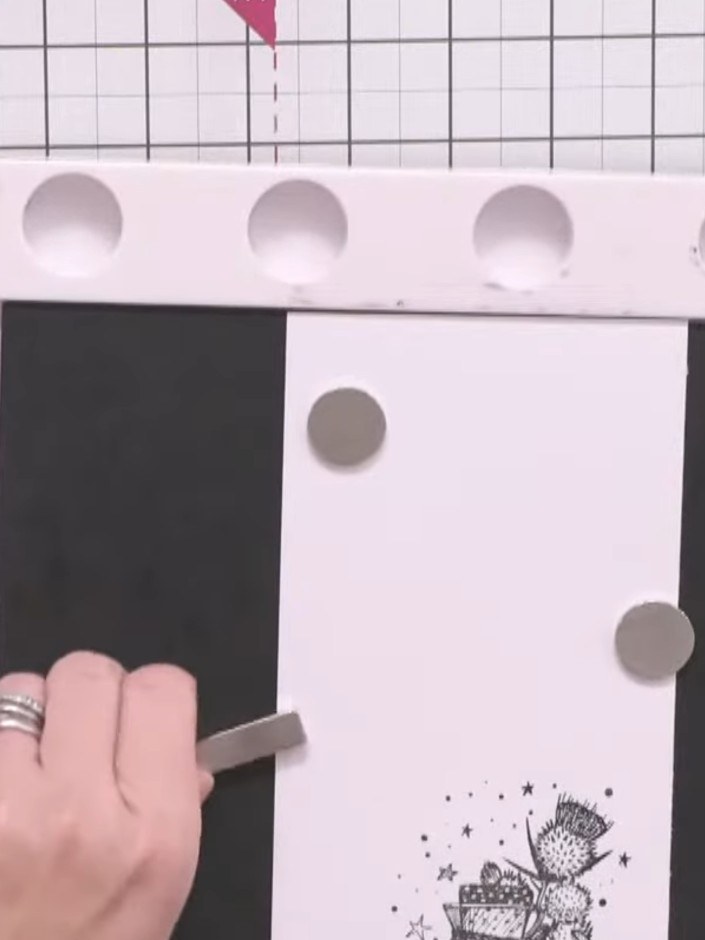
Use a small star stamp to add scattered stars around the top portion of the card above the feather design. Stamp the stars randomly to create a magical, celestial effect that complements the feather theme.
▶ ver este paso (28:30)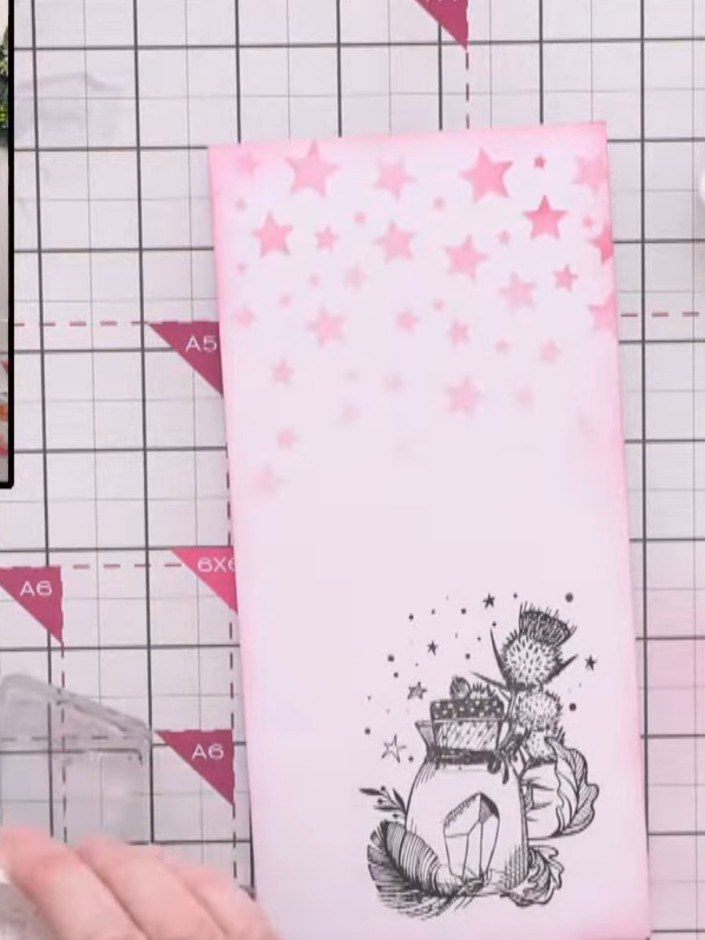
Stamp the sentiment 'Make a Wish' in black ink onto the white panel. Position the stamp carefully to ensure it is centred on the panel.
▶ ver este paso (31:00)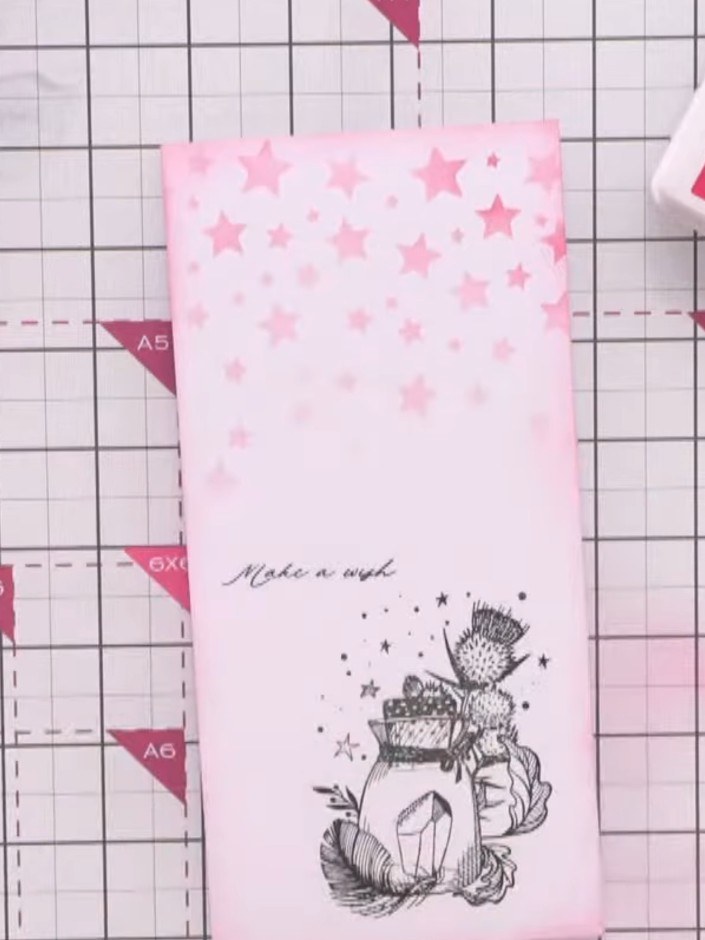
Trim any excess card stock as needed to finish the card neatly. Ensure all edges are clean and aligned for a professional finish.
▶ ver este paso (31:30)Redactado a partir del propio programa. Mira todas las guías de nuestros programas · guías paso a paso gratis · mira en vivo en My Telly