¡Regálales a tus amigos $10 de descuento en su primer pedido!
Recomienda a un AMIGO








Un proyecto de nuestro programa en vivo FRIDAY LIVE - Lo más nuevo de Toni - Transmitido el 23 de octubre de 2026 · 10/23/2026 · velo desde 59:00
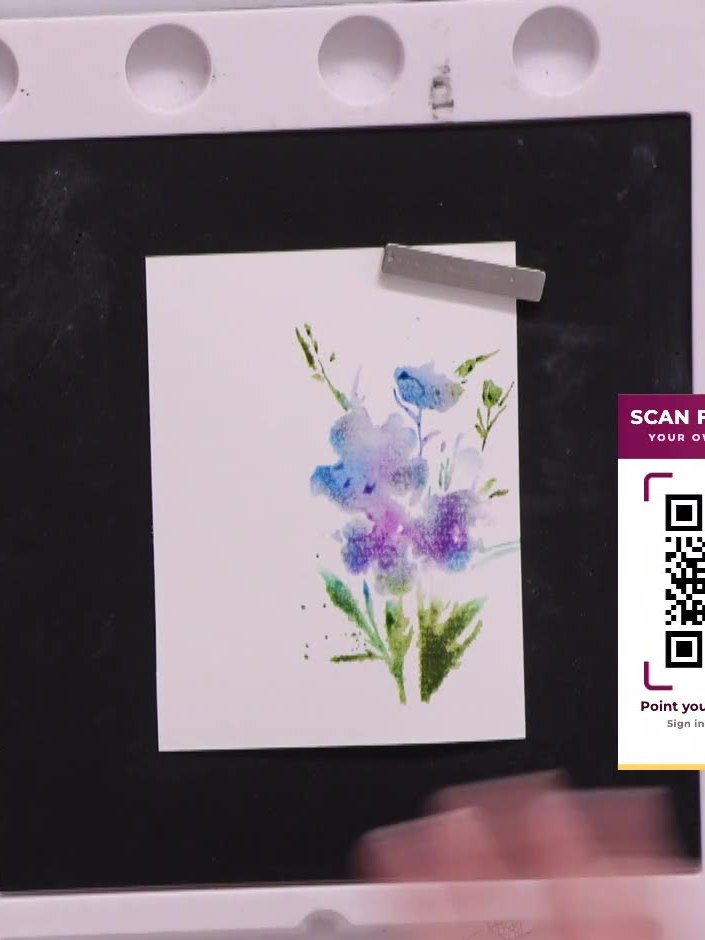
Create a stunning watercolour-effect card featuring delicate purple and blue florals with an elegant vellum sentiment strip. This sophisticated design combines lamination stamping on vellum with heat-embossed sentiments to create a beautiful, layered handmade card. The soft watercolour blending technique gives the flowers a painted, artistic quality perfect for special occasions.
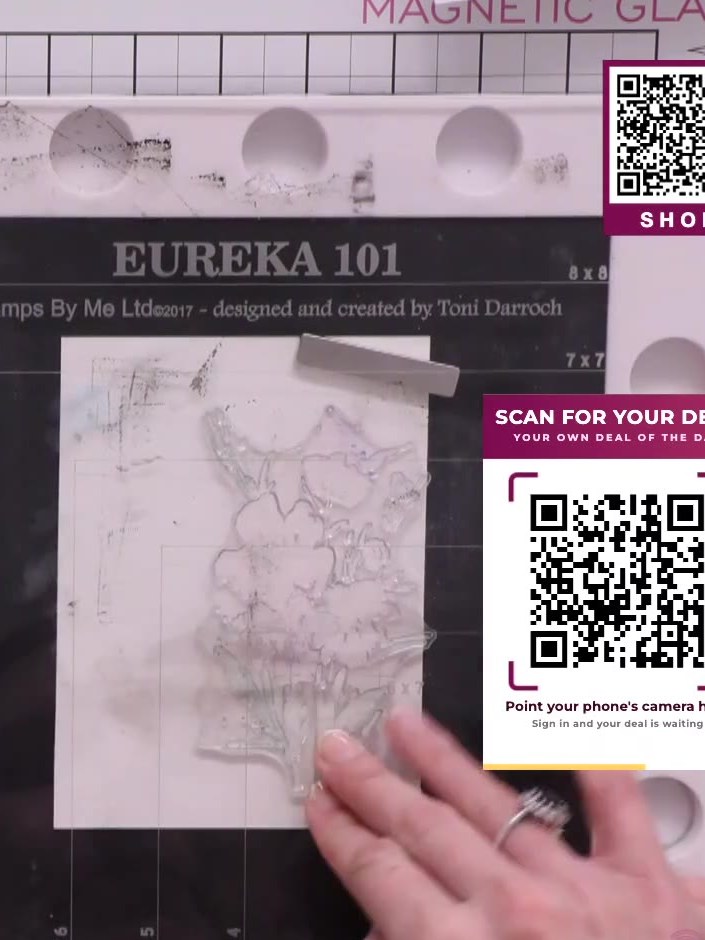
Select the solid portion of your lamination stamp and ink it with multiple colours. Apply two shades of blue, a touch of purple, and green to different areas of the stamp using your ink pads.
▶ ver este paso (59:30)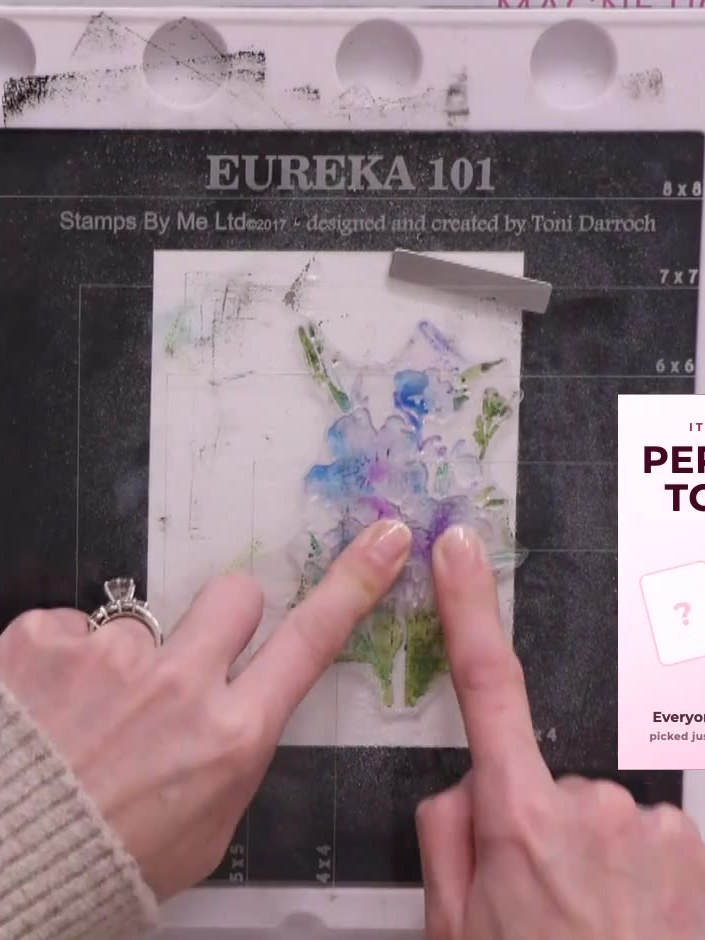
Press the stamp firmly onto the vellum, holding it in place to allow the watercolour effect to develop as the inks blend together.
▶ ver este paso (1:03:15)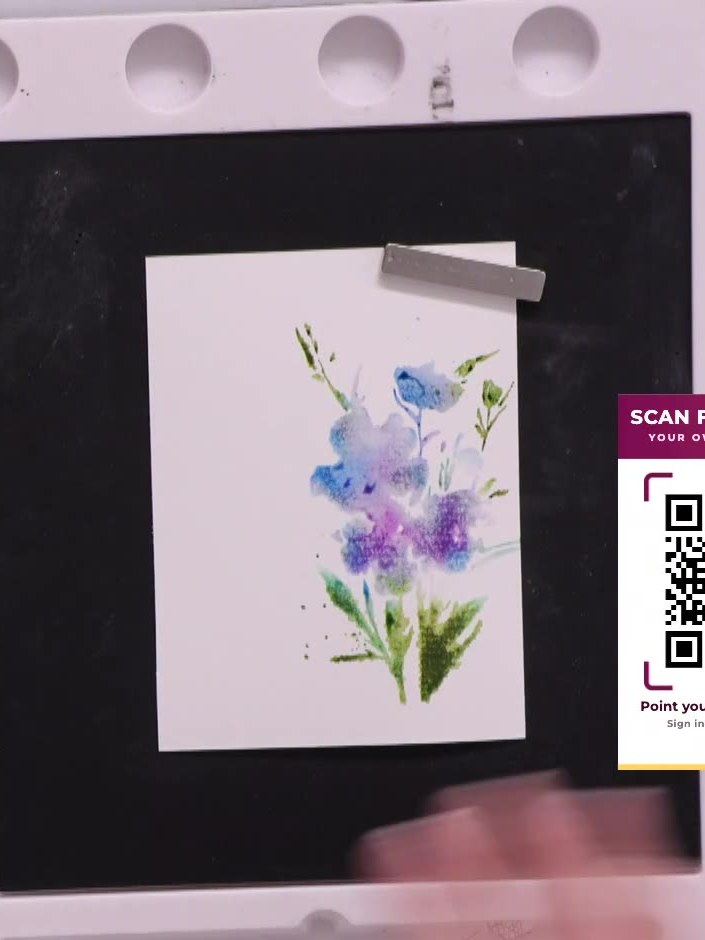
Allow the stamped vellum to dry completely before proceeding. The black stamped images on the vellum need to be fully dry to prevent smudging.
▶ ver este paso (1:04:00)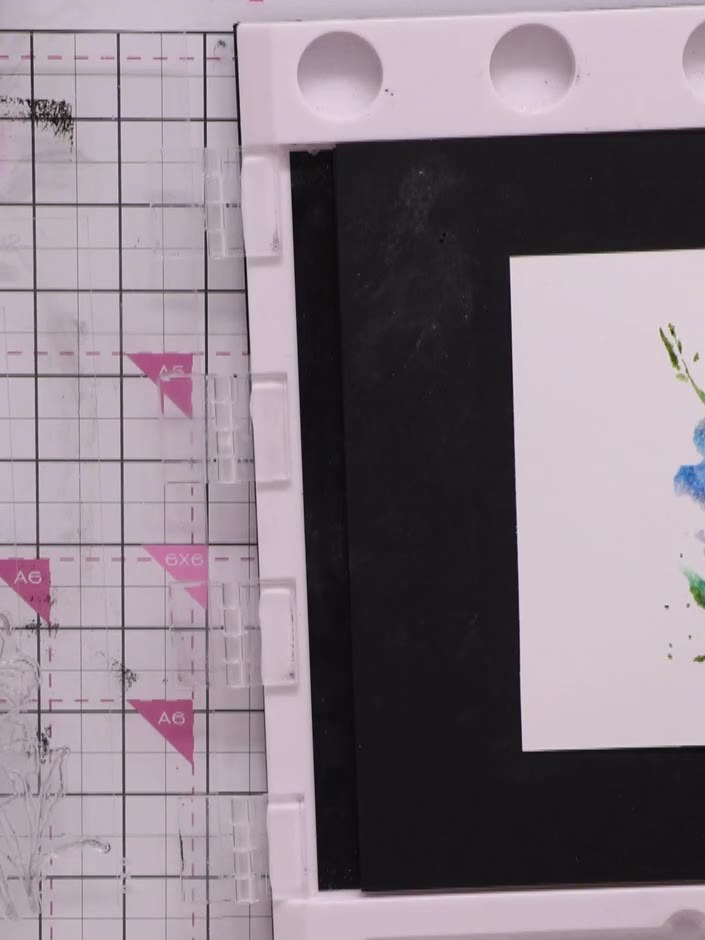
Select the detail portion of the lamination stamp and ink it with black ink using your ink pad.
▶ ver este paso (1:04:30)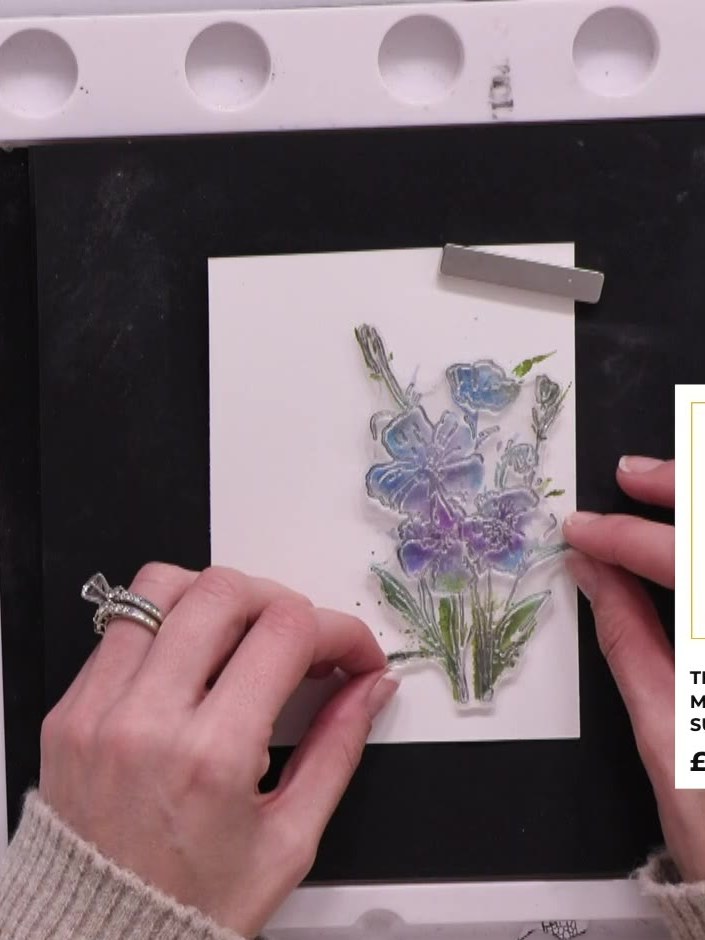
Stamp the detail layer from the Eureka 101 stamp set on top of the dried watercolour floral image. Allow the stamped image to sit slightly off-register for a sketchy, artistic effect.
▶ ver este paso (1:05:45)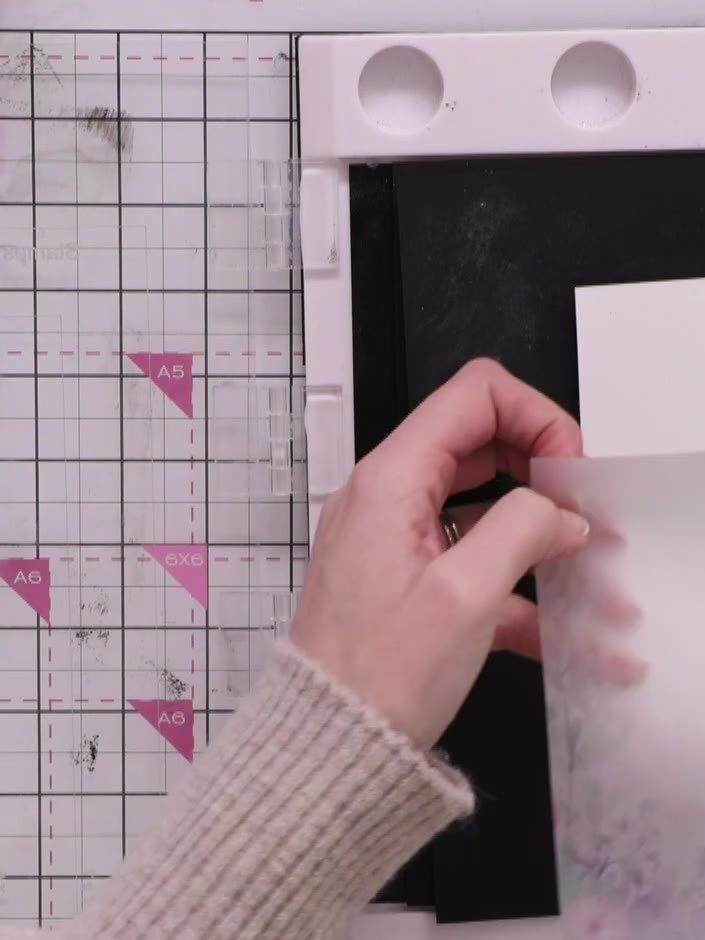
Cut a strip of vellum. Using a sticky ink pad, stamp the long sentiment from the set onto the vellum strip.
▶ ver este paso (1:06:45)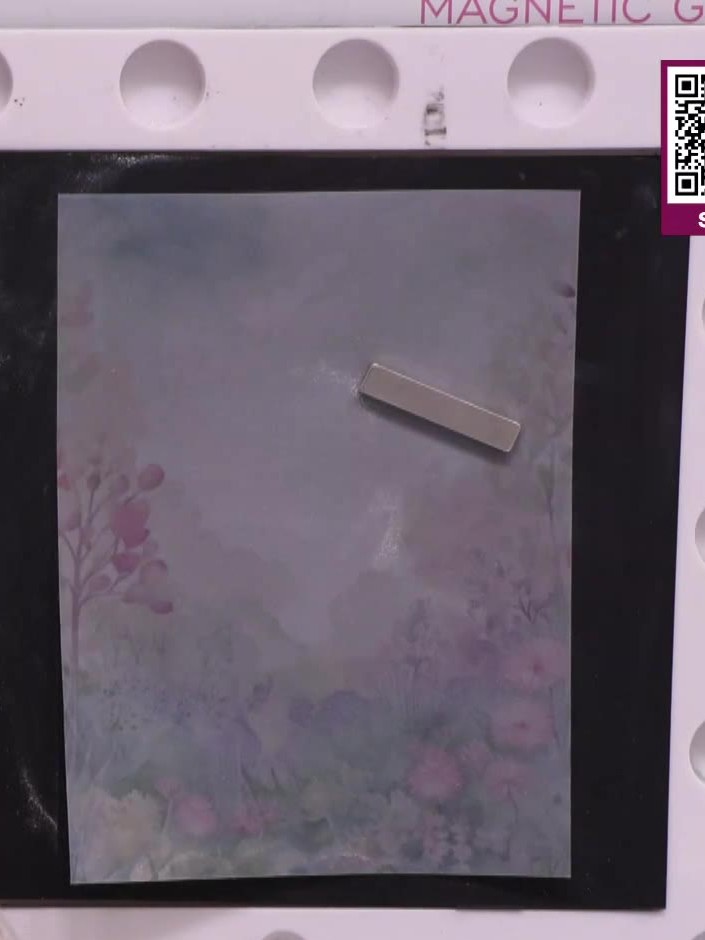
Apply embossing powder to the stamped sentiment on the vellum. Heat-set the powder with a heat gun using quick on-and-off motions to avoid warping the vellum.
▶ ver este paso (1:07:45)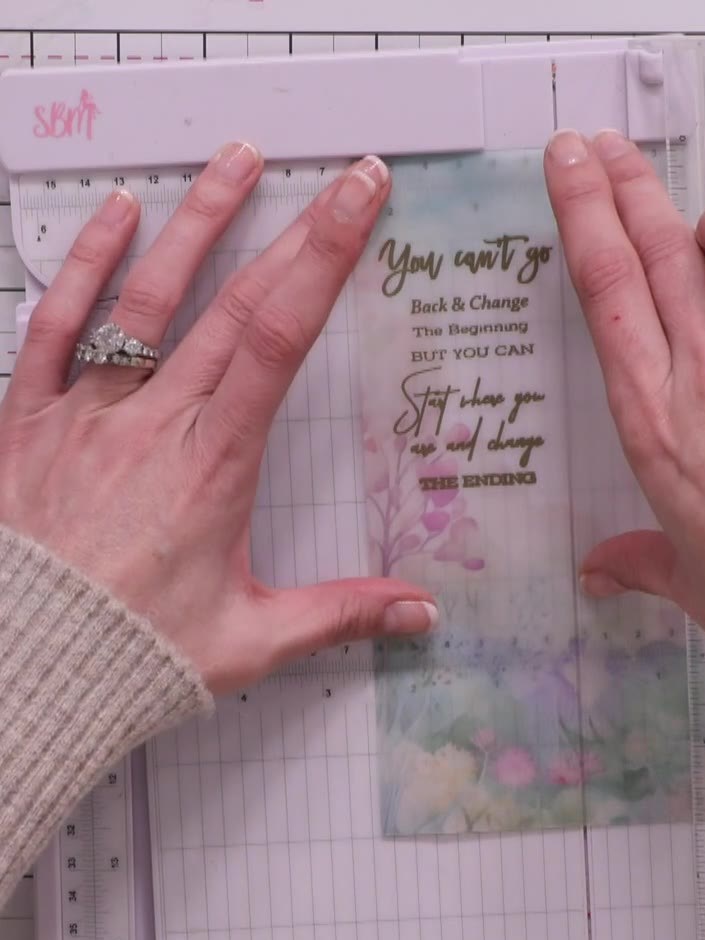
Cut the embossed vellum strip to size using a ruler and trimmer. Adhere the vellum strip down the side of your watercoloured panel using tape.
▶ ver este paso (1:10:45)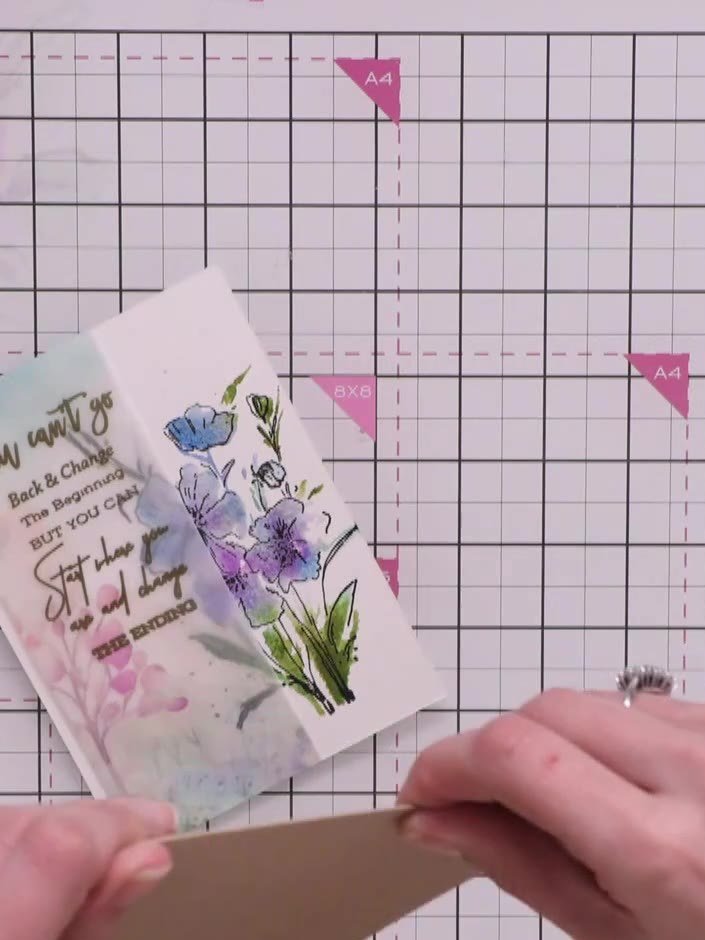
Mount the combined vellum and watercolour panel onto black cardstock, creating a slim black border down the sides.
▶ ver este paso (1:12:00)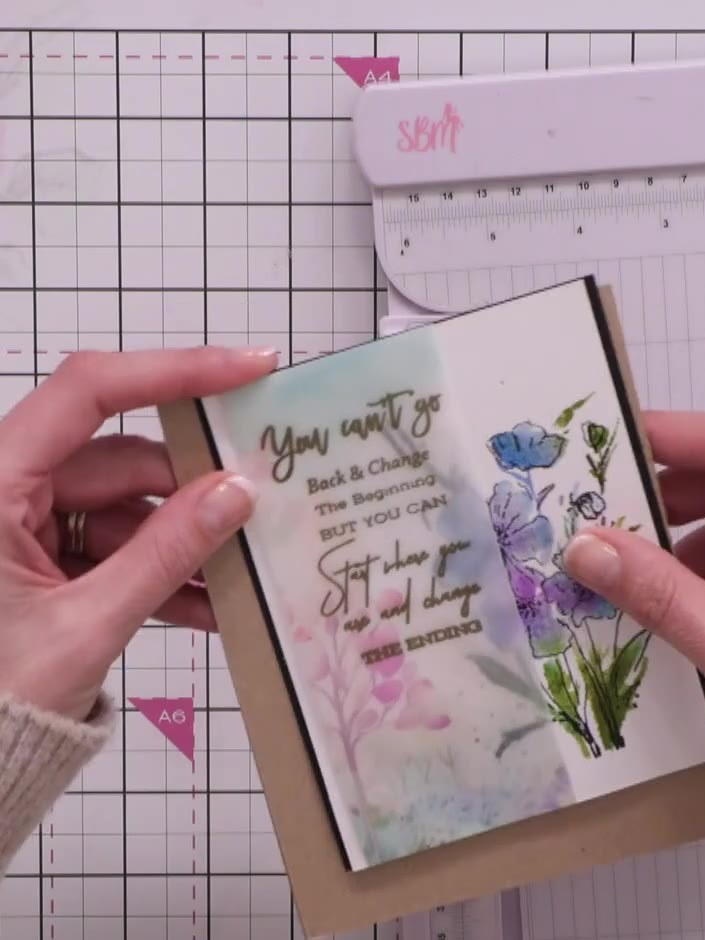
Adhere the completed framed panel to a black card blank to finish your card.
▶ ver este paso (1:13:30)Redactado a partir del propio programa. Mira todas las guías de nuestros programas · guías paso a paso gratis · mira en vivo en My Telly
