¡Regálales a tus amigos $10 de descuento en su primer pedido!
Recomienda a un AMIGO








Un proyecto de nuestro programa en vivo MONDAY MADNESS - Acompaña a Simon de AVAGO-INK y descubre sus productos más nuevos - Transmitido el 9 de enero de 2023 · 01/09/2023 · velo desde 24:30
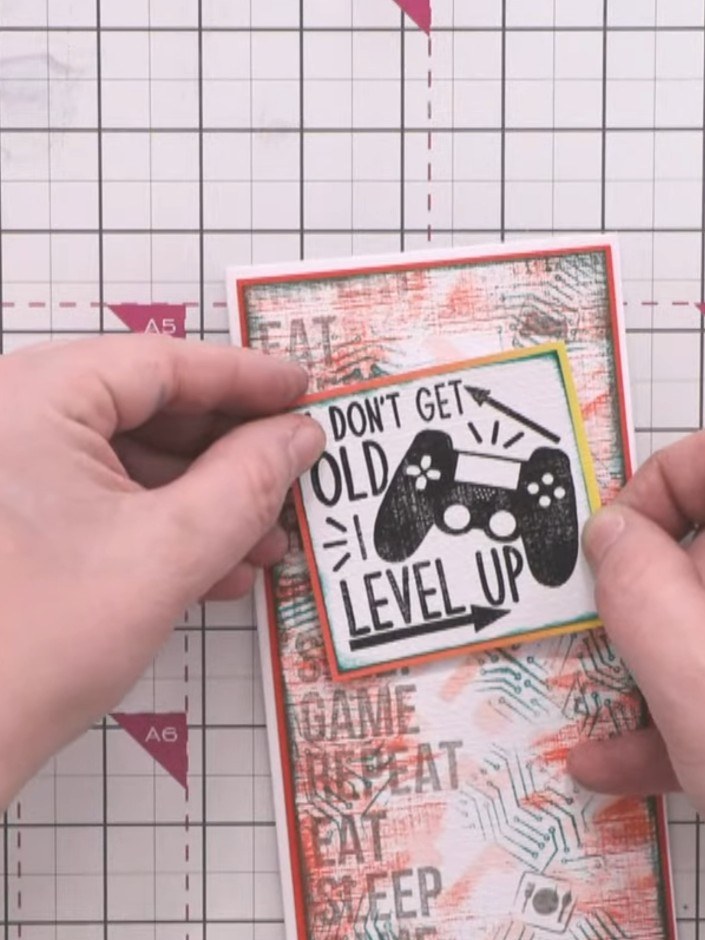
Create a bold mixed-media card with a striking textured background combining red and green ink splashes with subtle pixel pattern stencilling. Layer gaming-themed stamps and a crisp sentiment panel featuring 'I Don't Get Old I Level Up' for an edgy, contemporary finish. This project uses distressed techniques and dimensional layering to achieve a grungy, urban aesthetic perfect for gaming enthusiasts.
 100574 - HTCN - AVAGO-INK DESIGNS - ESTÉNCIL - PIXEL PATTERN - 100522aVERLO
 ALMOHADILLA DE TINTA A BASE DE COLORANTE IZINK 5 X 5CM - EMERAUDE 050821hVERLO
 VERSAFINE CLAIR MORNING MIST- 090123aVERLO
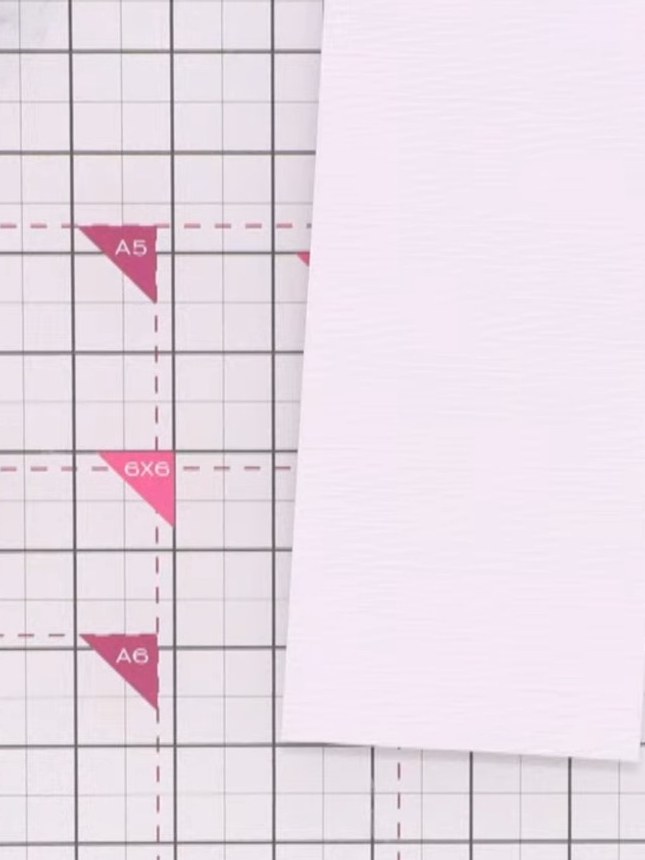
Prepare a piece of linen-effect textured card as your base. This textured surface will allow the ink pads to catch the grain and create interesting effects.
▶ ver este paso (24:45)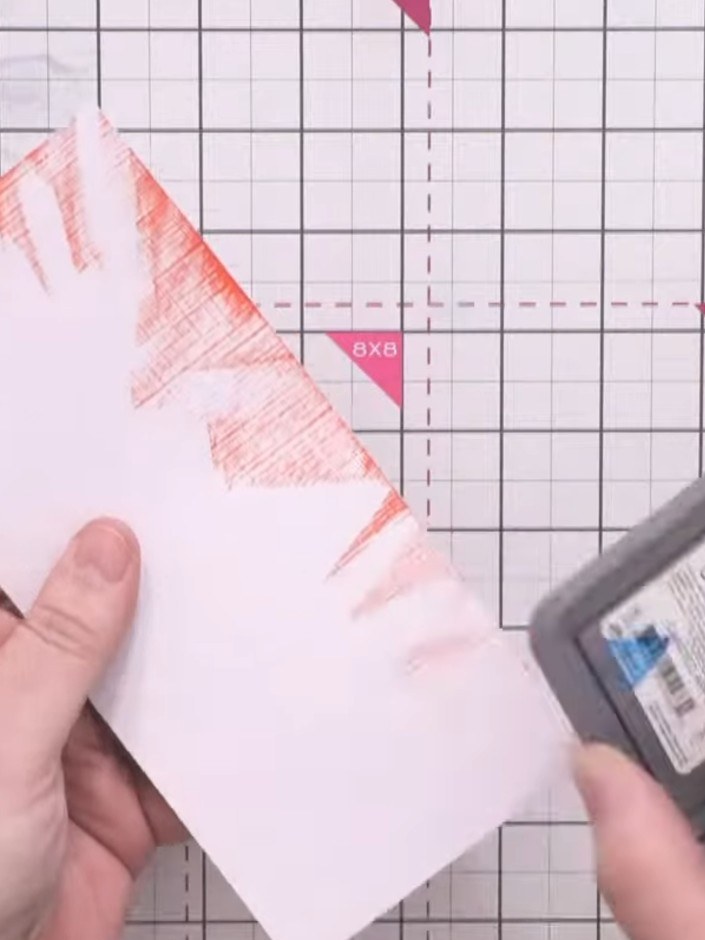
Using a distress oxide red ink pad and a cloth, lightly brush the red ink across the card surface to catch the raised texture and create random marks around the edges.
▶ ver este paso (25:45)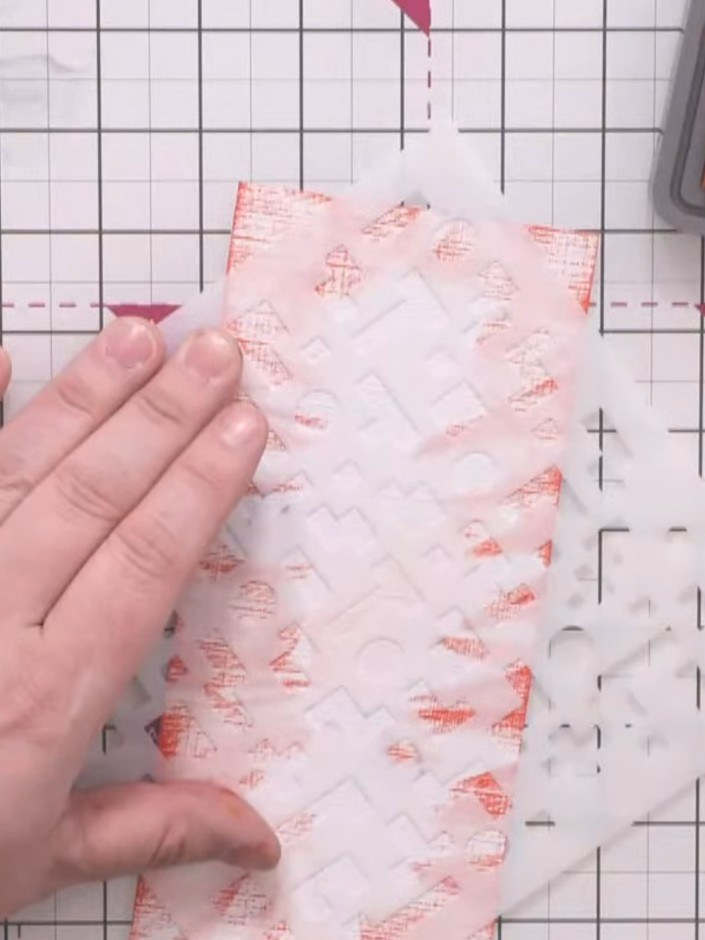
Position the pixel pattern stencil over the centre of the card panel. Using a sponge dauber, lightly dust red ink through the stencil to create texture, applying gentle pressure to avoid heavy coverage.
▶ ver este paso (26:30)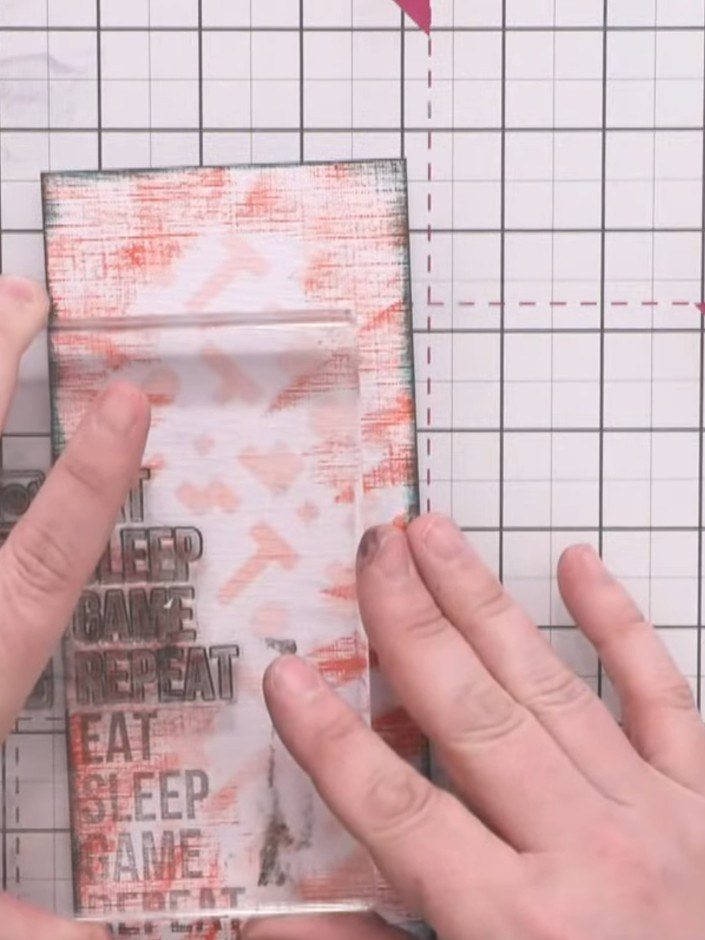
Using the Versafine Clair morning mist grey ink pad with a stamping block, stamp the words down one side of the card. Accept partial impressions on the textured surface for a grungy effect.
▶ ver este paso (28:30)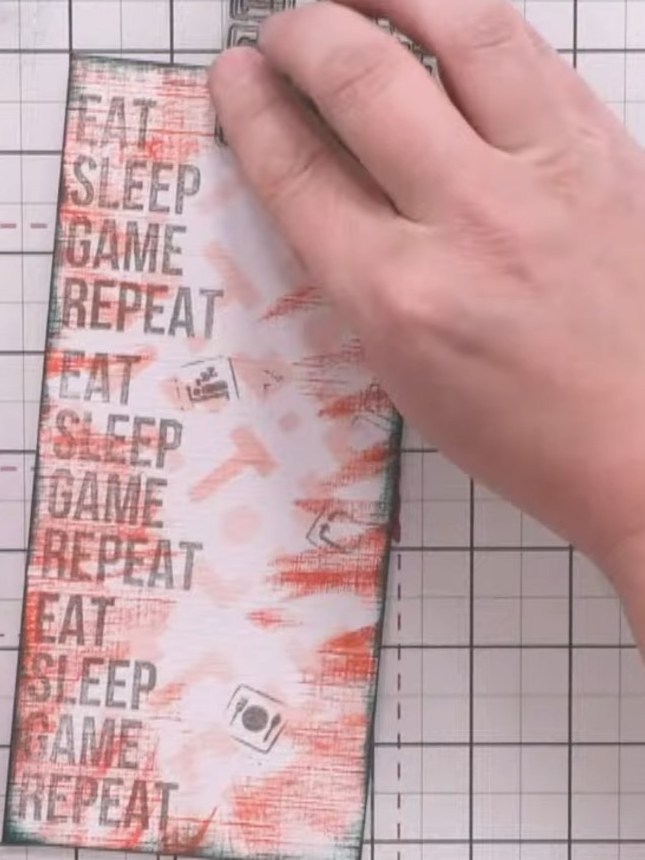
Using grey ink, stamp individual gaming symbols from the Crash stamp set (controller, bed, knife, fork) randomly across the card. Space them out rather than clustering them together.
▶ ver este paso (29:15)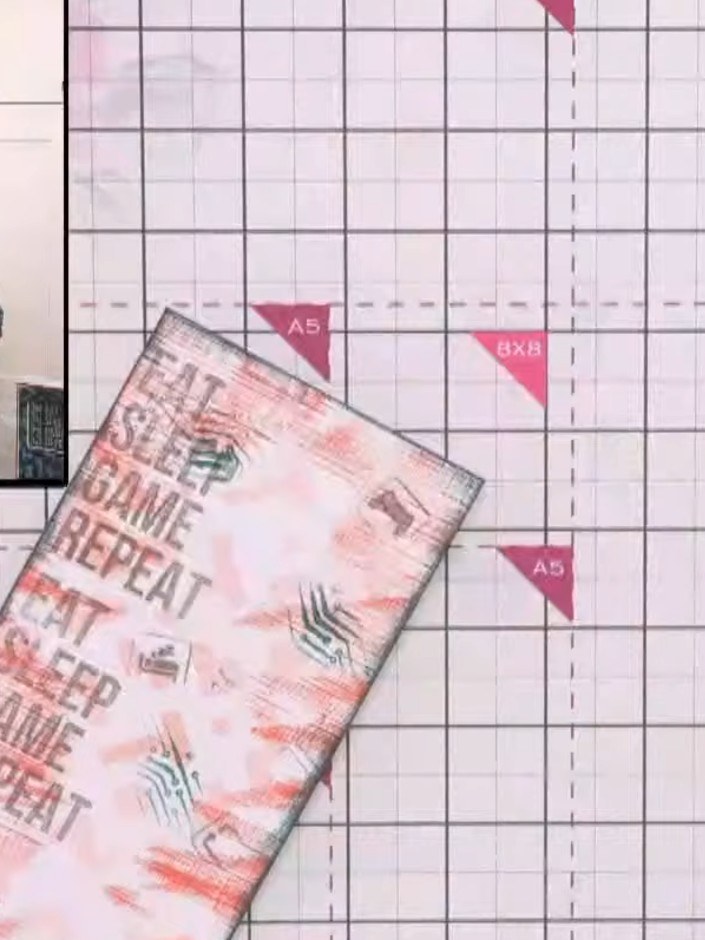
Dab your finger onto the grey ink pad and press the Game Over background stamp onto it. Press the stamp down in various areas across the card to add electronic circuit-like patterns, rotating the stamp to create different areas of the pattern.
▶ ver este paso (29:45)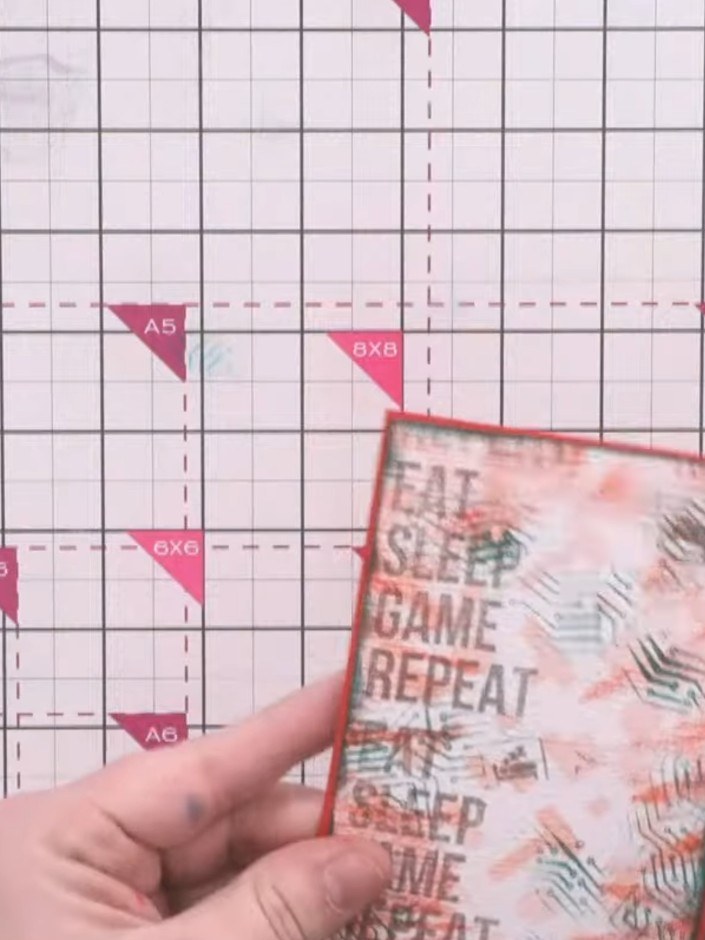
Mount the textured background panel onto a red card base using adhesive, ensuring the green inked edges are visible around the border.
▶ ver este paso (31:00)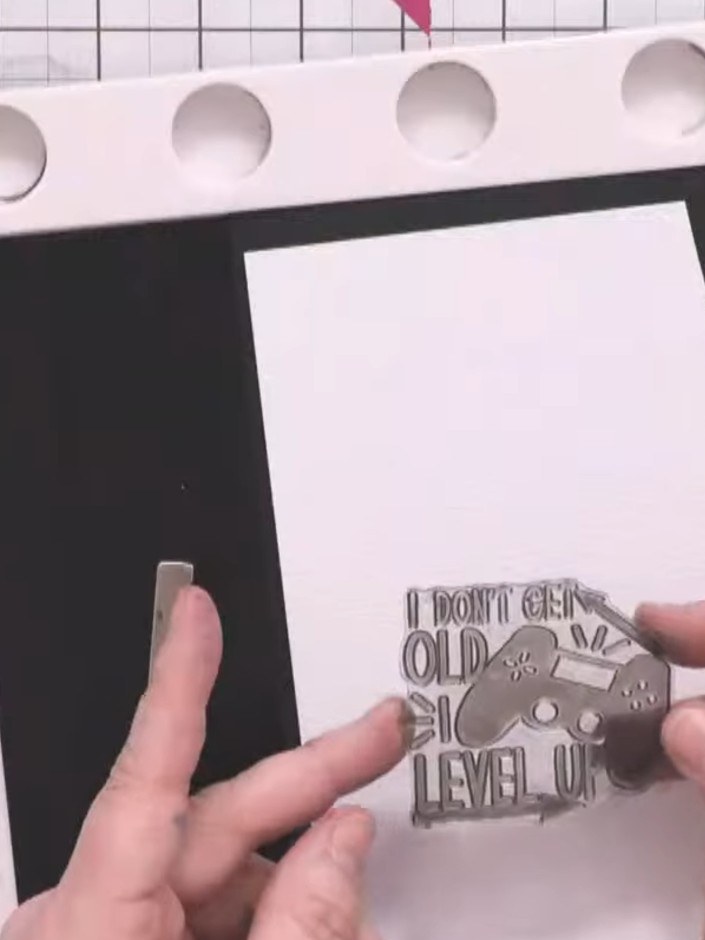
Stamp the 'I don't get old, I level up' sentiment onto linen-effect card using black ink. Press firmly multiple times to ensure a crisp image on the textured surface.
▶ ver este paso (31:45)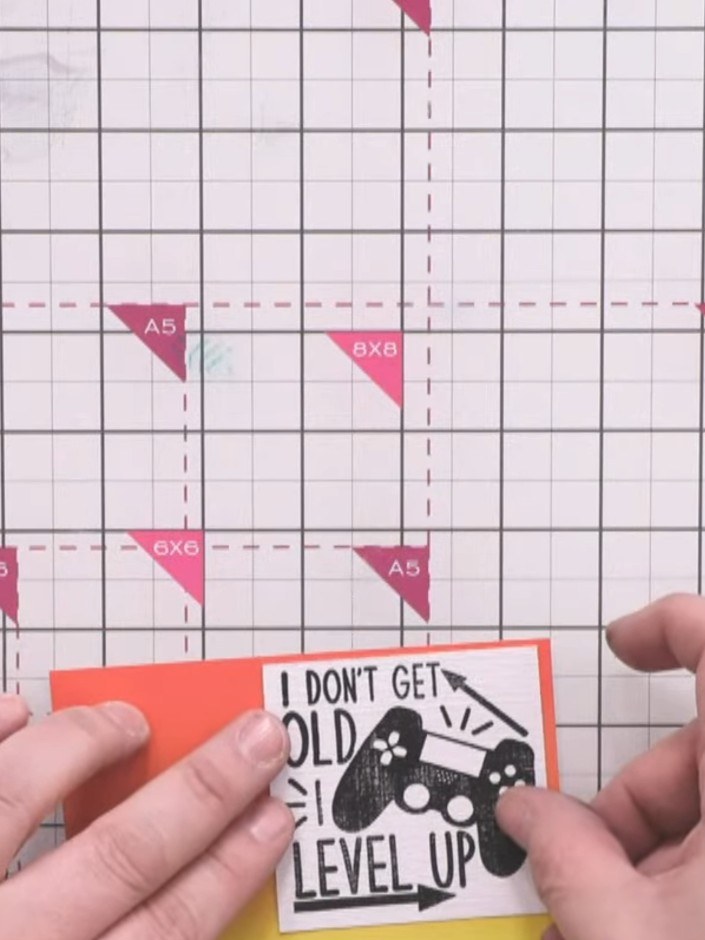
Trim the sentiment panel to size. Lightly brush the green ink pad over the black stamped image to tone it down and create a grungy effect that matches the card's aesthetic.
▶ ver este paso (34:00)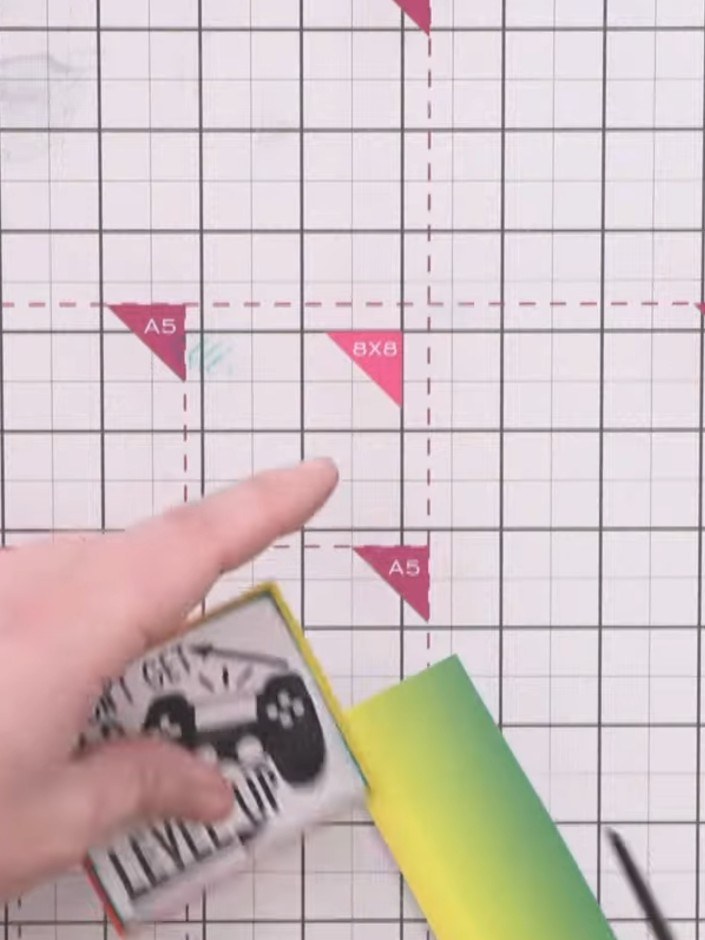
Cut out the sentiment panel using scissors. Attach foam pads to the back of the panel.
▶ mira este paso (35:00)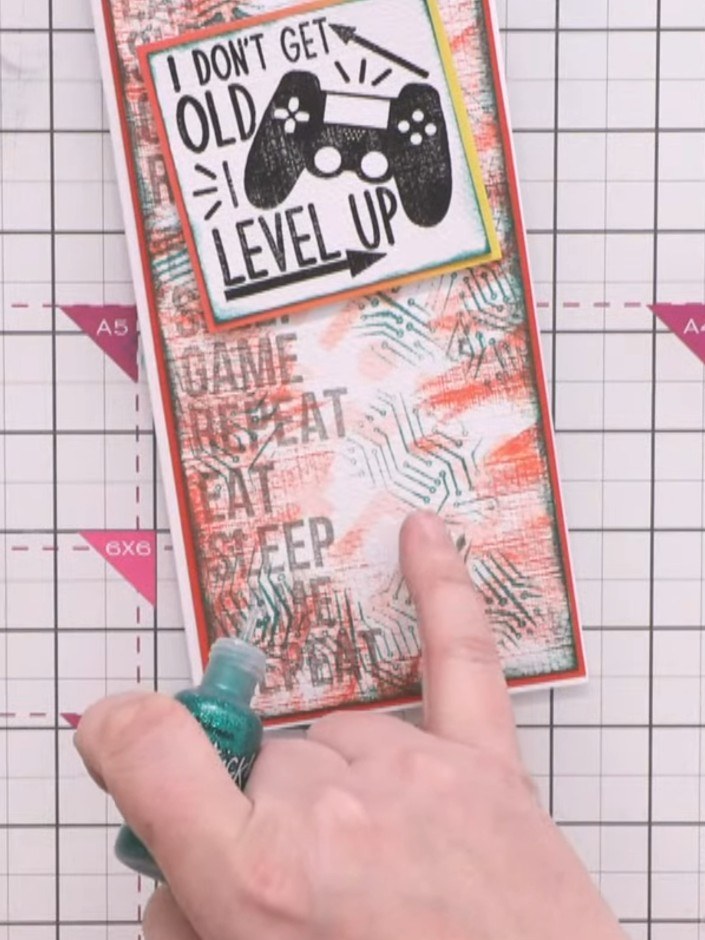
Position the sentiment panel slightly above centre on the card base. Add green glitter dots or Stickles randomly around the card to pick out the electrode circles and add dimension.
▶ ver este paso (35:45)Redactado a partir del propio programa. Mira todas las guías de nuestros programas · guías paso a paso gratis · mira en vivo en My Telly