¡Regálales a tus amigos $10 de descuento en su primer pedido!
Recomienda a un AMIGO








Un proyecto de nuestro programa en vivo CREATE TOGETHER CLUB - CAPÍTULO 2 - Acompaña a Toni en el programa de inspiración 5 usando el segundo sello de la colección llamado SOMEBUNNY LOVES YOU - Transmitido el 17 ENE 23 · 01/17/2023 · velo desde 19:30
A side-fold card featuring a clear acetate overlay creating a window effect, with stamped and watercoloured bunnies on patterned paper visible through the acetate. The design uses layered panels and red liner tape to create dimension and a floating effect.
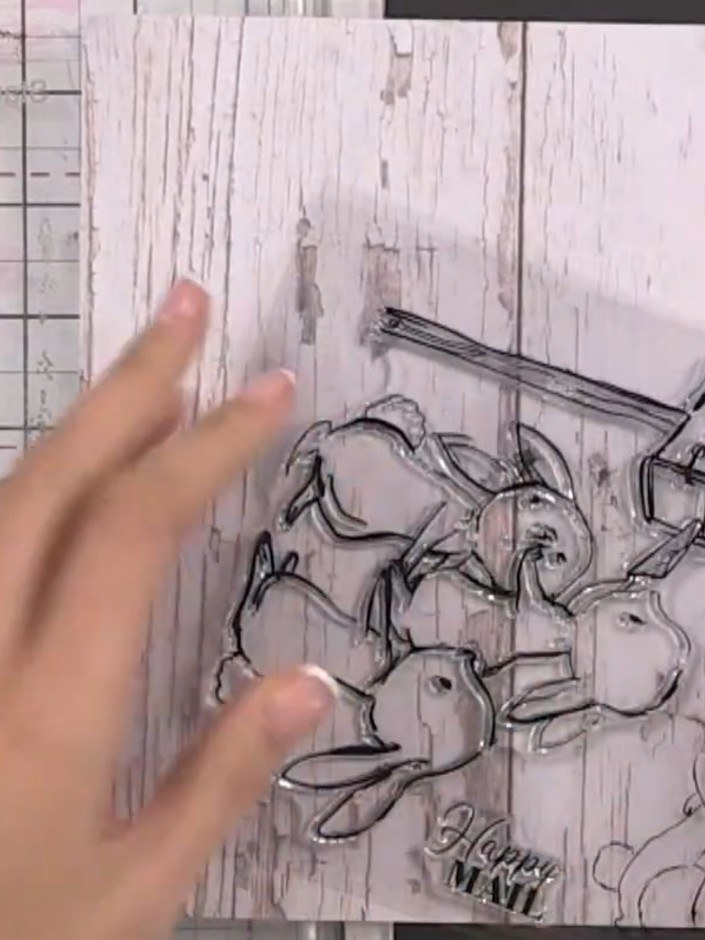
Stamp the rabbit family image onto wood grain patterned paper using black ink. Position the stamp to show the bunnies clearly on the wood grain background.
▶ ver este paso (19:45)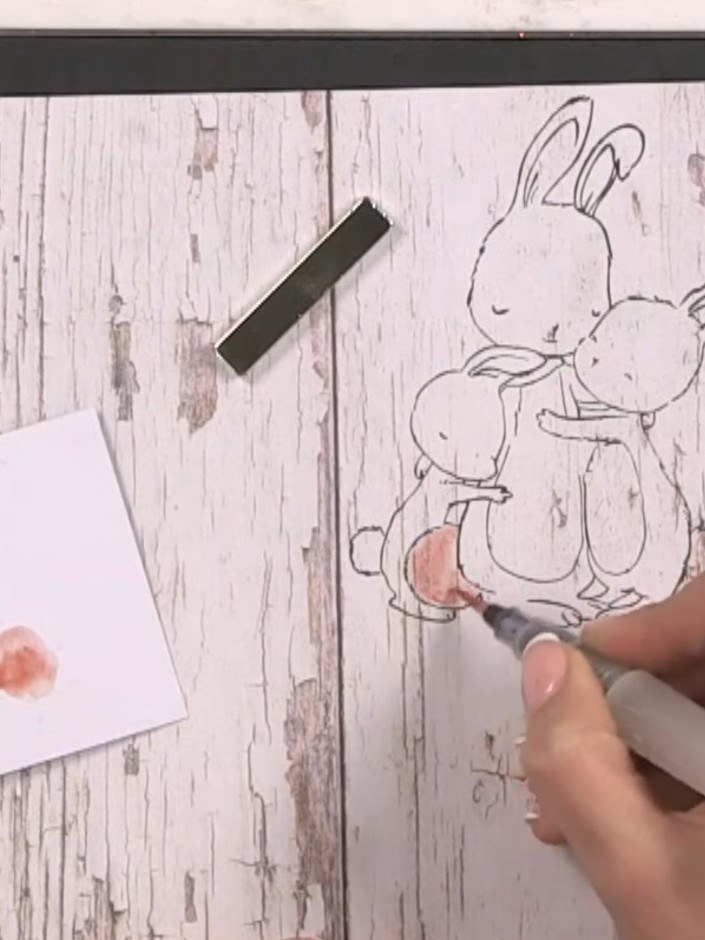
Using a water brush and brown watercolour from your palette, add light washes of colour to the stamped bunny image. Keep the washes subtle so the wood grain texture remains visible underneath.
▶ ver este paso (22:00)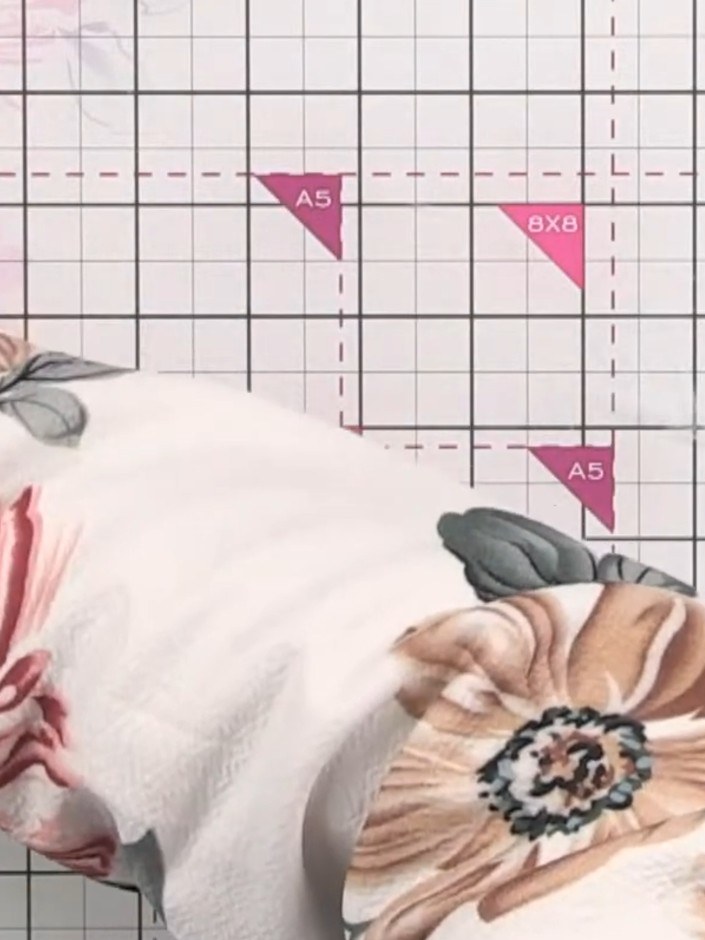
Carefully fussy cut around the watercoloured bunny family using scissors, following the outline of the stamped image.
▶ ver este paso (24:45)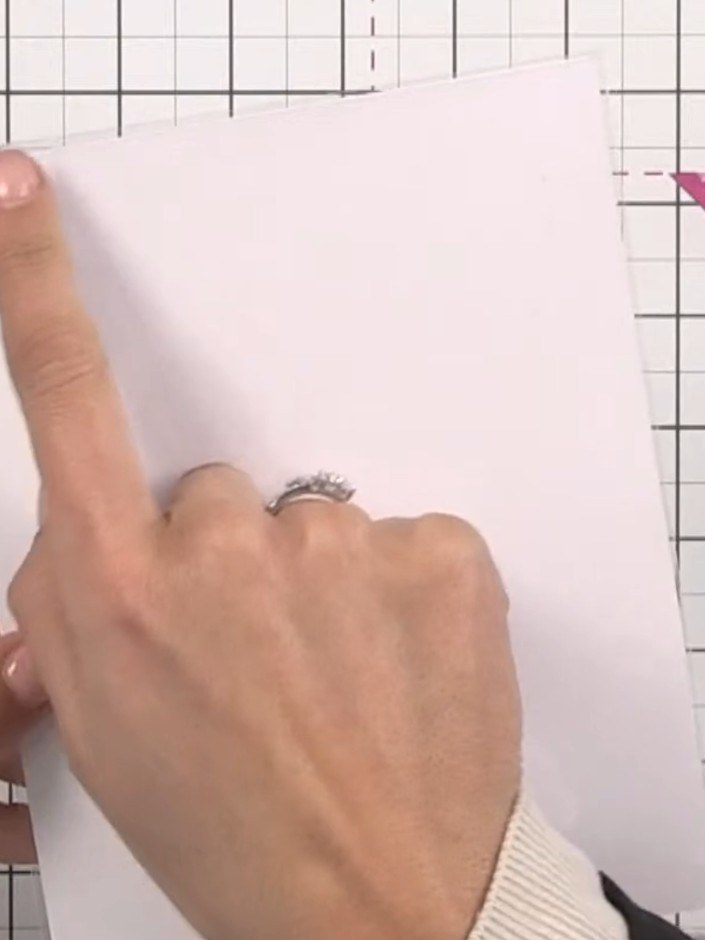
Score and fold a card blank to create a side-fold base. Cut an acetate panel slightly larger than the card front to create an overhang effect around the edges.
▶ ver este paso (25:00)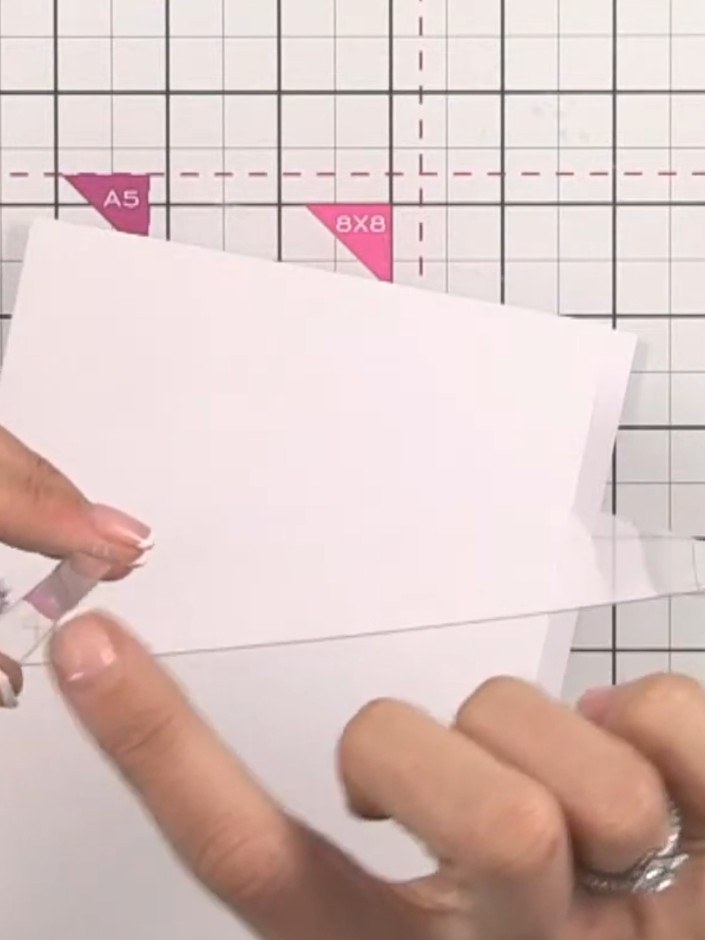
Apply red liner tape to the hinge at the back of the acetate panel. Position the tape along the edge where the acetate will fold.
▶ ver este paso (25:30)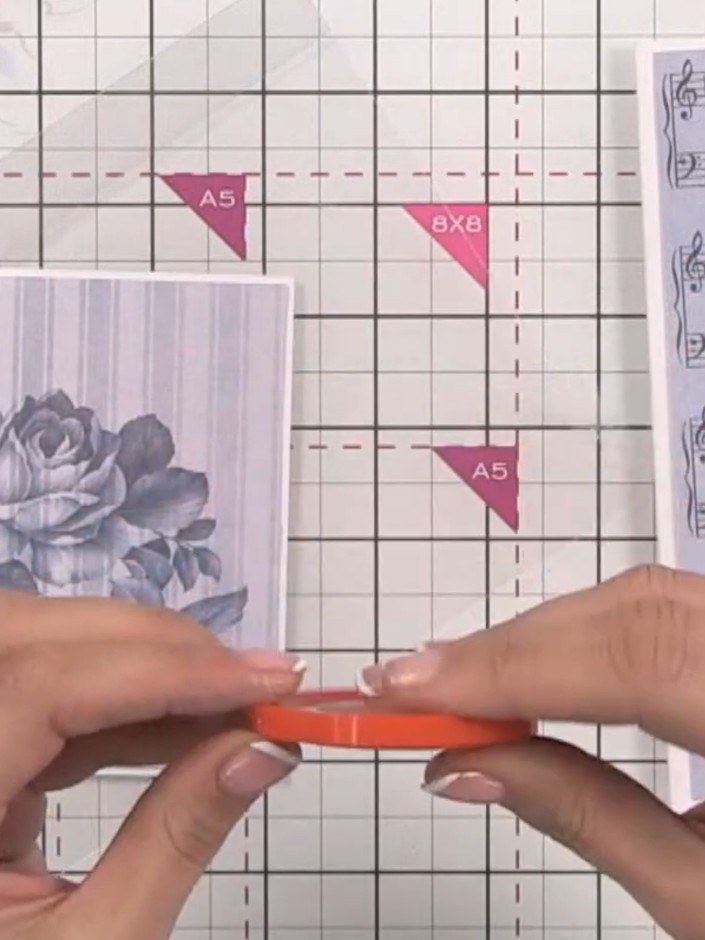
Adhere the card blank to the back of the acetate using red liner tape, ensuring it is centred with a small halo of acetate visible around the edges.
▶ ver este paso (28:00)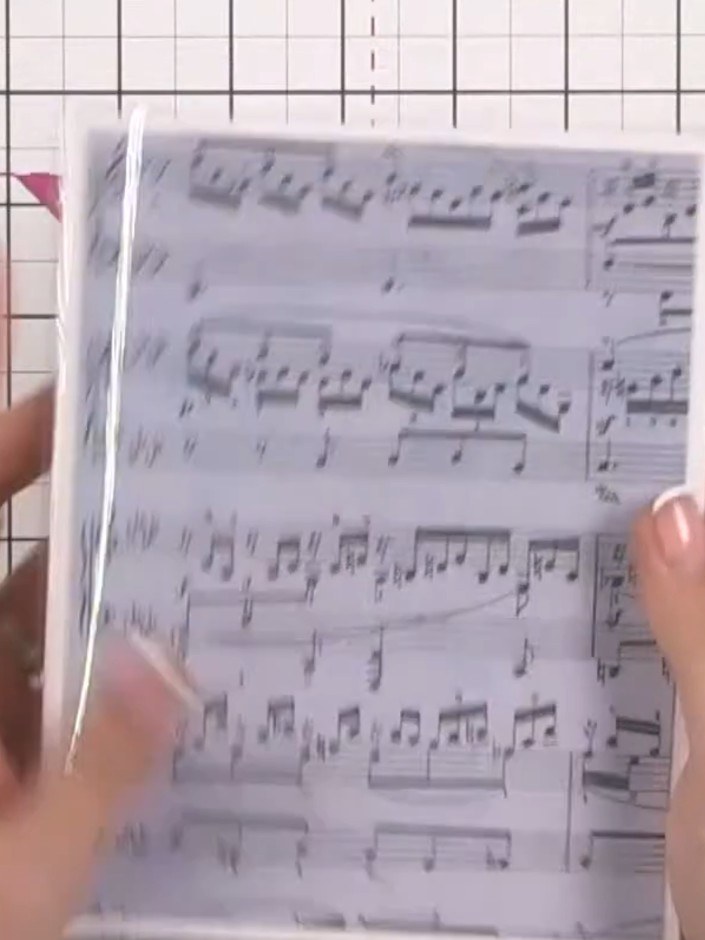
Position the music note acetate sheet inside the card, placing it slightly higher than centre. Press down firmly to secure it in place, ensuring the acetate is visible through the window.
▶ ver este paso (29:00)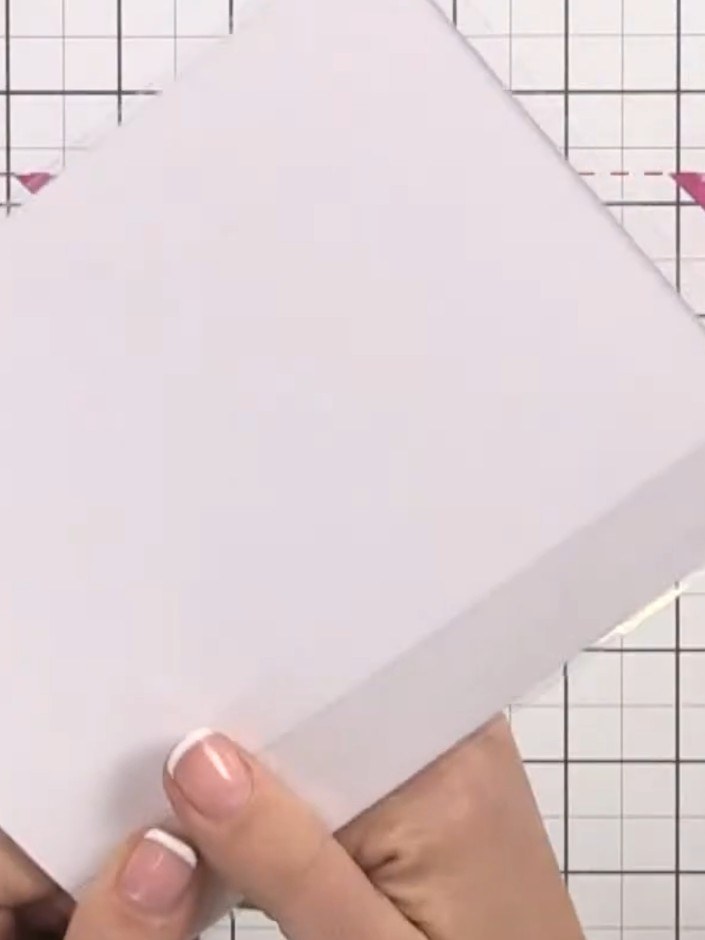
Cut a piece of patterned paper to cover the inside back panel of the card, hiding the acetate and red liner tape.
▶ ver este paso (29:30)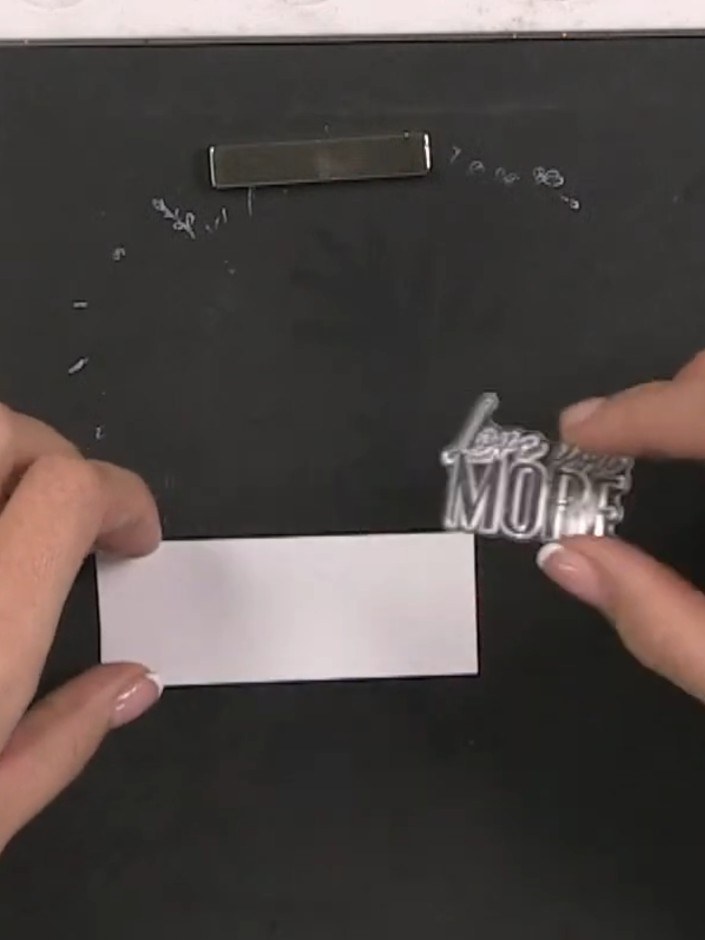
Stamp a sentiment onto a white card strip using a stamp from the set. Position the 'Love You More' sentiment centrally on the strip.
▶ ver este paso (34:15)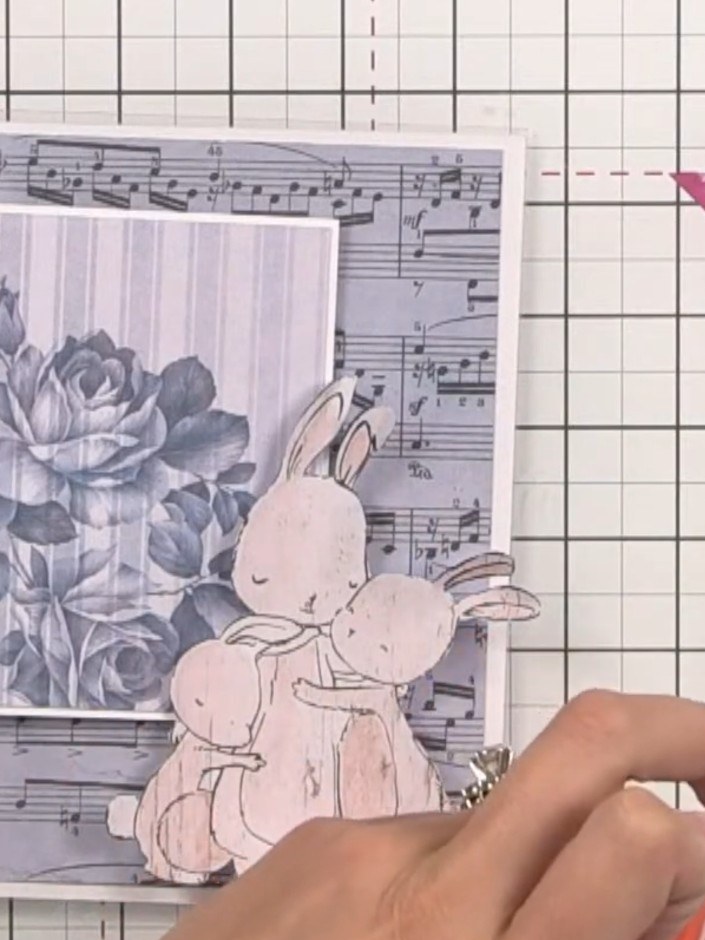
Embellish the card with gems or sequins as desired to complete your interactive acetate window card.
▶ mira este paso (38:00)Redactado a partir del propio programa. Mira todas las guías de nuestros programas · guías paso a paso gratis · mira en vivo en My Telly