¡Regálales a tus amigos $10 de descuento en su primer pedido!
Recomienda a un AMIGO








Un proyecto de nuestro programa en vivo BRAND SHOWCASE - FUNKY FOSSIL - Acompáñanos en este evento tan querido donde las marcas PEQUEÑAS son las que gritan MÁS FUERTE - Transmitido el 20 ENE 23 · 01/20/2023 · velo desde 21:00
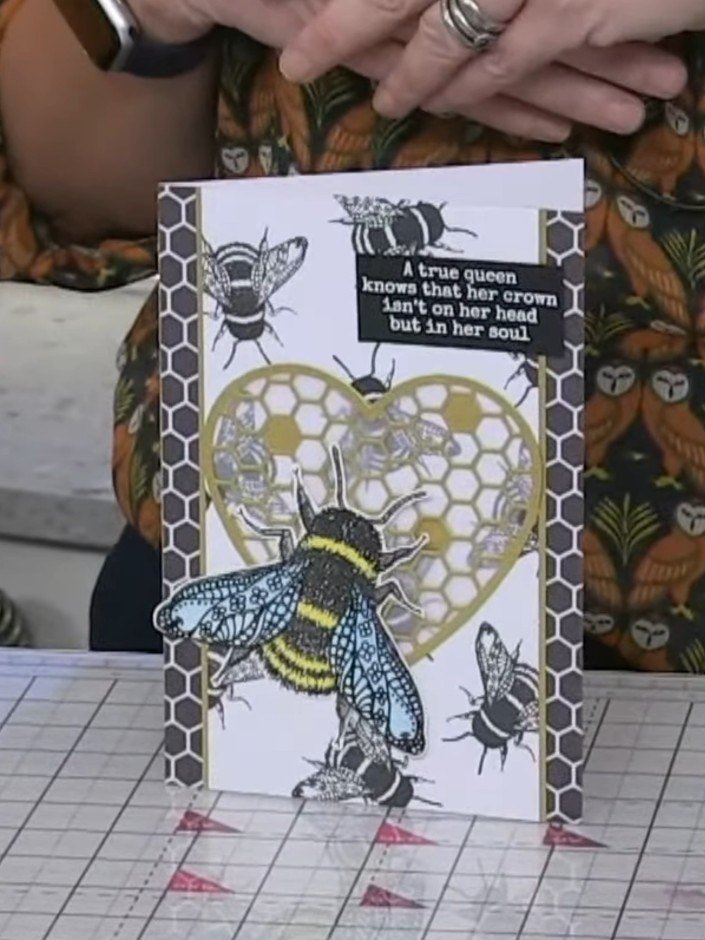
Create a stunning dimensional card featuring a beautifully hand-stamped bee coloured with distress oxide inks in rich blues and golden yellows. The bee is layered over an elegant honeycomb-patterned heart die-cut backed with vellum, creating a soft, translucent effect. This project demonstrates how to combine watercolouring techniques with vellum overlays to add depth and visual interest to your handmade cards.
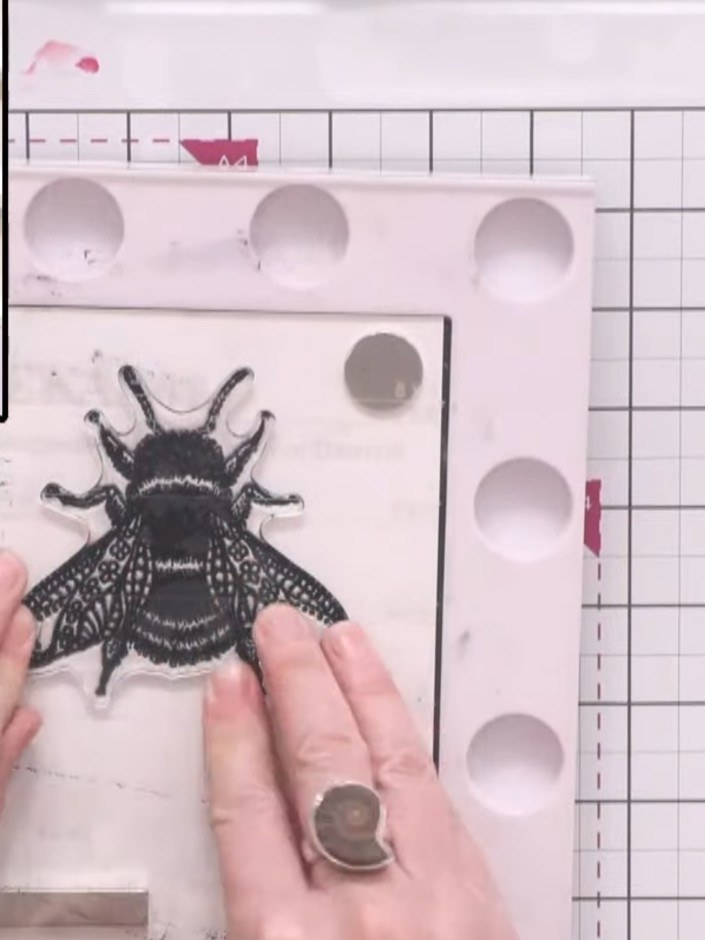
Stamp the large bee from the Queen Bee A5 stamp set onto white cardstock using hybrid black ink. Press firmly to ensure a clear, detailed impression.
▶ ver este paso (21:00)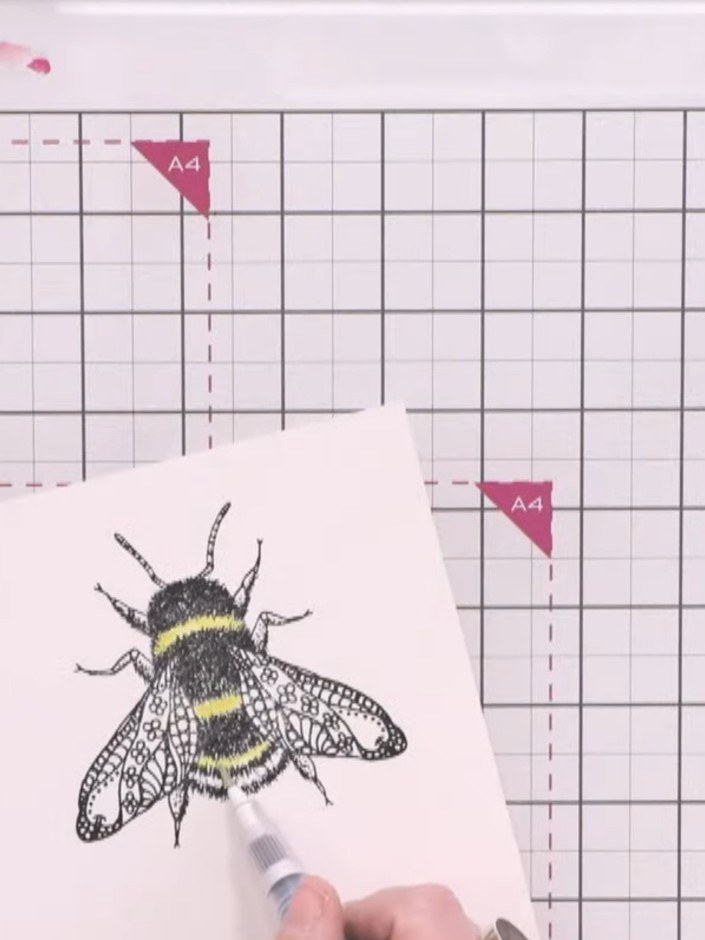
Colour the yellow stripes on the bee's body using distress oxide ink in fossilized amber. Use a water brush to pull and blend the colour into the stamped image.
▶ ver este paso (22:15)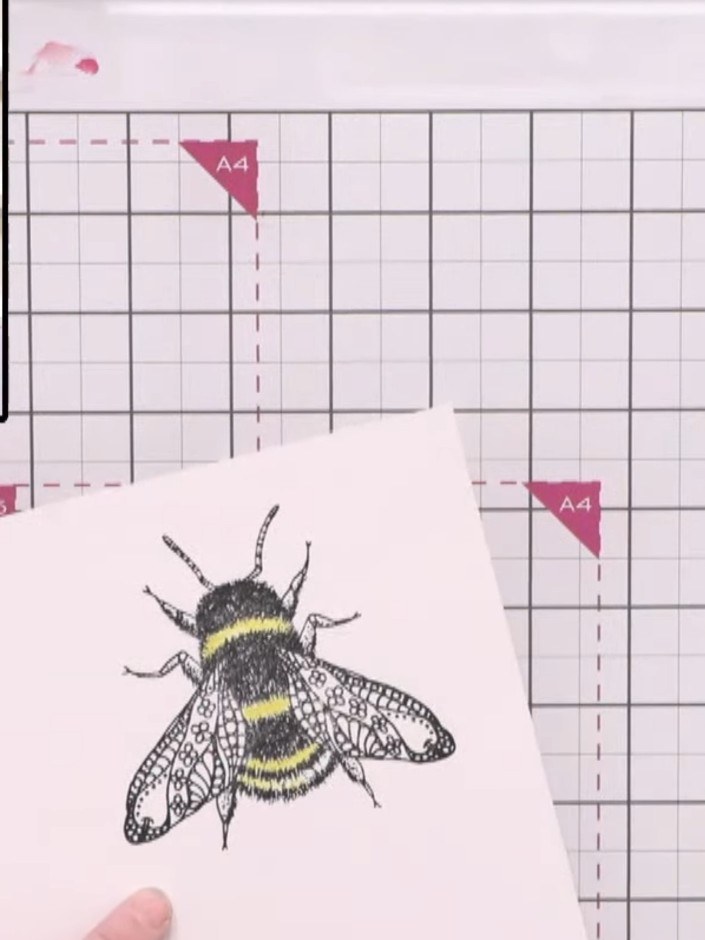
Stamp the bee image a second time on a separate piece of white cardstock. Colour the wings using a different distress oxide shade, such as lagoon, to create variation.
▶ ver este paso (23:30)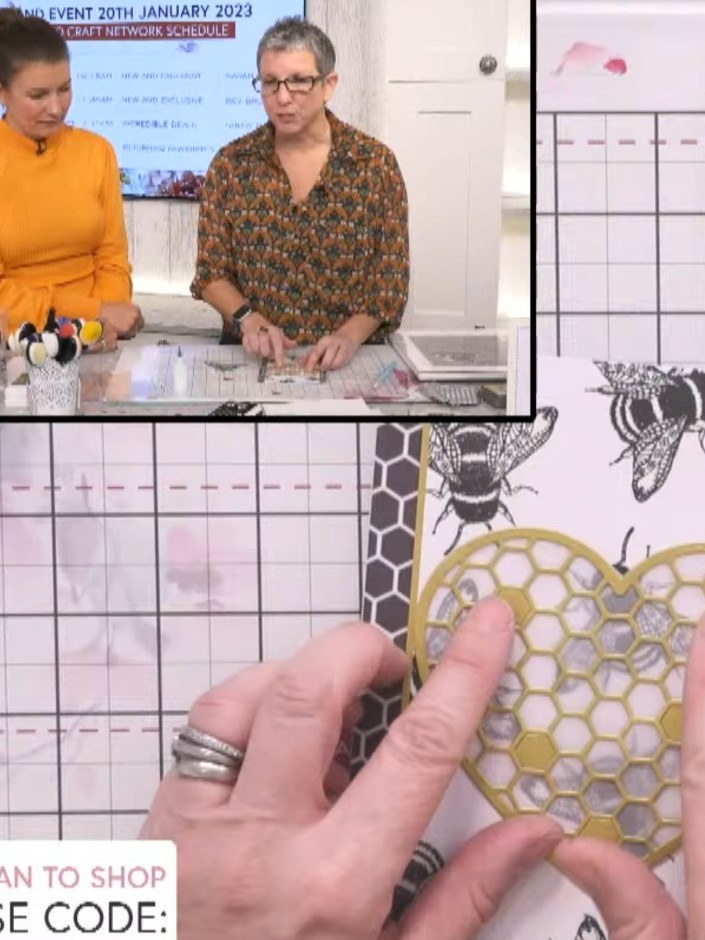
Die cut the honeycomb heart from gold cardstock using the heart die from the honeycomb heart die set.
▶ ver este paso (24:00)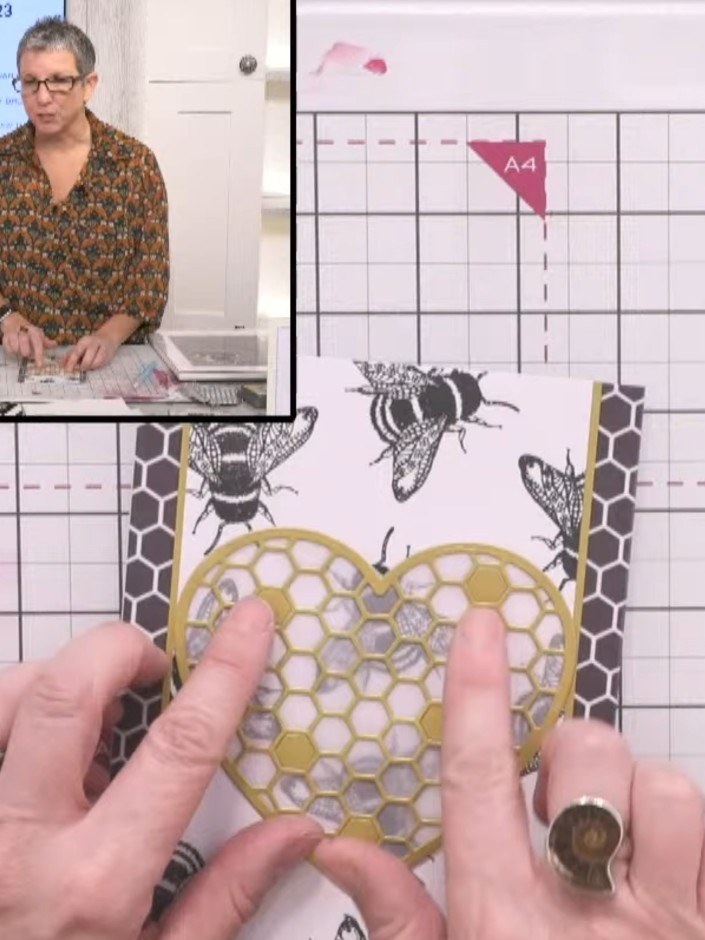
Position the gold honeycomb heart die cut over the vellum background. Carefully trim around the heart shape to create a softened overlay effect with the vellum showing through the honeycomb pattern.
▶ ver este paso (24:45)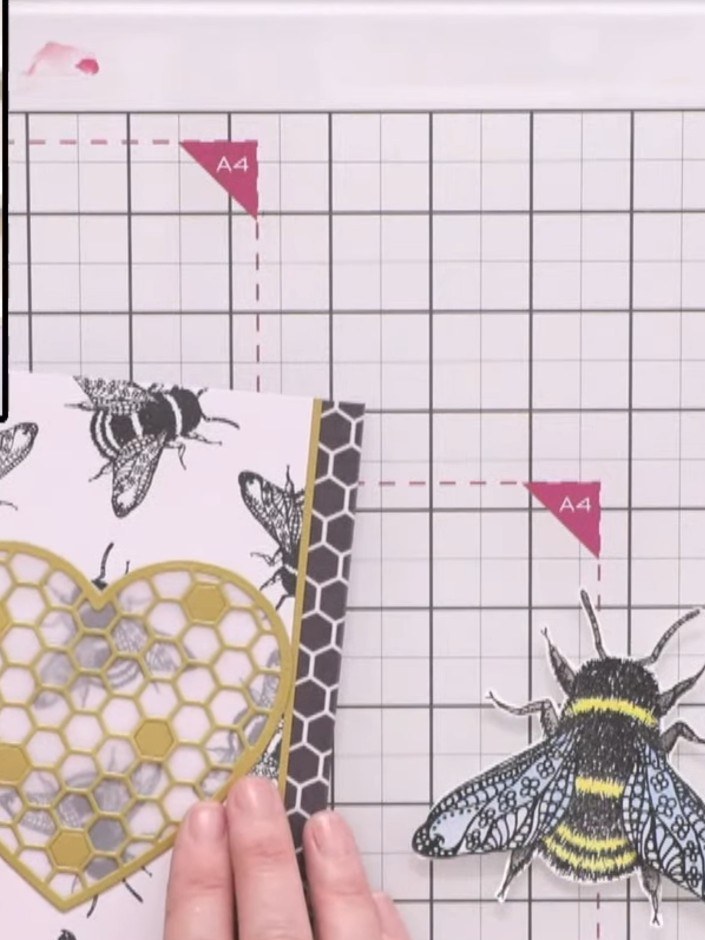
Position the gold honeycomb heart die-cut over the stamped bee background, ensuring the vellum backing is behind it. Adhere the heart in place using the honeycomb cells as landing points for your glue.
▶ ver este paso (25:00)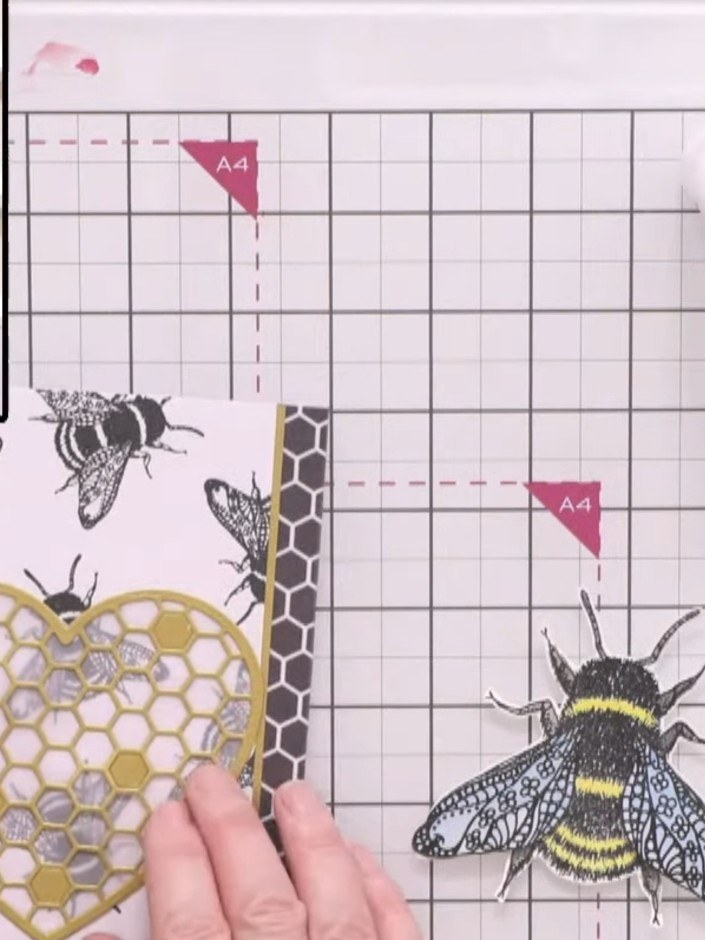
Add gold hexagon embellishments around the honeycomb heart, positioning them decoratively to fill the space and create additional interest around the focal point.
▶ ver este paso (25:15)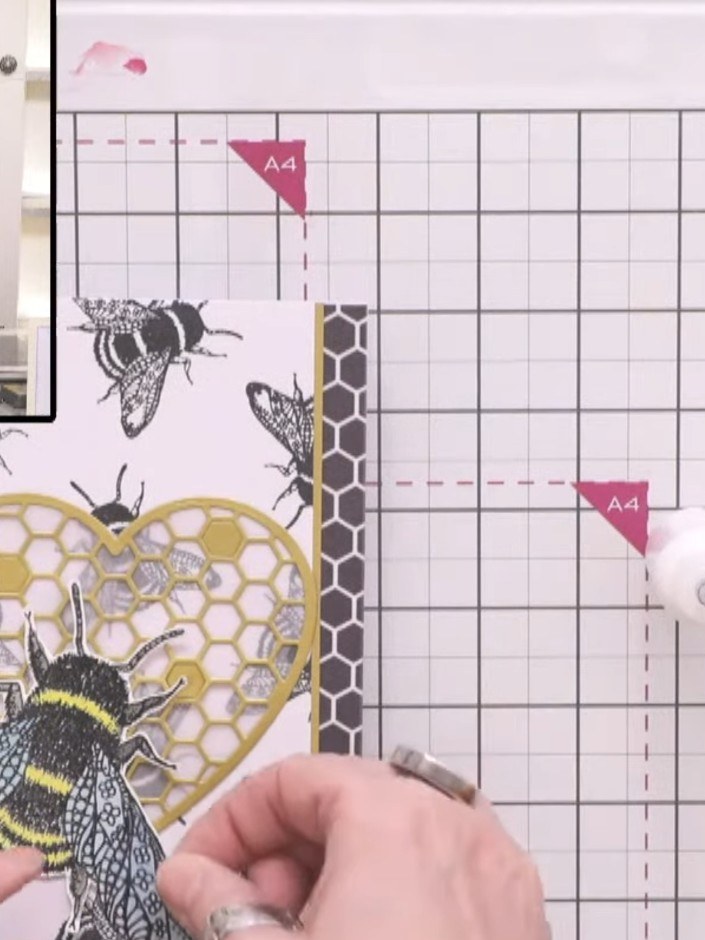
Shape the bee wings with your fingers to add dimension. Apply glue to the back of the coloured bee and attach it to the card, positioning it over the gold honeycomb heart.
▶ ver este paso (26:30)Redactado a partir del propio programa. Mira todas las guías de nuestros programas · guías paso a paso gratis · mira en vivo en My Telly