¡Regálales a tus amigos $10 de descuento en su primer pedido!
Recomienda a un AMIGO








Un proyecto de nuestro programa en vivo VITRINA DE MARCAS - UNIKO - Acompáñanos en este evento tan querido donde las marcas PEQUEÑAS alzan la voz MÁS FUERTE - Transmitido el 20 ENE 23 · 01/20/2023 · velo desde 42:00
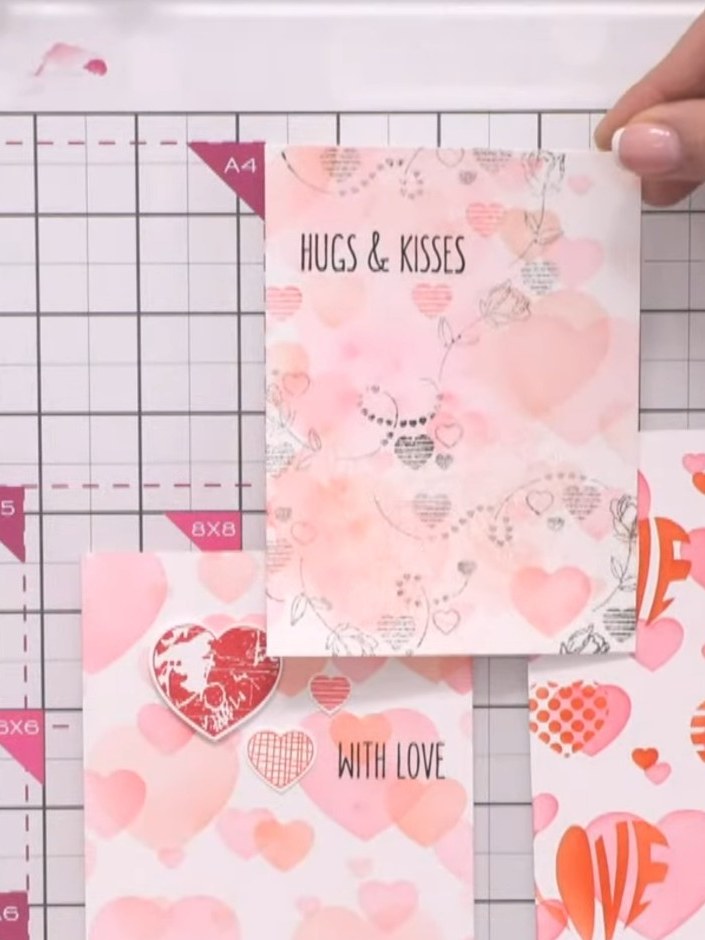
Create an elegant layered card featuring a fussy-cut textured heart as the centrepiece. This delicate design uses soft pink and red tones with coordinating sentiment stamps to showcase how textured stamping can produce refined, pretty cards. The technique involves careful cutting and layering to build dimension and visual interest.
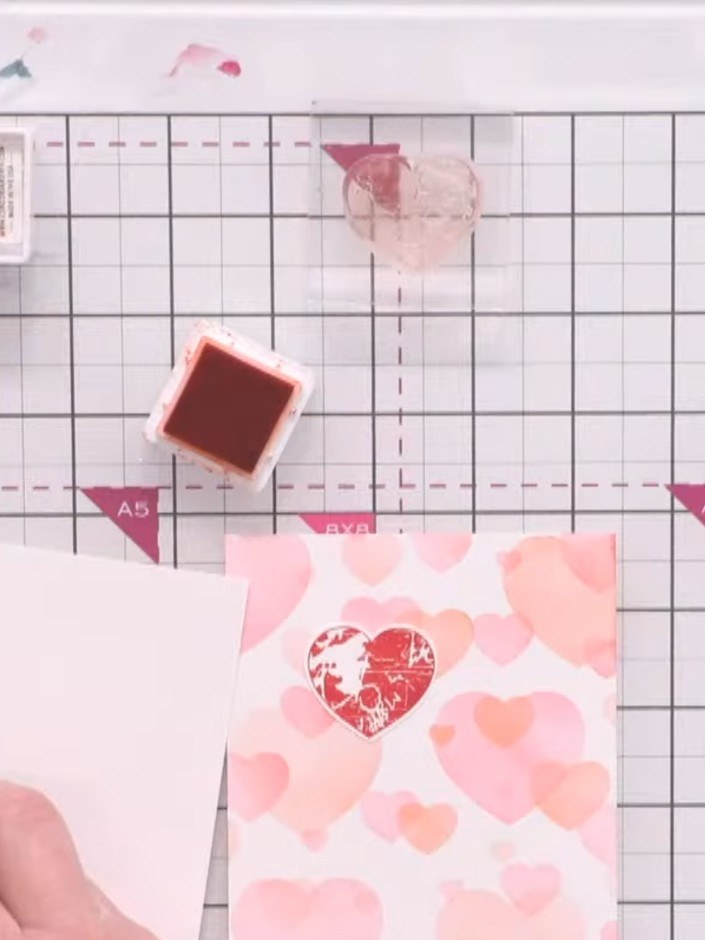
Stamp the textured heart from the Big & Bold Love stamp set onto white cardstock using a coordinating ink colour. The stamp features decorative patterns within the heart shape.
▶ ver este paso (42:30)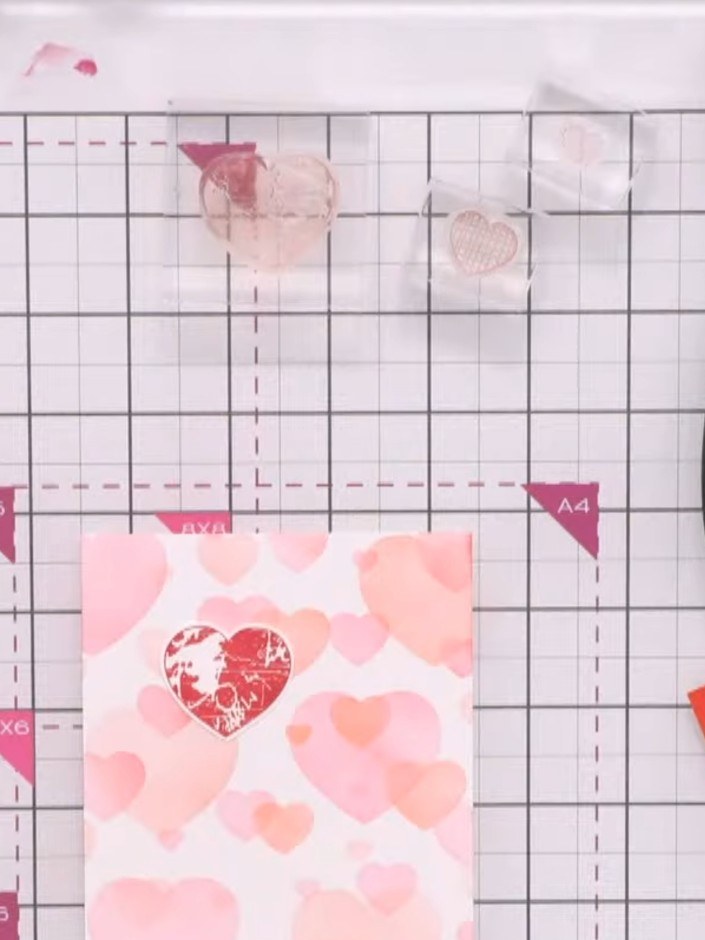
Carefully fussy cut around the stamped heart shape using small scissors or a craft knife. Take your time to cut precisely along the edges of the heart design to create a clean, professional finish.
▶ ver este paso (43:00)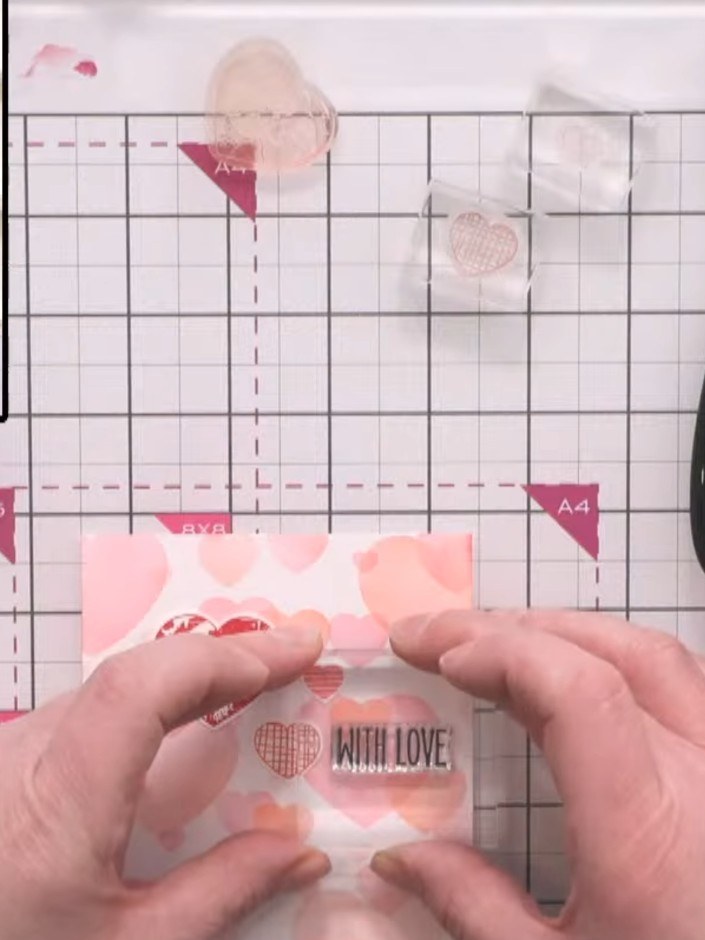
Stamp a sentiment such as 'With Love' onto your card base using the thin-lined sentiment stamps from the Big & Bold Love stamp set. Position the sentiment centrally below the heart design.
▶ ver este paso (44:00)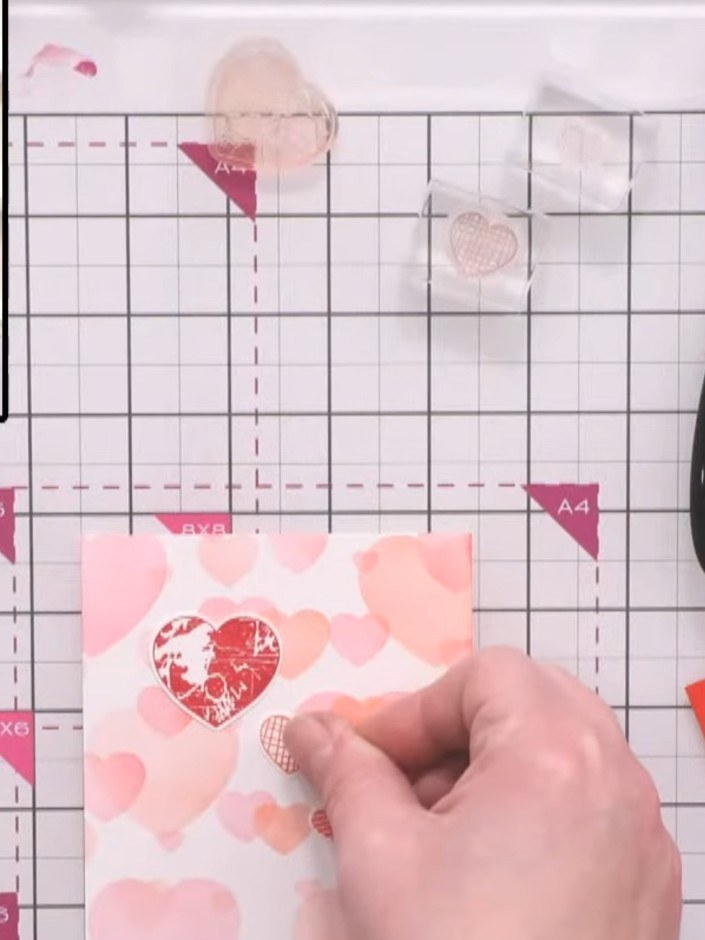
Apply foam adhesive to the back of your fussy-cut heart. Layer the heart over the sentiment on your card front, positioning it centrally to create dimension.
▶ ver este paso (44:30)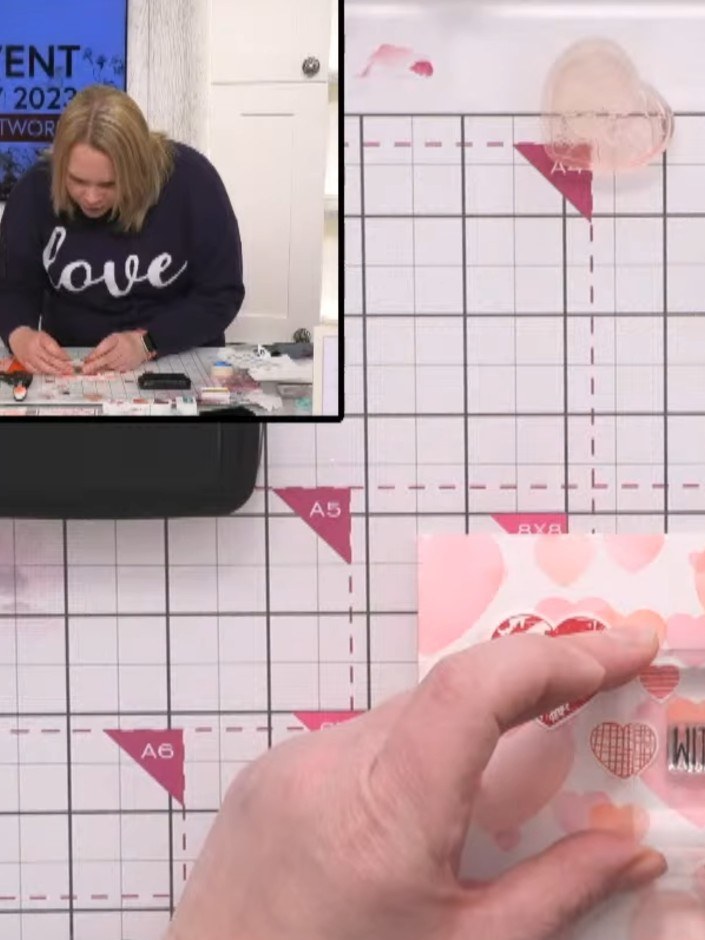
Add small decorative hearts or additional details around the main focal heart using the smaller stamps from the set. Position them to complement your design and create visual interest.
▶ ver este paso (45:00)Redactado a partir del propio programa. Mira todas las guías de nuestros programas · guías paso a paso gratis · mira en vivo en My Telly