¡Regálales a tus amigos $10 de descuento en su primer pedido!
Recomienda a un AMIGO








Un proyecto de nuestro programa en vivo CREATE TOGETHER CLUB - CAPÍTULO 2 - Acompaña a Toni en el programa de inspiración 6 usando el segundo sello de la colección llamado SOMEBUNNY LOVES YOU - Transmitido el 23 ENE 23 · 01/23/2023 · velo desde 6:00
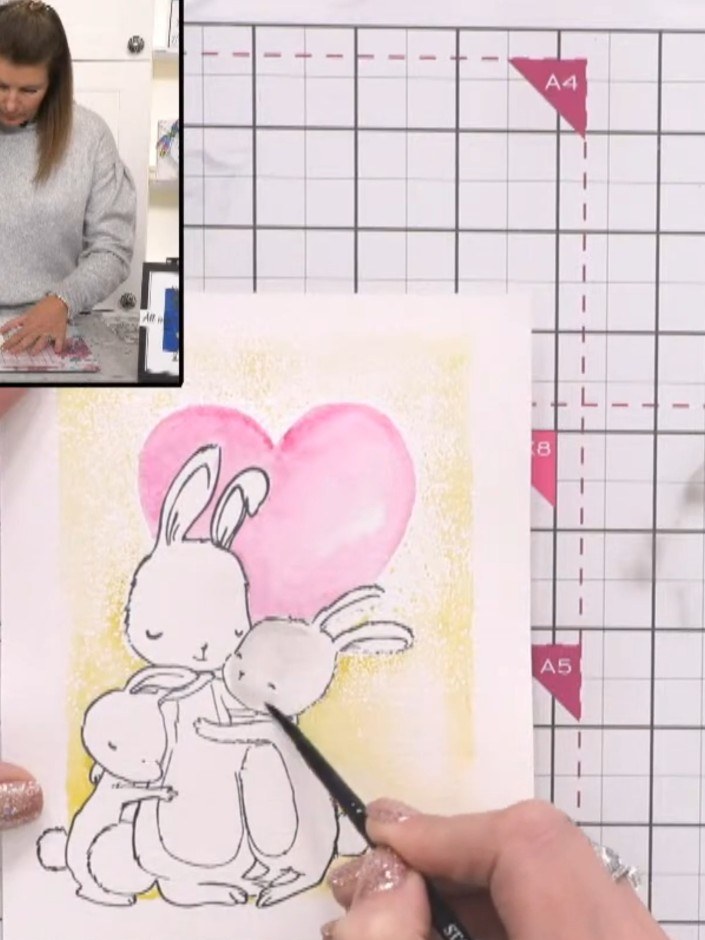
Create a charming watercolour card featuring two cuddling bunnies within a decorative frame, enhanced with a soft halo effect. This delightful design combines stamping, masking, and watercolour painting techniques to achieve a dimensional faux-framed appearance in gentle pink and cream tones. The finished card appears three-dimensional despite being completely flat, making it perfect for Valentine's Day or any special occasion.
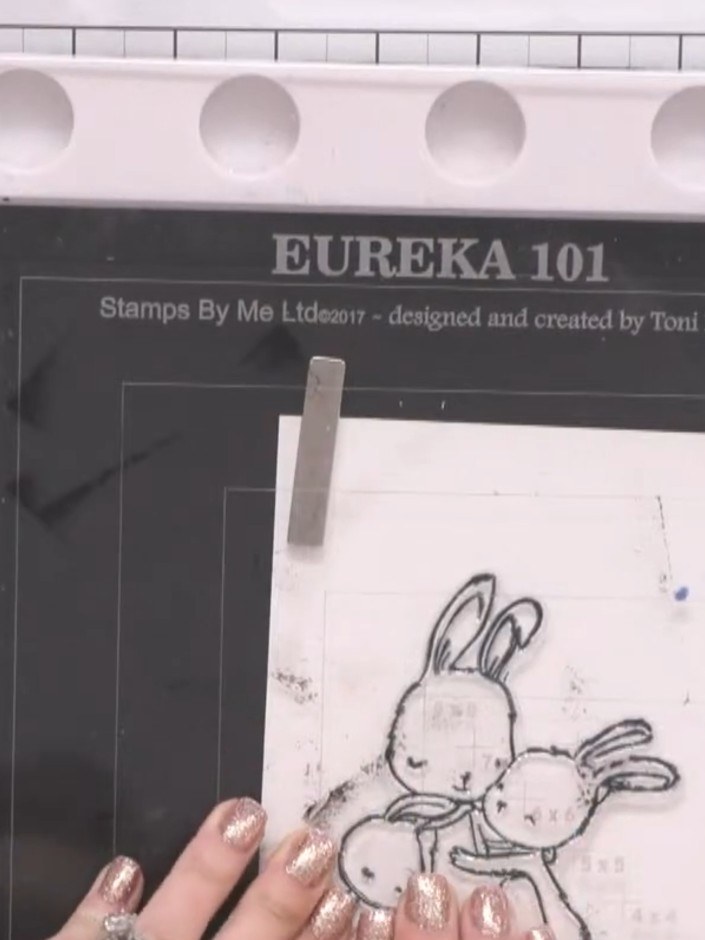
Stamp the bunny design onto white watercolour card using a black ink pad. Position the stamp carefully and press firmly for a clear impression.
▶ ver este paso (6:00)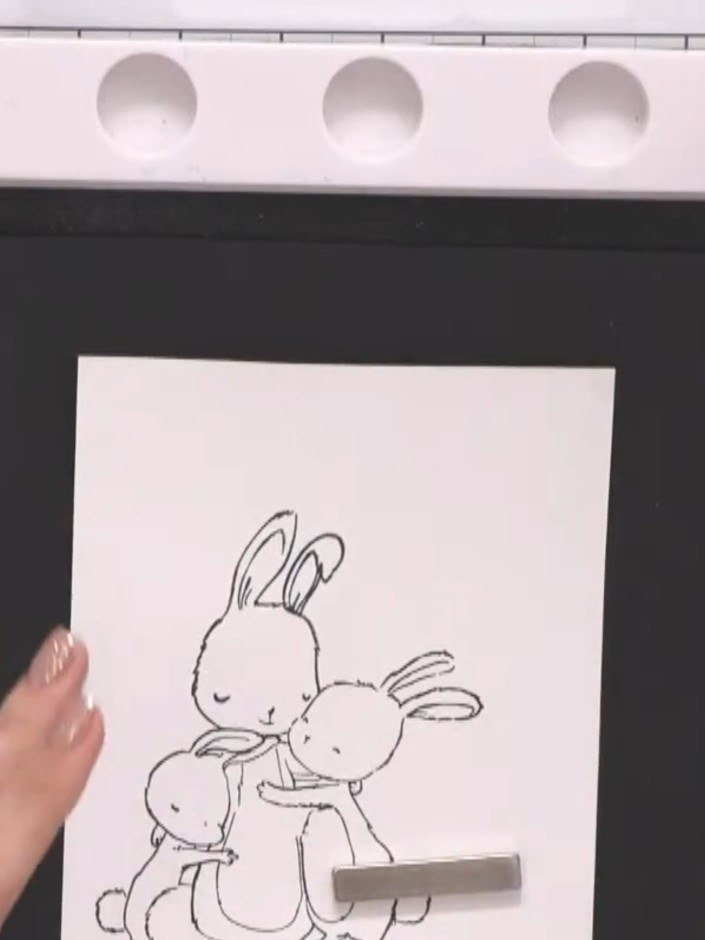
Create a mask by stamping the same bunny design onto vellum. Carefully cut out the stamped image to use as a mask.
▶ ver este paso (8:00)
Position the vellum mask over the stamped bunny image on your card, ensuring it covers the bunnies completely. The mask will protect the stamped area during the next steps.
▶ ver este paso (8:15)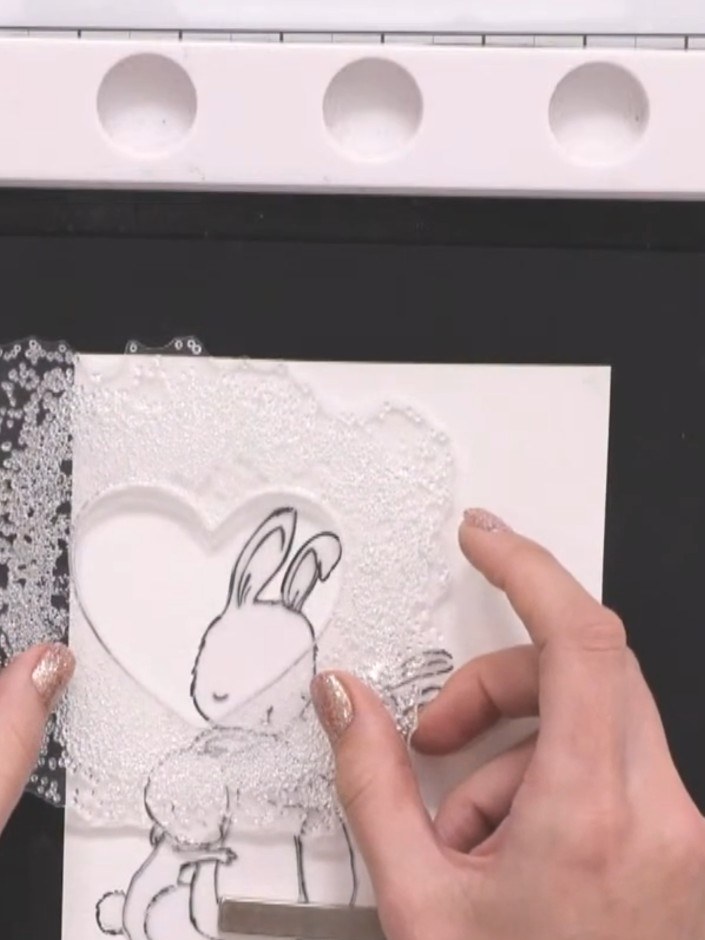
Stamp a large decorative frame or heart stamp over the masked bunny image, positioning it to frame the design. Use a light stamping motion to create a partial, textured effect around the bunny.
▶ ver este paso (8:45)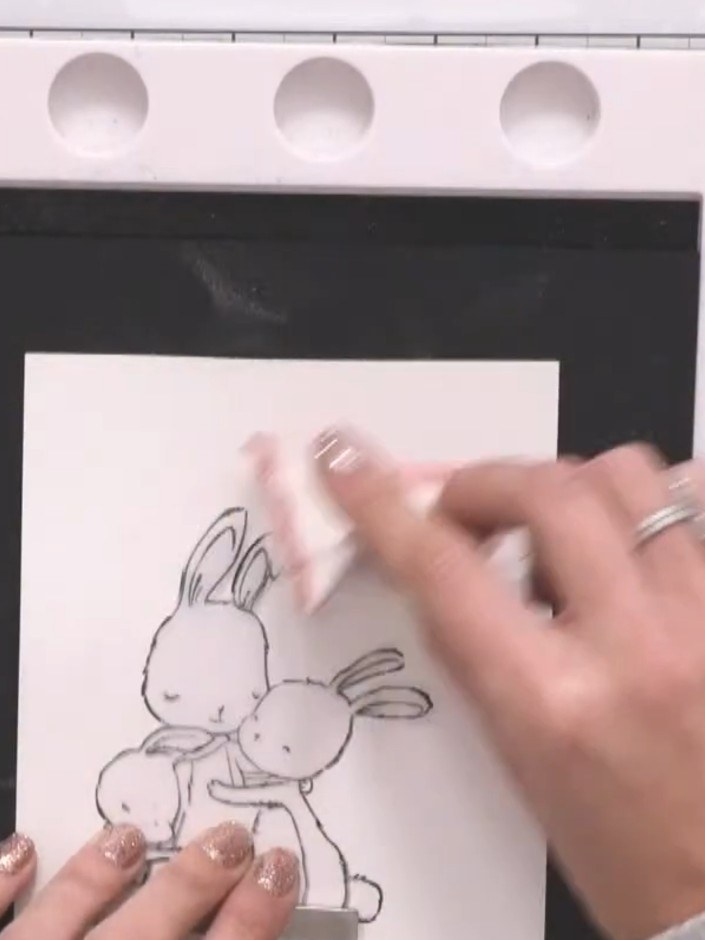
Apply anti-static powder to the stamped card surface using an anti-static bag or tool. This prevents the white embossing powder from sticking to unwanted areas of the card.
▶ ver este paso (9:45)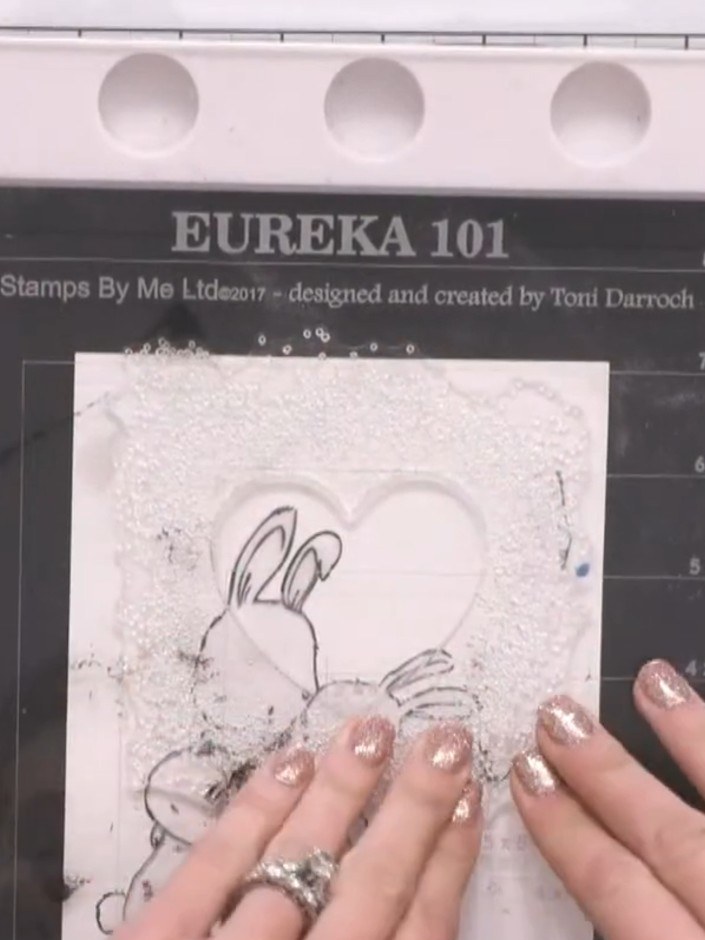
Stamp the frame design again using a sticky ink pad. Apply white embossing powder over the stamped image, then heat set with a heat gun to create a raised white frame.
▶ ver este paso (10:00)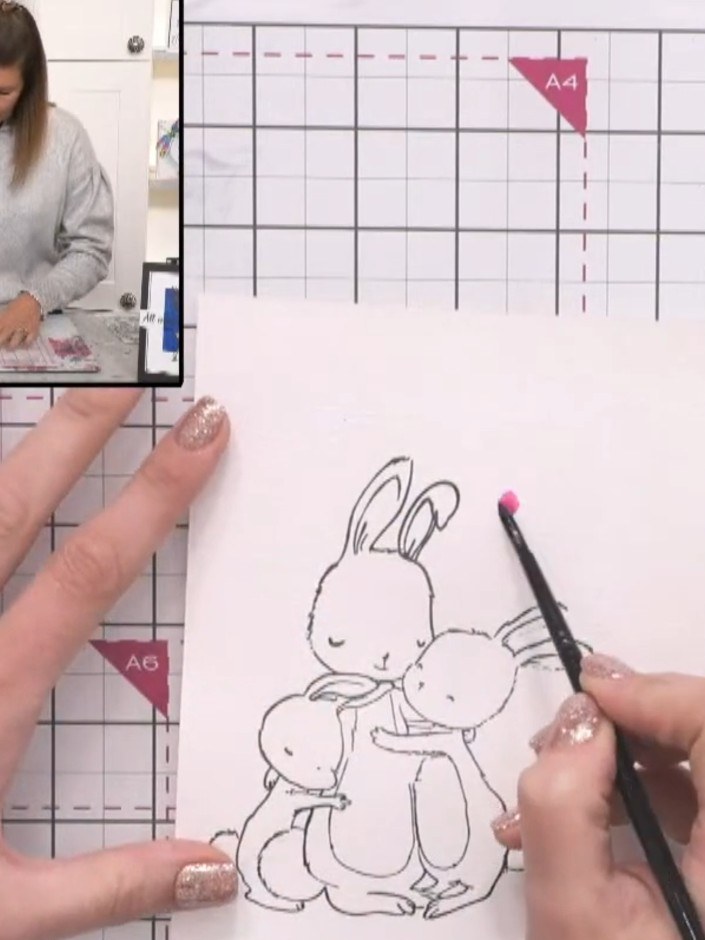
Using a watercolour brush with pink paint, begin painting the interior details of the bunny illustration, such as the hat brim and other small areas within the frame.
▶ ver este paso (13:30)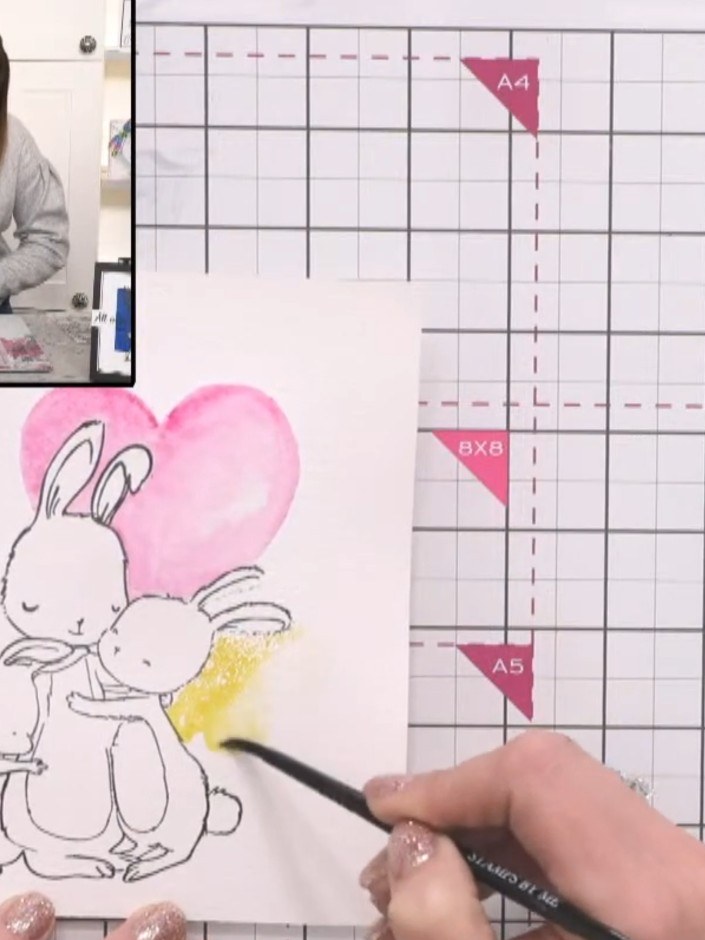
Using a contrasting colour such as mustard yellow or brown, carefully add definition to the masked frame design. Apply the colour along the edges of the masked lines to create depth and interest in the frame area.
▶ ver este paso (16:00)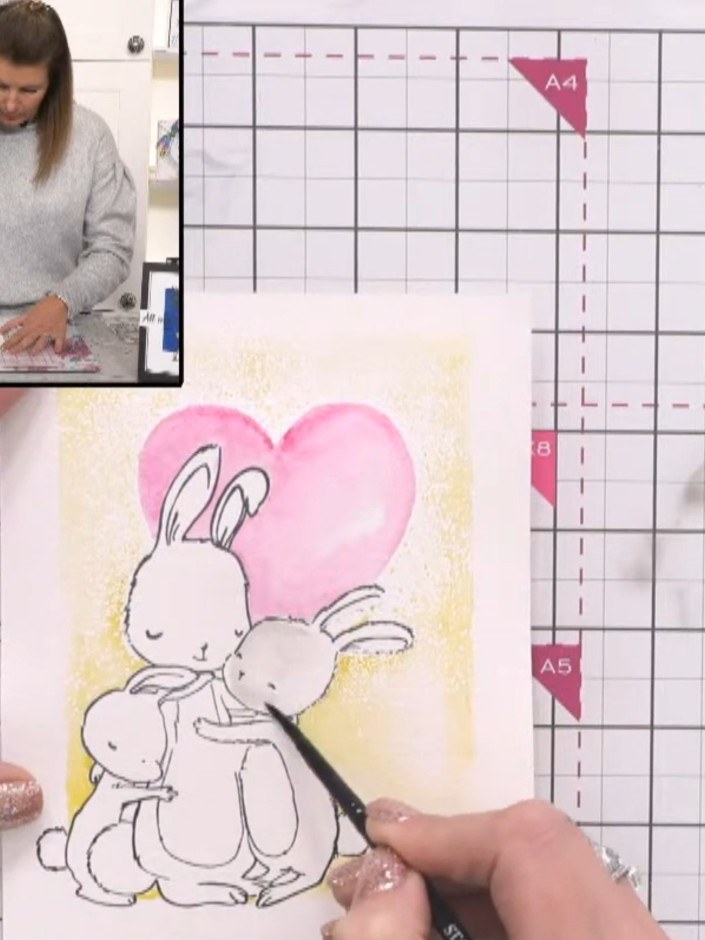
Colour the bunnies with grey watercolour paint. Use a damp brush to dab and lift colour, creating texture for a fur-like appearance on the bodies.
▶ ver este paso (18:45)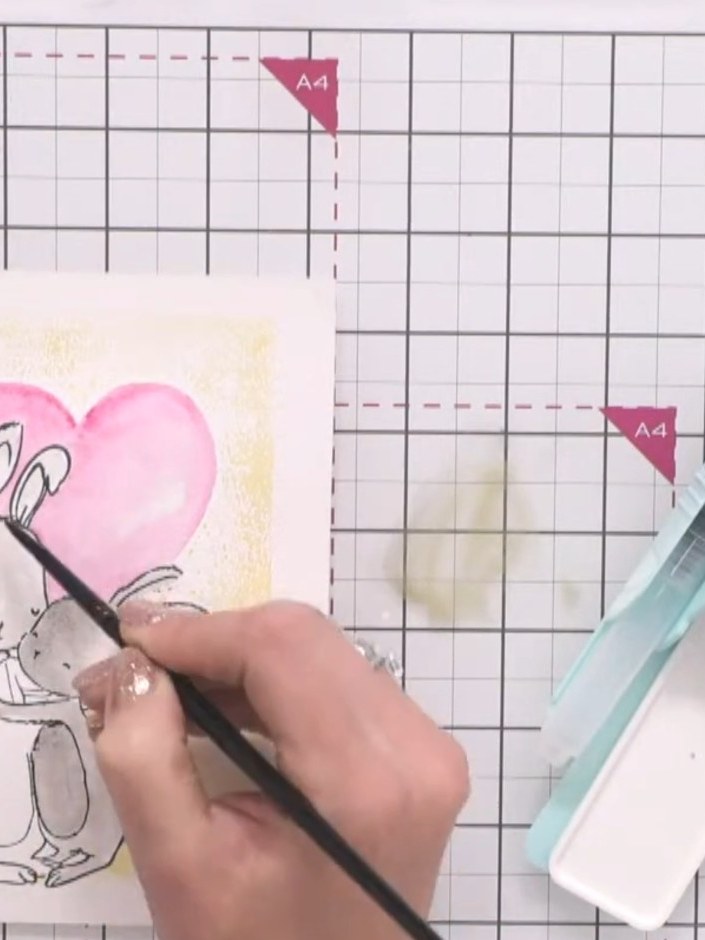
Using a fine brush with brown or mustard watercolour, add a thin line around the outer edge of the yellow frame to enhance and define it.
▶ ver este paso (21:45)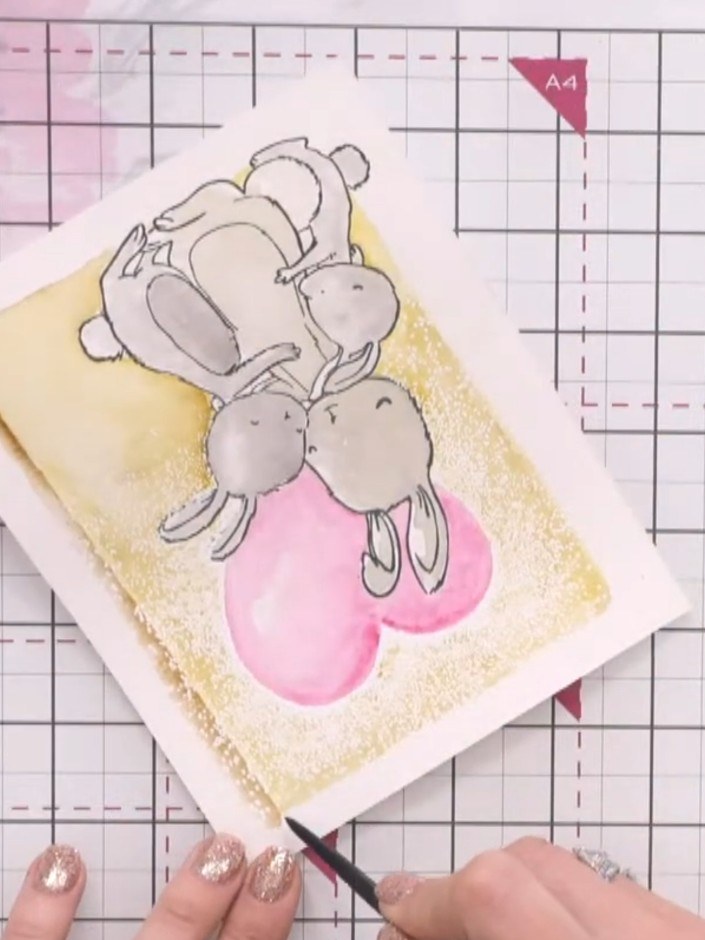
Create a halo effect by cleaning your brush, adding a small amount of water, and dragging the water outward from the brown glitter line. This creates dimension and makes the frame appear to pop from the page.
▶ ver este paso (28:15)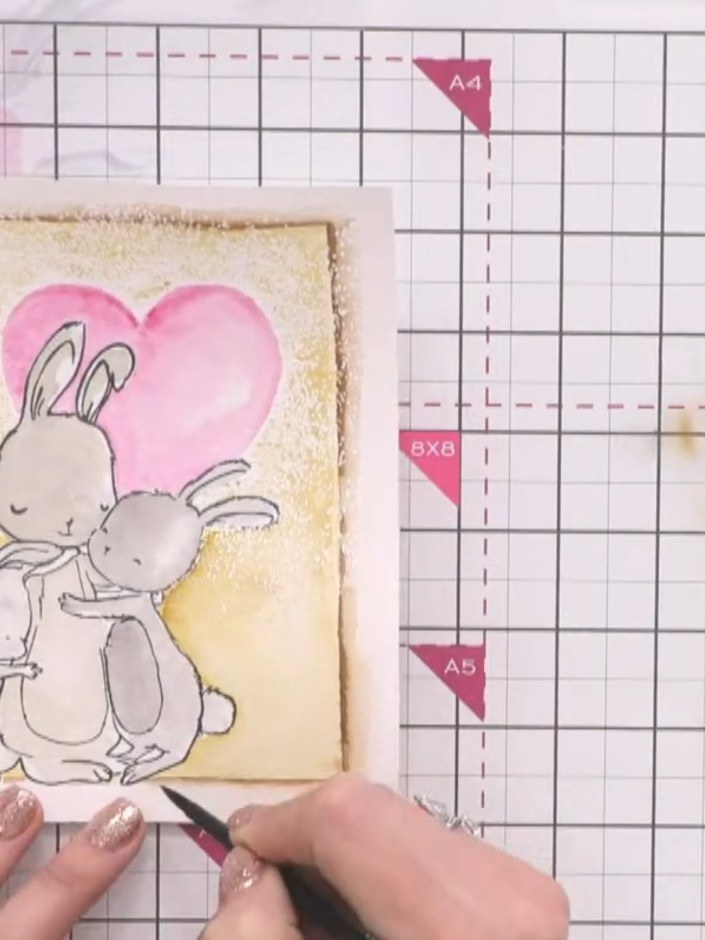
Add a halo effect around each bunny by outlining with brown watercolour, then using a practically dry brush to drag water outward from the outline to create depth and a soft glow.
▶ ver este paso (32:30)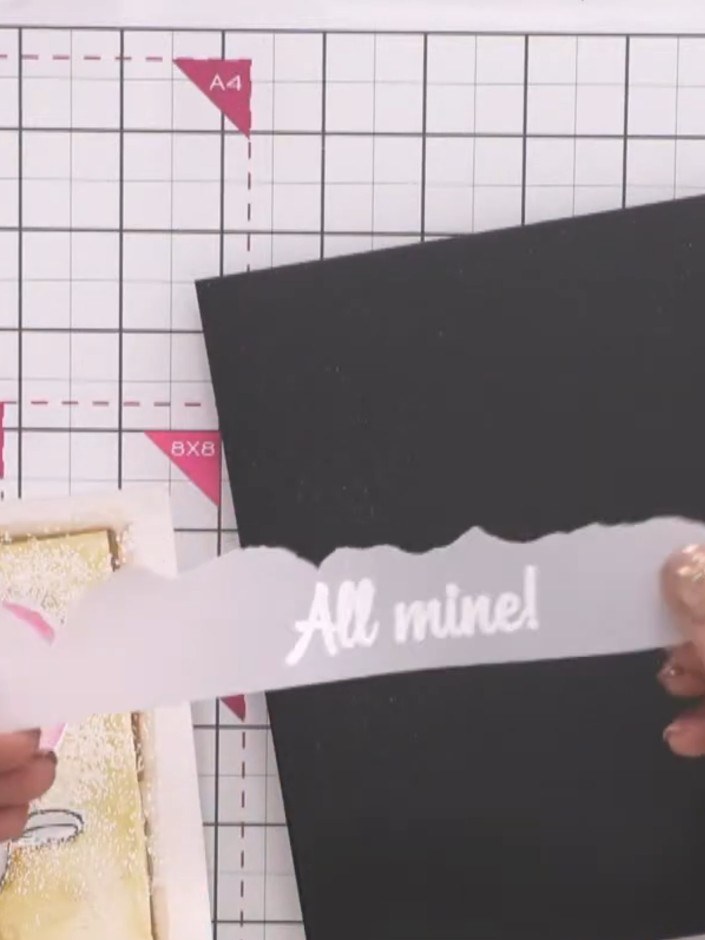
Tear a strip of the painted vellum mask. Position and adhere it across the top of the black card base to add texture and reveal the 'All mine!' sentiment.
▶ ver este paso (36:15)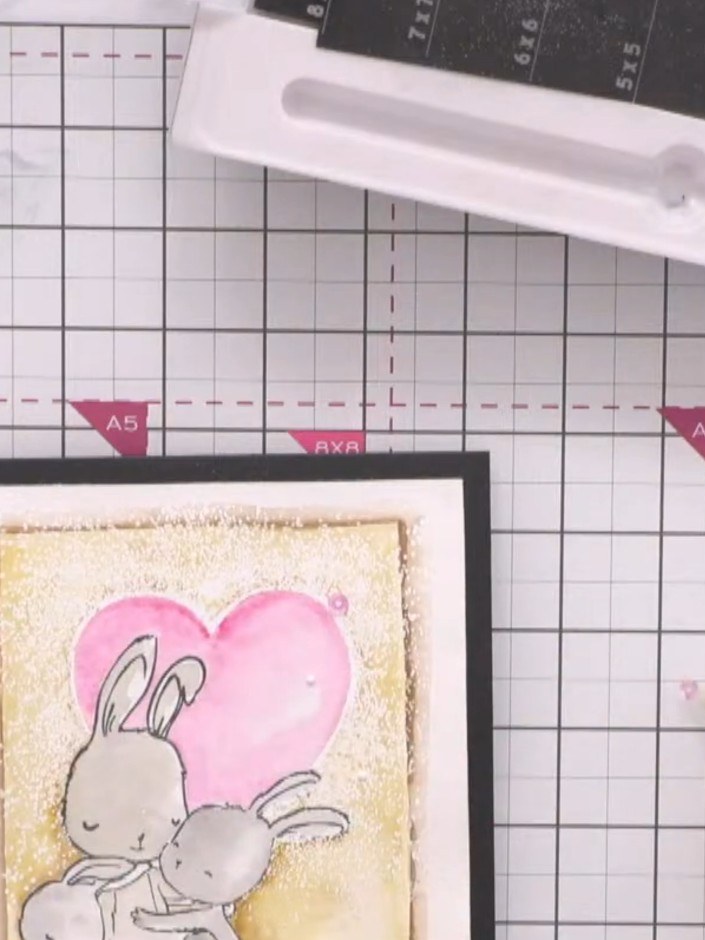
Add pink sequins or sparkles to embellish the card, placing them strategically around the heart and bunny design for extra sparkle.
▶ ver este paso (40:00)Redactado a partir del propio programa. Mira todas las guías de nuestros programas · guías paso a paso gratis · mira en vivo en My Telly