¡Regala a tus amigos 10 $ de descuento en su primer pedido!
Invita a una AMIGA








 The Thursday DropMañana 13:00
 The Friday Final Cutvie 6 nov 5:00
 Community Showcaselun 9 nov 5:00
Los precios cambian al instante. Cada idioma es nuestra propia traducción, no Google.
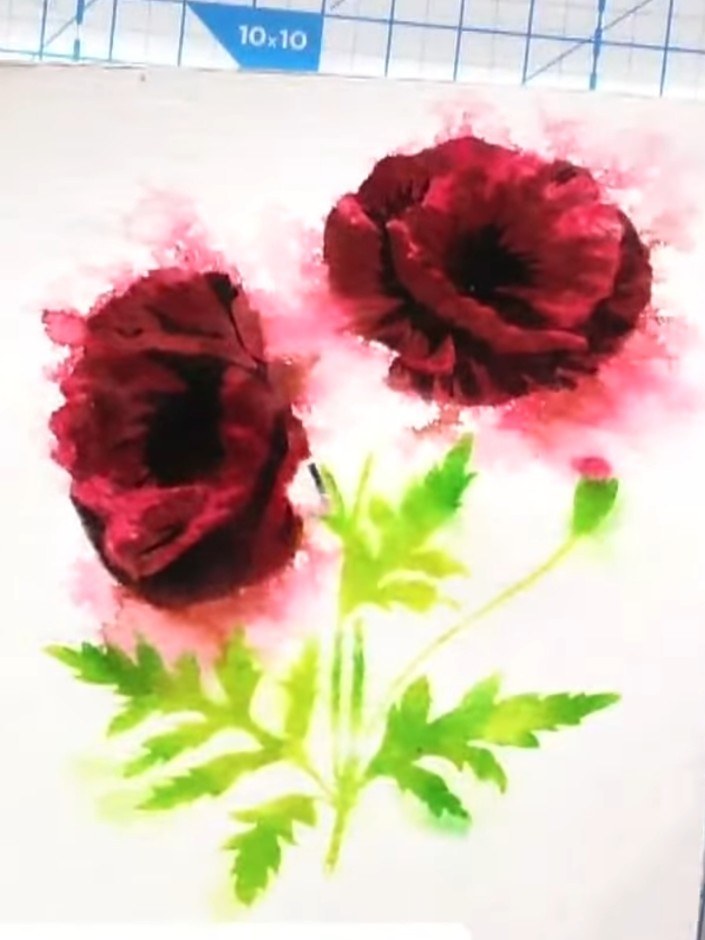
Un proyecto de nuestro programa en directo CREATE AND CRAFT - ONE DAY SPECIAL - Únete a Toni en su primera hora - Emitido el 3 de junio de 2022 · 06/03/2022
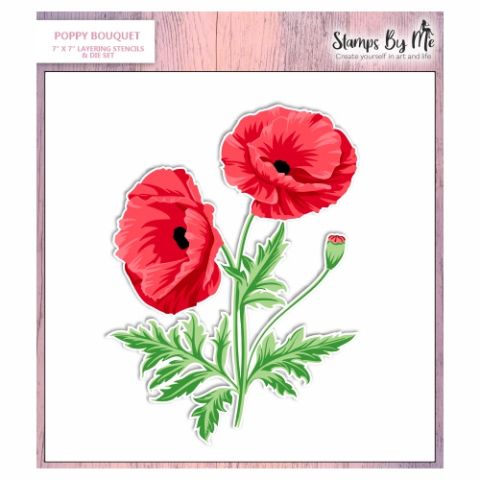
Create a beautiful watercolour poppy bouquet card featuring vibrant red poppies with delicate green foliage. Using a layered stencilling technique with ink pads and water spray, you'll achieve a soft, artistic watercolour effect with natural colour bleeding. The result is an expressive, painterly card perfect for any occasion.
 1
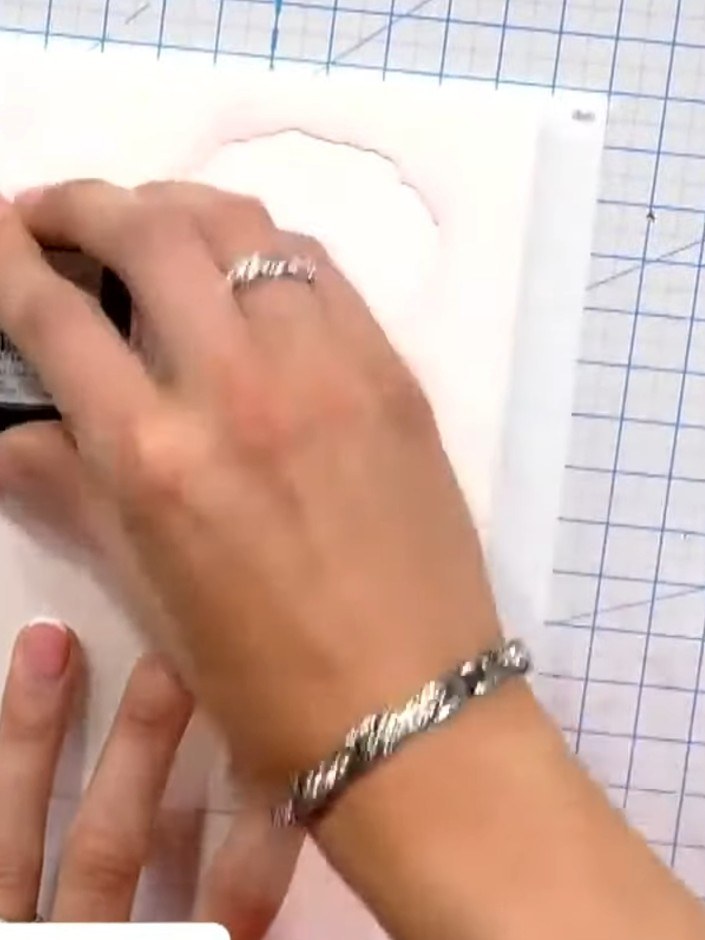
Place the Poppy Bouquet stencil onto white watercolour cardstock. Use an ink pad to pounce red ink through the stencil, creating the poppy shapes.
 2
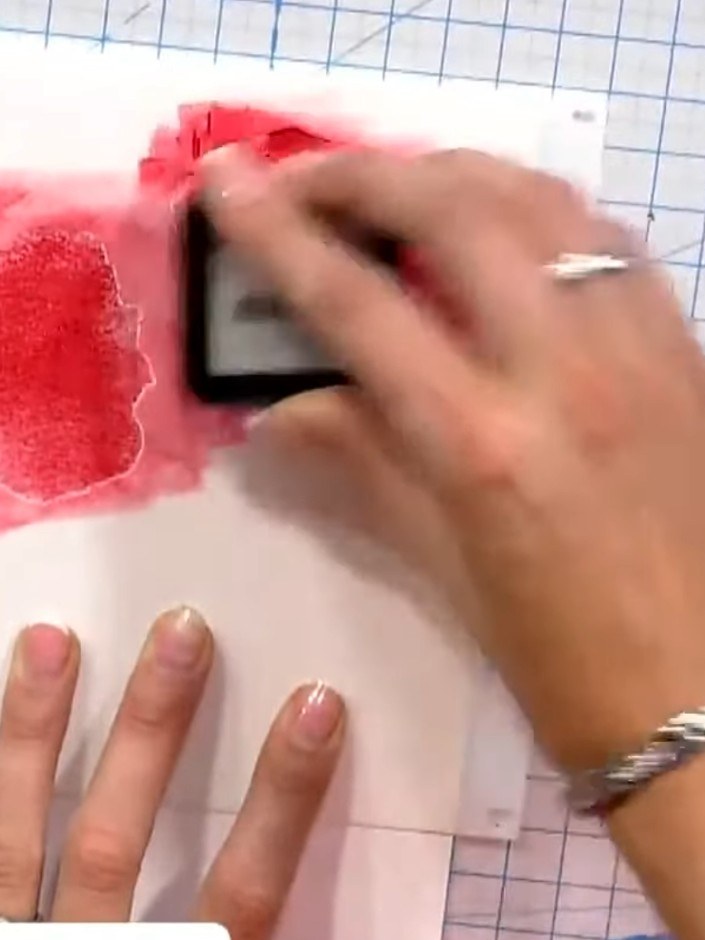
Pounce the red ink pad directly through the poppy stencil onto white card, pushing the ink down rather than dragging it. Create multiple poppy shapes on the card.
 3
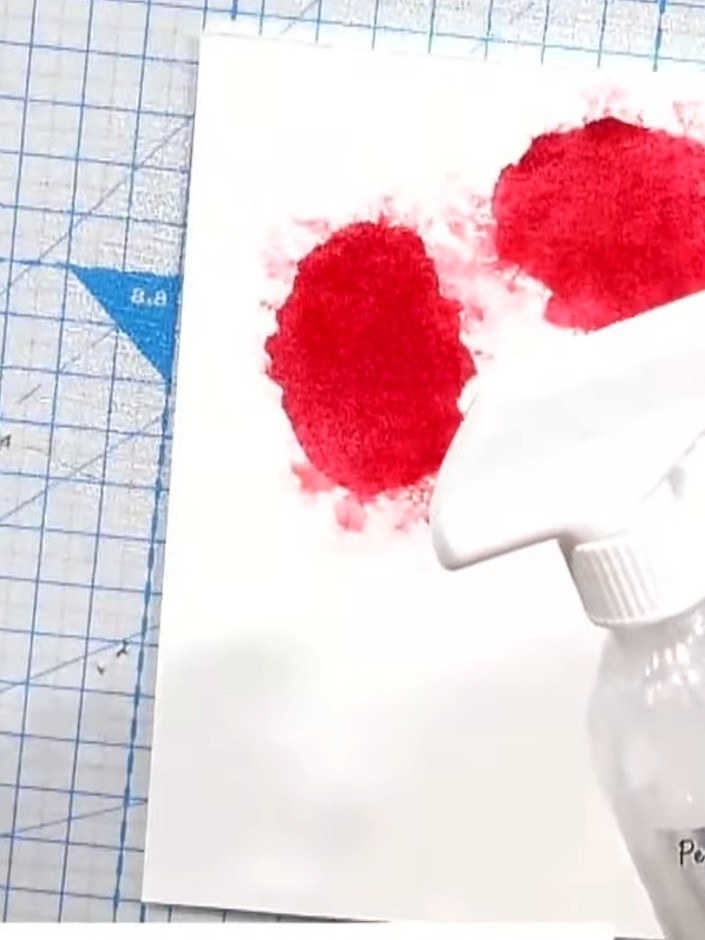
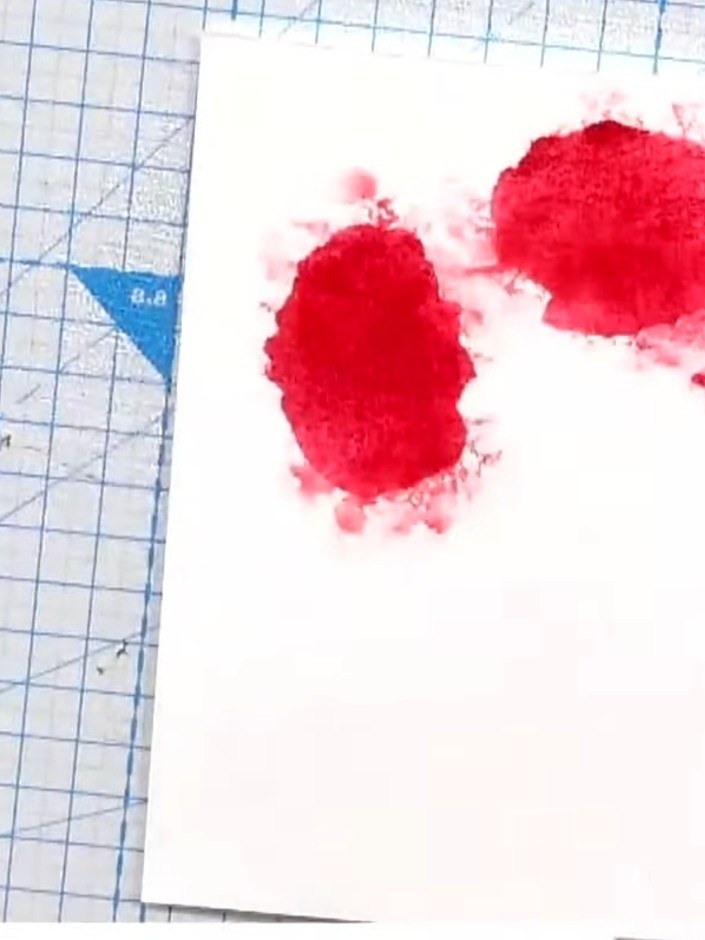
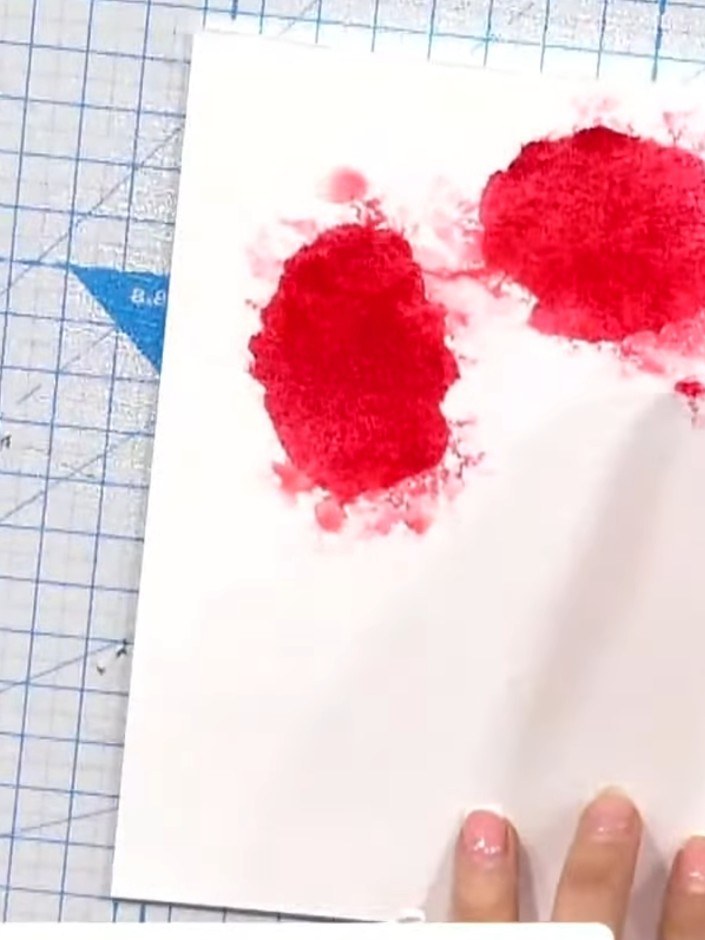
Retira la plantilla y pulveriza un poco de agua sobre la zona entintada para que la tinta se difumine y cree un efecto acuarela.
 4
For a sparkly finish, spray the wet ink with glitter spray instead of water and allow to dry.
 5
Dry the card with a heat gun, working quickly to set the red ink. Move the heat gun over all the stamped areas until the ink is completely dry.
 6
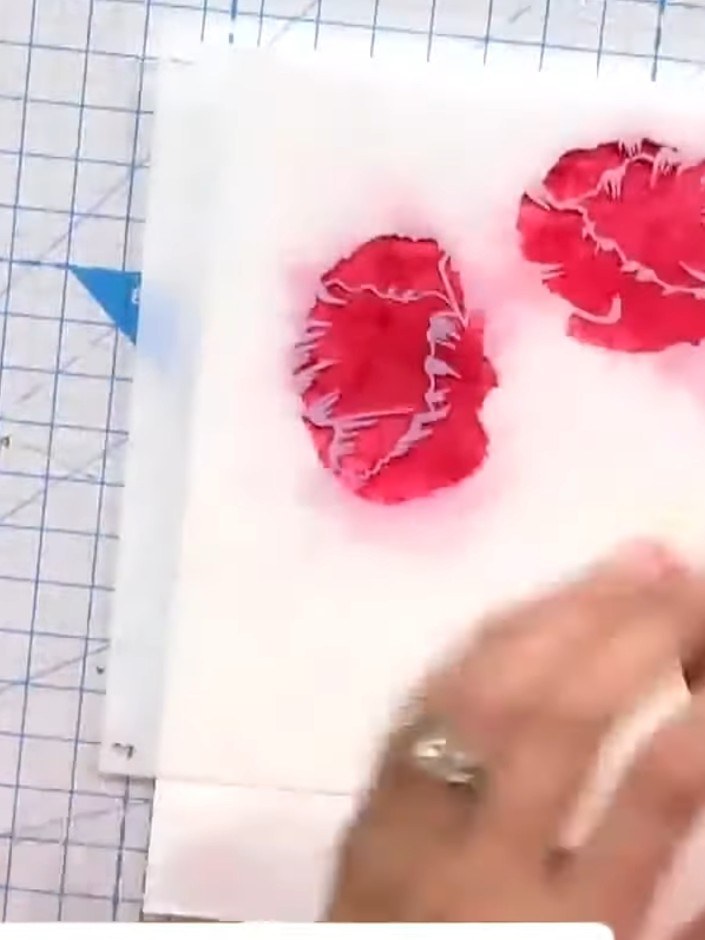
Position the second layer of the poppy stencil over the first stamped images. Use a darker red ink pad to add definition and depth to the petals, creating dimension in the bouquet.
 7
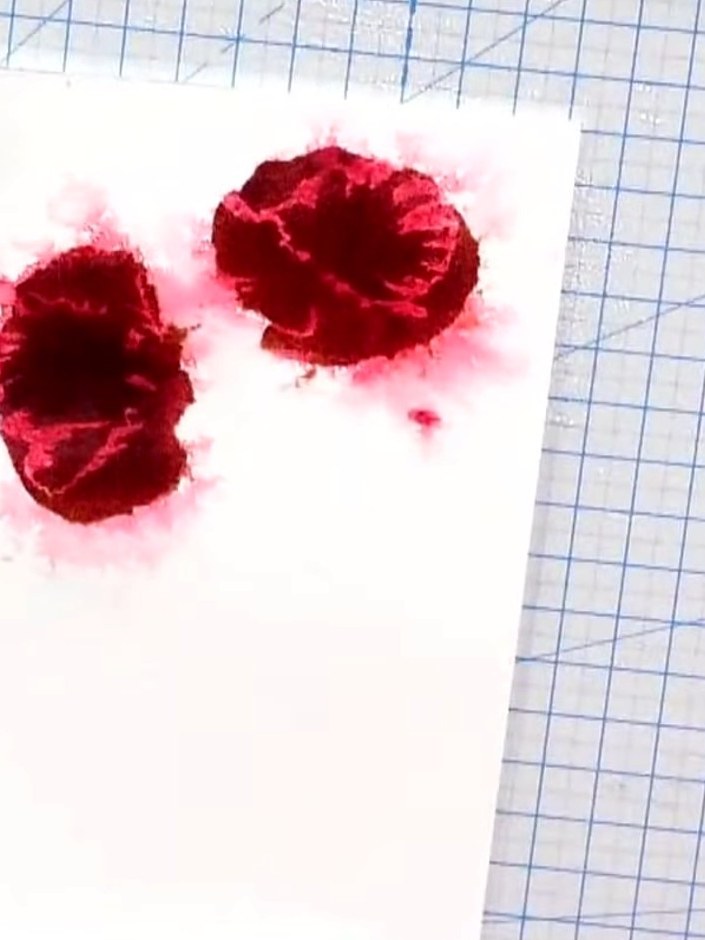
Pounce the second layer of red ink through the stencil onto the poppies. Lightly spray with water again to blend the colours together.
 8
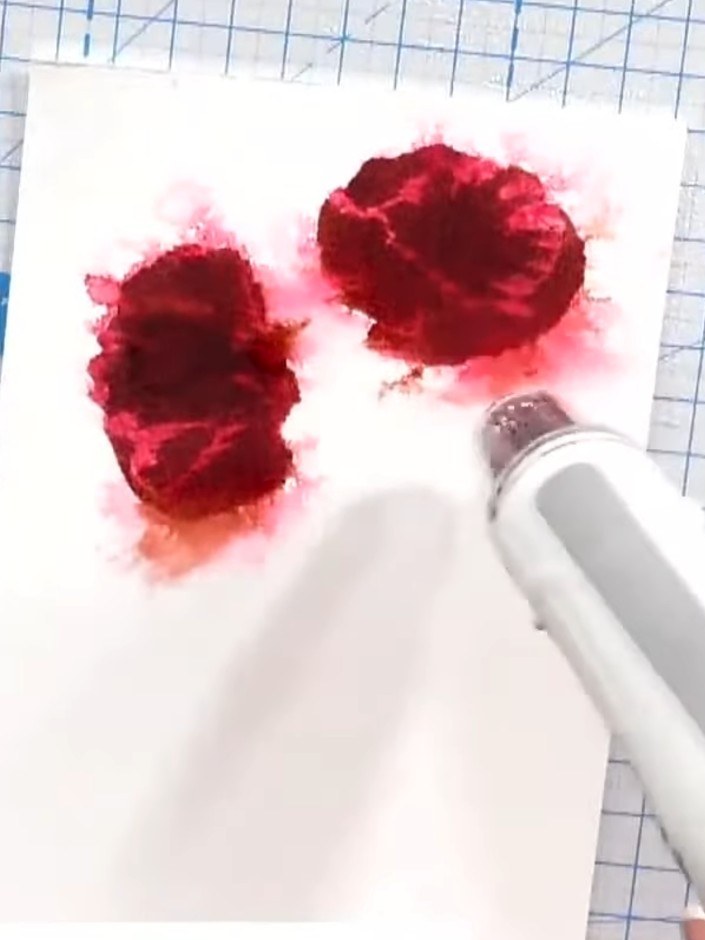
Dry the stencilled poppies thoroughly with the heat gun to set the ink before proceeding to the next layer.
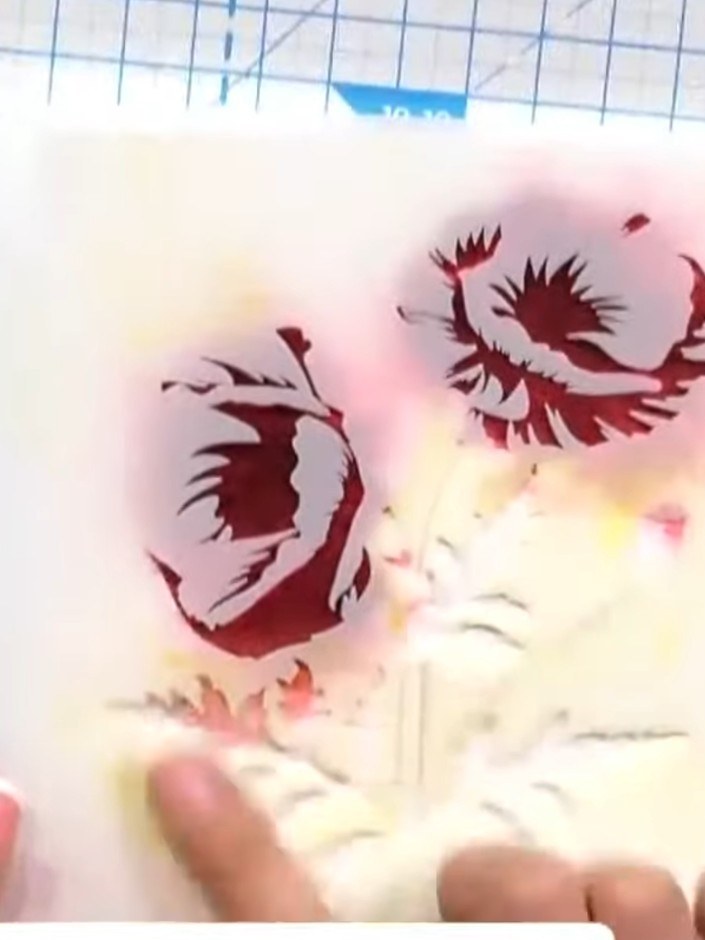 9
Position the third stencil layer over your card and apply black or dark ink using a pouncing motion to add the leaf and stem details to complete the poppy design.
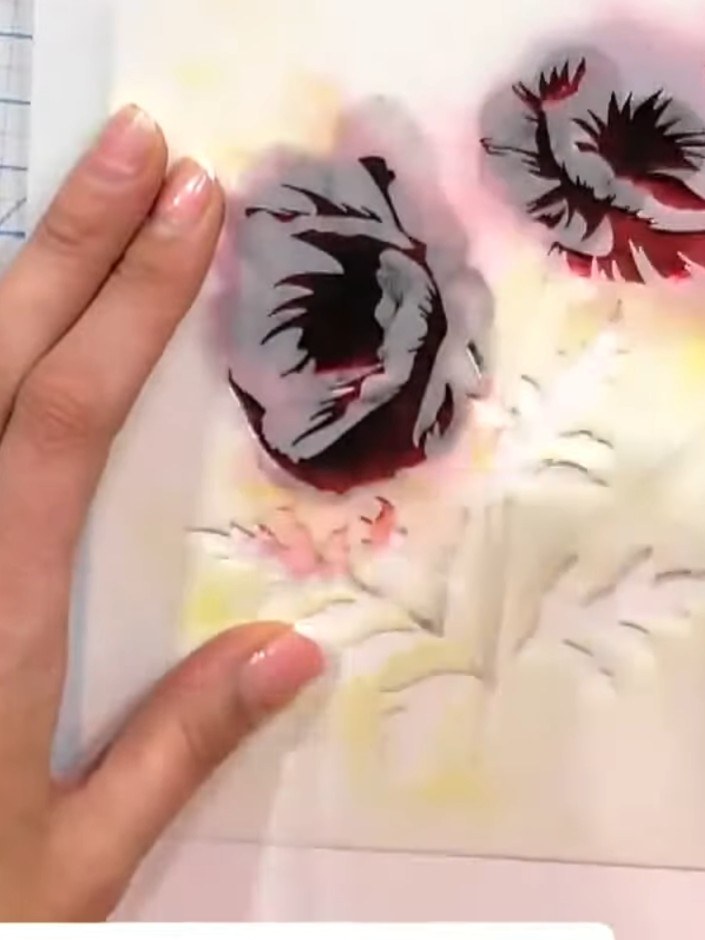 10
Use a heat gun to completely dry the card. Move the heat gun over all areas of the watercoloured design until fully dry.
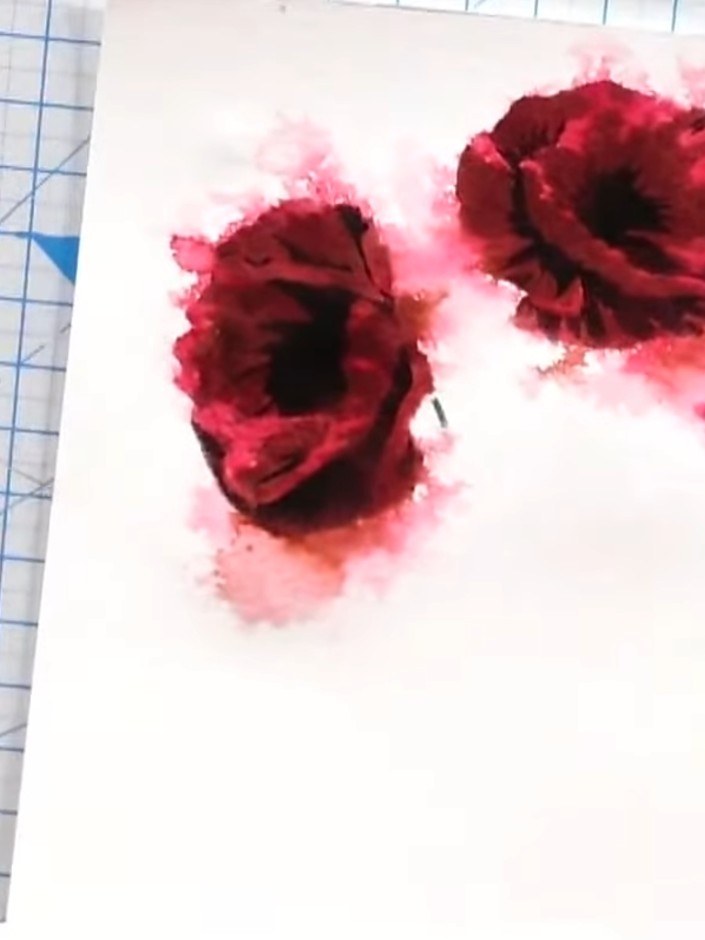 11
Use the IZINK Touch Mini Ink Pad Sticks in gold or metallic colours to add accents to the flower centres for extra impact.
Comparte tu proyecto con la comunidad de Stamps By Me - y guarda esta guía para la próxima vez.
Escrito a partir del propio programa. Todas las guías de nuestros programas · guías gratis · en directo en My Telly · el diseño anterior