Schenke deinen Freundinnen und Freunden 10 $ Rabatt auf ihre erste Bestellung!
Freunde WERBEN








 The Thursday DropMorgen 13:00 Uhr
 The Friday Final CutFr., 6. Nov. 5:00 Uhr
 Community ShowcaseMo., 9. Nov. 5:00 Uhr
Preise ändern sich sofort. Jede Sprache ist unsere eigene Übersetzung, nicht Google.
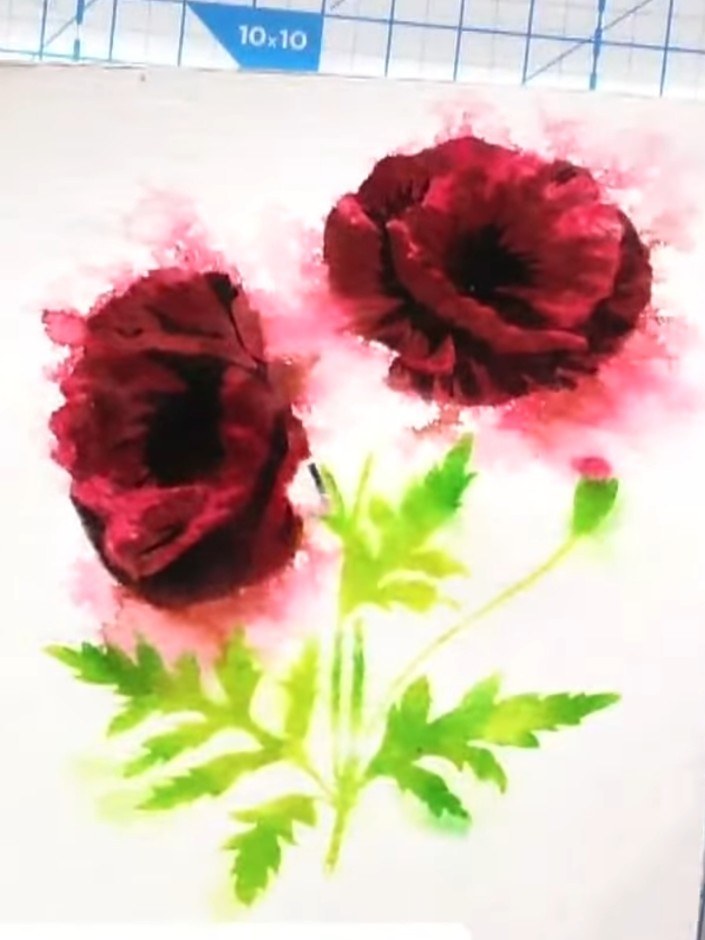
Ein Projekt aus unserer Live-Show CREATE AND CRAFT - ONE DAY SPECIAL - Sei dabei bei Tonis erster Stunde - Sendung vom 3. Juni 22 · 06.03.2022
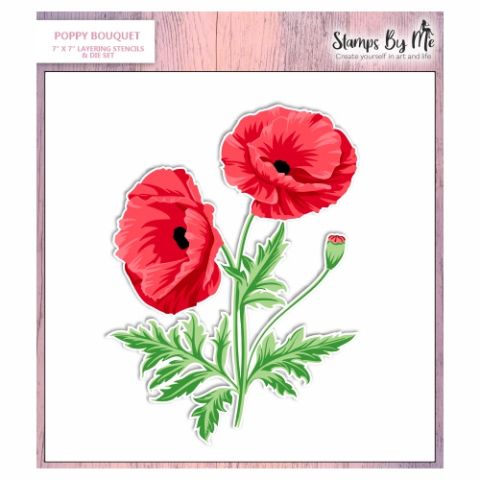
Create a beautiful watercolour poppy bouquet card featuring vibrant red poppies with delicate green foliage. Using a layered stencilling technique with ink pads and water spray, you'll achieve a soft, artistic watercolour effect with natural colour bleeding. The result is an expressive, painterly card perfect for any occasion.
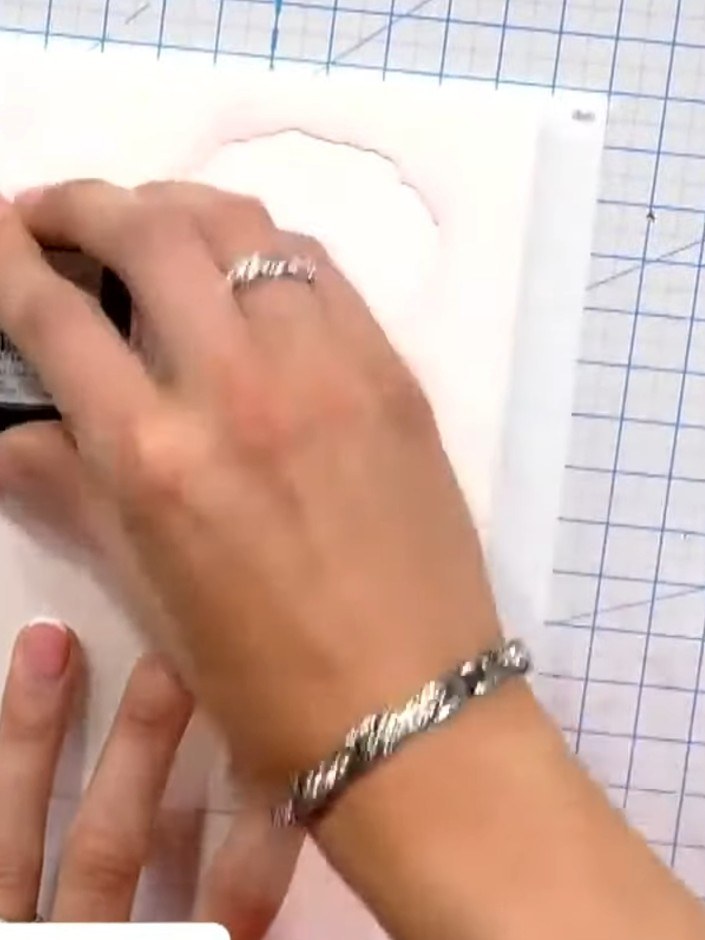 1
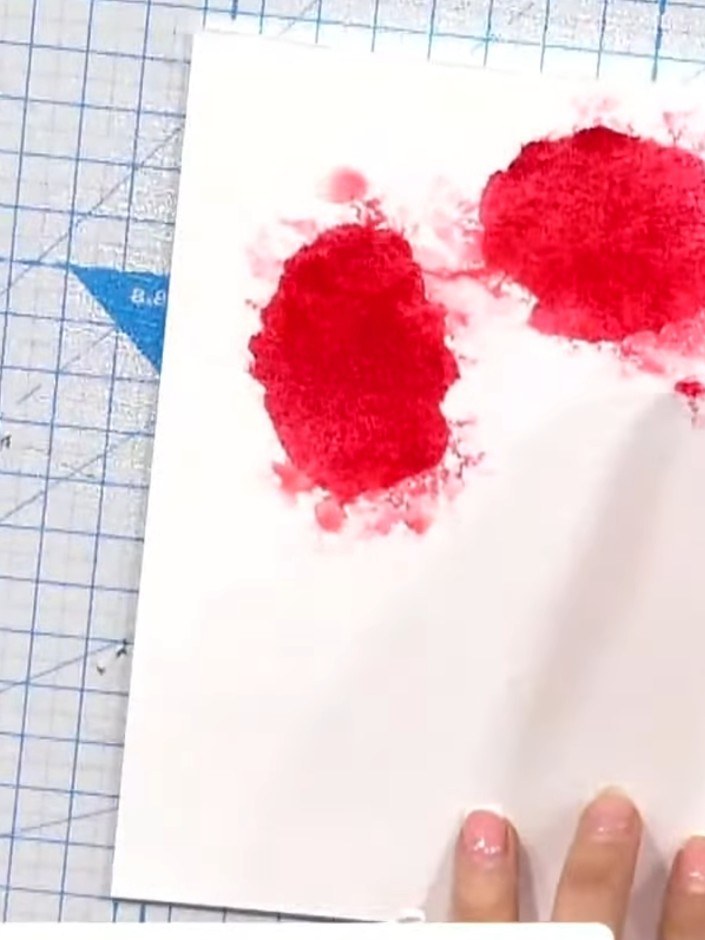
Place the Poppy Bouquet stencil onto white watercolour cardstock. Use an ink pad to pounce red ink through the stencil, creating the poppy shapes.
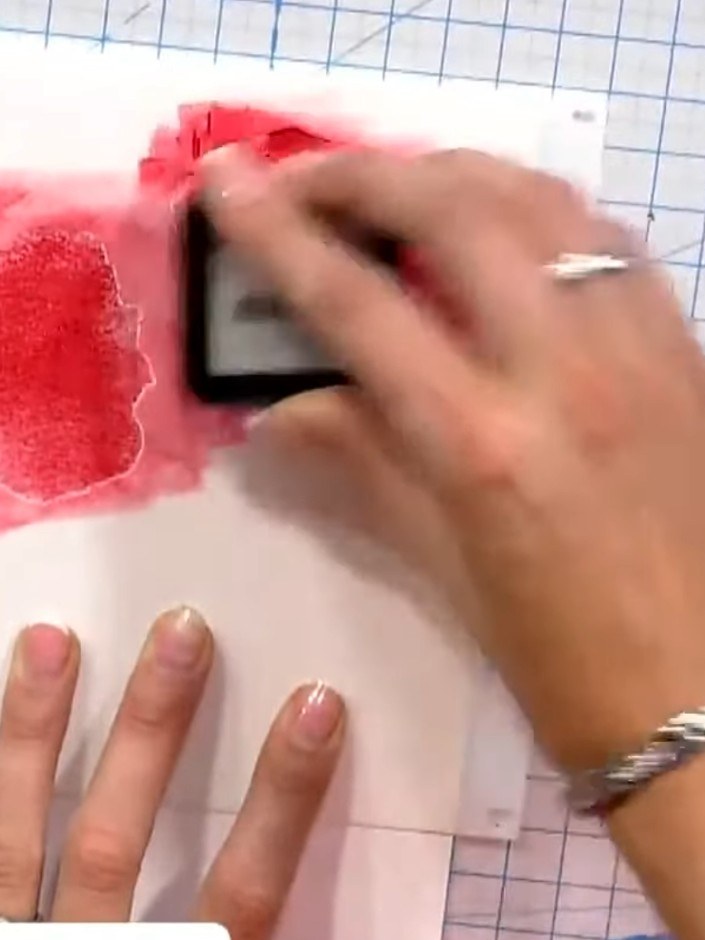 2
Pounce the red ink pad directly through the poppy stencil onto white card, pushing the ink down rather than dragging it. Create multiple poppy shapes on the card.
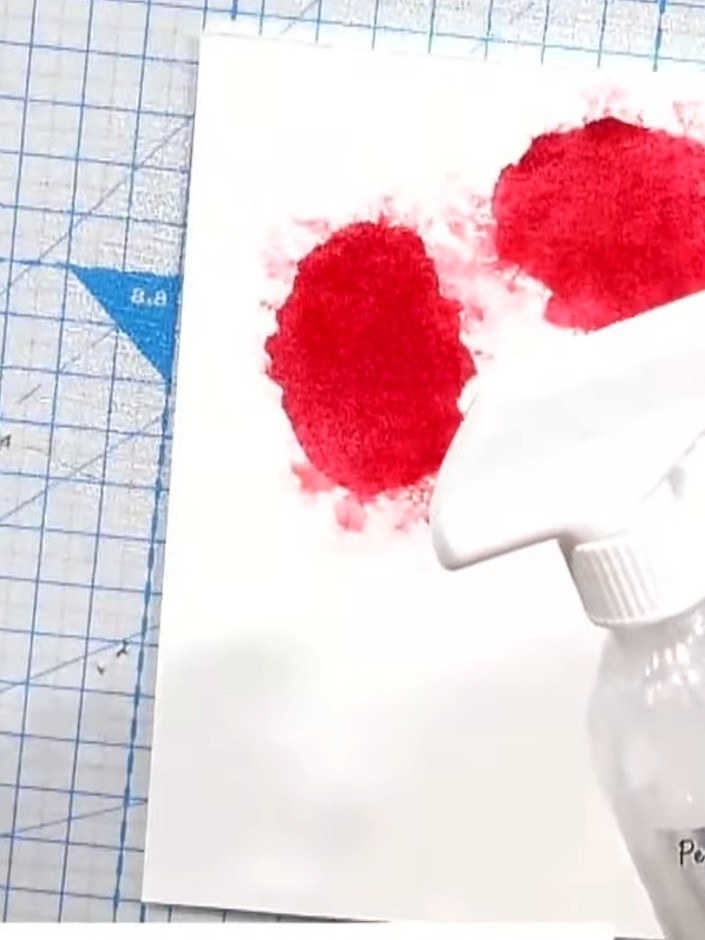 3
Nimm die Schablone ab und besprühe die eingefärbte Fläche leicht mit Wasser, damit die Farbe verläuft und ein Aquarell-Effekt entsteht.
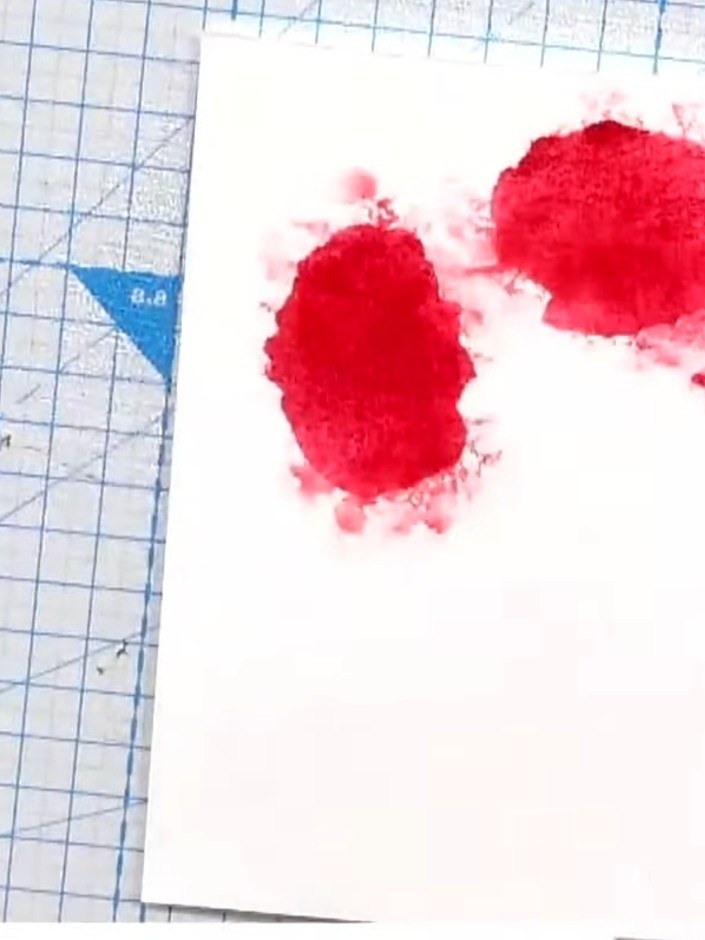 4
For a sparkly finish, spray the wet ink with glitter spray instead of water and allow to dry.
 5
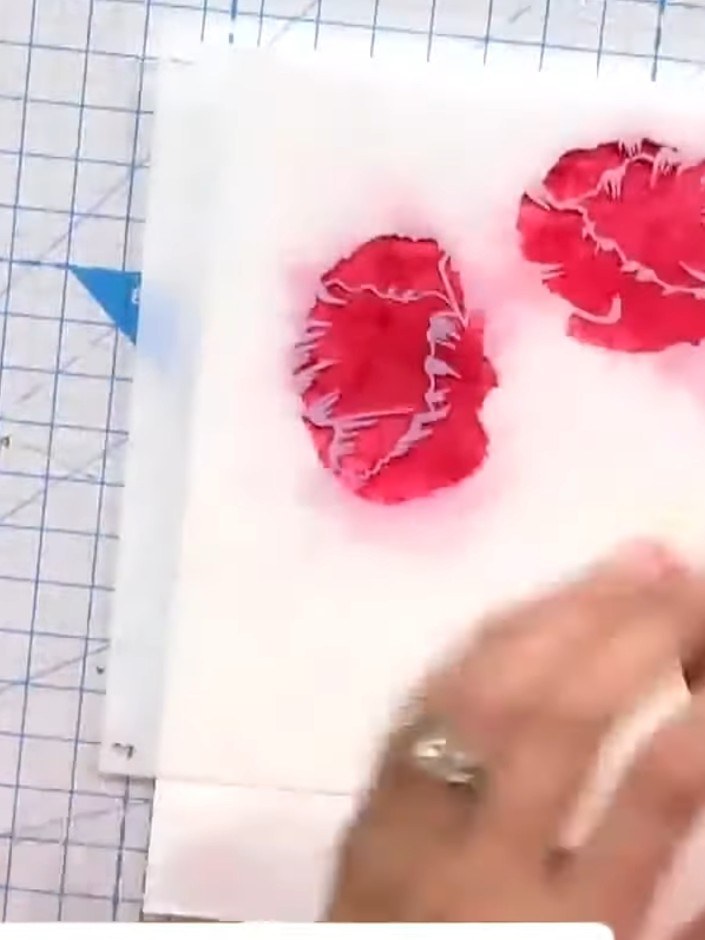
Dry the card with a heat gun, working quickly to set the red ink. Move the heat gun over all the stamped areas until the ink is completely dry.
 6
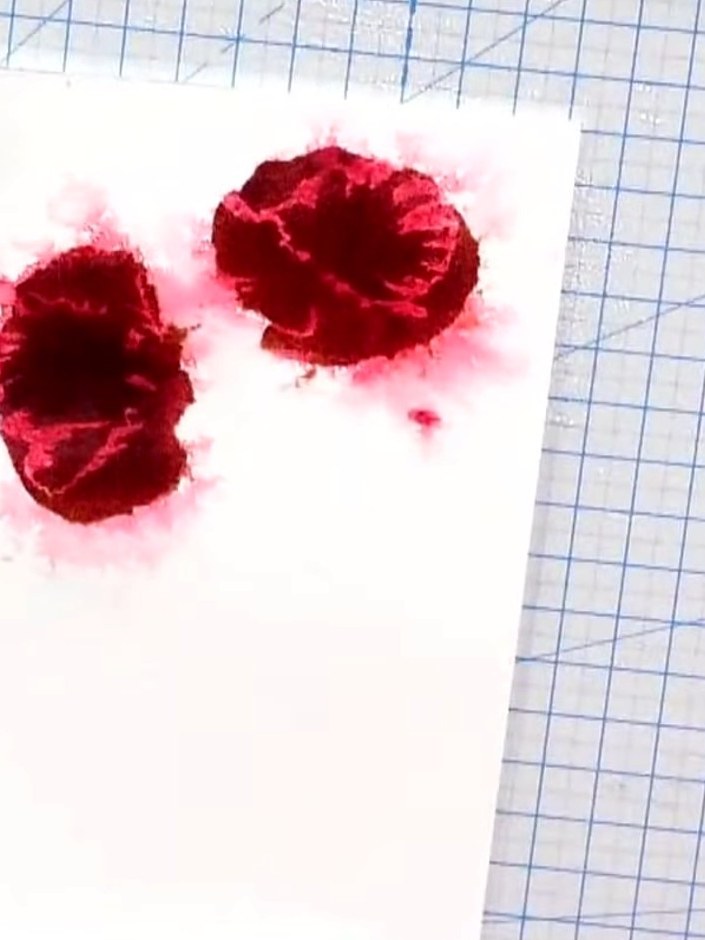
Position the second layer of the poppy stencil over the first stamped images. Use a darker red ink pad to add definition and depth to the petals, creating dimension in the bouquet.
 7
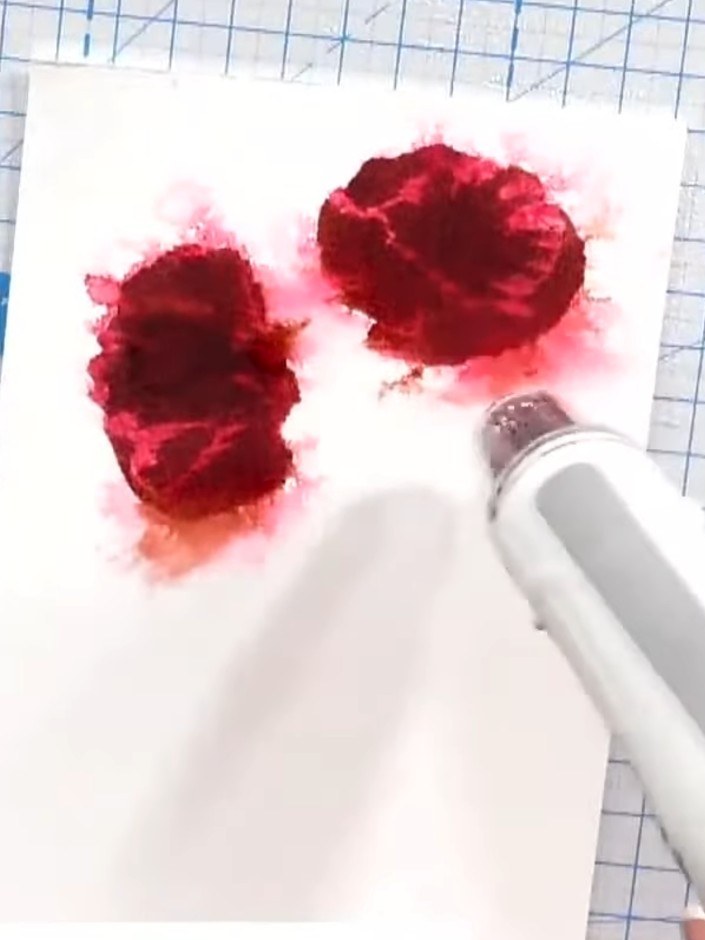
Pounce the second layer of red ink through the stencil onto the poppies. Lightly spray with water again to blend the colours together.
 8
Dry the stencilled poppies thoroughly with the heat gun to set the ink before proceeding to the next layer.
 9
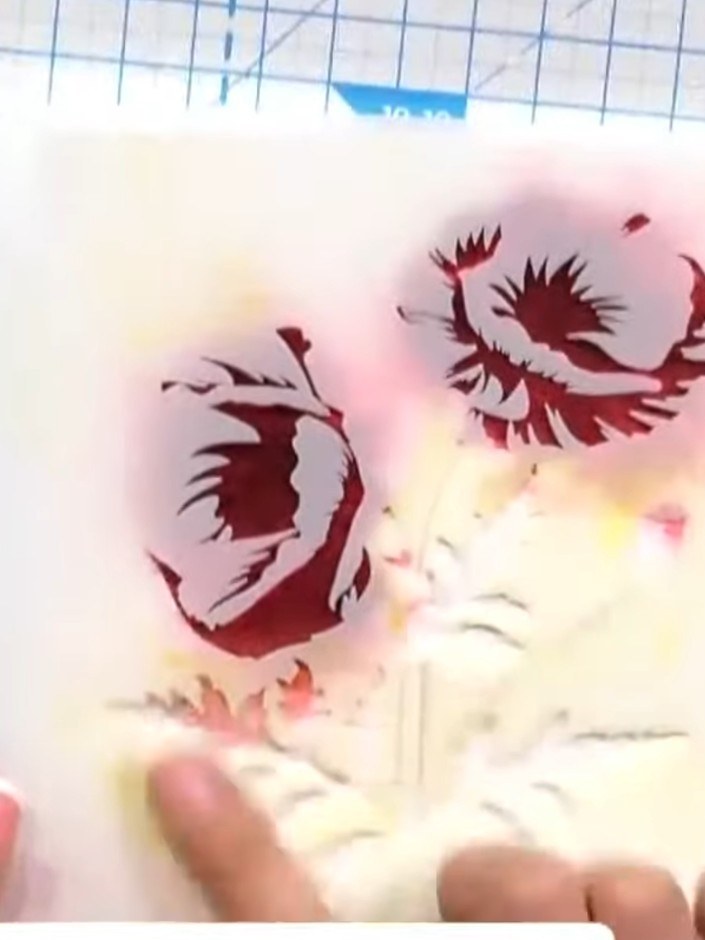
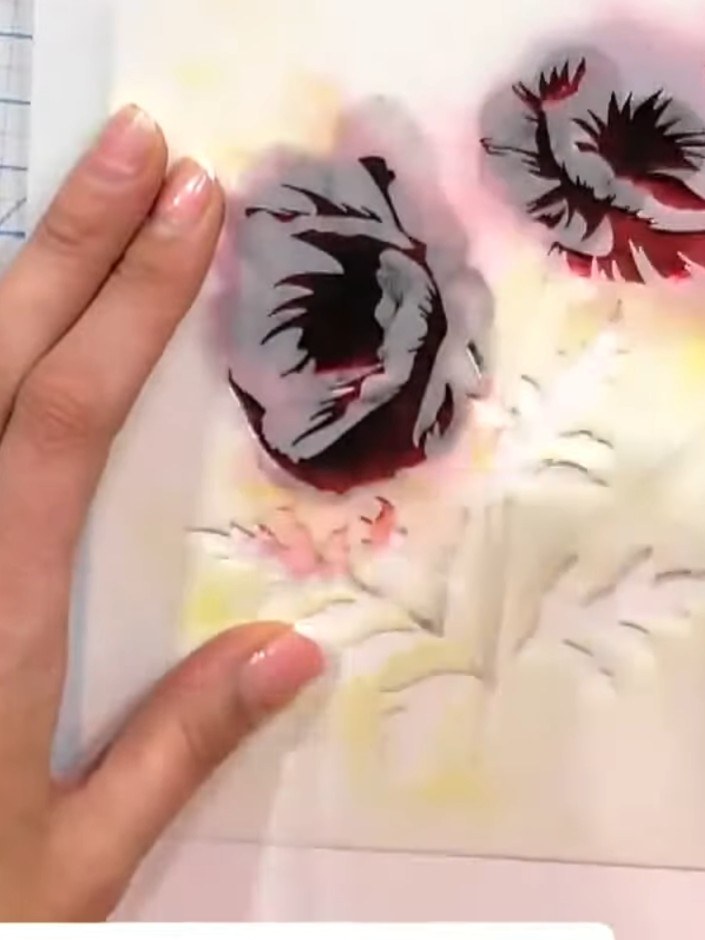
Position the third stencil layer over your card and apply black or dark ink using a pouncing motion to add the leaf and stem details to complete the poppy design.
 10
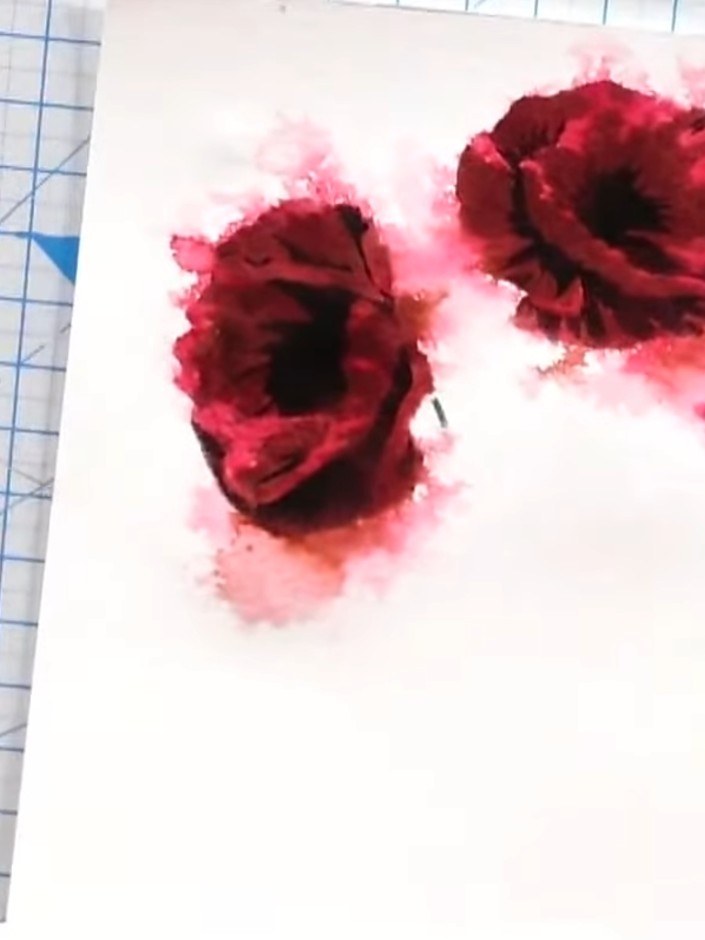
Use a heat gun to completely dry the card. Move the heat gun over all areas of the watercoloured design until fully dry.
 11
Use the IZINK Touch Mini Ink Pad Sticks in gold or metallic colours to add accents to the flower centres for extra impact.
Teile dein Projekt mit der Stamps By Me Community - und behalte diese Anleitung für das nächste Mal.
Direkt aus der Show aufgeschrieben. Alle Anleitungen aus unseren Shows · kostenlose Anleitungen · live auf My Telly ansehen · die bisherige Ansicht