Schenke deinen Freundinnen und Freunden 10 $ Rabatt auf ihre erste Bestellung!
Freunde WERBEN








 The Thursday DropMorgen 13:00 Uhr
 The Friday Final CutFr., 6. Nov. 5:00 Uhr
 Community ShowcaseMo., 9. Nov. 5:00 Uhr
Preise ändern sich sofort. Jede Sprache ist unsere eigene Übersetzung, nicht Google.
Ein Projekt aus unserer Live-Show CREATE AND CRAFT - ONE DAY SPECIAL - Sei dabei bei Tonis erster Stunde - Sendung vom 3. Juni 22 · 06.03.2022 · ab 40:30 ansehen
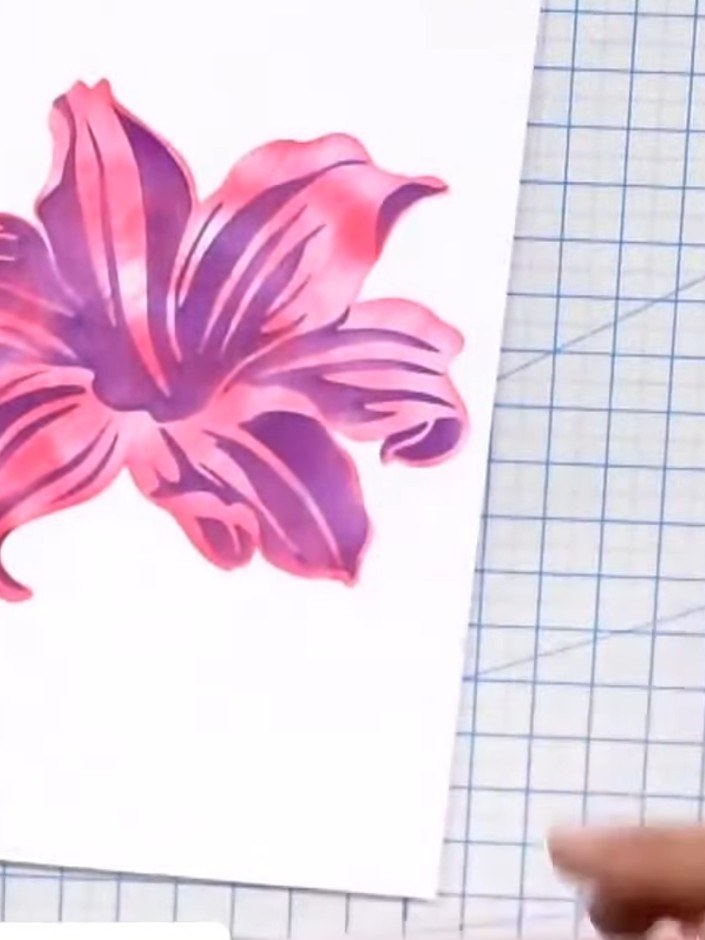
Create a stunning layered lily card featuring vibrant pink and purple tones with a three-dimensional effect. Using the Lovely Lily stencil set, you'll build up three layers of colour to create depth and dimension. This technique demonstrates how strategic colour placement and layering can transform a simple stencil into a dynamic, eye-catching floral design that appears to leap from the card.
DIESE ANLEITUNG HERUNTERLADEN (PDF)
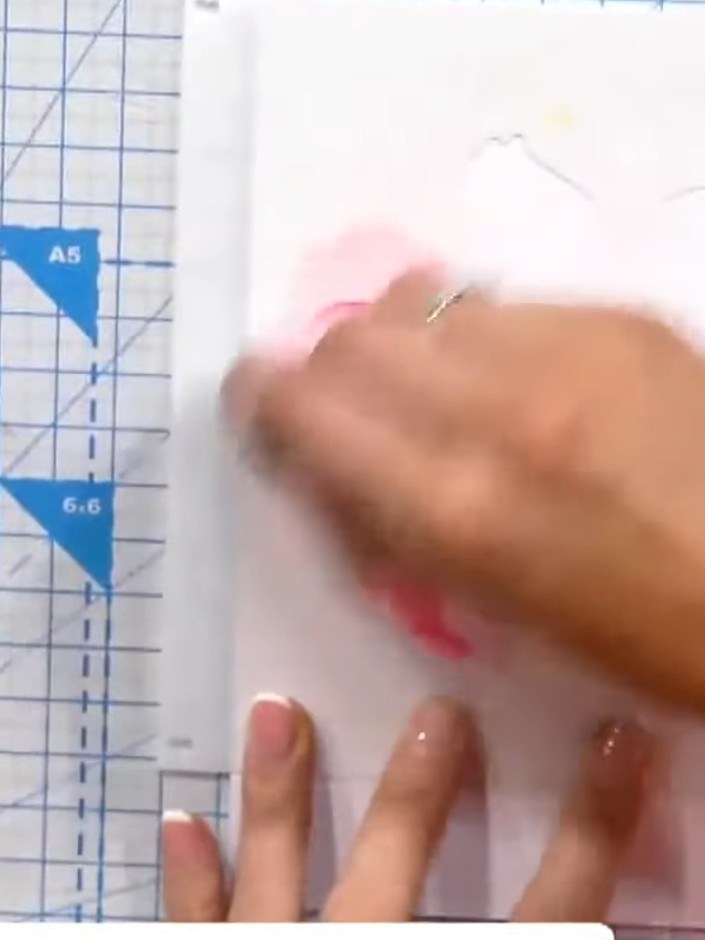
Position the first Lovely Lily stencil onto your white cardstock. Apply pink ink through the stencil using a blending tool, building up the colour gradually.
▶ diesen Schritt ansehen (40:45)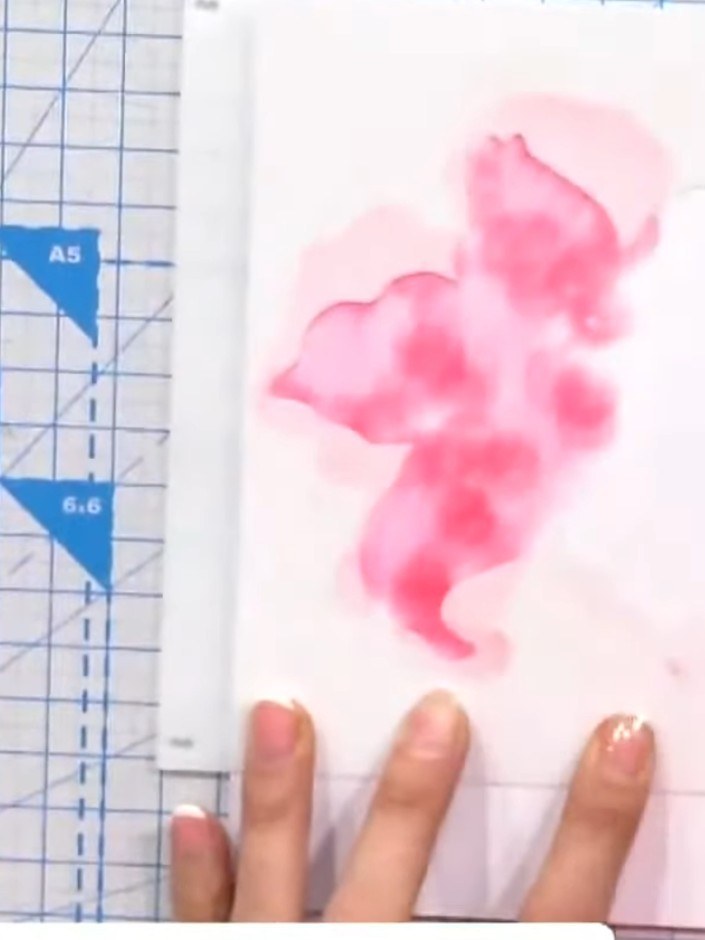
Pounce pink ink through the stencil using a sponge dauber, working across all the petal areas to build up colour and texture.
▶ diesen Schritt ansehen (41:00)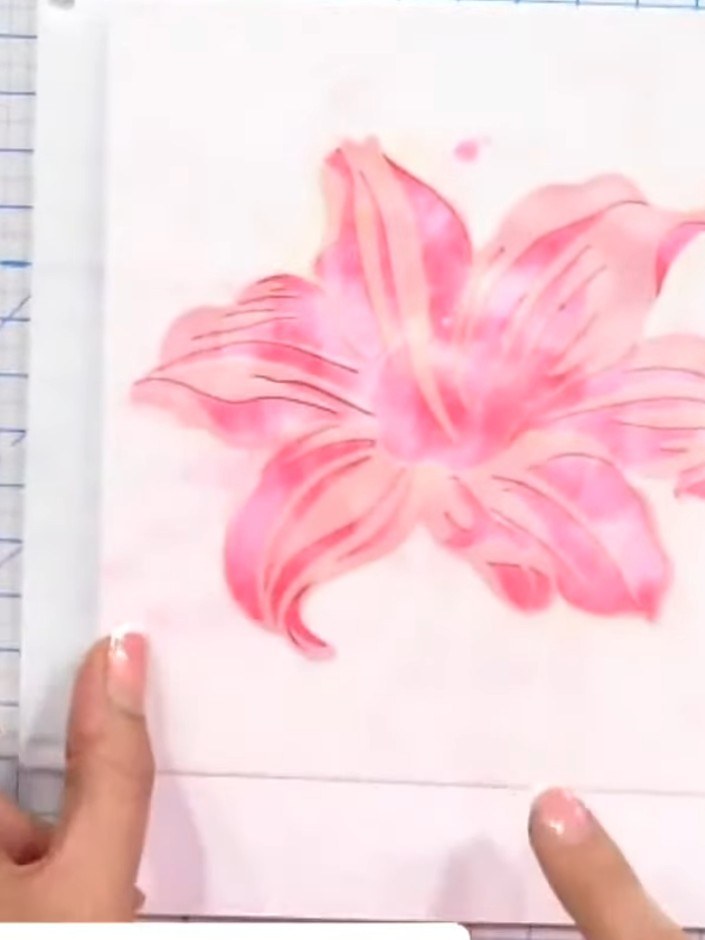
Remove the stencil carefully and observe the textured pink base layer. Don't worry if it looks uneven, as the subsequent layers will cover any imperfections.
▶ diesen Schritt ansehen (41:30)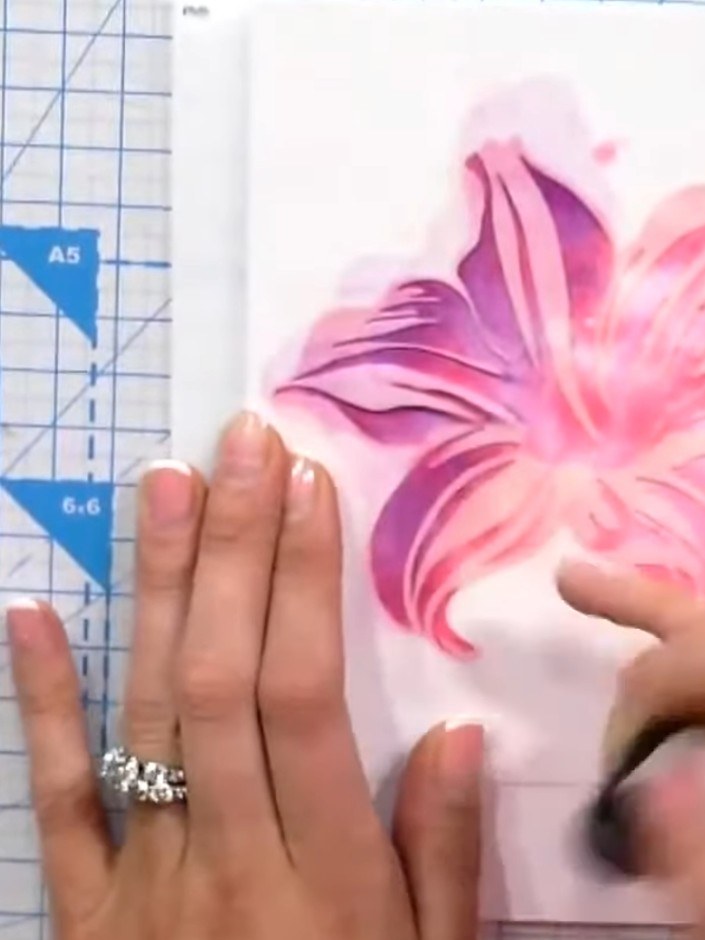
Align the second stencil layer over your first stamped image. Pounce purple ink through the stencil to add darker shading and dimension to the lily petals.
▶ diesen Schritt ansehen (42:00)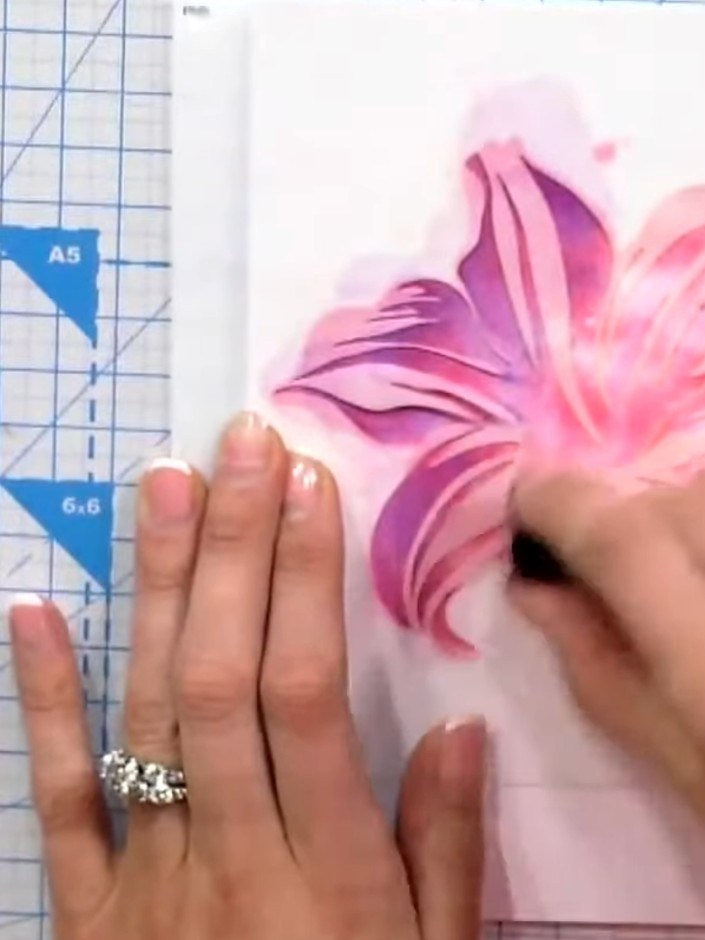
Remove the second stencil and position the third stencil over the lily design. This stencil contains the delicate stamen centres that will add fine detail to your flower.
▶ diesen Schritt ansehen (42:30)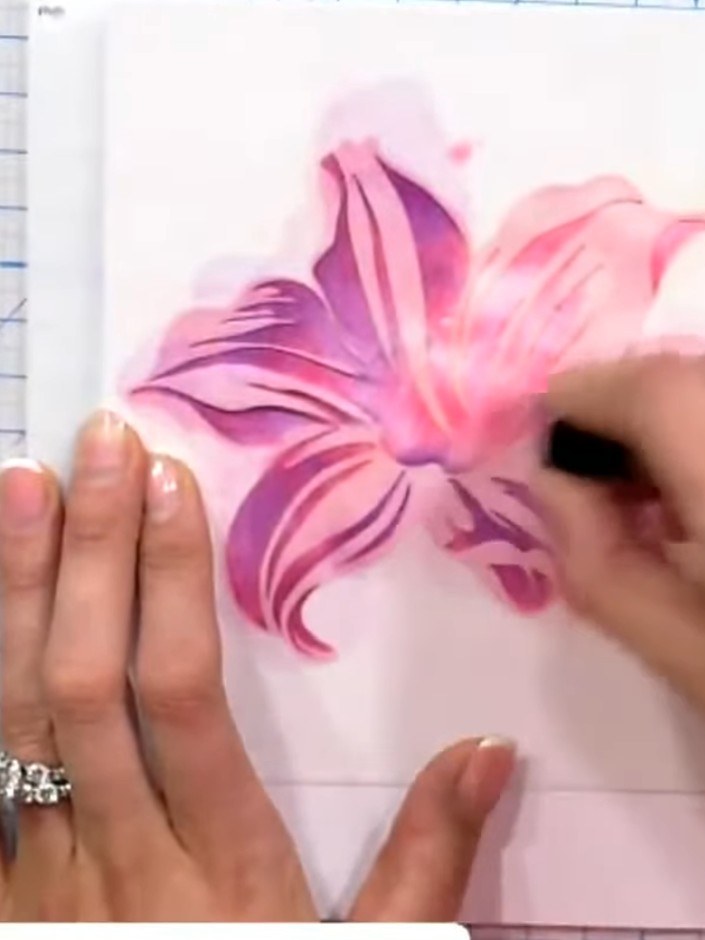
Pounce a third colour through the centre stencil layer, working carefully around the delicate detail areas. Use a darker shade such as purple or brown to add depth to the lily design.
▶ diesen Schritt ansehen (43:00)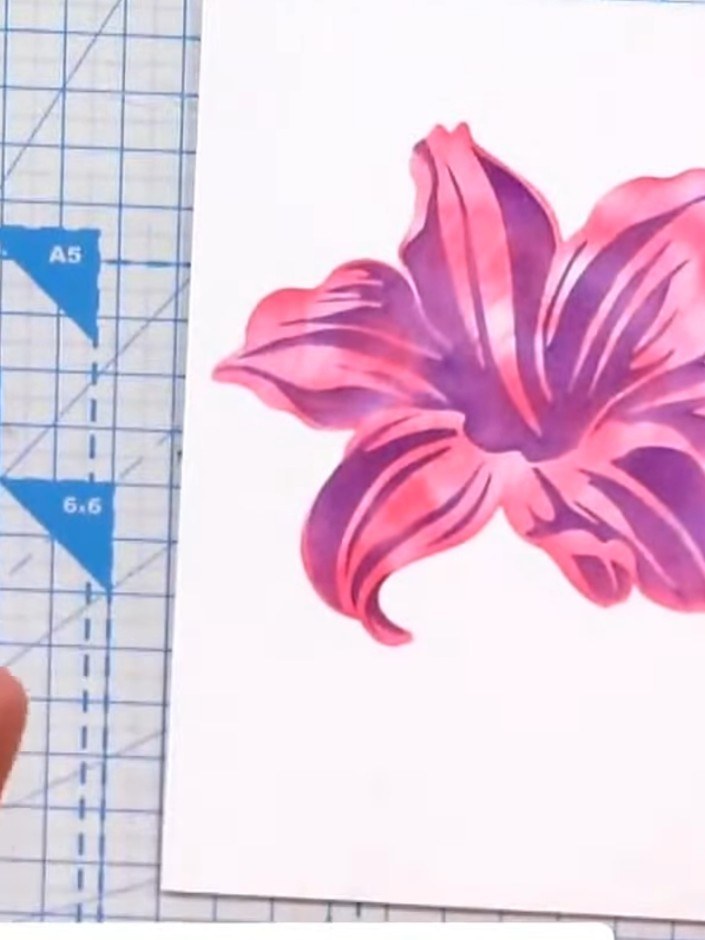
For variation, position the stamen stencil in different locations on the same flower to create multiple centres or different formations. Experiment with placement to achieve your desired effect.
▶ diesen Schritt ansehen (43:30)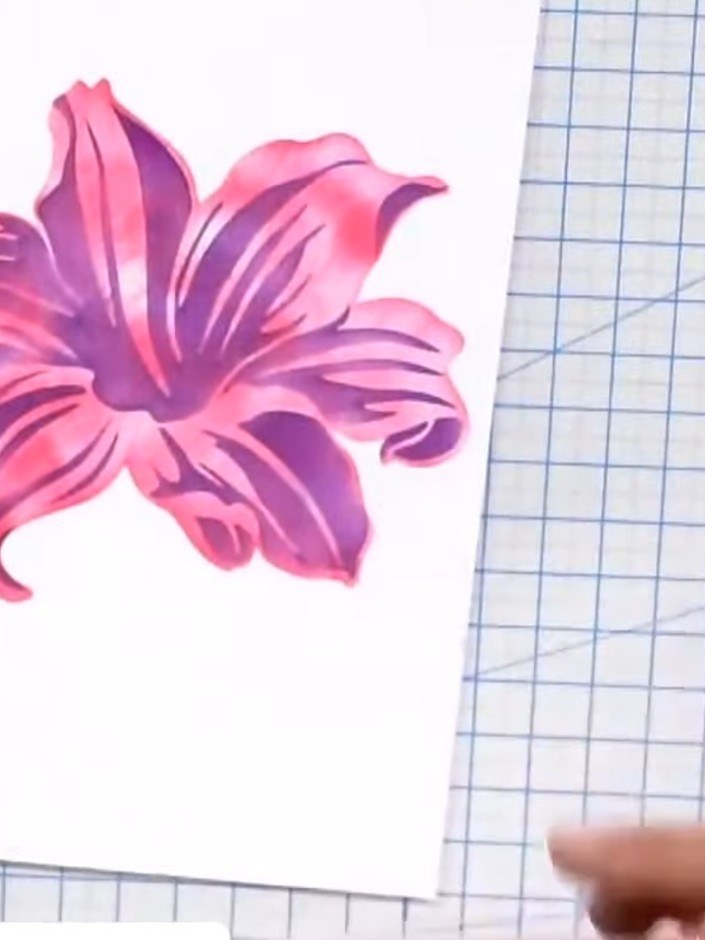
Once all the stencilled layers are completely dry, use the coordinating die to cut out the finished lily. This will add dimension to your card and allow the layered flower to pop from the page.
▶ diesen Schritt ansehen (44:00)Direkt aus der Show aufgeschrieben. Alle Anleitungen aus unseren Shows ansehen · kostenlose Anleitungen · live auf My Telly ansehen