Regala ai tuoi amici 10 $ di sconto sul loro primo ordine!
Invita un AMICO








I prezzi si aggiornano subito. Ogni lingua è una nostra traduzione, non Google.
Un progetto dalla nostra diretta THE FRIDAY FINAL CUT - In onda il 6 novembre 2026 · 11/06/2026 · guardalo da 55:45
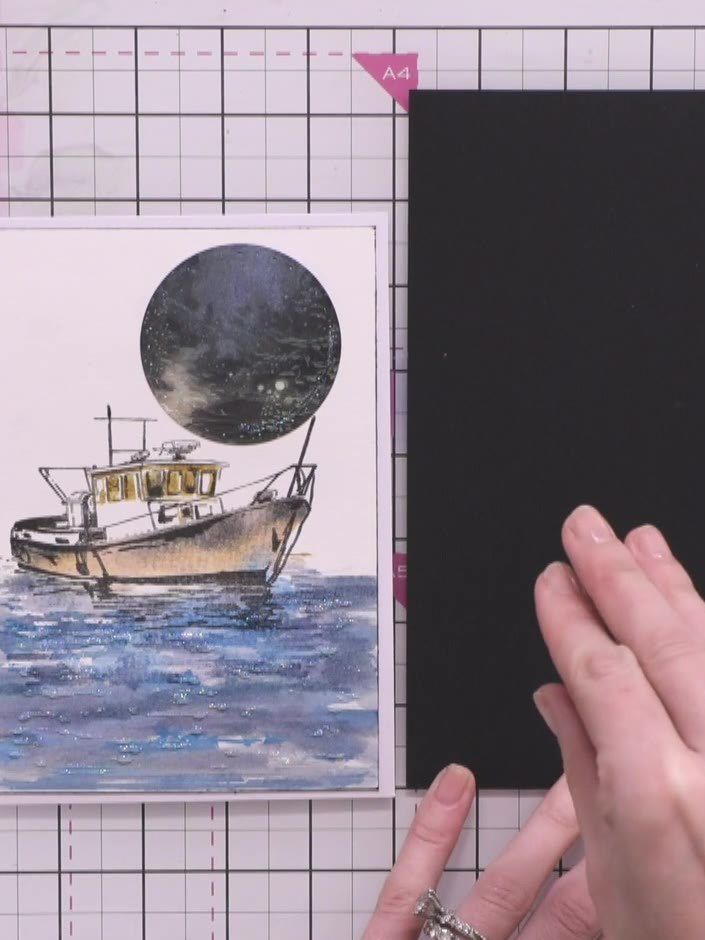
Create a striking boat card on black cardstock with white pigment ink stamping and clear embossing for a sophisticated, high-contrast finish. The embossed detail creates a glass-like dimensional shimmer that makes the nautical design truly stand out. This elegant technique transforms a simple stamp into a dramatic, contemporary greeting card.
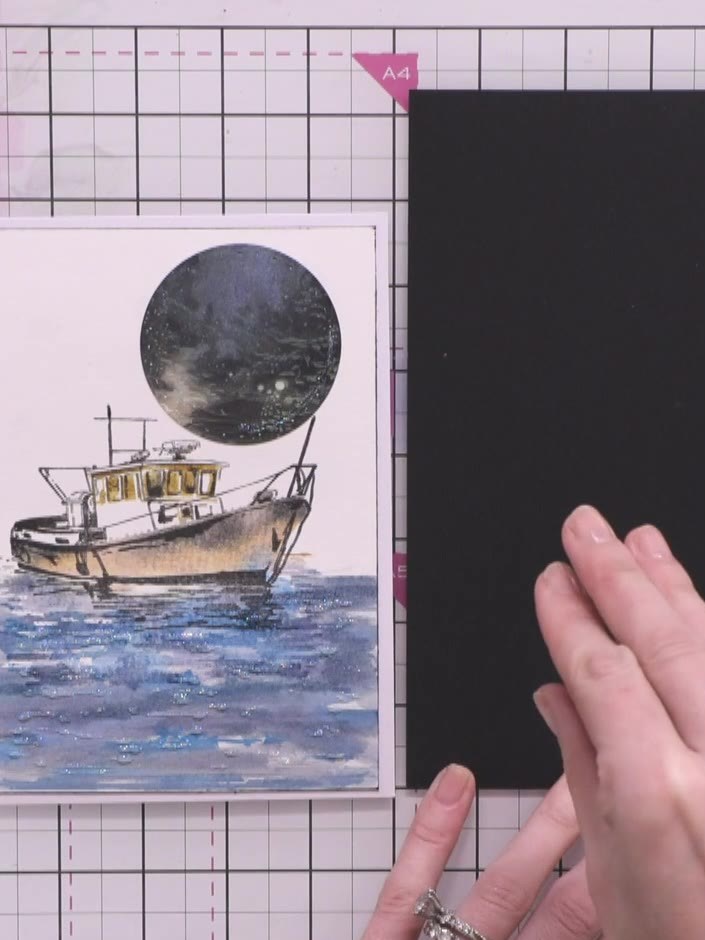
Cut a piece of black cardstock to your desired card size.
▶ guarda questo passaggio (55:45)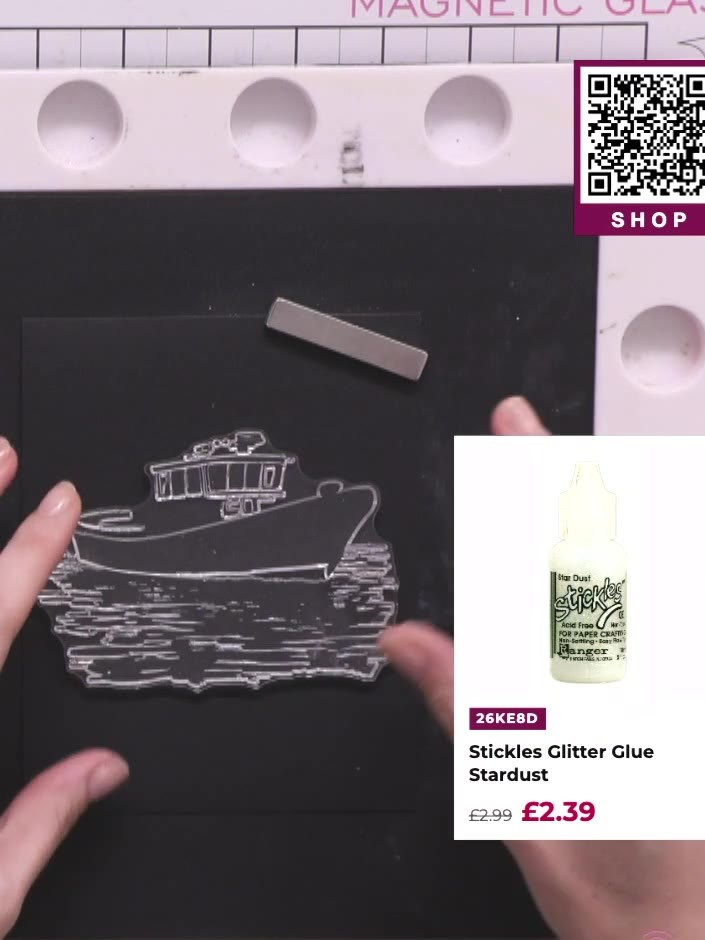
Ink up the solid portion of the boat stamp using white pigment ink, ensuring even coverage across the entire stamping surface.
▶ guarda questo passaggio (58:15)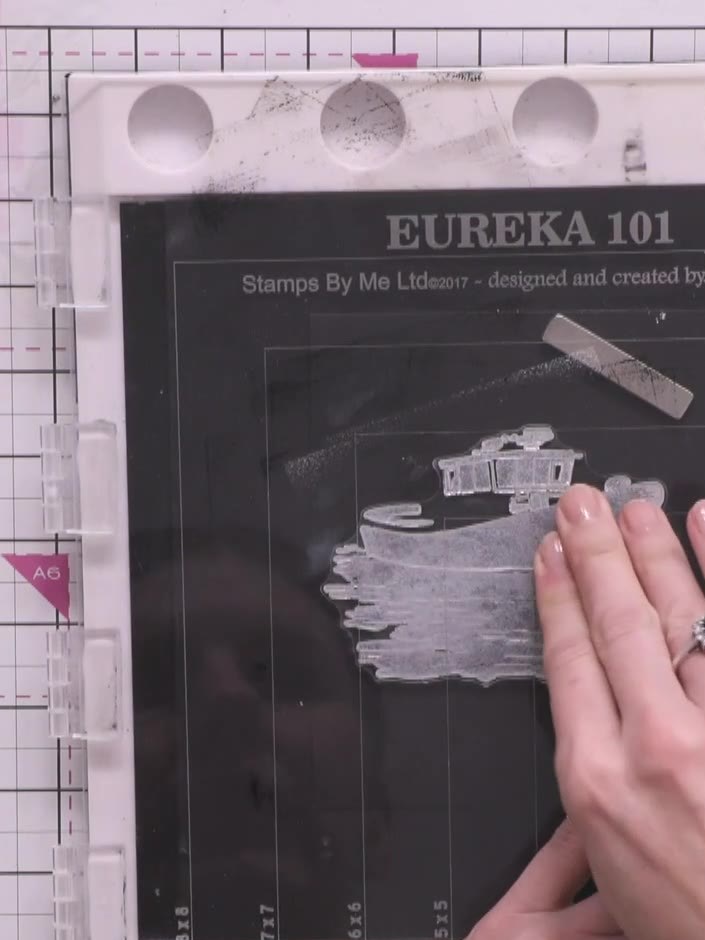
Stamp the inked solid portion of the boat image onto the black cardstock, positioning it in the centre of the panel.
▶ guarda questo passaggio (58:30)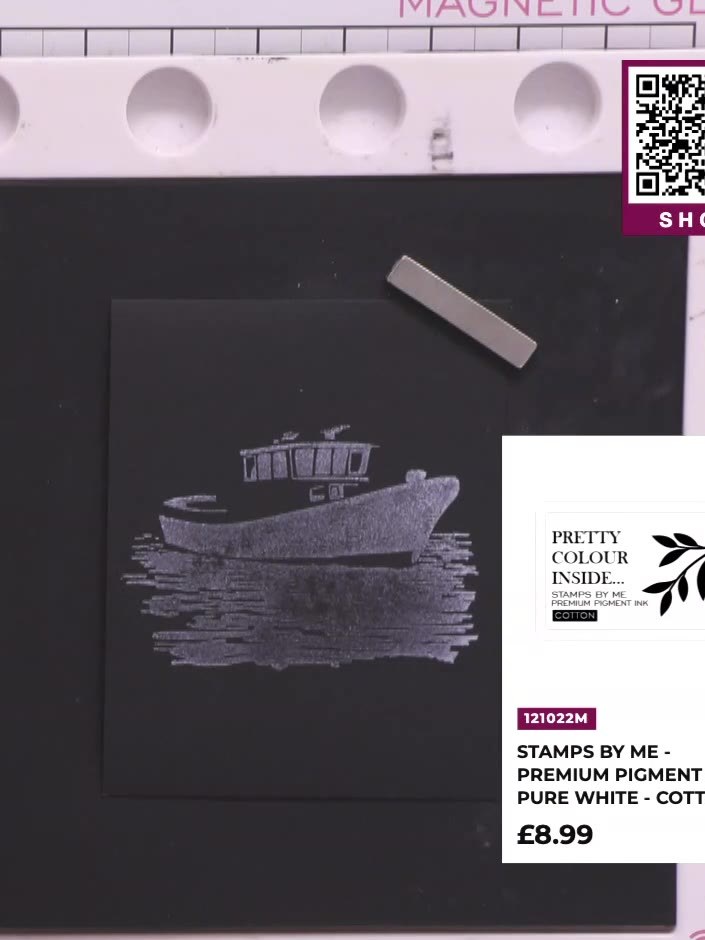
Reload the stamp with white pigment ink and stamp a second time directly over the first impression to build up the white colour and create a more opaque finish.
▶ guarda questo passaggio (59:30)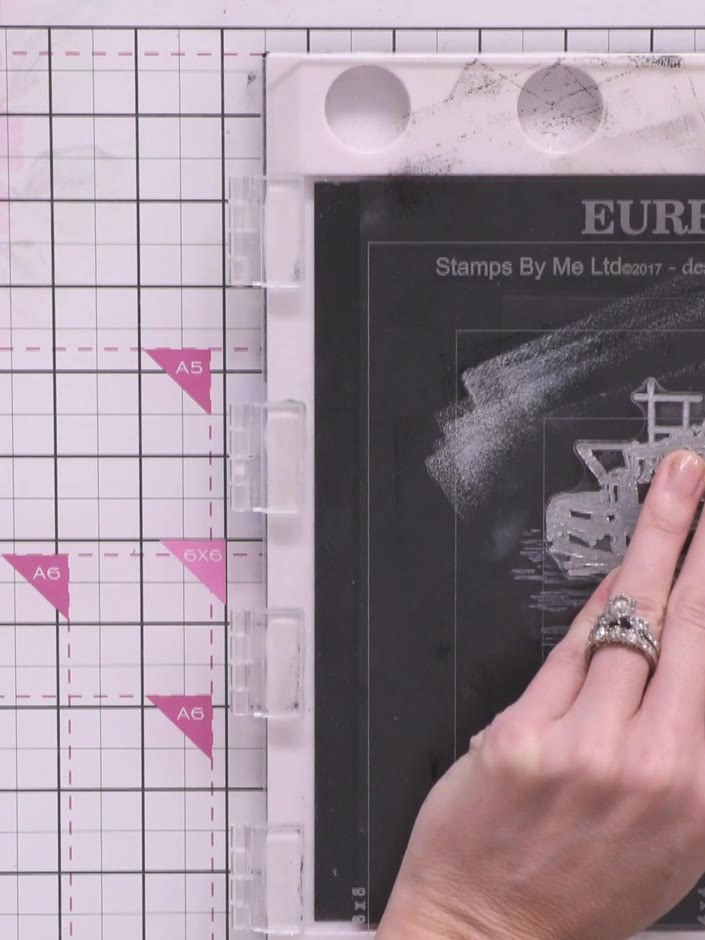
Sprinkle clear gloss embossing powder over the wet white ink on the boat image. Ensure the powder covers all the stamped areas completely.
▶ guarda questo passaggio (1:00:00)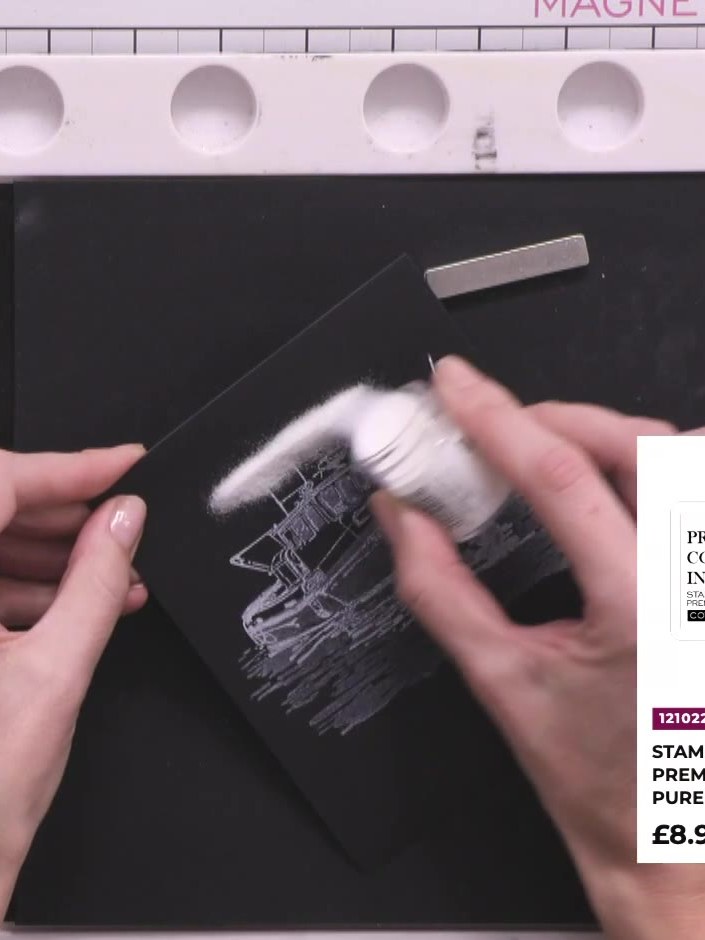
Heat-set the white embossing powder using a heat gun, moving it over the surface until the powder melts and becomes shiny and glass-like.
▶ guarda questo passaggio (1:00:45)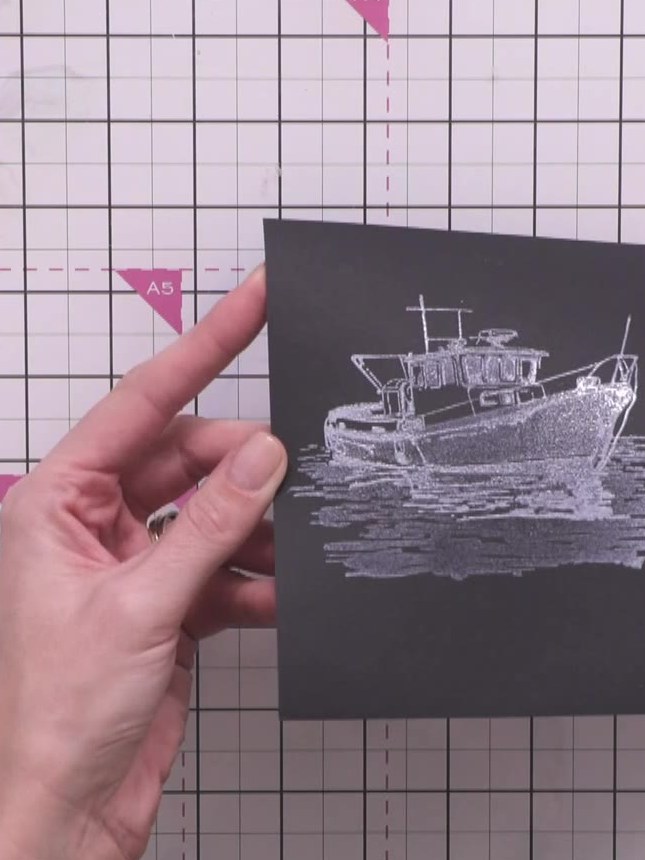
Once the embossed image has cooled, you can optionally add white details such as a moon or additional highlights to complement the embossed boat design on your black cardstock.
▶ guarda questo passaggio (1:02:45)Scritto direttamente dalla puntata. Scopri tutte le guide delle nostre puntate · tutorial gratuiti · guarda in diretta su My Telly



