LINK RAPIDI

info@howtocraftnetwork.com
Ancora più smart: acquista e guarda con l'app SBMSCARICA L'APPGuardaci in diretta sulla tua smart TVSCOPRI COMEScopri il nostro canale IPTV dedicato: vai su my-telly.comGUARDAAccumula punti fedeltà con ogni ordineSCOPRI DI PIÙ
Benvenuto su How to Craft Network
 
SBM SHOP
SEGUICI
REGALA AI TUOI AMICI 10 $ DI SCONTO INVITA UN AMICO › SCOPRI MY-TELLY.COM › SIAMO DIVENTATI ANCORA PIÙ SMART SCARICA L'APP › CANALE PLURIPREMIATO SULLA TUA TV › ISCRIVITI AL CLUB PER RISPARMIARE ›
 
Watercolour Boat with Moon Lamination Card - il progetto finito
Il progetto finito
Visto in puntata · passo passo

Watercolour Boat with Moon Lamination Card

Un progetto dalla nostra diretta THE FRIDAY FINAL CUT - In onda il 6 novembre 2026 · 11/06/2026

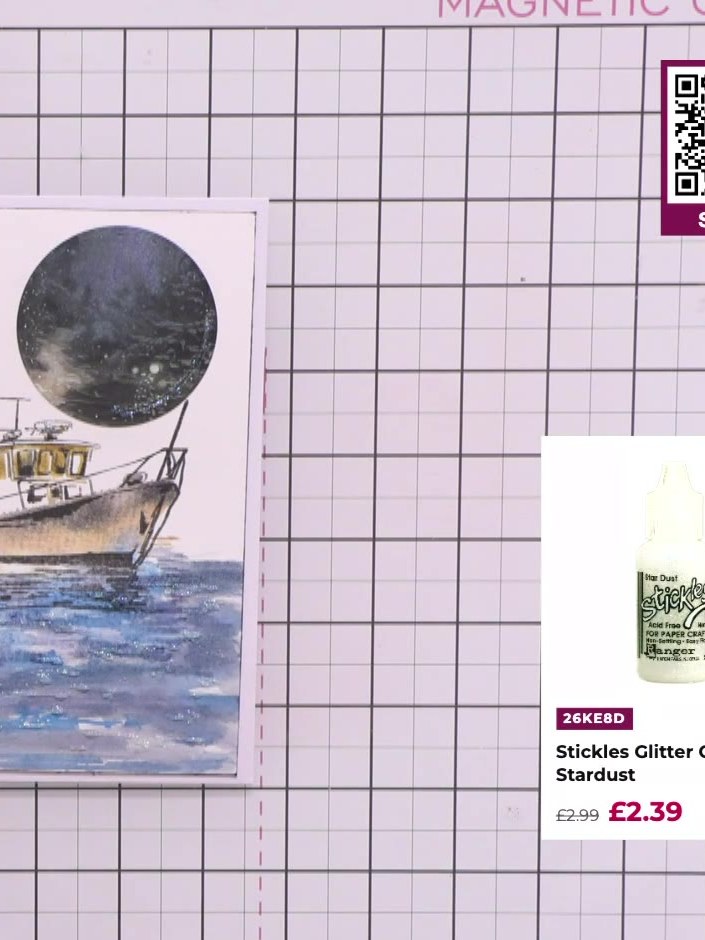
Make a serene watercolour card featuring a fishing boat beneath a moonlit sky, combining lamination stamps with hand-painted effects. Using layered ink blending in blues, greys and sandy tones, you'll create an atmospheric nautical scene with beautiful depth. This moody design is perfect for masculine cards or anyone who loves coastal themes.
12passi
1da acquistare subito
31:00nella puntata
Passo 1 di 12

Ti servirà

1 da acquistare subito · tocca COMPRA

Passo dopo passo

Tocca “guarda” per vedere come si realizza ogni passaggio
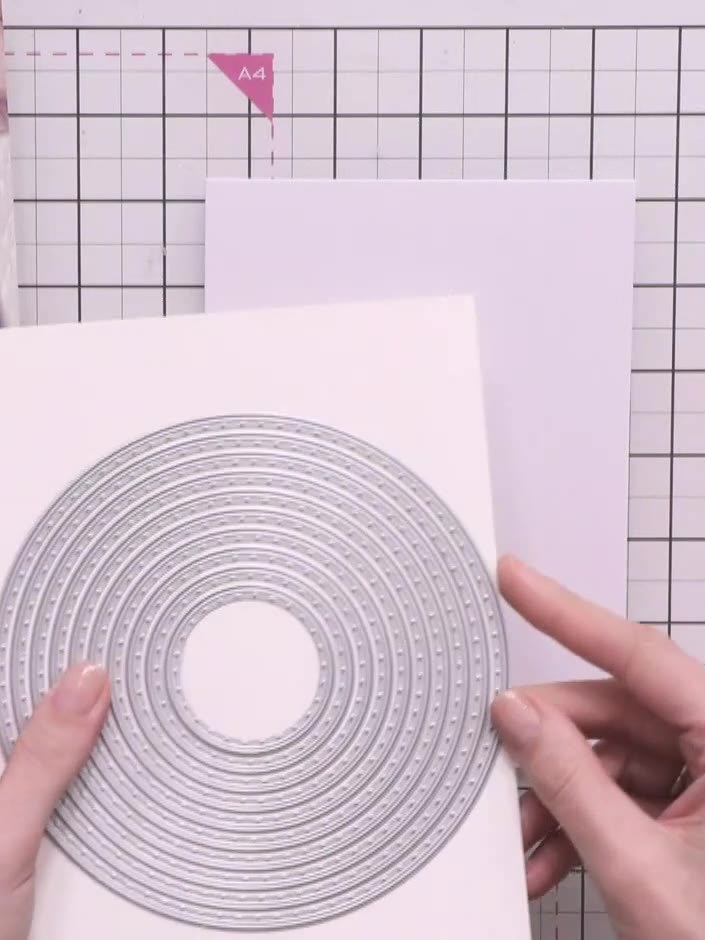
  1. Passo 1: Die-cut a circle from patterned paper using a waste-free circle die to create your moon shape.1

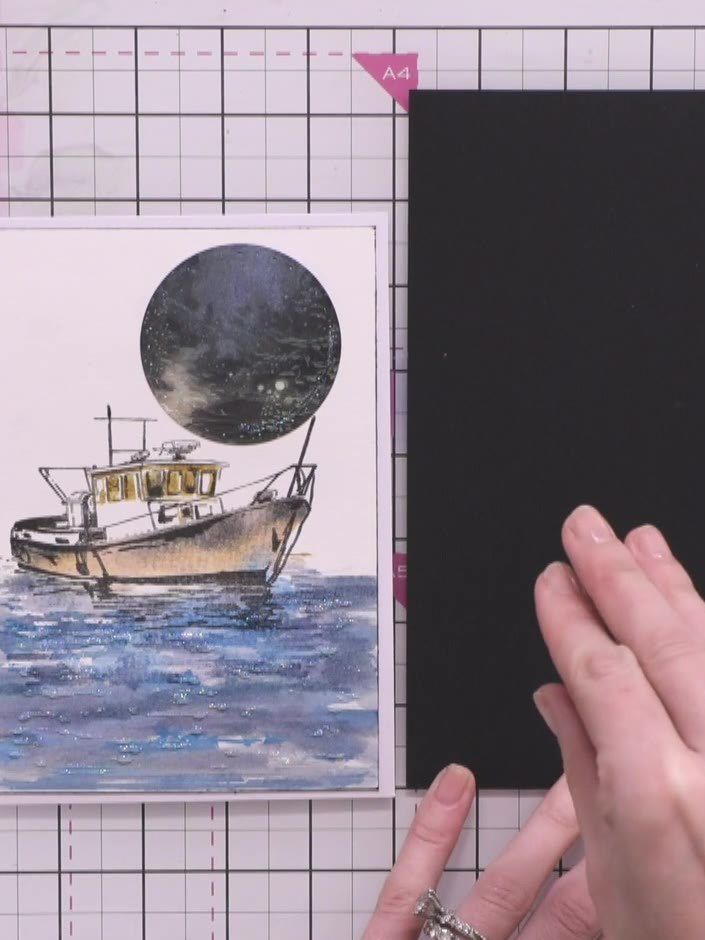
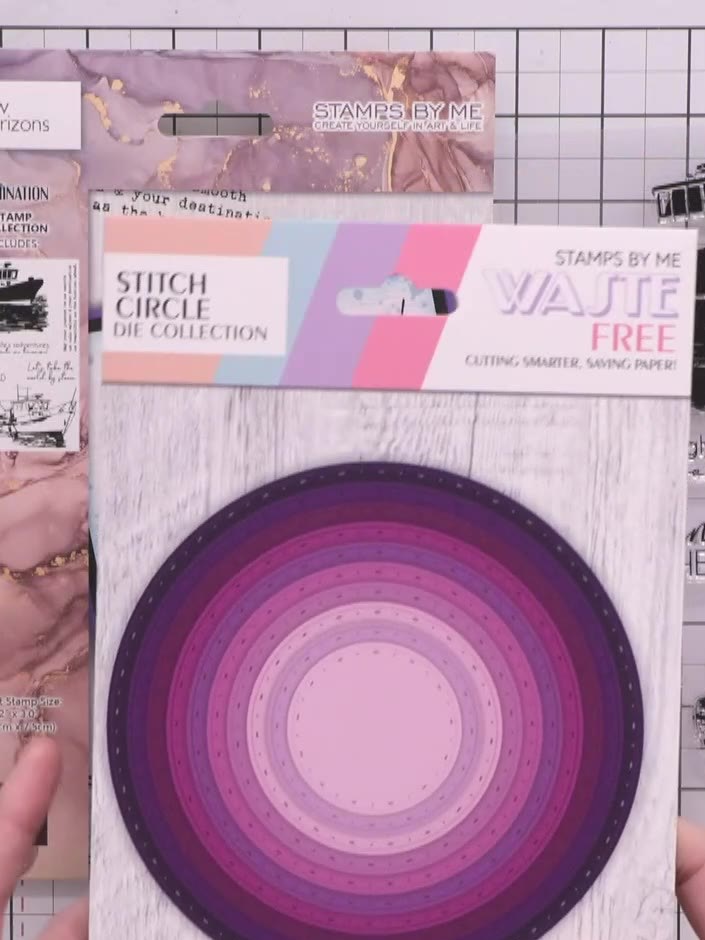
    Die-cut a circle from patterned paper using a waste-free circle die to create your moon shape.
    ▶ guarda questo passaggio 32:45
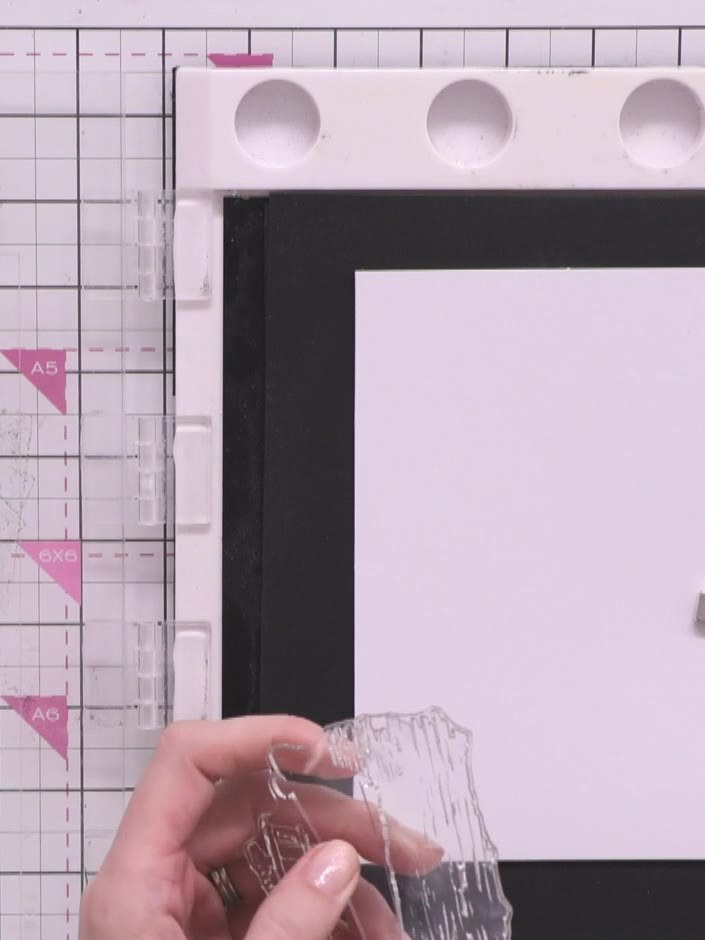
  2. Passo 2: Cut your card base to 5 x 7 inches. Prepare a piece of white watercolour cardstock slightly smaller than the c2

    Cut your card base to 5 x 7 inches. Prepare a piece of white watercolour cardstock slightly smaller than the card base for matting your stamped image.
    ▶ guarda questo passaggio 33:30
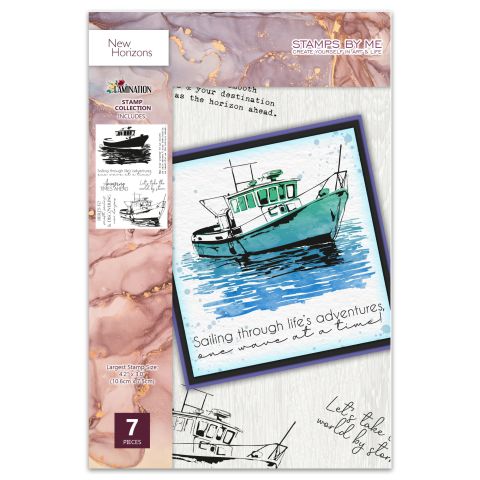
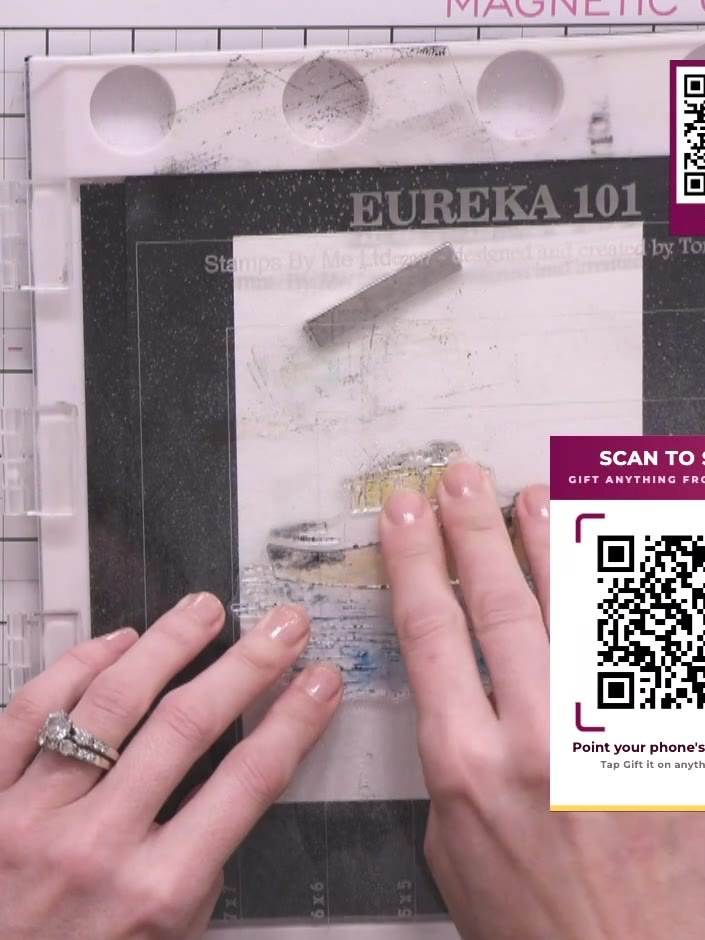
  3. Passo 3: Ink up the solid portion of the boat stamp using multiple brown ink pads: Frayed Burlap on the hull, Brushed C3

    Ink up the solid portion of the boat stamp using multiple brown ink pads: Frayed Burlap on the hull, Brushed Corduroy on the top section, and Black Soot for added depth.
    ▶ guarda questo passaggio 39:00
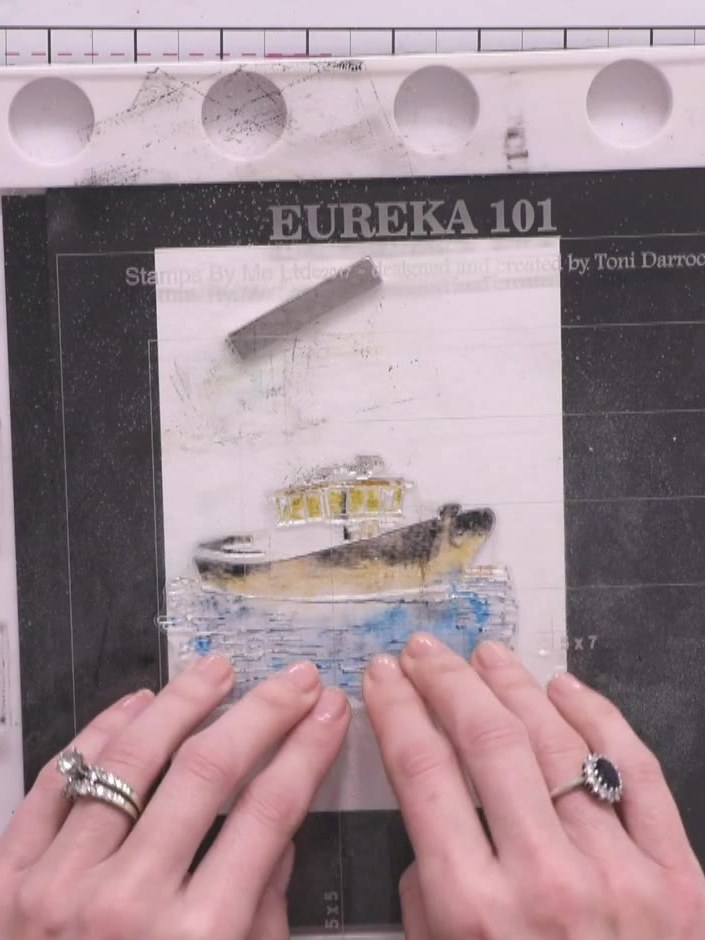
  4. Passo 4: Add blue inks (Stormy Sky and Mermaid Lagoon) to the bottom portion of the stamped image to represent water. A4

    Add blue inks (Stormy Sky and Mermaid Lagoon) to the bottom portion of the stamped image to represent water. Apply the ink directly onto the stamped boat scene.
    ▶ guarda questo passaggio 40:45
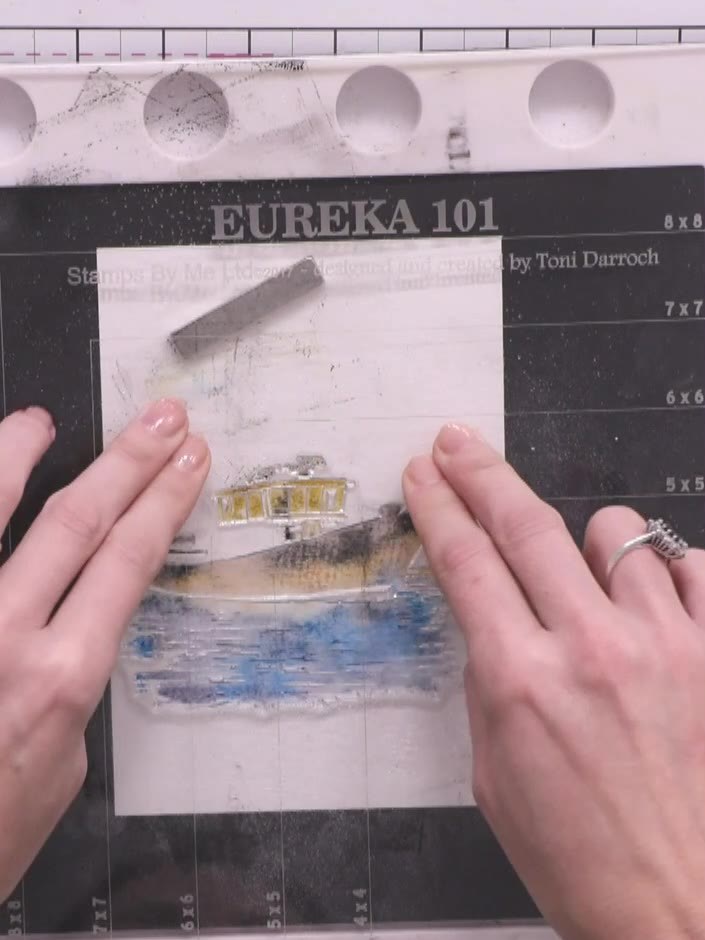
  5. Passo 5: Spray the inked stamp two or three times with water. Blend the colours together by pushing and blending with y5

    Spray the inked stamp two or three times with water. Blend the colours together by pushing and blending with your finger.
    ▶ guarda questo passaggio 41:00
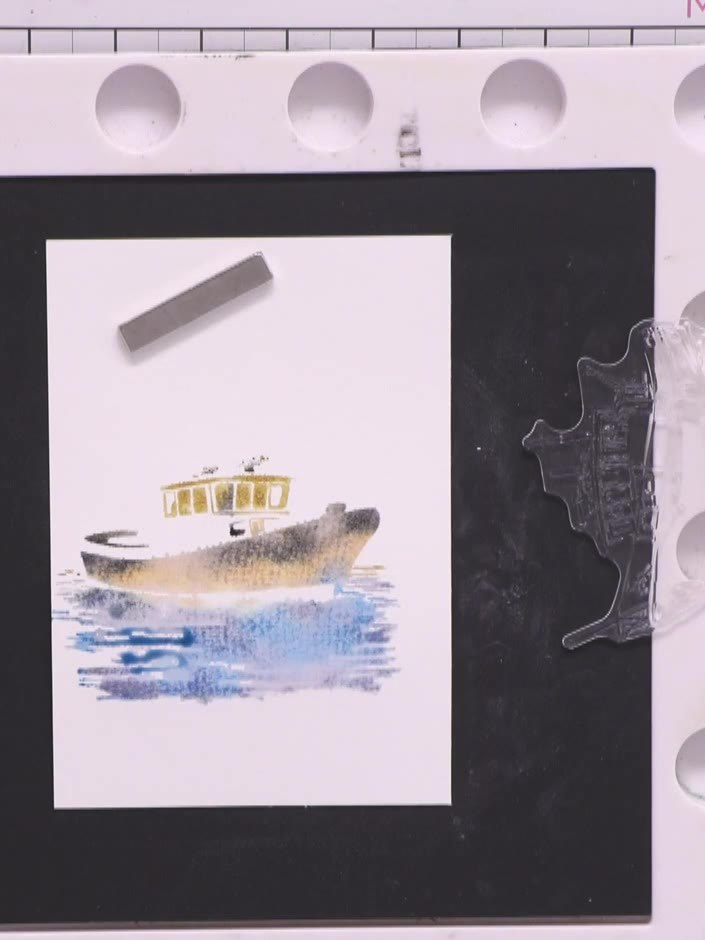
  6. Passo 6: Press the stamped image firmly onto your watercolour cardstock to transfer the coloured boat design. Ensure ev6

    Press the stamped image firmly onto your watercolour cardstock to transfer the coloured boat design. Ensure even pressure across the entire stamp for a complete transfer.
    ▶ guarda questo passaggio 41:30
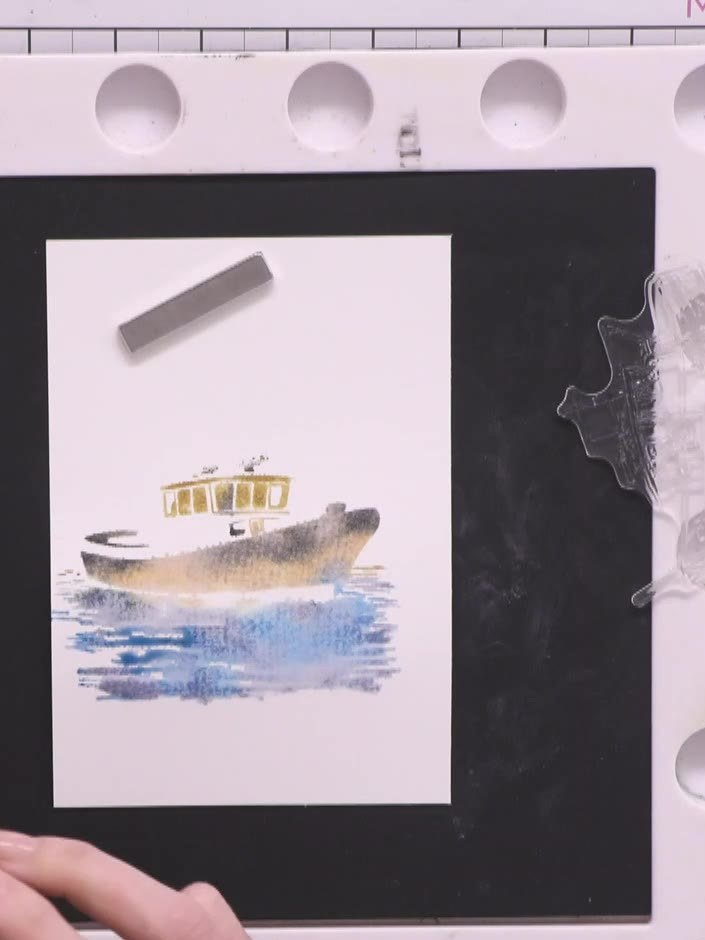
  7. Passo 7: Use a heat gun to thoroughly dry the stamped boat image on the white card panel before proceeding to the next 7

    Use a heat gun to thoroughly dry the stamped boat image on the white card panel before proceeding to the next layer.
    ▶ guarda questo passaggio 42:45
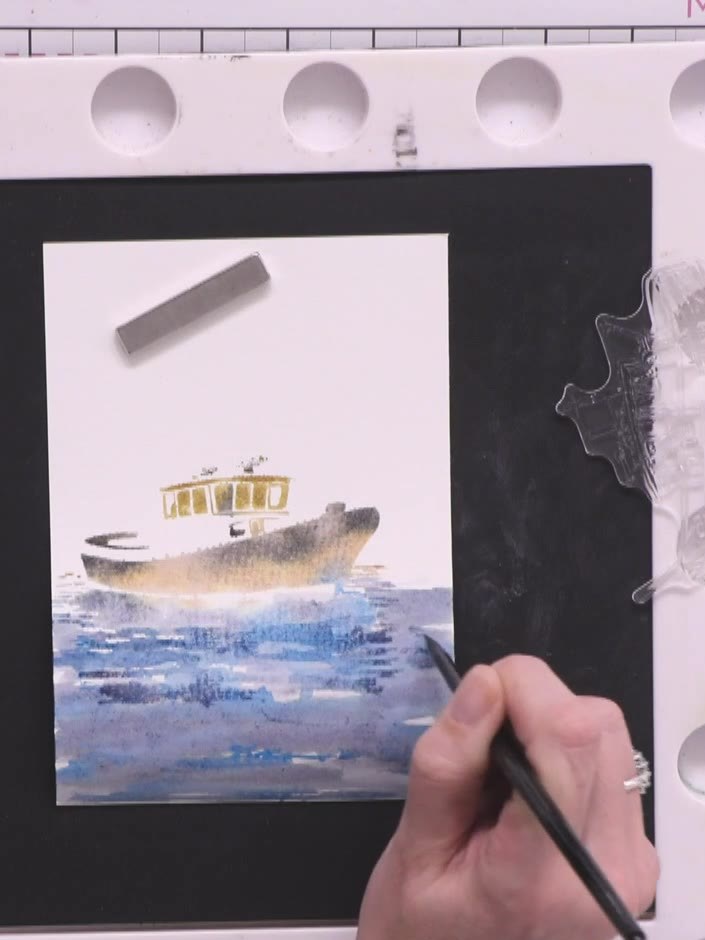
  8. Passo 8: Using a brush, hand-paint additional blue and brown watercolour down the card below the boat image, leaving wh8

    Using a brush, hand-paint additional blue and brown watercolour down the card below the boat image, leaving white space to suggest waves and extend the water effect.
    ▶ guarda questo passaggio 43:15
  9. Passo 9: Once the watercoloured boat image is completely dry, align the detail portion of the lamination stamp over it.9

    Once the watercoloured boat image is completely dry, align the detail portion of the lamination stamp over it. Stamp using Midnight black ink to add definition and detail to the boat.
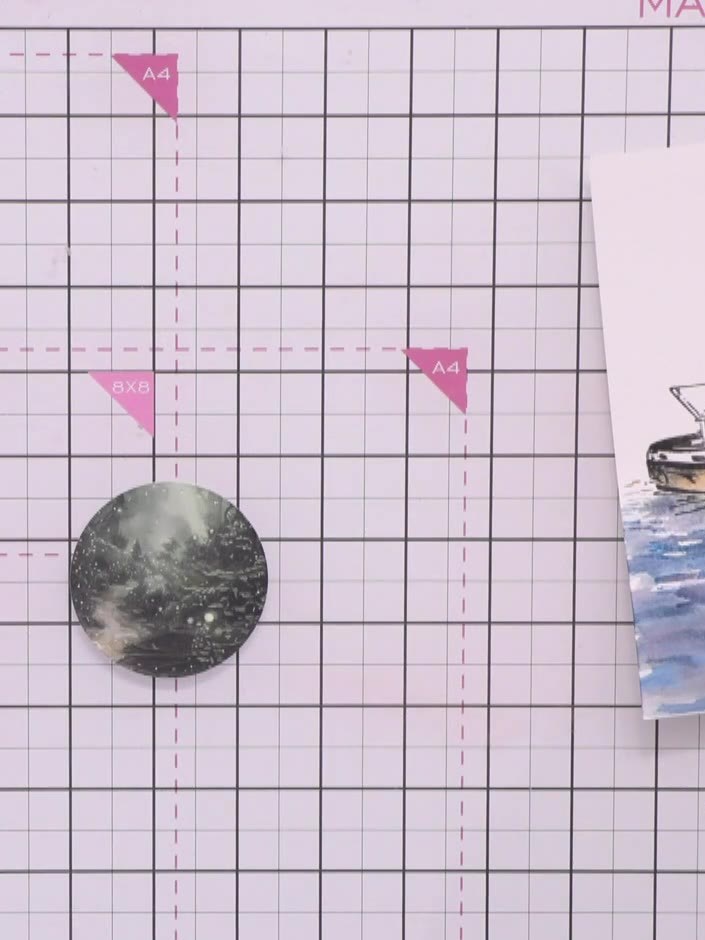
    ▶ guarda questo passaggio 47:00
  10. Passo 10: Darken the moon by blending black ink across it using a blending brush to create depth and make it stand out a10

    Darken the moon by blending black ink across it using a blending brush to create depth and make it stand out against the background.
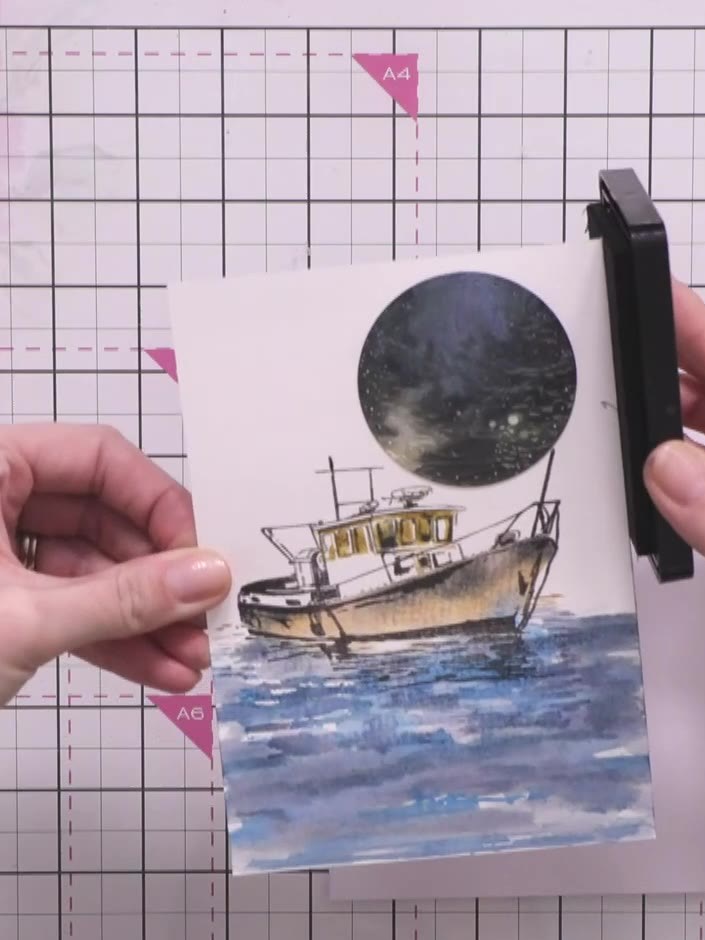
    ▶ guarda questo passaggio 51:15
  11. Passo 11: Edge the bottom of the moon circle with black ink by sliding the ink pad across the edge to create depth and l11

    Edge the bottom of the moon circle with black ink by sliding the ink pad across the edge to create depth and lift it from the background.
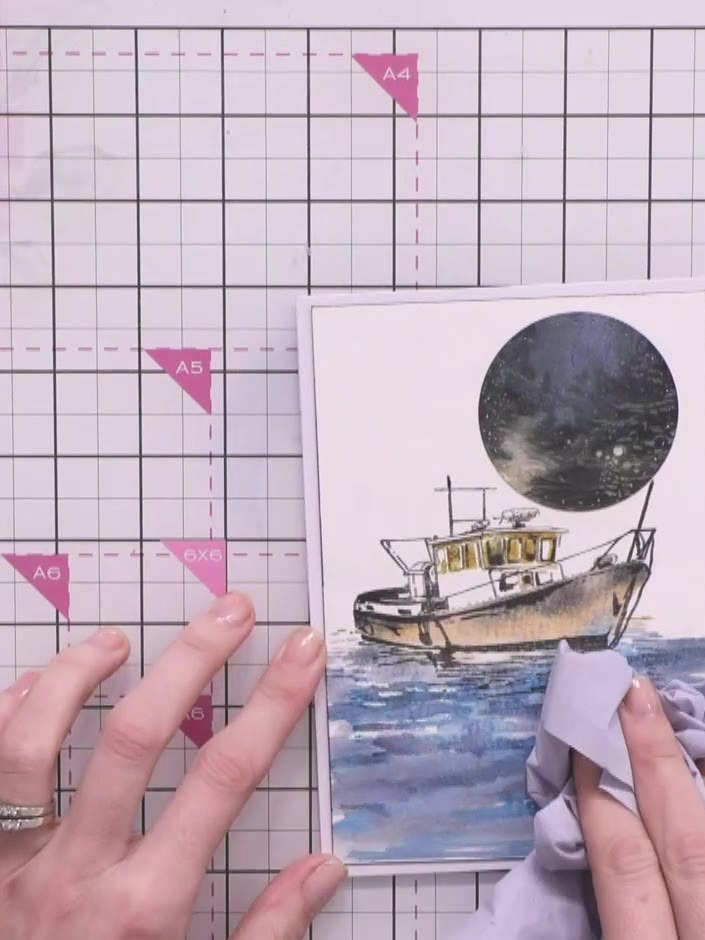
    ▶ guarda questo passaggio 53:30
  12. Passo 12: Mount the stamped and painted boat piece onto your card base. Add iridescent Stardust Stickles to the water ar12

    Mount the stamped and painted boat piece onto your card base. Add iridescent Stardust Stickles to the water area and around the moon to create a shimmer effect.

    ▶ guarda questo passaggio 54:30

Consigli dalla puntata

Ce l’hai fatta!

Condividi il tuo progetto con la community di Stamps By Me - e conserva questa guida per la prossima volta.

Scritto direttamente dalla puntata. Vedi tutti i tutorial delle nostre puntate · tutorial gratuiti · guarda in diretta su My Telly · la versione precedente