Regala ai tuoi amici 10 $ di sconto sul loro primo ordine!
Invita un AMICO








 The Thursday DropDomani 13:00
 The Friday Final Cutven 6 nov 5:00
 Community Showcaselun 9 nov 5:00
I prezzi si aggiornano subito. Ogni lingua è una nostra traduzione, non Google.
Un progetto dalla nostra diretta CREATE TOGETHER CLUB - Puntata 2 - In compagnia di Toni - In onda il 29 marzo 22 · 03/29/2022 · guardalo da 42:00
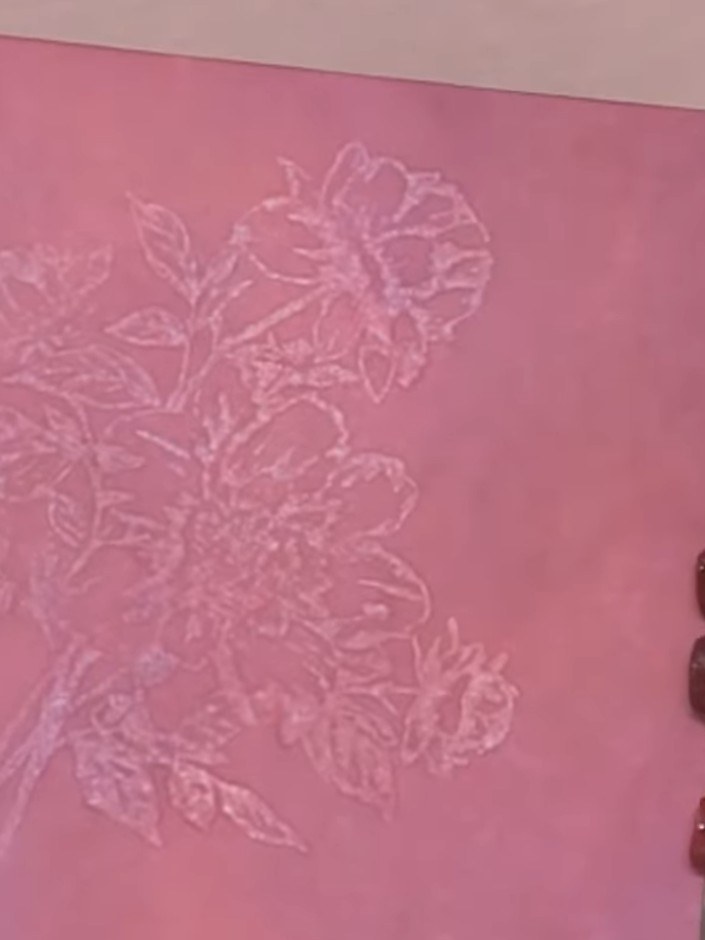
Create a stunning contemporary card featuring a bleached floral design on a vibrant coral-pink background. Using water-reactive ink and a unique stamping technique, you'll lift out a delicate botanical image that appears to glow against the rich coloured backdrop. Finish with sparkle pen accents for an elegant, artistic effect perfect for any occasion.
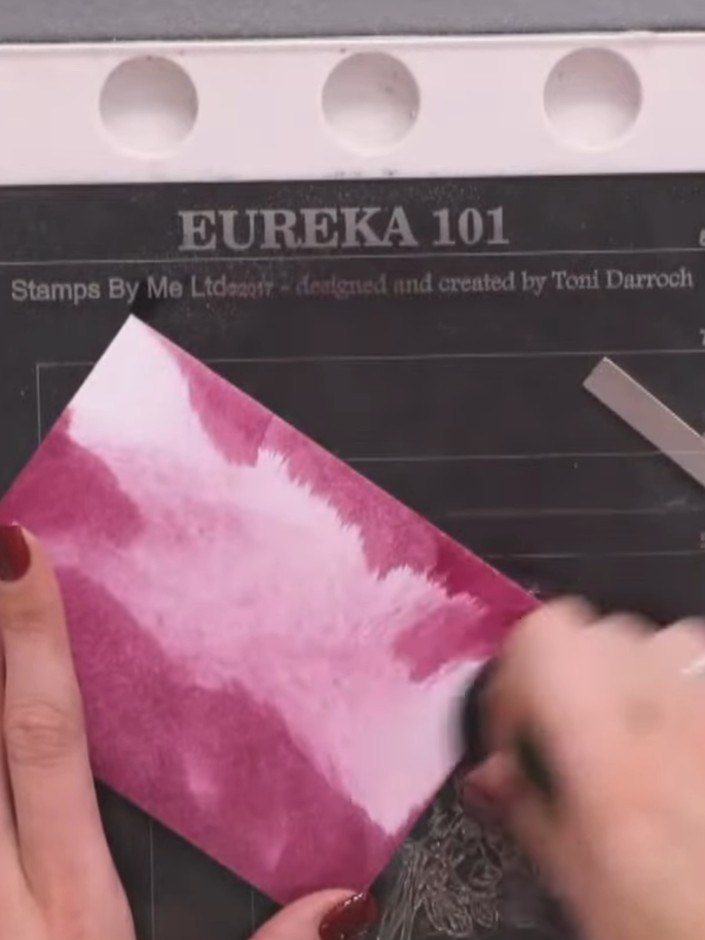
Take a piece of white cardstock and apply water-reactive ink in random areas using a brush. Layer colours such as purple and pink, blending them together to create a graduated effect.
▶ guarda questo passaggio (42:30)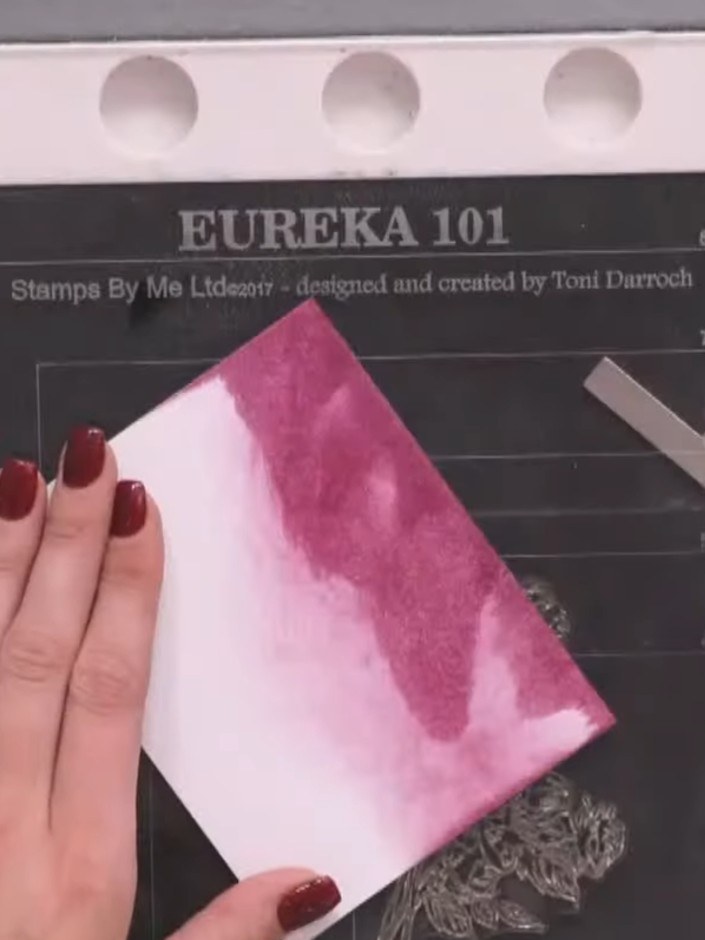
Allow the inked cardstock to dry slightly before proceeding to the next step.
▶ guarda questo passaggio (43:00)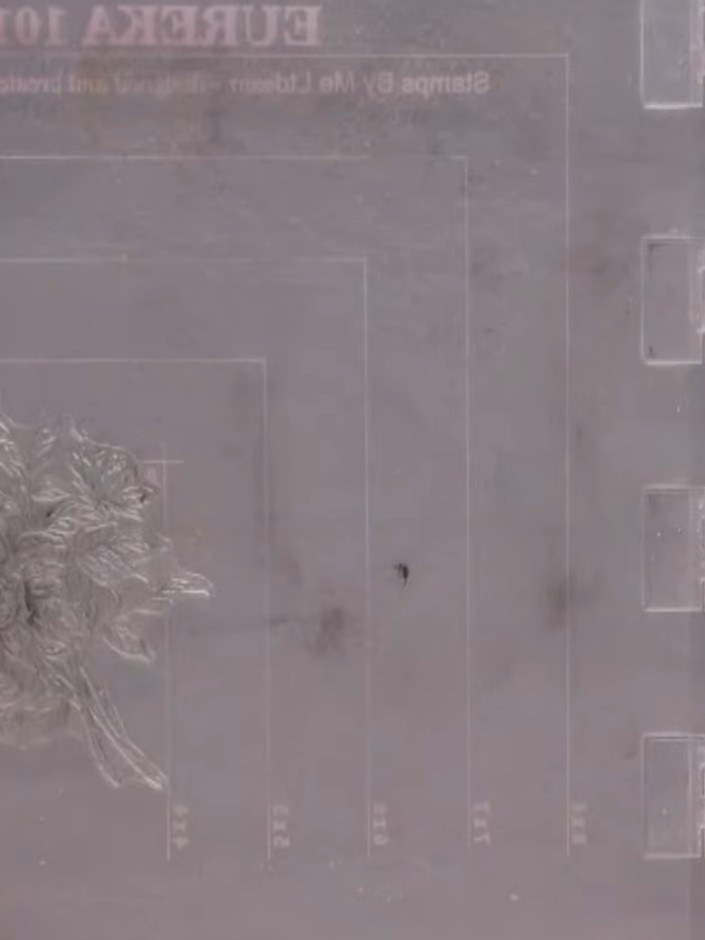
Lightly spritz your floral stamp with clean water using light bursts only. Do not flood the stamp with water.
▶ guarda questo passaggio (48:30)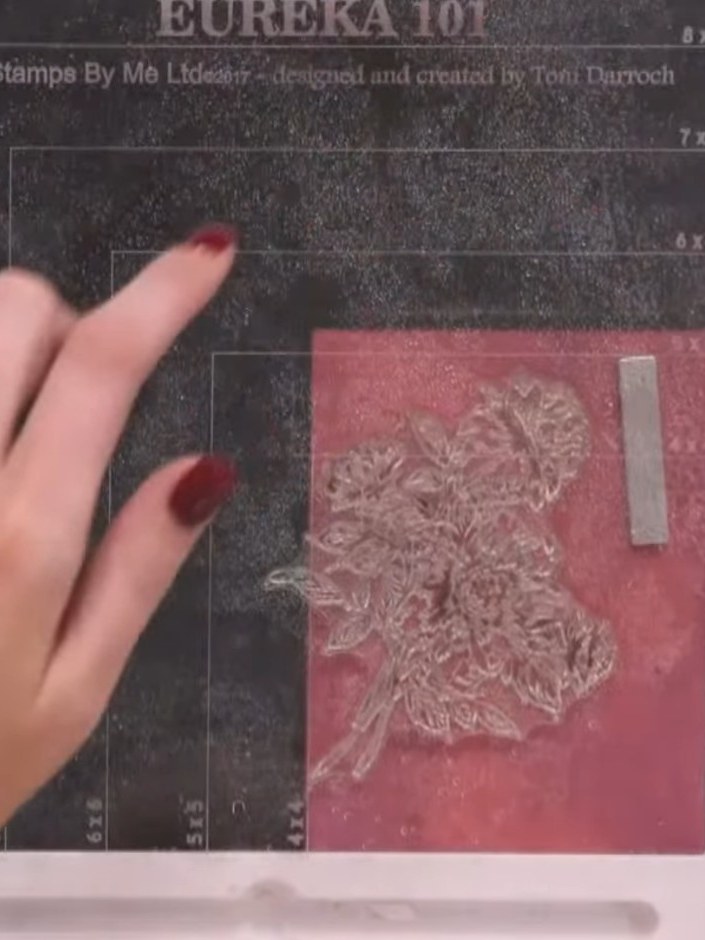
Place the water-spritzed stamp down onto the red ink pad and press firmly to create a bleached, lifted floral image on the stamp.
▶ guarda questo passaggio (49:00)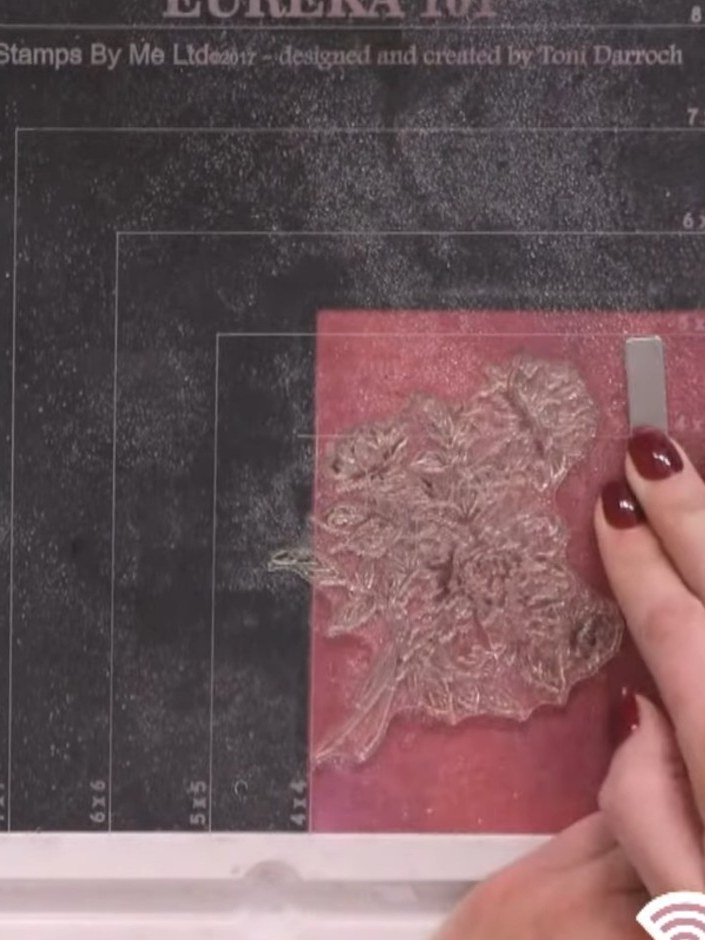
Lift the stamp and repeat the water-spritz and stamp process two to three times to build up the bleached effect on your pink card.
▶ guarda questo passaggio (49:30)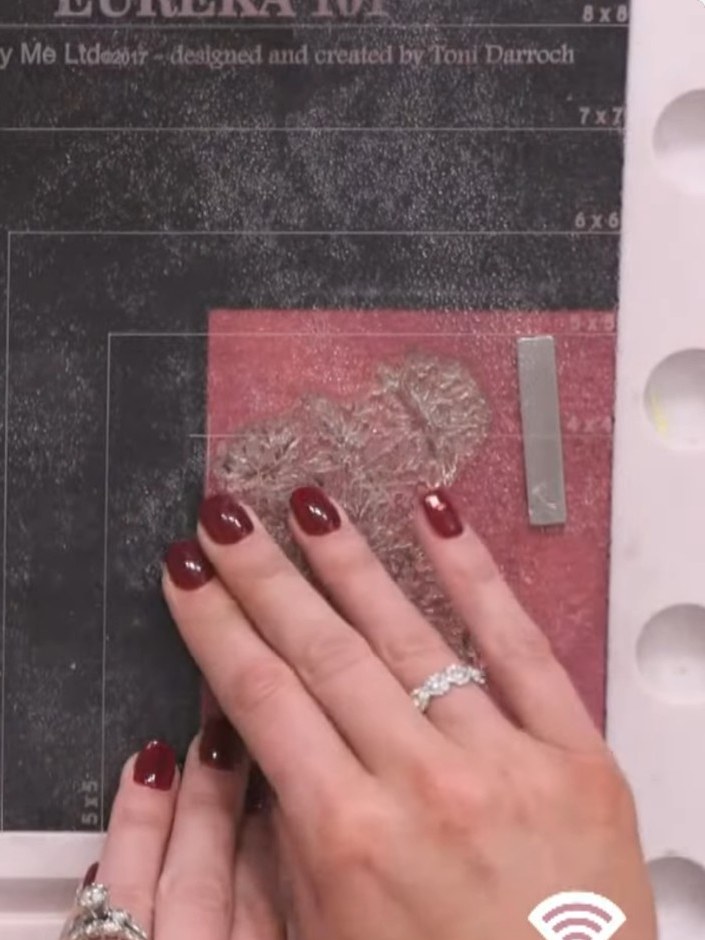
Use a heat gun to activate the water-reactive ink and reveal the bleached floral design. The image will appear as a light, lifted area against the pink background.
▶ guarda questo passaggio (50:45)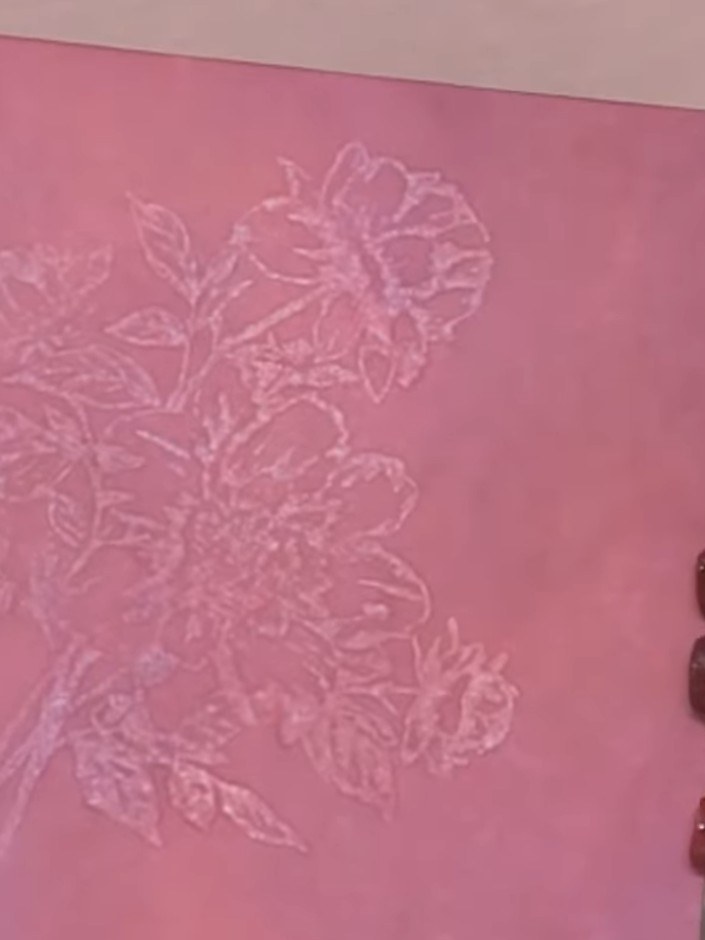
Adhere the embossed pink panel onto a coordinating card base to complete your card.
▶ guarda questo passaggio (52:30)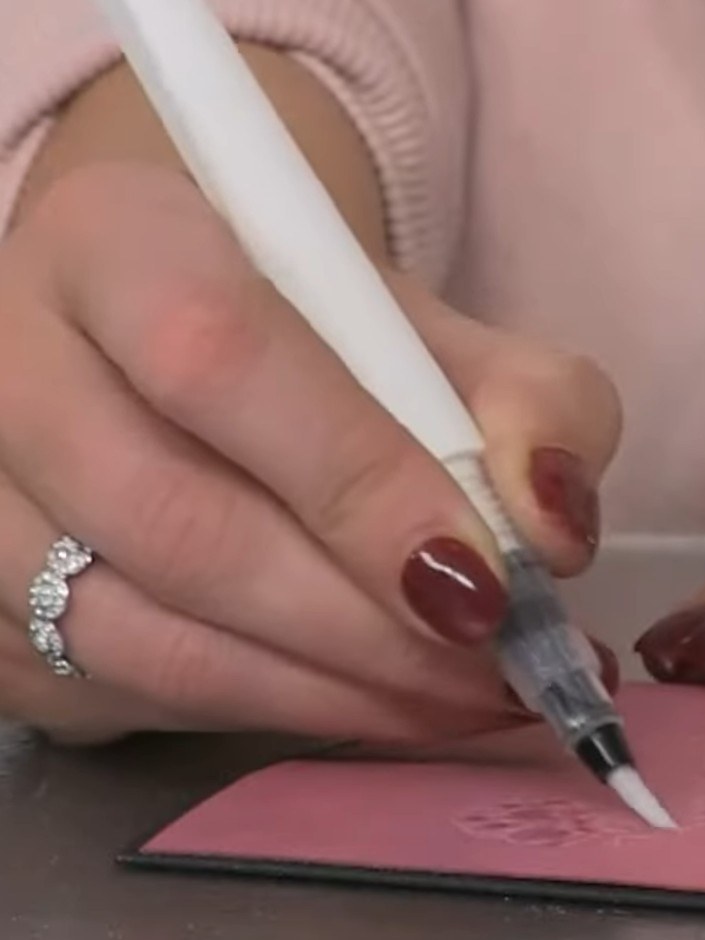
Lightly dab a clear sparkle pen in random spots across the embossed floral design on the pink card panel. Use minimal product to create a subtle shimmer effect.
▶ guarda questo passaggio (54:00)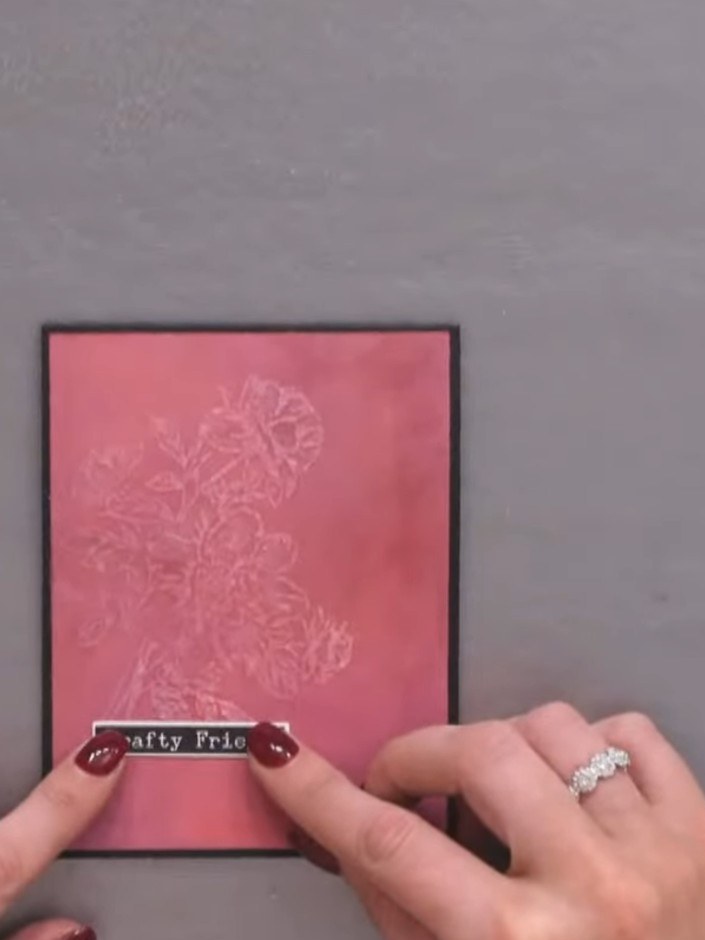
Add a washi tape sentiment strip across the bottom of the card front to complete your design.
▶ guarda questo passaggio (55:30)Scritto direttamente dalla puntata. Scopri tutte le guide delle nostre puntate · tutorial gratuiti · guarda in diretta su My Telly
