Offrez à vos amis 10 $ de remise sur leur première commande !
Parrainez un AMI








 The Thursday DropDemain 13 h 00
 The Friday Final Cutven. 6 nov. 5 h 00
 Community Showcaselun. 9 nov. 5 h 00
Les prix sont mis à jour immédiatement. Chaque langue est notre propre traduction, pas Google.
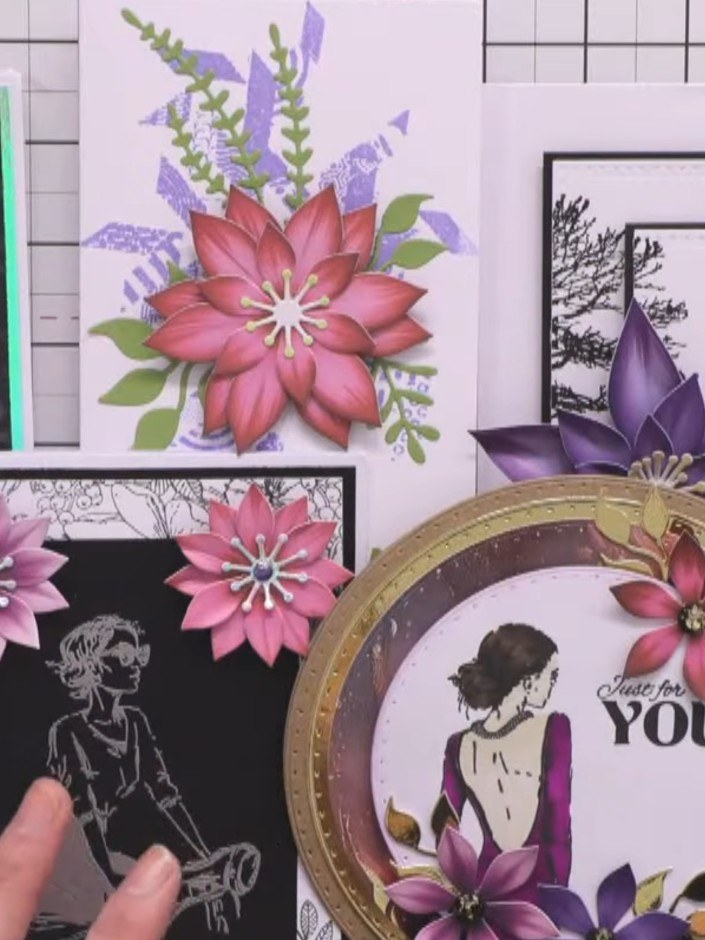
Une création de notre émission en direct THE THURSDAY DROP - Les dernières nouveautés de Toni - Diffusion le 21 mai 2026 · 05/21/2026
Réalisez une élégante carte au format paysage avec, en point focal, une clématite violette en relief posée sur une scène tamponnée en noir et blanc représentant un couple au bord d'un lac entouré d'arbres. Ce projet associe techniques de tamponnage et fleurs superposées en relief pour une carte raffinée, pleine de contraste et de profondeur. Le fond monochrome, rehaussé par la fleur d'un violet éclatant, donne un design minimaliste absolument magnifique.
 1
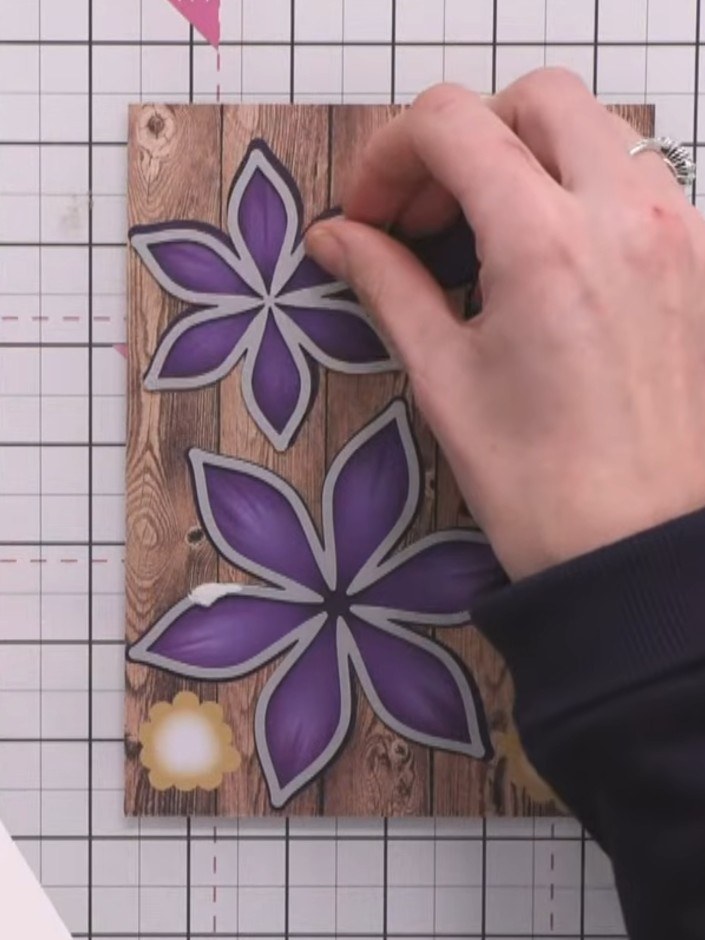
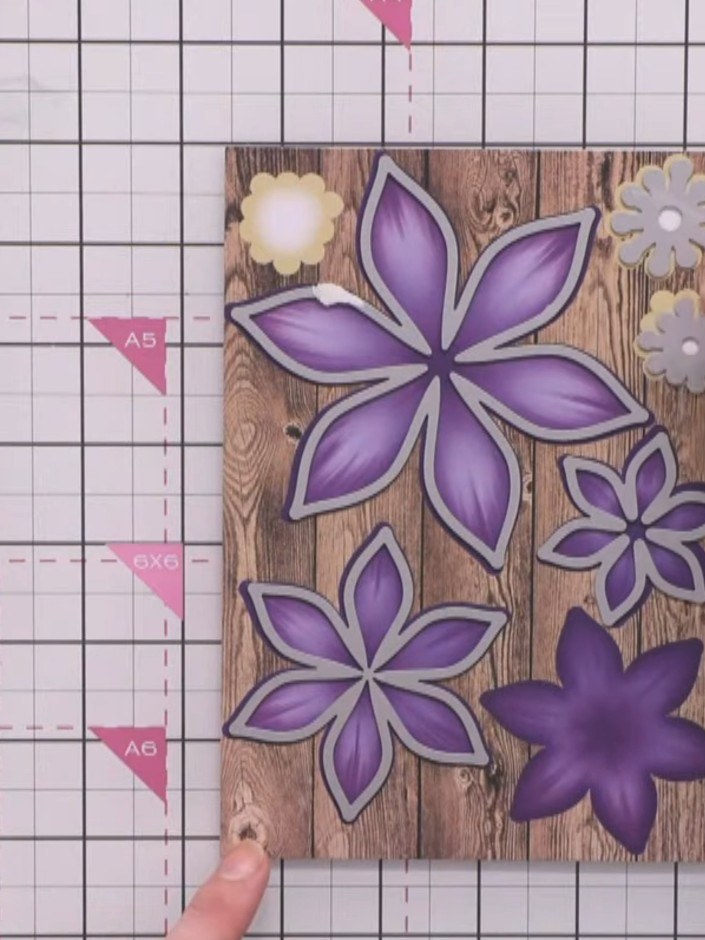
Die-cut three sizes of clematis petals from purple cardstock using the largest, medium, and smallest dies from the Clematis die set. You will need multiple flowers in varying sizes.
 2
Layer the die-cut purple petals inside each other, starting with the largest flower first, to build up the dimensional clematis flower shape. Position the smaller flowers and accent pieces on the wood-effect background.
 3
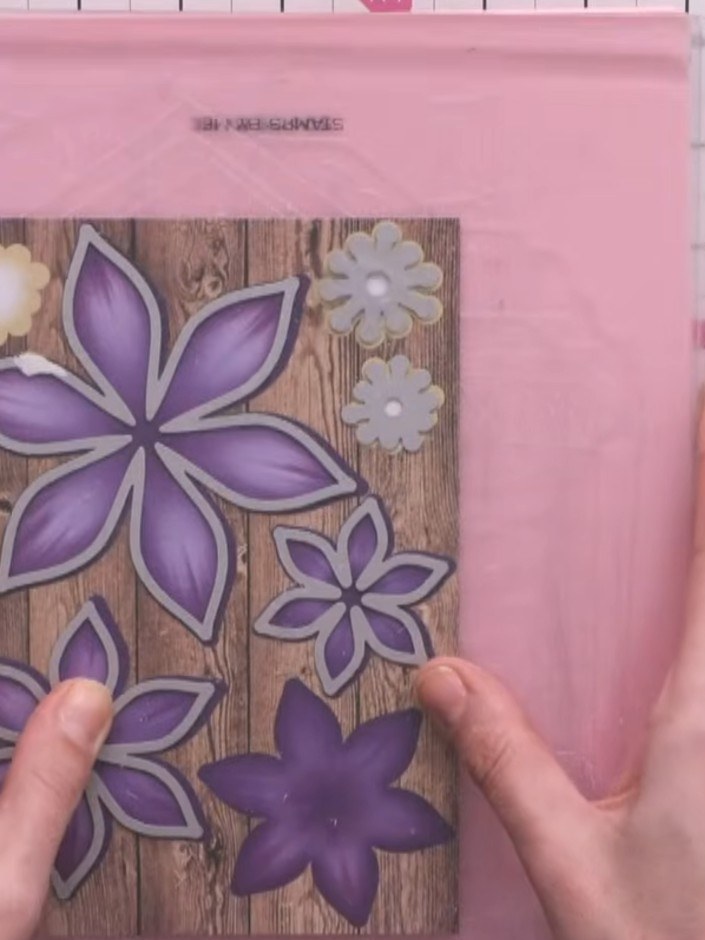
Pinch and manipulate the purple clematis petals with your fingers to give them dimension and lift them proud from the card surface.
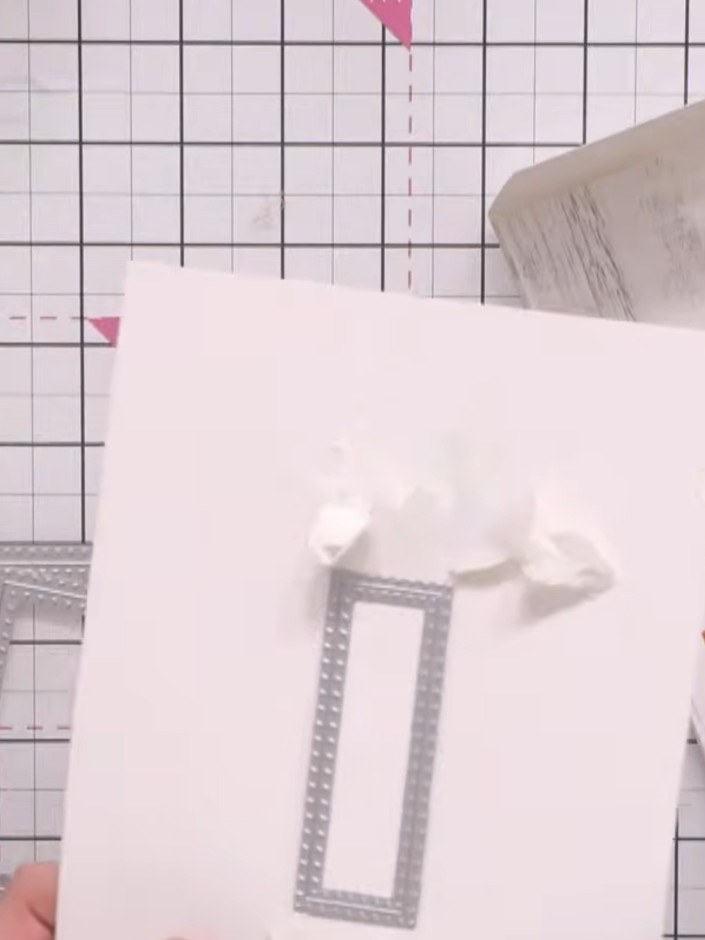
Cut a landscape-format card base from white card stock using scissors or a trimmer.
 5
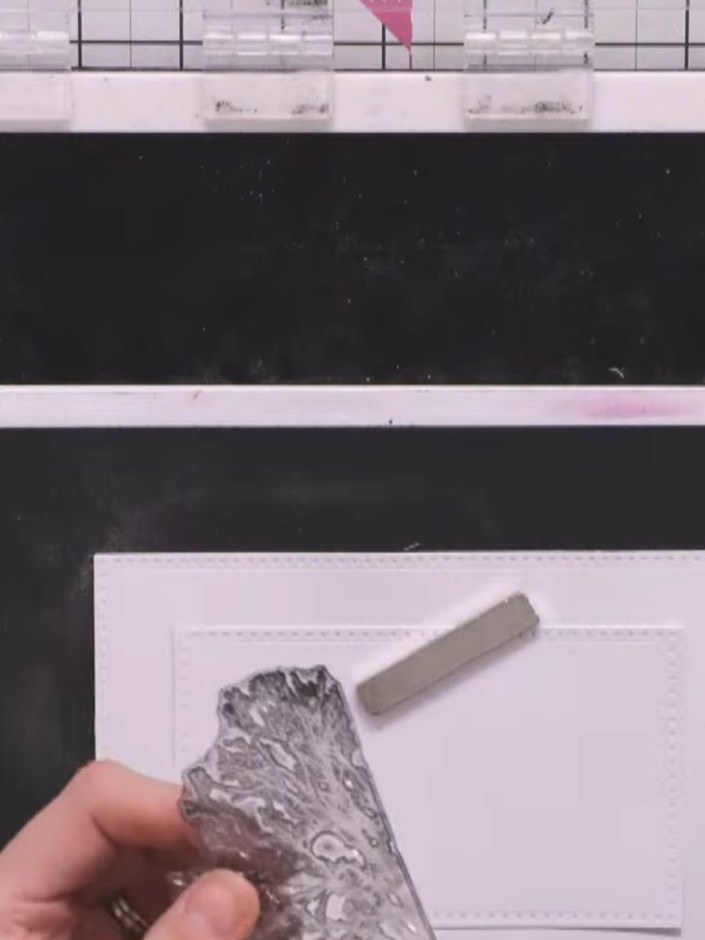
Stamp the Reflection Collection 'Every New Day' stamp with black ink onto the white card, positioning the boat image in the lower section of the rectangle.
 6
Stamp the foliage and tree elements from the reflection stamp set onto the white card panel to build up the landscape scene. Use the tree and botanical images to create depth and interest in your background.
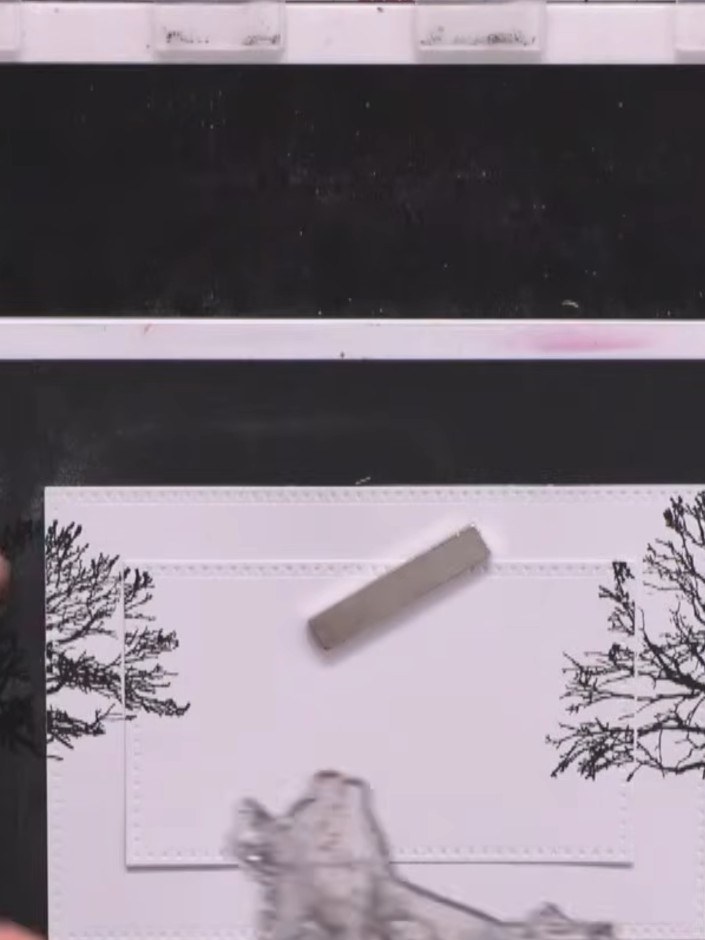 7
Mount the stamped landscape piece onto black card stock to create a border. Position the white stamped panel centrally on the black card to frame the design.
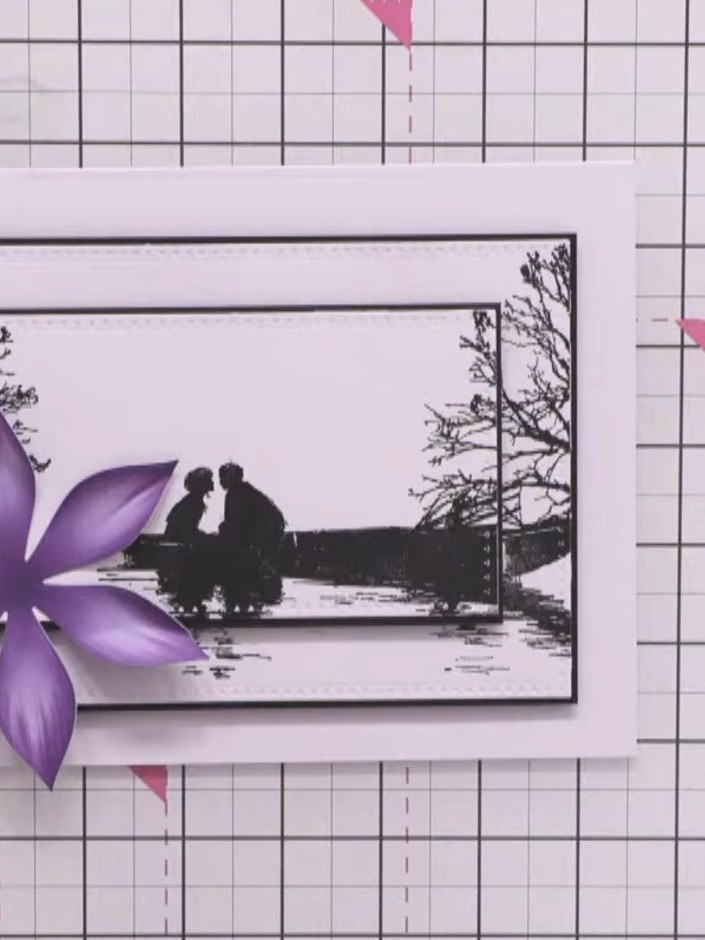 8
Adhere the dimensional purple clematis flower to the bottom left of the stamped scene using foam pads to raise it proud of the card surface.
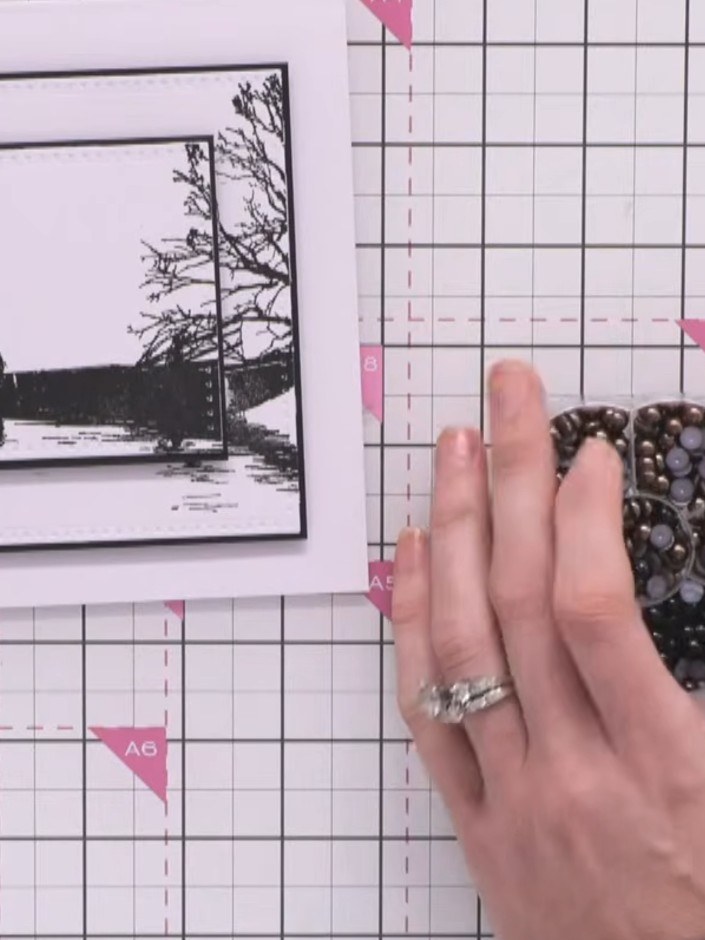 9
Add small black pearls to the centre of the purple clematis flower using a small amount of tape or glue to secure them in place.
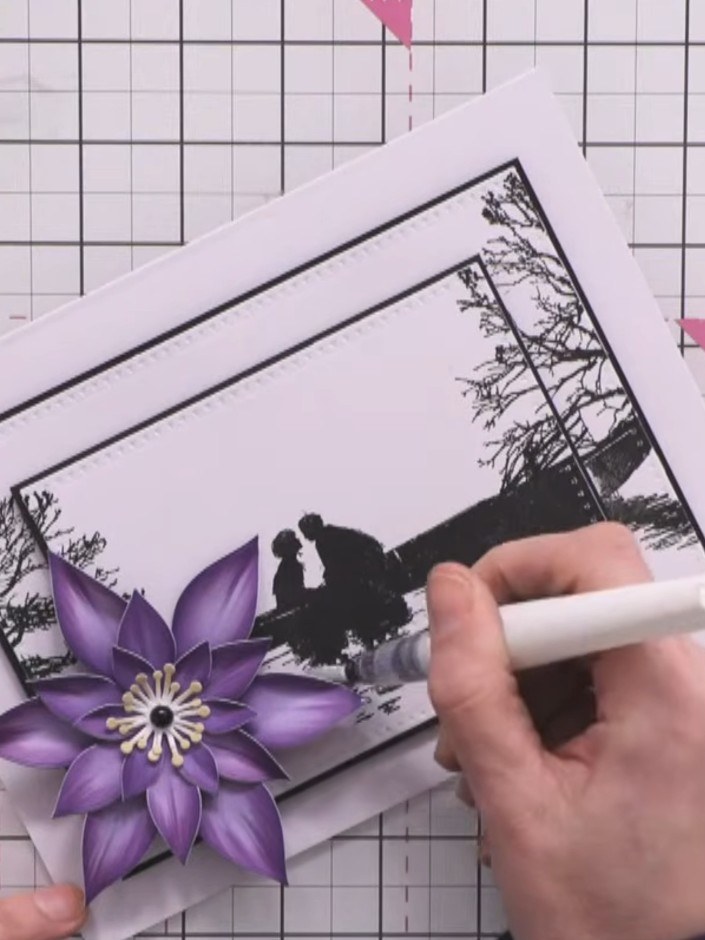 10
Apply a sparkle pen to the white areas of the card, including the sentiment strip and background, to add shimmer and highlight the reflection elements of the design.
Partagez votre création avec la communauté Stamps By Me - et gardez ce tutoriel pour la prochaine fois.
Rédigé à partir de l’émission elle-même. Tous les tutoriels de nos émissions · tutoriels gratuits · en direct sur My Telly · l’ancienne présentation