Offrez à vos amis 10 $ de remise sur leur première commande !
Parrainez un AMI








 The Friday Final Cutven. 6 nov. 5 h 00
 Community Showcaselun. 9 nov. 5 h 00
 Hobbymaker TVlun. 9 nov. 9 h 00
Les prix sont mis à jour immédiatement. Chaque langue est notre propre traduction, pas Google.
Une création de notre émission en direct TOUT NOUVEAU LANCEMENT CREATE AND CRAFT - Rejoignez Toni pour ses dernières nouveautés et idées - émission 2 - diffusée le 12 juin 23 · 06/12/2023
Réalisez un charmant album deux enveloppes orné d'une élégante découpe triangulaire sur le dessus. Ce projet simple mais raffiné utilise des enveloppes prérainées collées ensemble pour former un album souvenir ou un joli cadeau à offrir. Avec une découpe précise et un assemblage soigné, vous obtiendrez un résultat digne d'un professionnel, parfait pour conserver photos, cartes ou souvenirs précieux.
 1
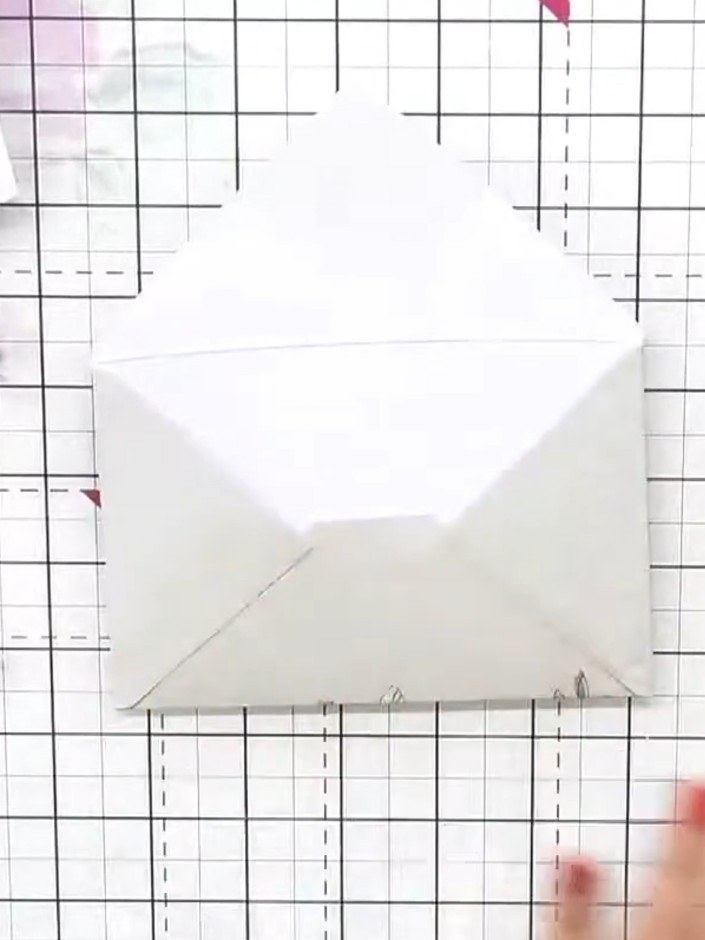
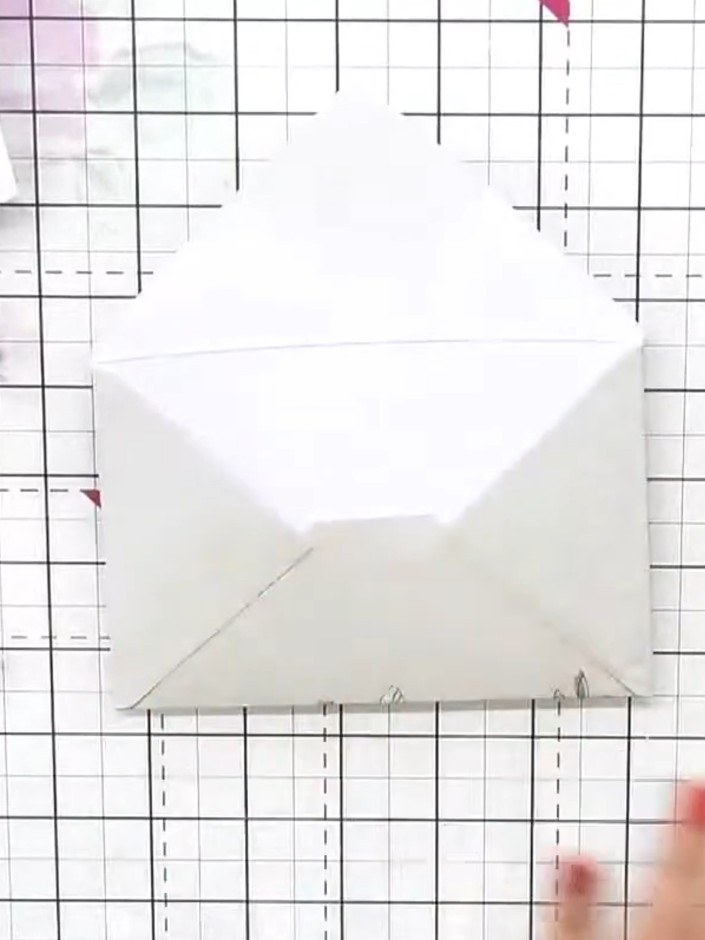
Take one of the pre-printed envelopes and fold along all the score lines. Apply adhesive to the side and bottom flaps, then press them down to seal the envelope and create a pocket.
 2
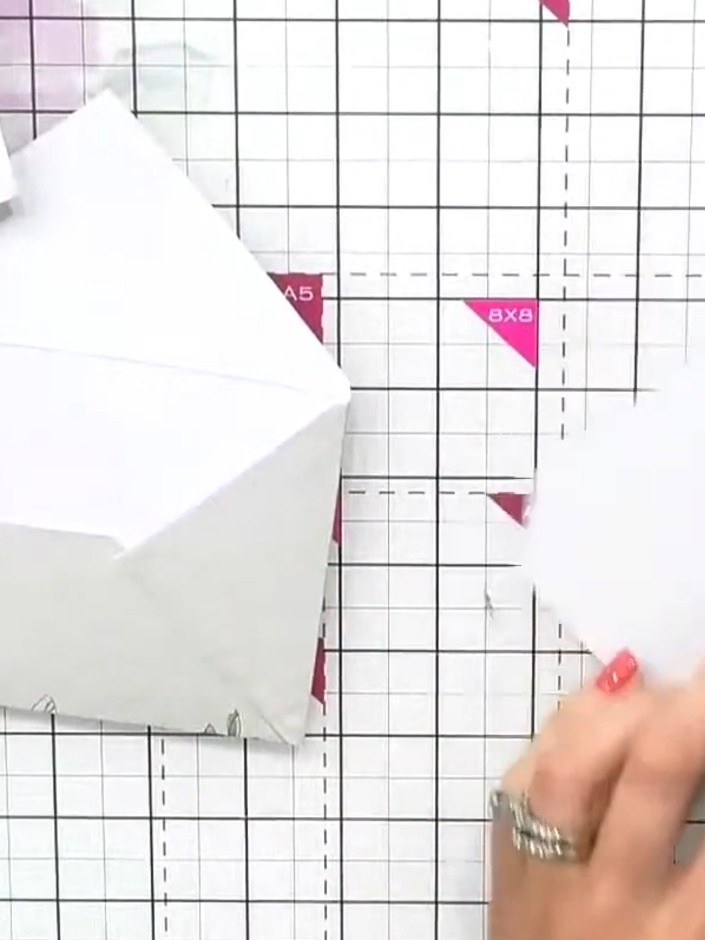
Fold a second envelope in exactly the same way as the first, creasing along the score lines to create the fold and send envelope shape.
 3
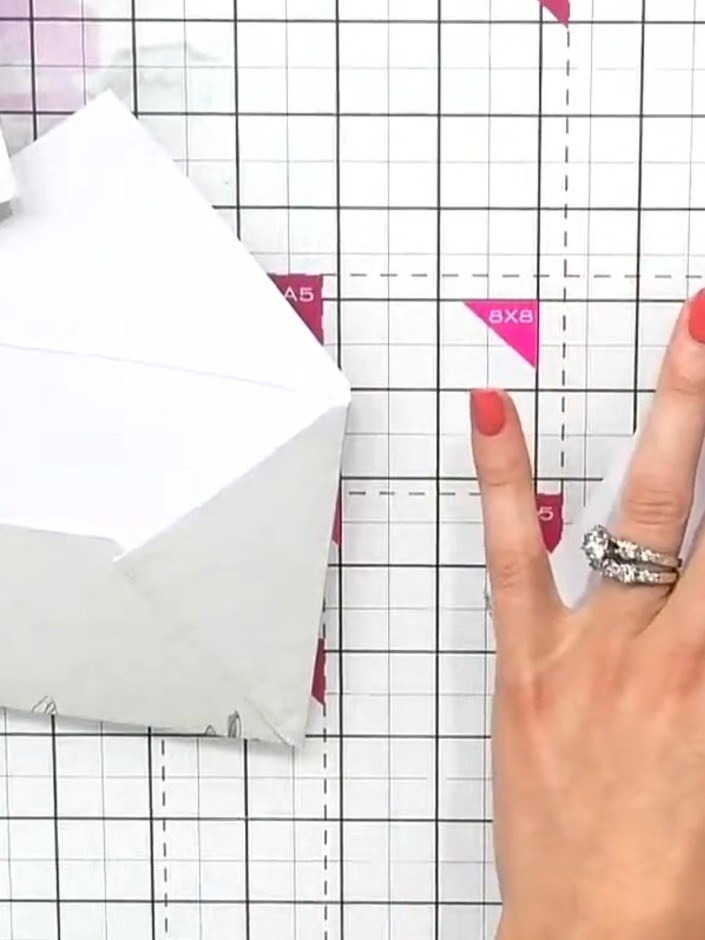
Place the two sealed envelopes back-to-back and glue them together to create a double-sided album base.
 4
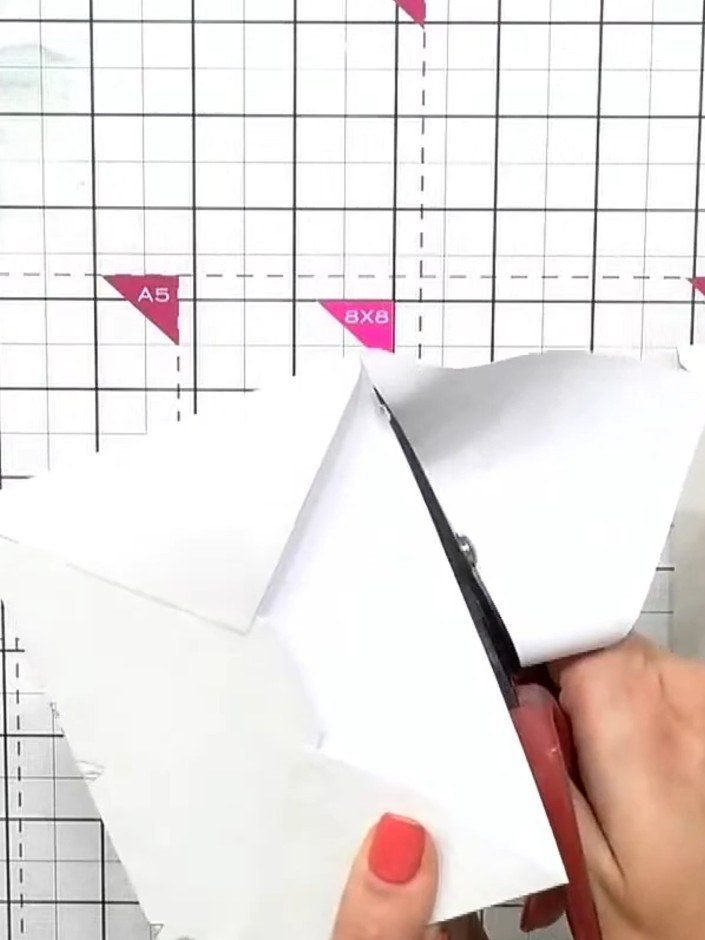
Cut away the triangle from the top of one envelope using scissors or a guillotine.
 5
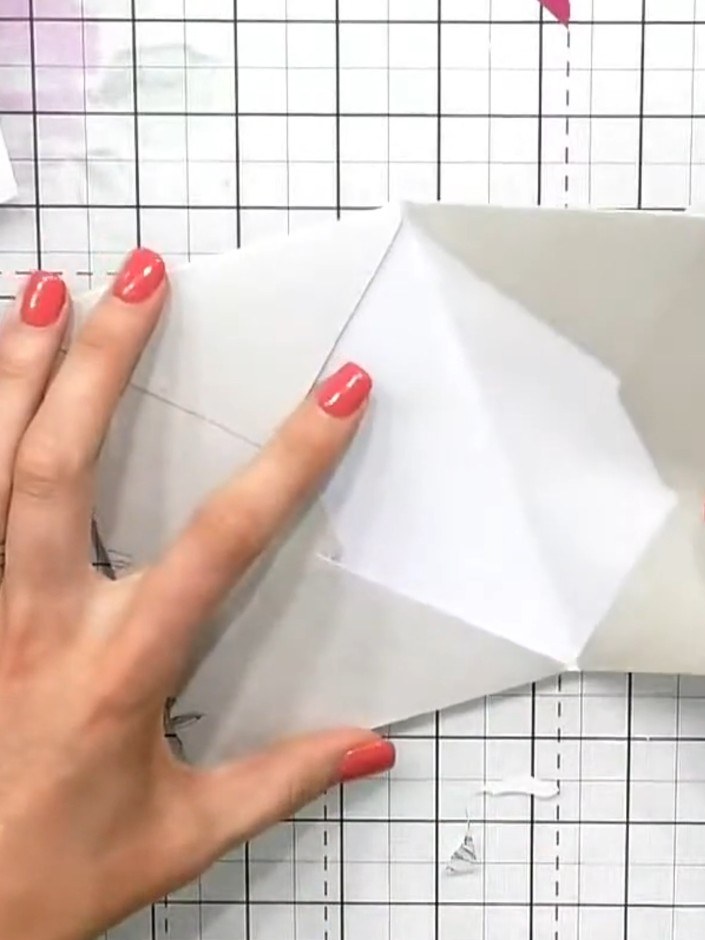
Apply glue to the back of the second envelope and position it inside the first envelope to create the album binding. Press firmly to secure the two envelopes together.
 6
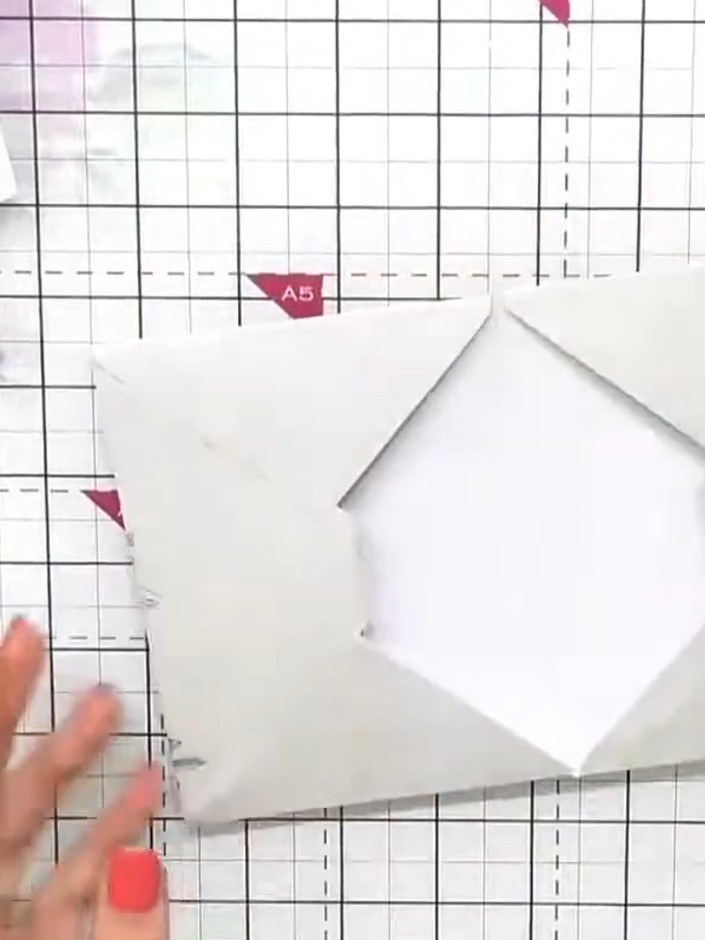
Your two-envelope album is now complete. Fill it with photos, memories, cards or other keepsakes using the pockets and spaces you've created.
Partagez votre création avec la communauté Stamps By Me - et gardez ce tutoriel pour la prochaine fois.
 Carte simple avec topper floral et texte9 étapes
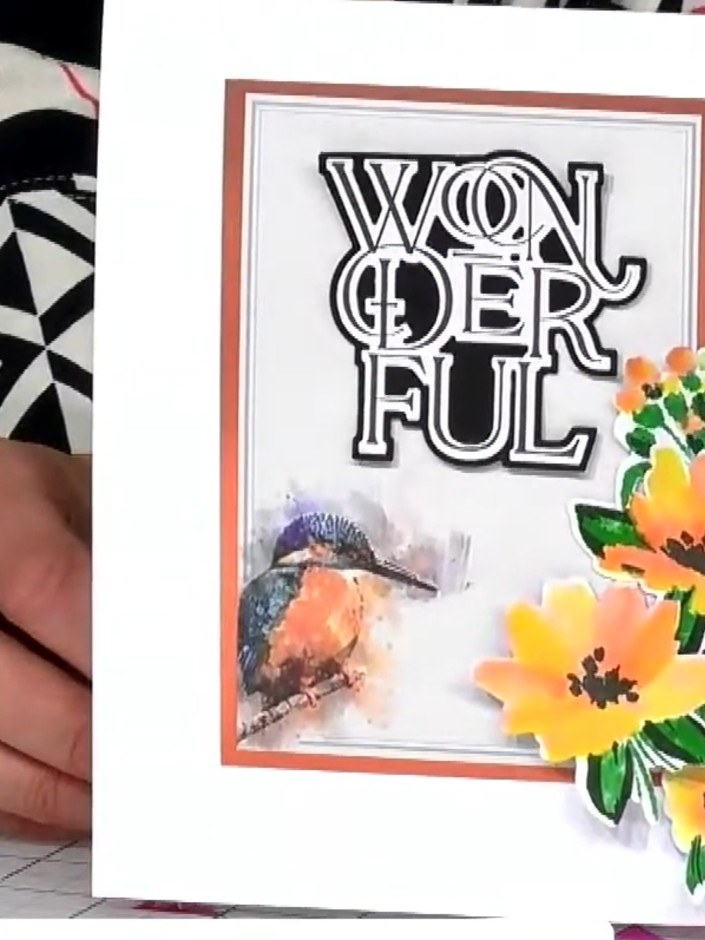 Carte florale à étages avec martin-pêcheur sur fond métallisé8 étapes
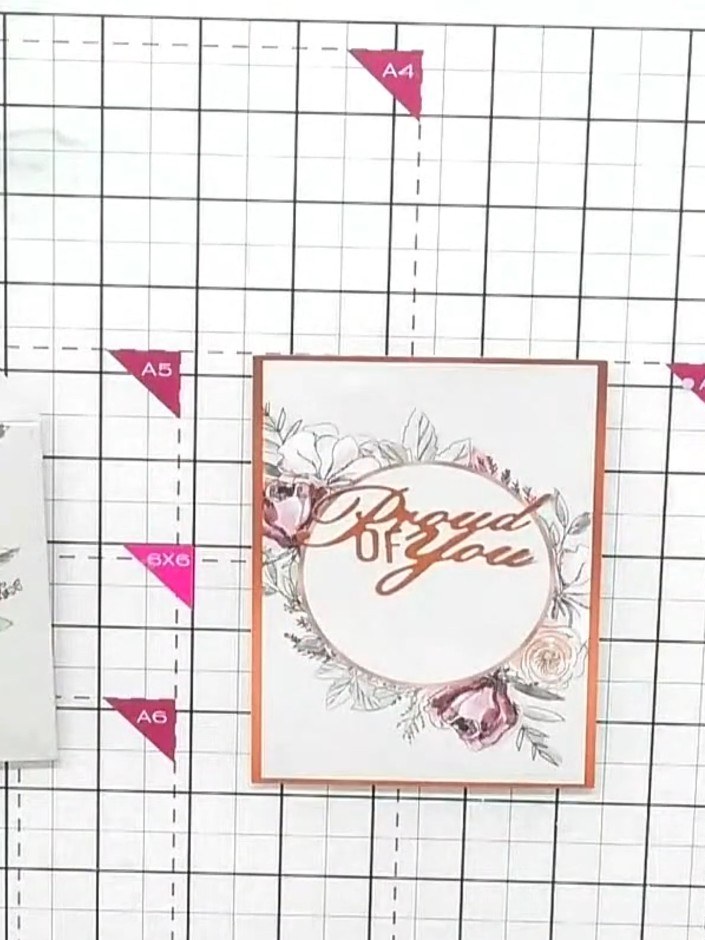 Carte pochette avec enveloppe coulissante et effet surprise9 étapes
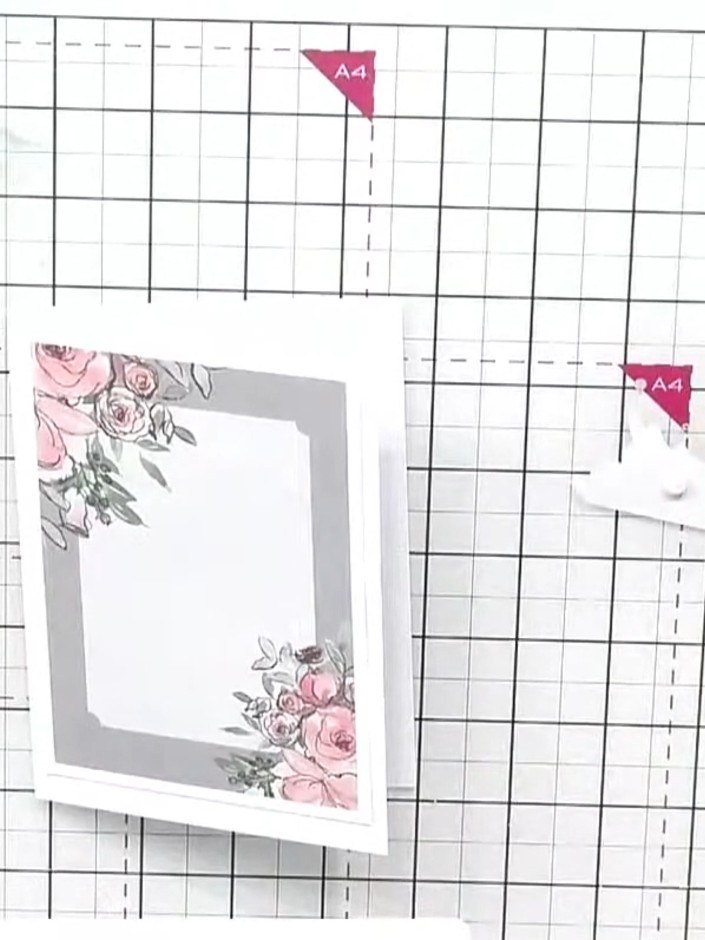 Carte florale anthracite aux coins superposés découpés au plus près7 étapes
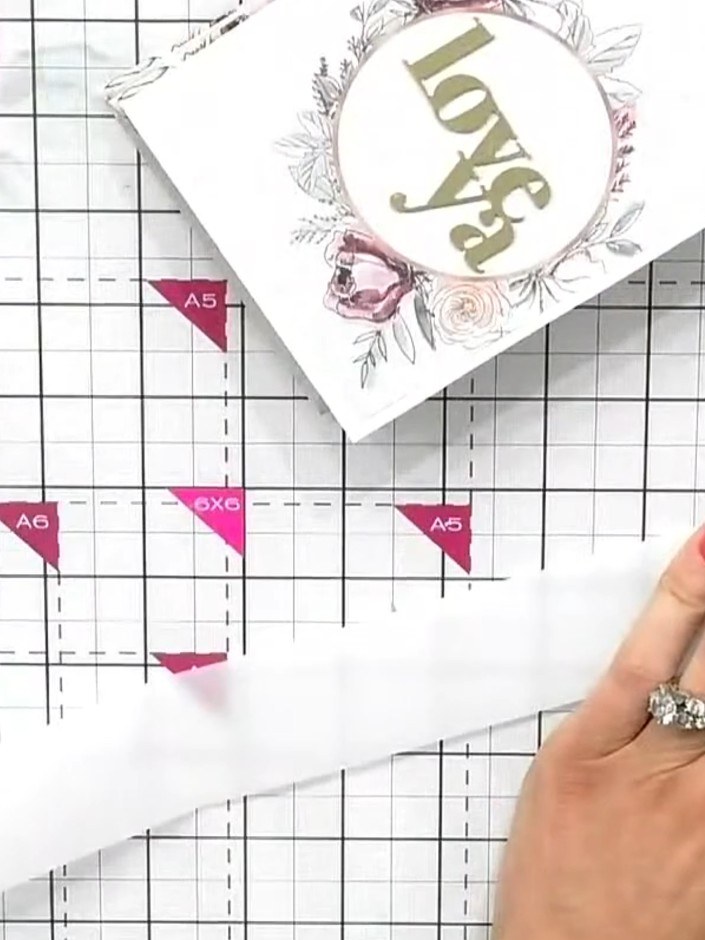 Coffret cadeau d’enveloppes et de cartes avec bandeau9 étapes
Rédigé à partir de l’émission elle-même. Tous les tutoriels de nos émissions · tutoriels gratuits · en direct sur My Telly · l’ancienne présentation