Offrez à vos amis 10 $ de remise sur leur première commande !
Parrainez un AMI








 The Friday Final CutDemain 5 h 00
 Community Showcaselun. 9 nov. 5 h 00
 Hobbymaker TVlun. 9 nov. 9 h 00
Les prix sont mis à jour immédiatement. Chaque langue est notre propre traduction, pas Google.
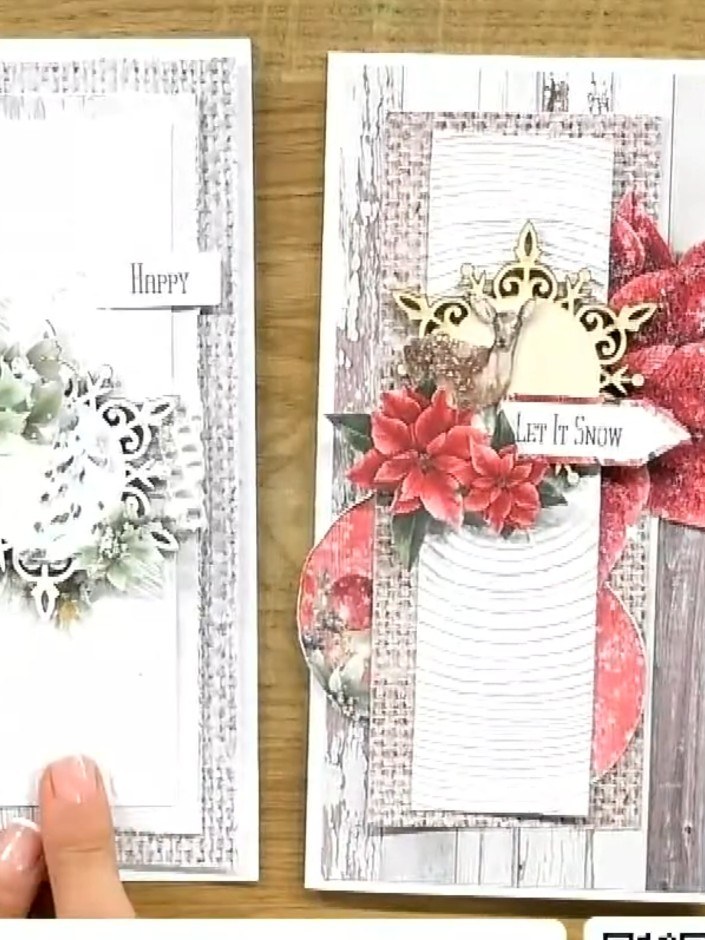
Une création de notre émission en direct LANCEMENT DE NOËL CREATE AND CRAFT - Rejoignez Toni pour ses toutes nouvelles créations très attendues - diffusée le 30 juin 23 · 06/30/2023
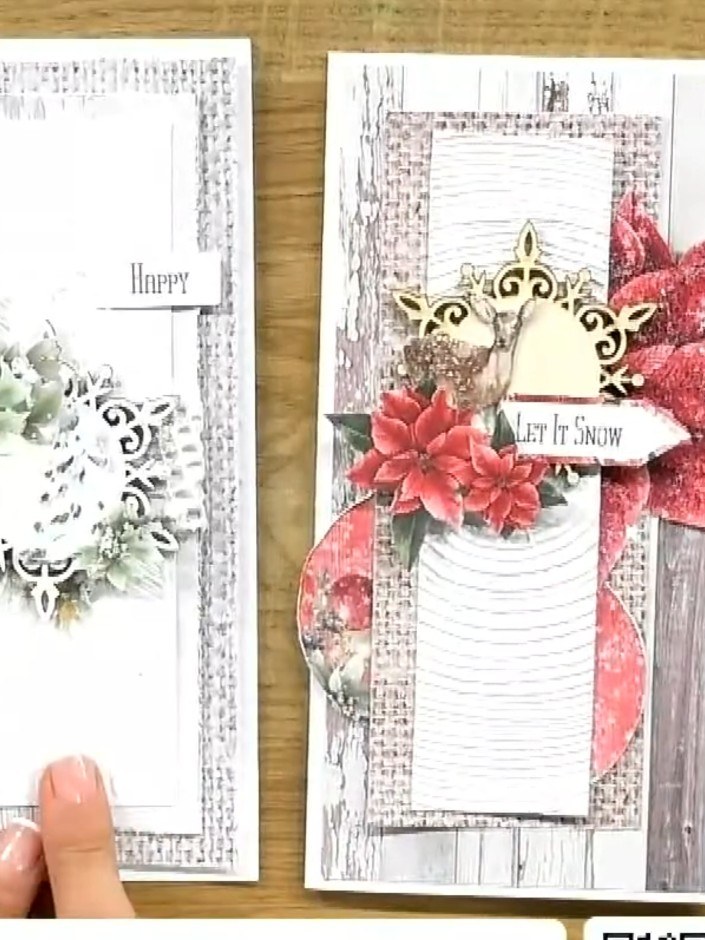
Réalisez une élégante carte de Noël avec, en vedette, un panneau blanc embossé effet bois. Elle est décorée de poinsettias roses, de feuillages décoratifs et d'un cadre ornemental doré, et finie par une étiquette « Let It Snow ». Une carte raffinée qui associe superpositions en relief et fleurs festives pour un rendu épuré et moderne.
 1
Start with a white cardstock panel as your base layer. This will form the foundation for your card design.
 2
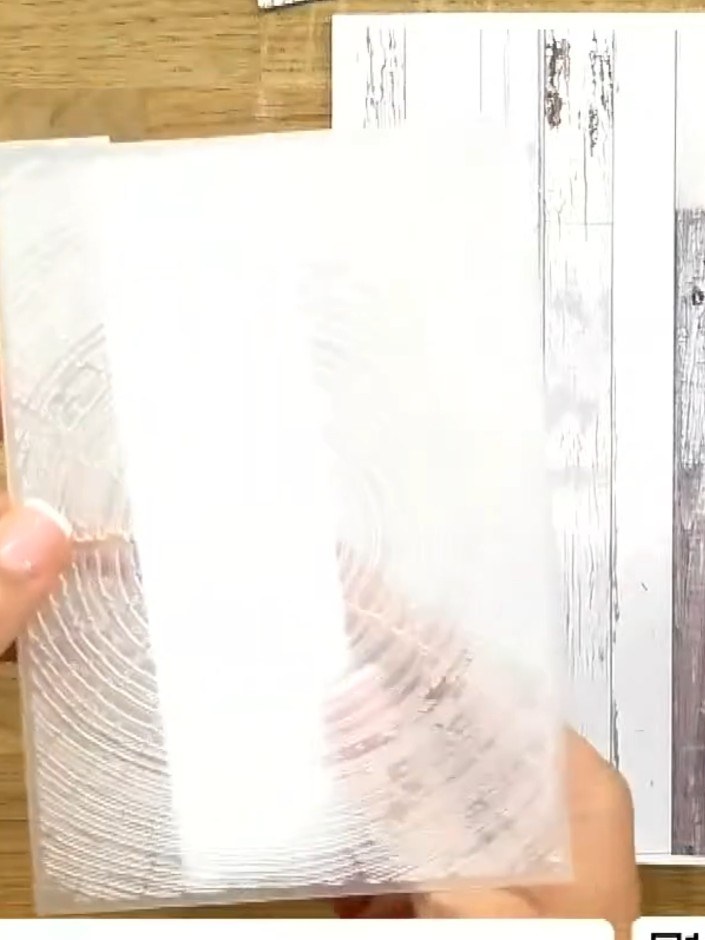
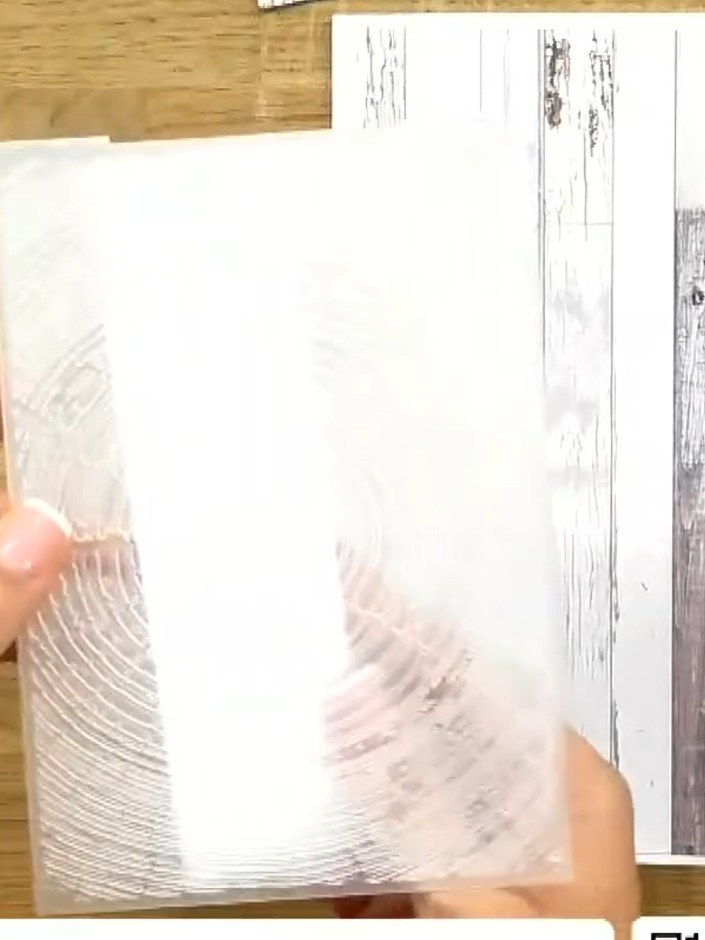
Run the white panel through your die-cutting machine with the Timber embossing folder to create a textured wood grain effect on the surface.
 3
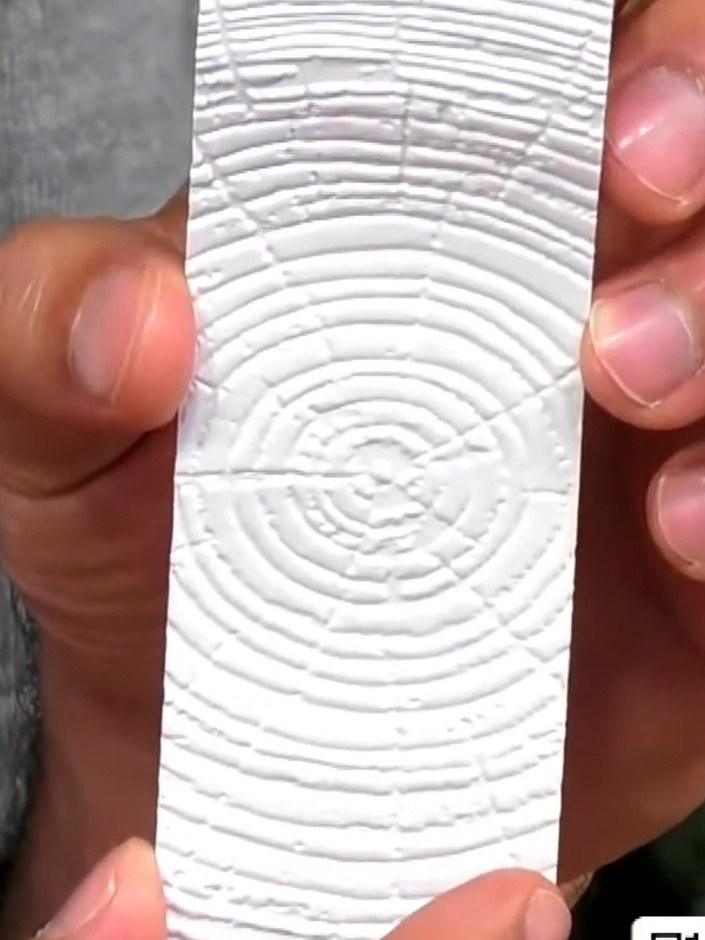
Carefully lift the embossed white panel from the embossing folder to reveal the detailed timber ring texture pattern.
 4
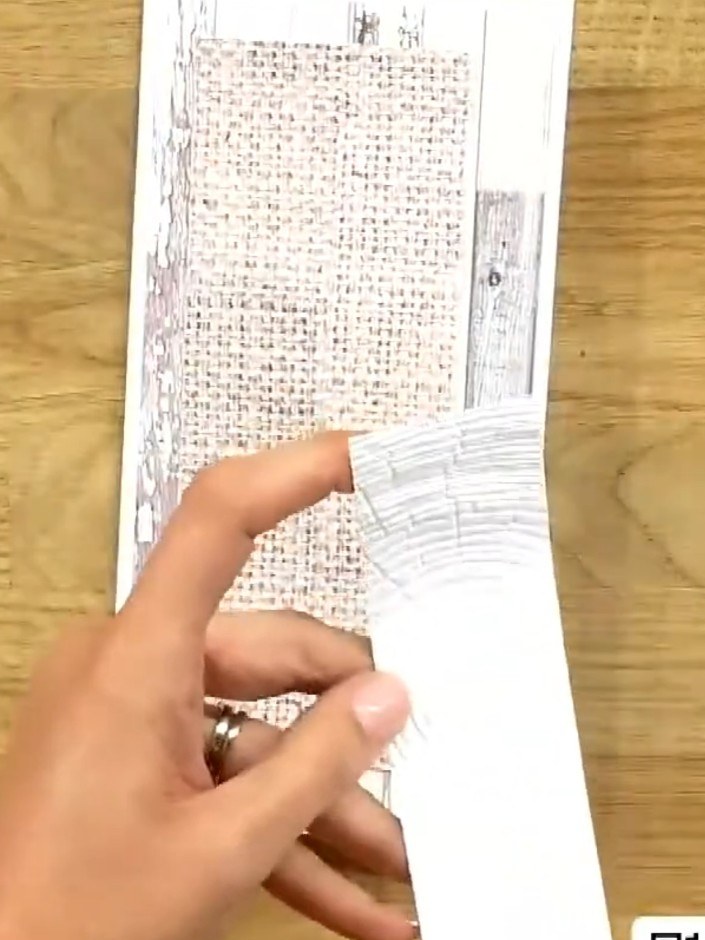
Mount the embossed panel onto a slimline card base. Position the textured panel centrally on the card front and adhere it securely.
 5
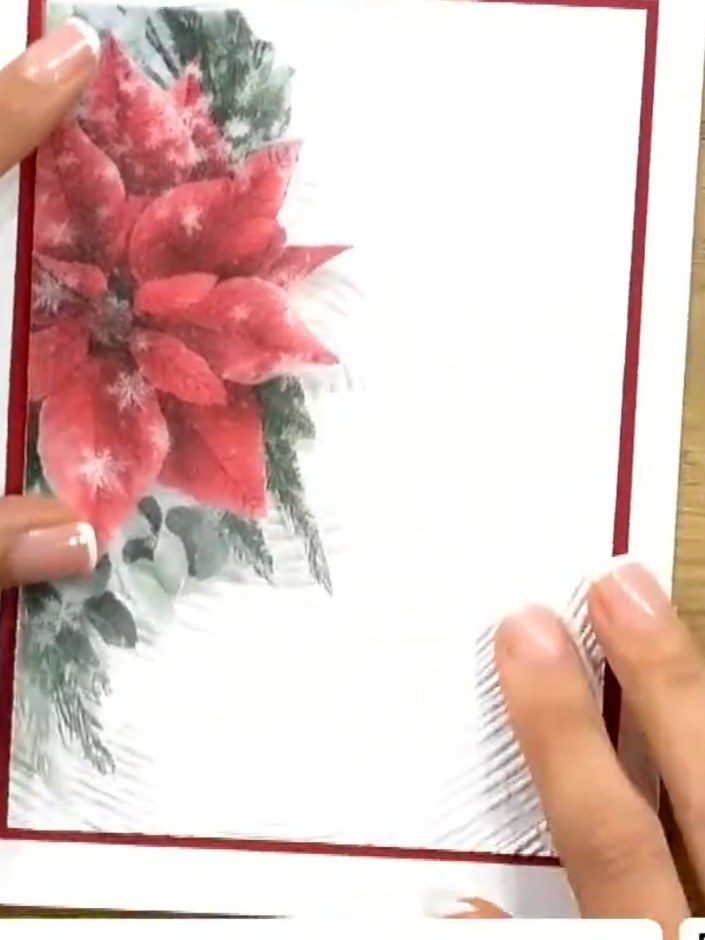
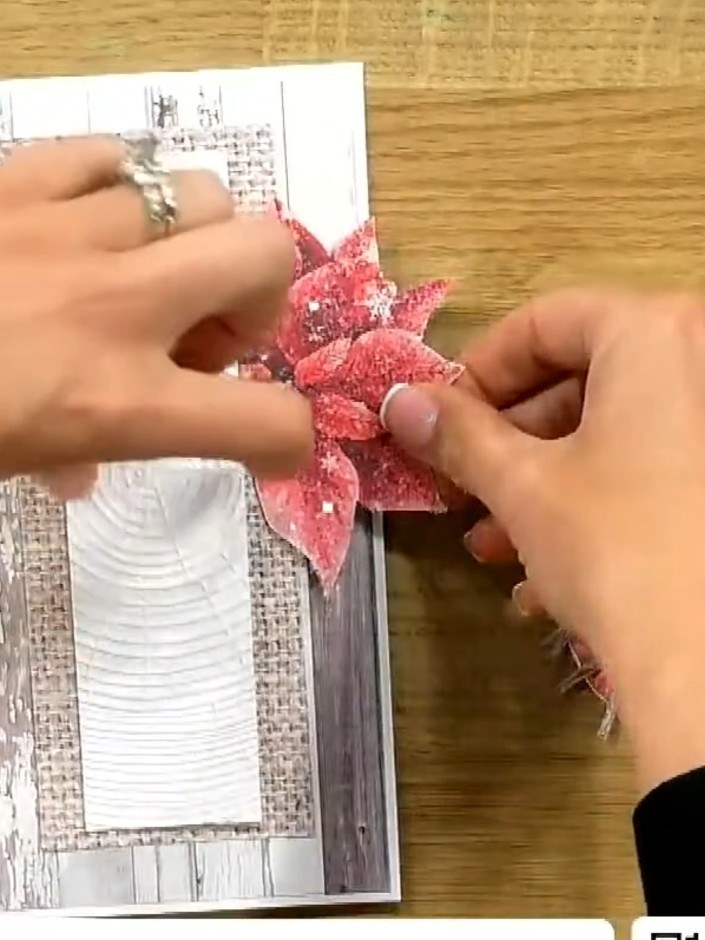
Cut out a poinsettia embellishment from the paper collection. Fussy cut around the petals to separate the flower from the background.
 6
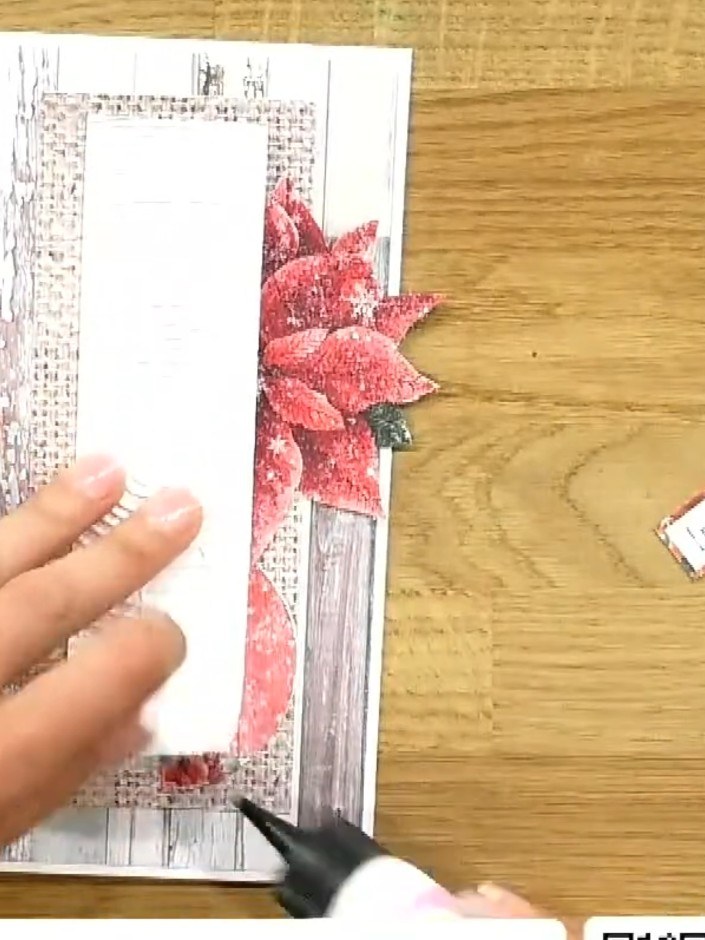
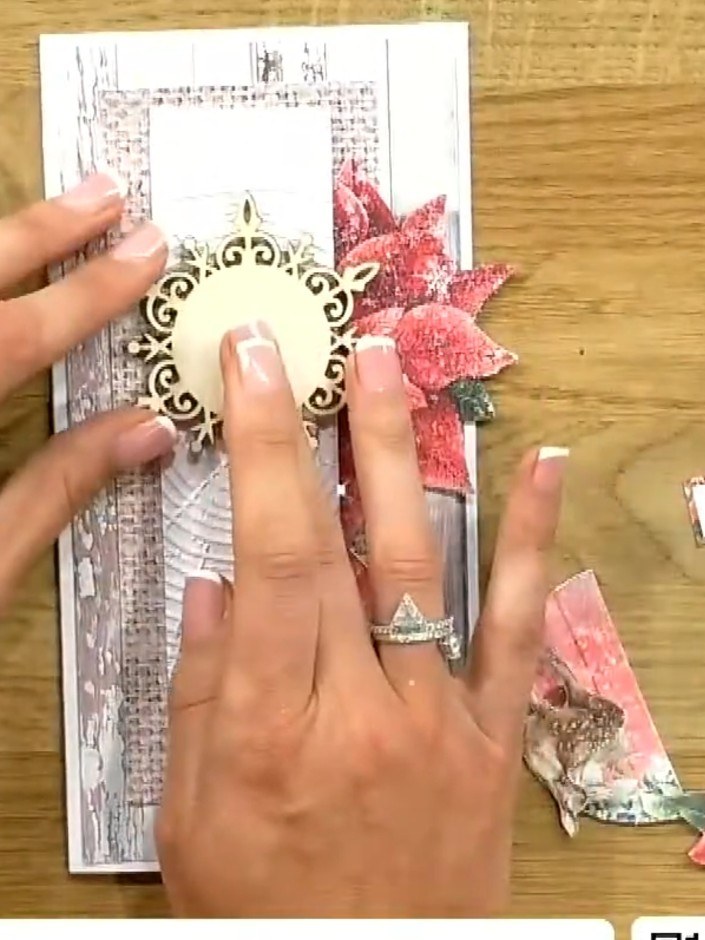
Apply glue to the back of the pink poinsettia embellishment and position it on the right side of the card, overlapping the textured timber panel. Press down firmly to secure.
 7
Take a decorative circular embellishment and cut it in half. Position one half on the card to add dimension to your design.
 8
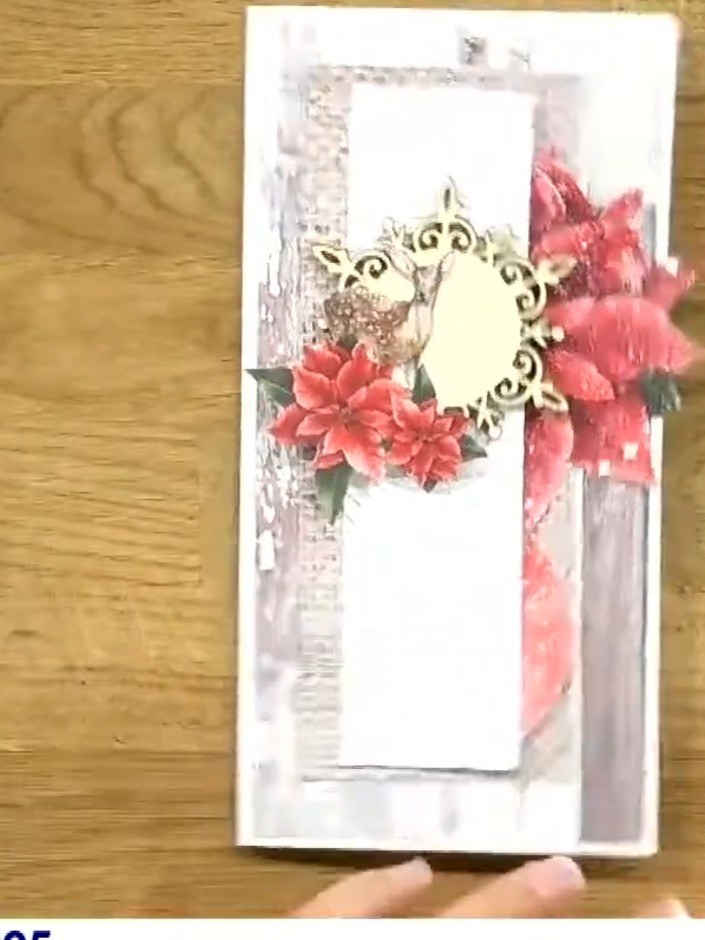
Glue the wooden embellishment shapes from the collection onto the card. Position the decorative frame at the top centre, then add the poinsettia flowers and other wooden pieces around it to create a festive arrangement.
Stamp a sentiment such as 'Let It Snow' onto a small piece of white card. Position and attach the sentiment to the card front using foam pads or adhesive.
 10
Add small foam pads behind decorative elements to create dimension. Stand the finished card upright to display the layered design with the embossed timber texture background and festive embellishments.
Partagez votre création avec la communauté Stamps By Me - et gardez ce tutoriel pour la prochaine fois.
Rédigé à partir de l’émission elle-même. Tous les tutoriels de nos émissions · tutoriels gratuits · en direct sur My Telly · l’ancienne présentation