Offrez à vos amis 10 $ de remise sur leur première commande !
Parrainez un AMI








 Deal Huntersmar. 10 nov. 9 h 00
 HSN Inspirationmar. 10 nov. 13 h 00
 Hidden Gemsmer. 11 nov. 5 h 00
Les prix sont mis à jour immédiatement. Chaque langue est notre propre traduction, pas Google.
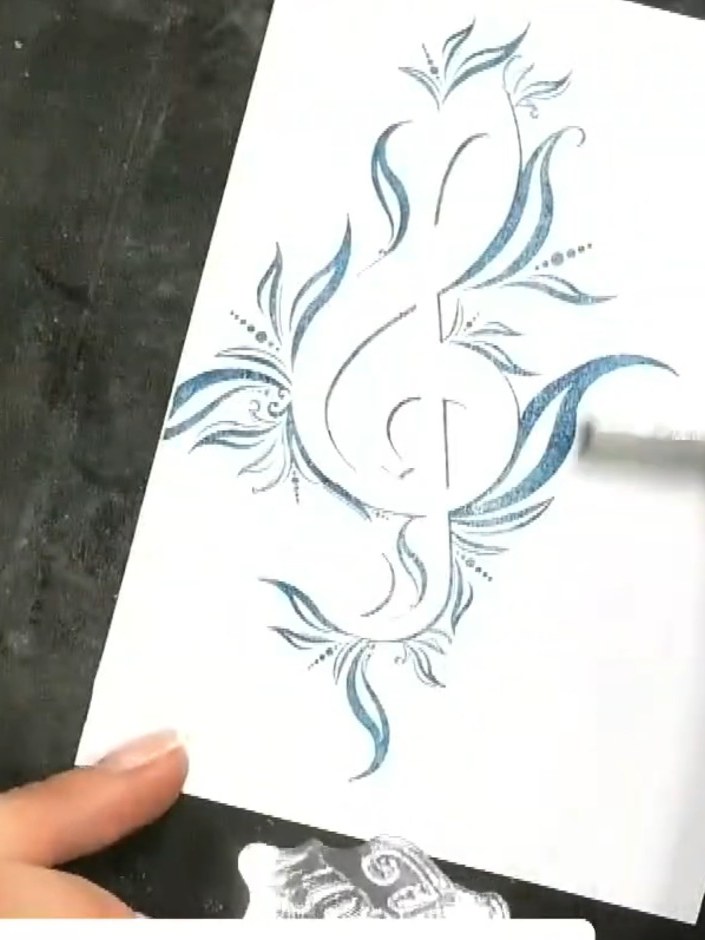
Une création de notre émission en direct CREATE AND CRAFT TV - Rejoignez Toni pour sa toute nouvelle émission de lancement 1 - diffusée le 7 juillet 23 · 07/07/2023
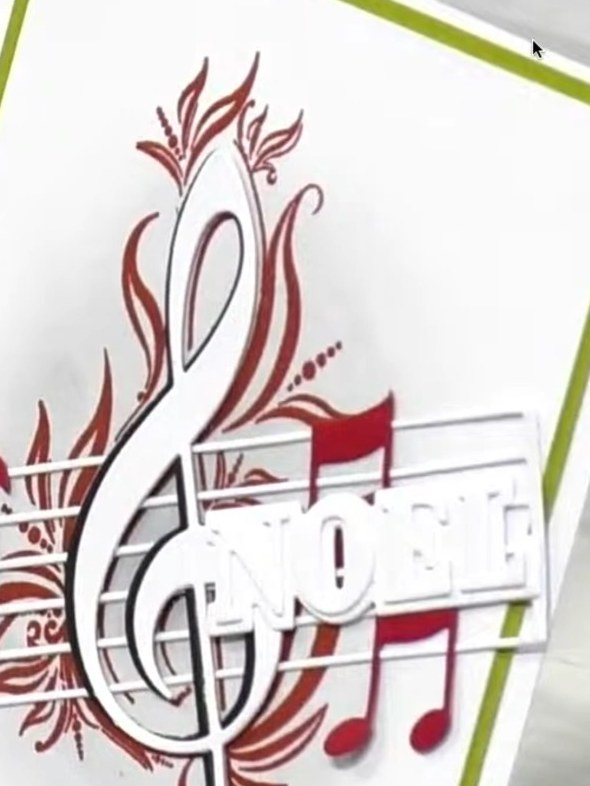
Réalisez une carte à message contemporaine avec des tampons encrés en couleur et des notes de musique découpées et superposées. Ce modèle moderne sort des couleurs traditionnelles de Noël et joue sur des nuances assorties de bleu et de violet pour un look frais et ludique. Les principales techniques : le tamponnage à l'encre de couleur et la superposition d'éléments découpés pour donner du relief.
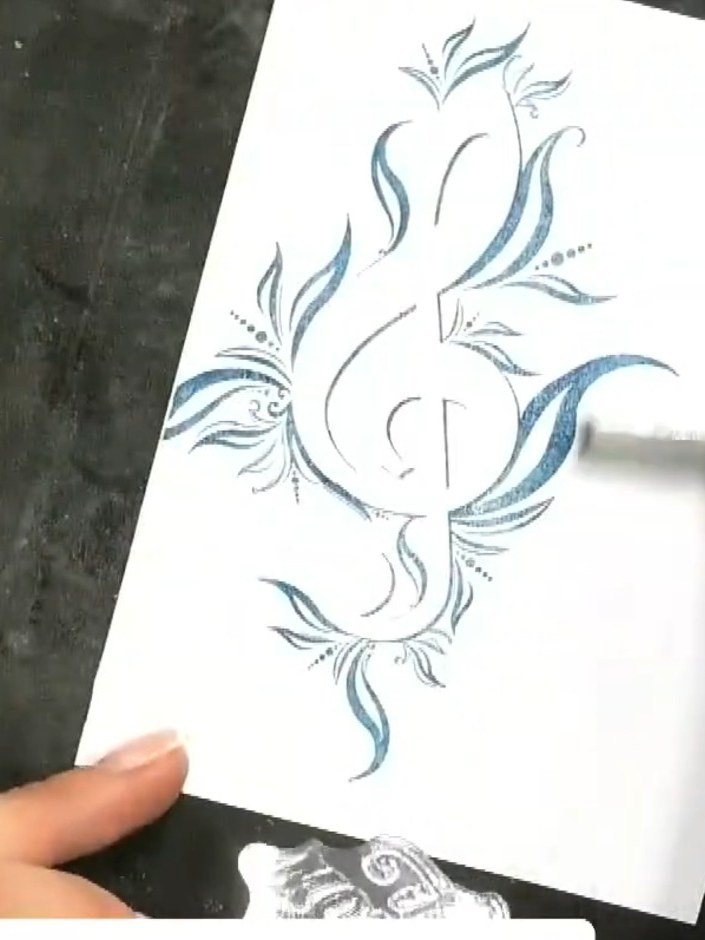 1
Choose a coloured cardstock base for your card. Select from colours such as teal or red to complement your design.
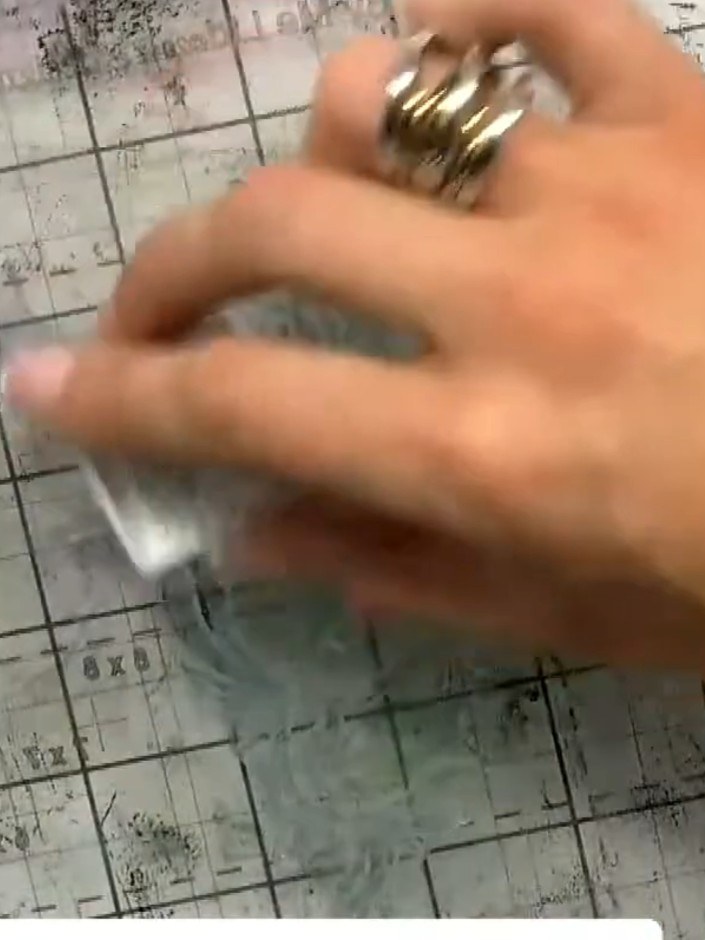 2
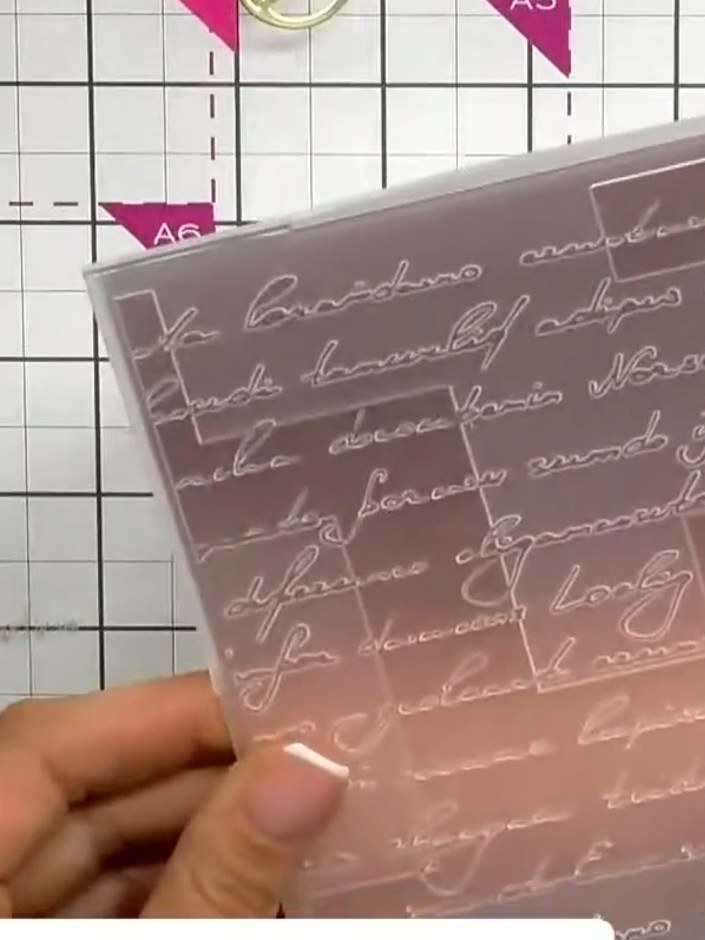
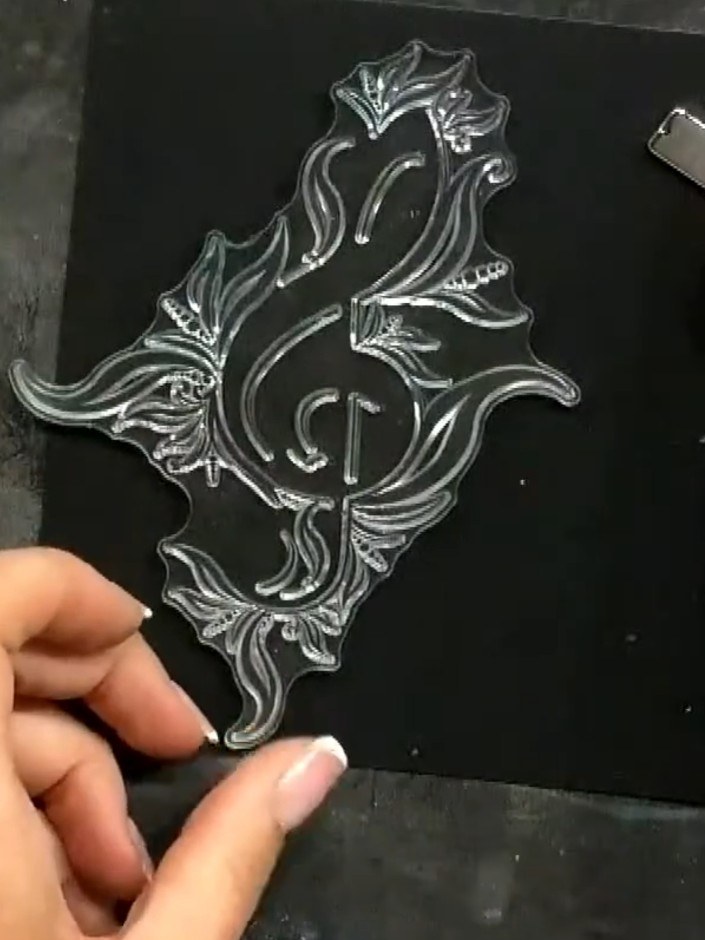
Stamp your chosen sentiment or background element onto the card using coloured ink. Use a clear acrylic block to position and press the stamp firmly for a clean impression.
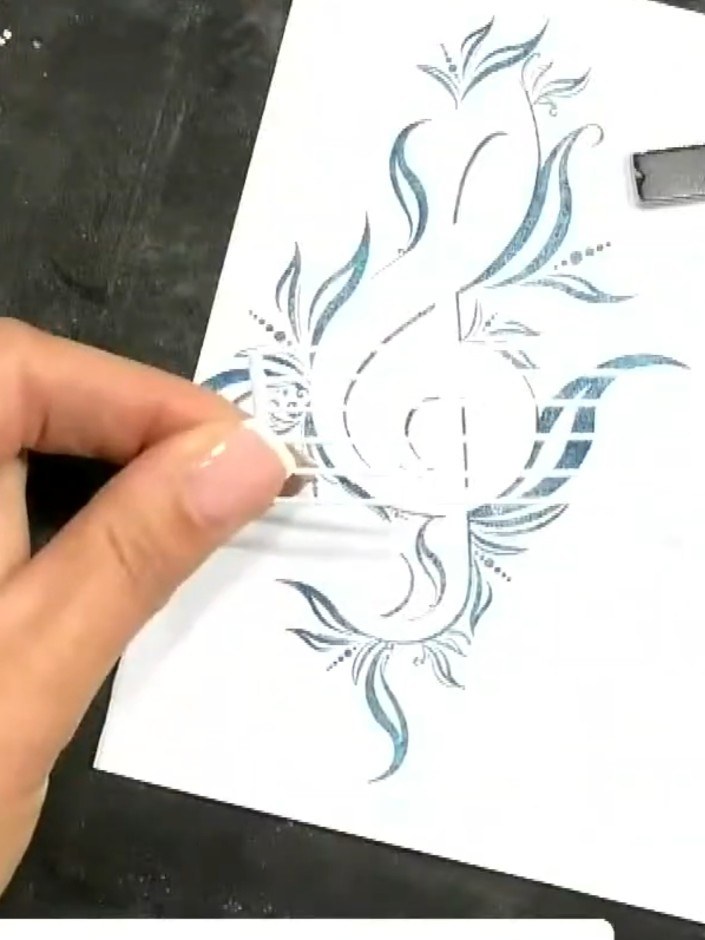 3
Die cut multiple musical notes from the stamp and die set in various coordinating colours from the Scarlet paper pad.
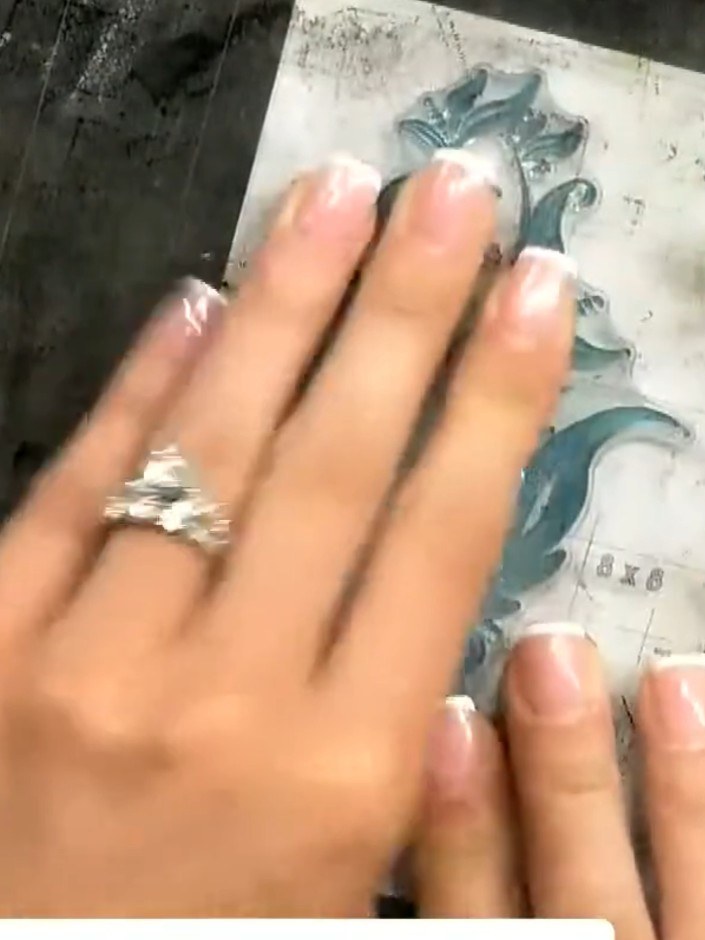 4
Arrange and glue the die-cut musical notes onto your white card base in a scattered pattern, creating a musical composition effect across the card front.
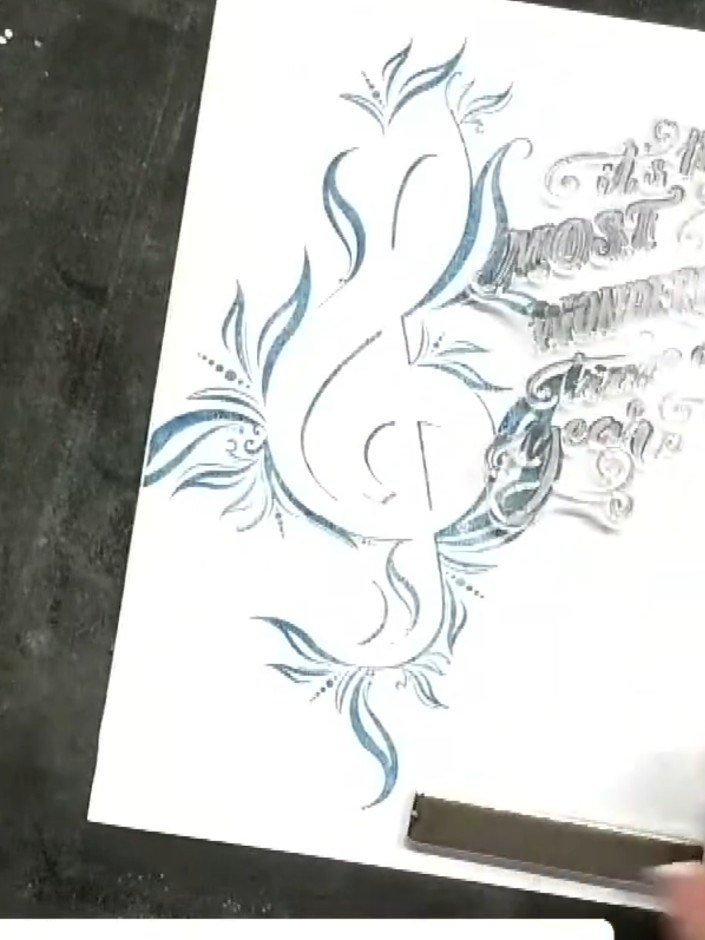 5
Position and attach the treble clef die cut to the card front as a focal point. Use a contrasting colour to make it stand out against the stamped background.
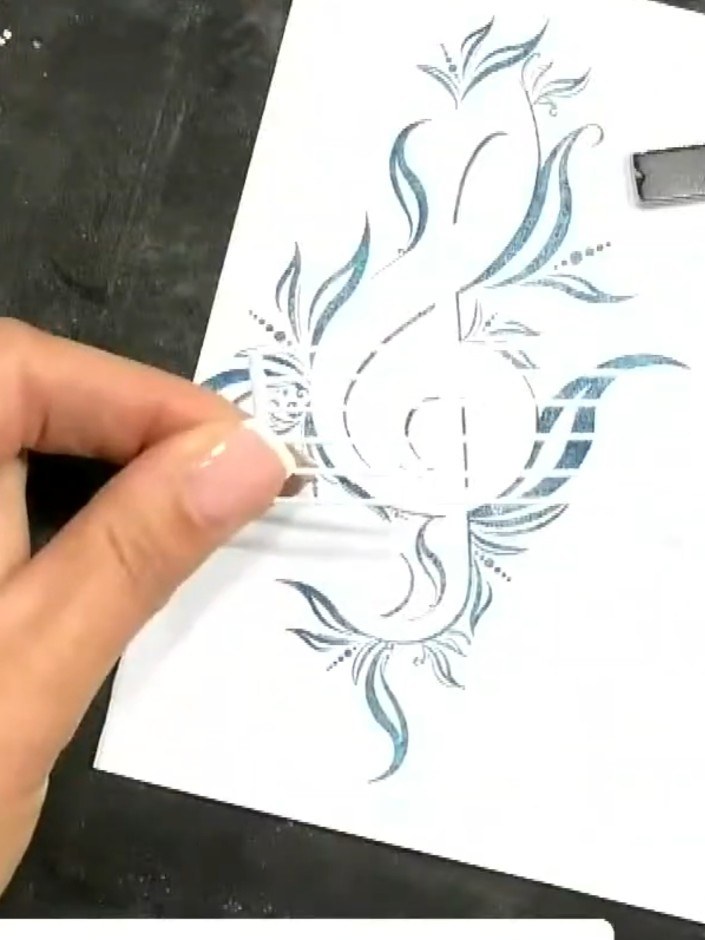 6
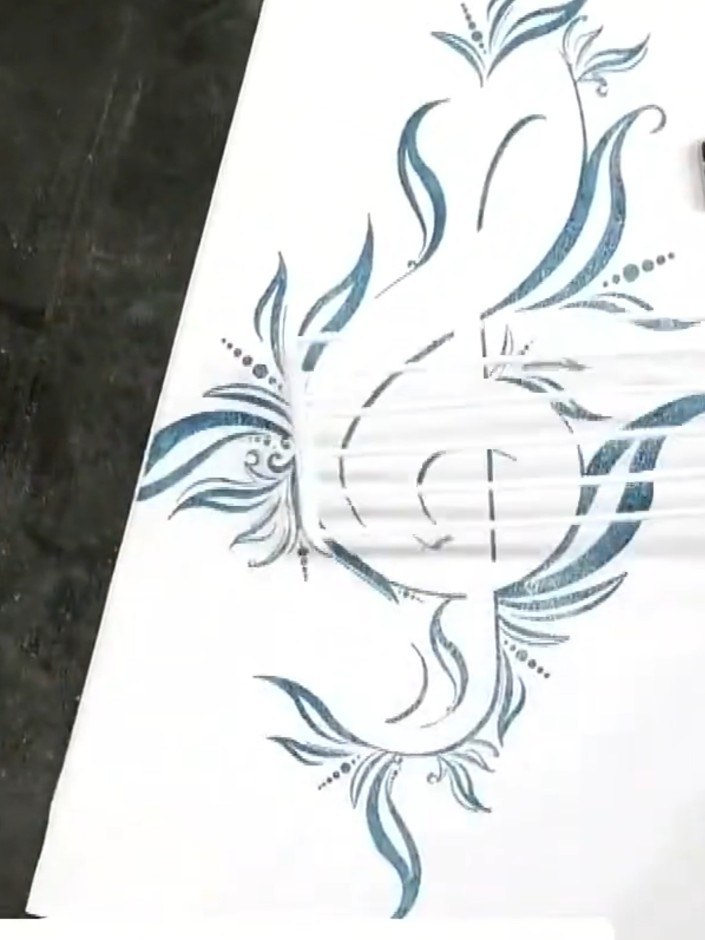
Stamp additional sentiments such as 'Joy' or 'Merry Christmas' onto white cardstock using coordinating ink colours. Position the stamps to create a decorative arrangement around your main focal point.
 7
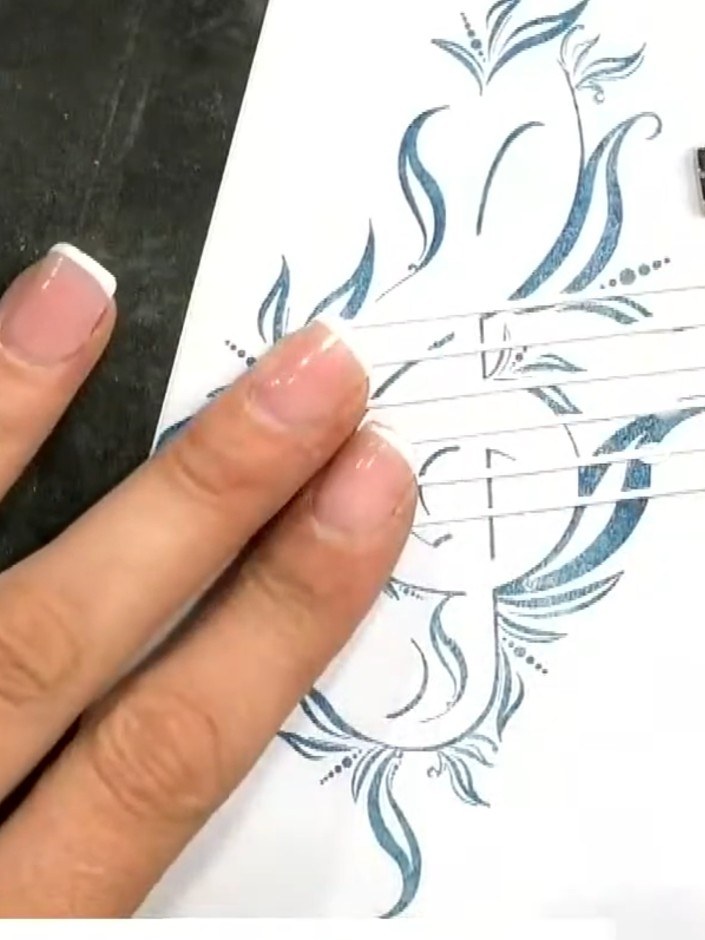
Stamp a simple sentiment in white ink on white cardstock to create a subtle, tone-on-tone effect that won't compete with the colourful focal image.
 8
Mount the finished stamped and coloured design onto a contrasting card base to complete your card.
Partagez votre création avec la communauté Stamps By Me - et gardez ce tutoriel pour la prochaine fois.
Rédigé à partir de l’émission elle-même. Tous les tutoriels de nos émissions · tutoriels gratuits · en direct sur My Telly · l’ancienne présentation