Offrez à vos amis 10 $ de remise sur leur première commande !
Parrainez un AMI








 The Friday Final Cutven. 6 nov. 5 h 00
 Community Showcaselun. 9 nov. 5 h 00
 Hobbymaker TVlun. 9 nov. 9 h 00
Les prix sont mis à jour immédiatement. Chaque langue est notre propre traduction, pas Google.
Une création de notre émission en direct CREATE AND CRAFT TV - Retrouvez Toni pour son tout nouveau lancement, émission 1 - diffusé le 16 oct. 23 · 10/16/2023
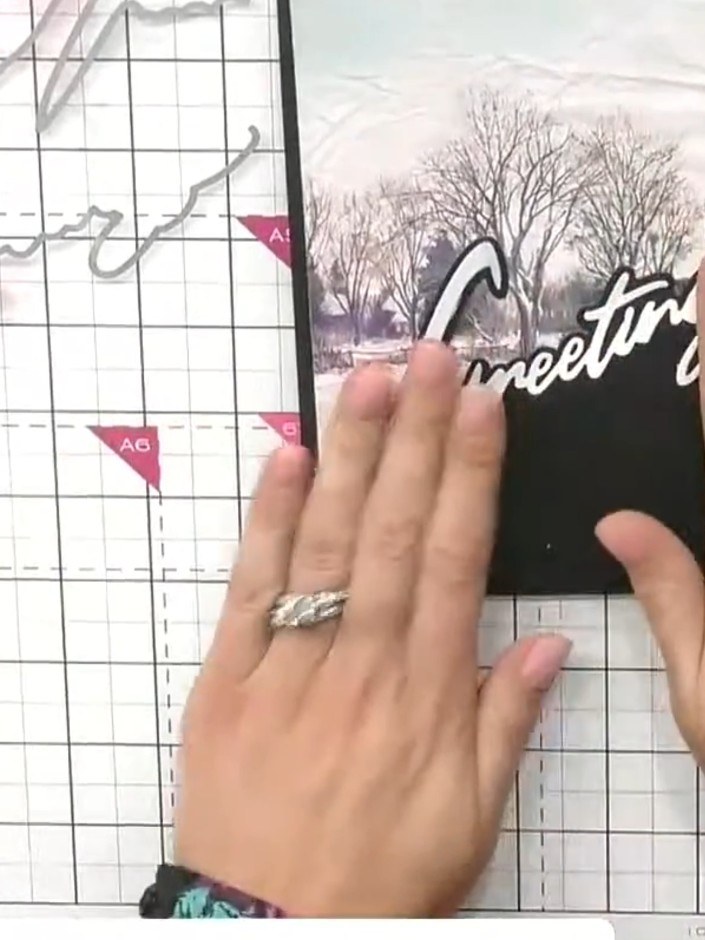
Réalisez une superbe carte d’hiver avec le mot « Greetings » découpé et estompé à l’encre sur les bords, superposé à une scène hivernale préimprimée aux arbres dénudés et au ciel rose tendre. Ce projet associe découpe, ink blending et superposition en relief pour créer une carte de saison raffinée, pleine de profondeur et d’atmosphère.
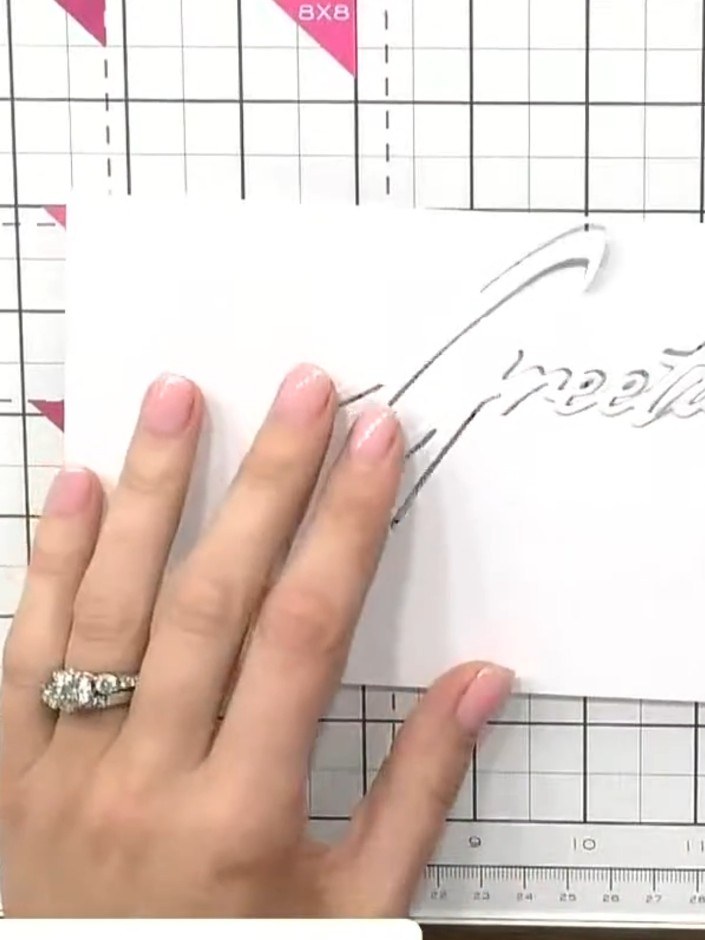 1
Cut the snow drift word die (such as 'Greetings') from white card using your die-cutting machine.
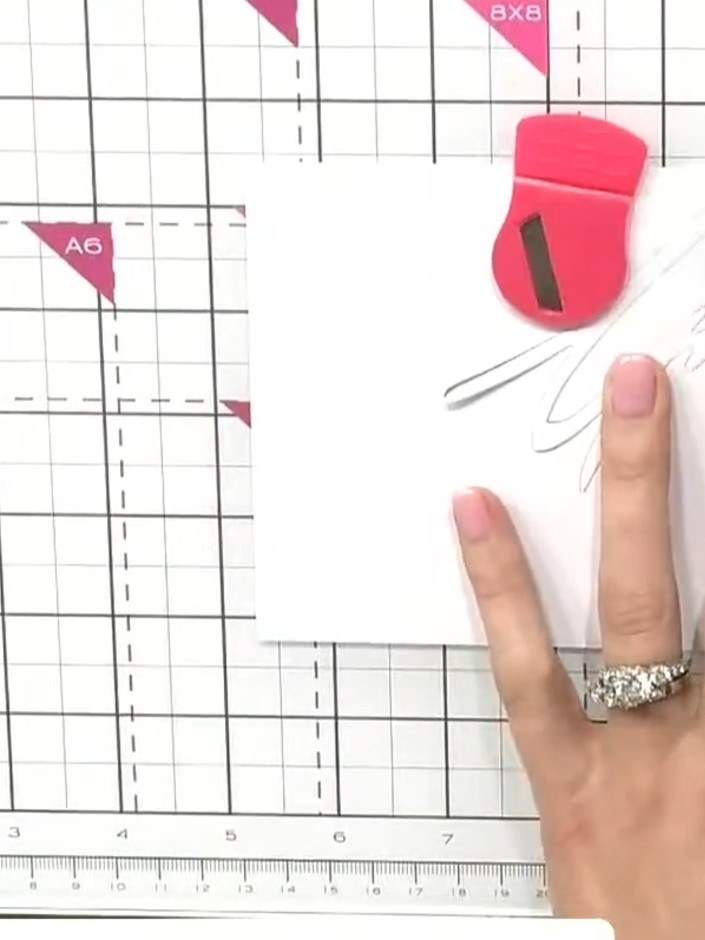 2
Place the die cut back into the die and position it in your cutting plate to hold it securely in place for ink blending.
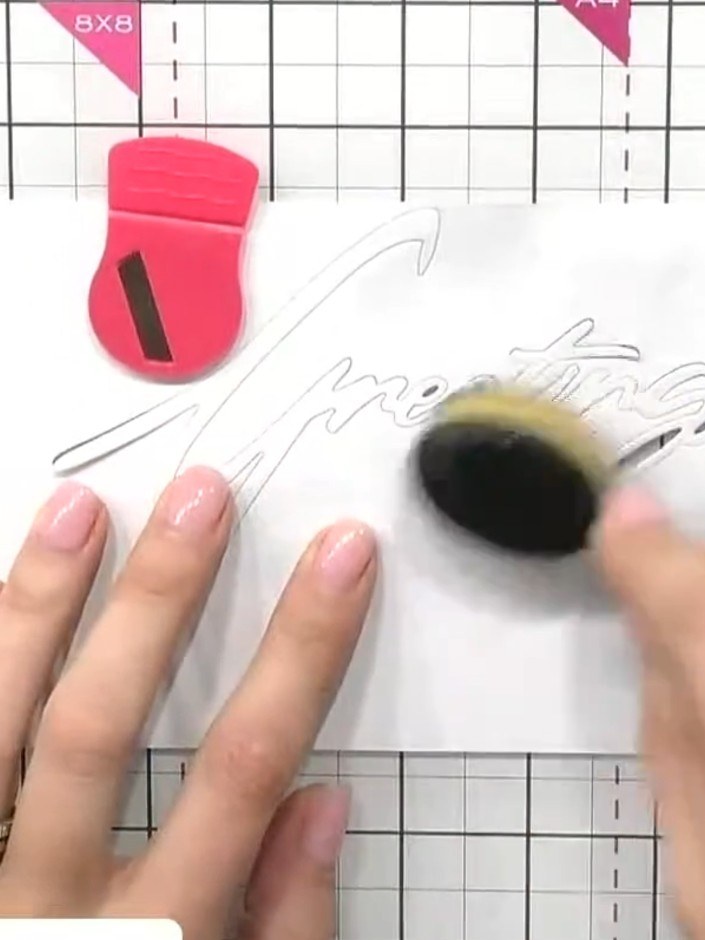 3
Apply weathered wood distress ink to the top and bottom edges of the die-cut word using a blending brush, creating a subtle gradient effect.
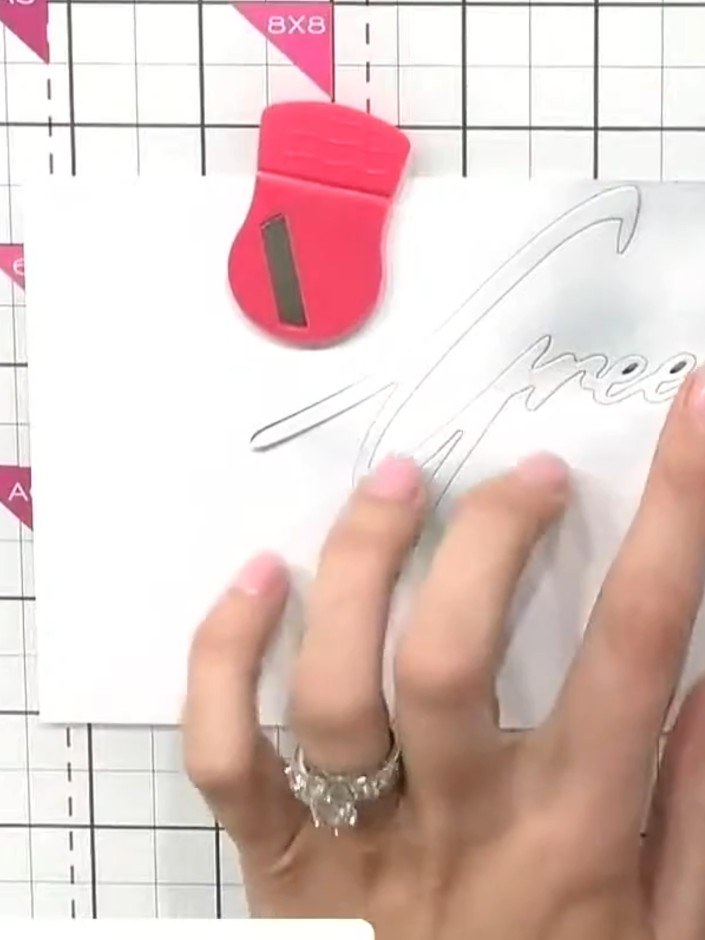 4
Remove the 'Greetings' die from the white card and observe the subtle shading created by the ink blending around the word.
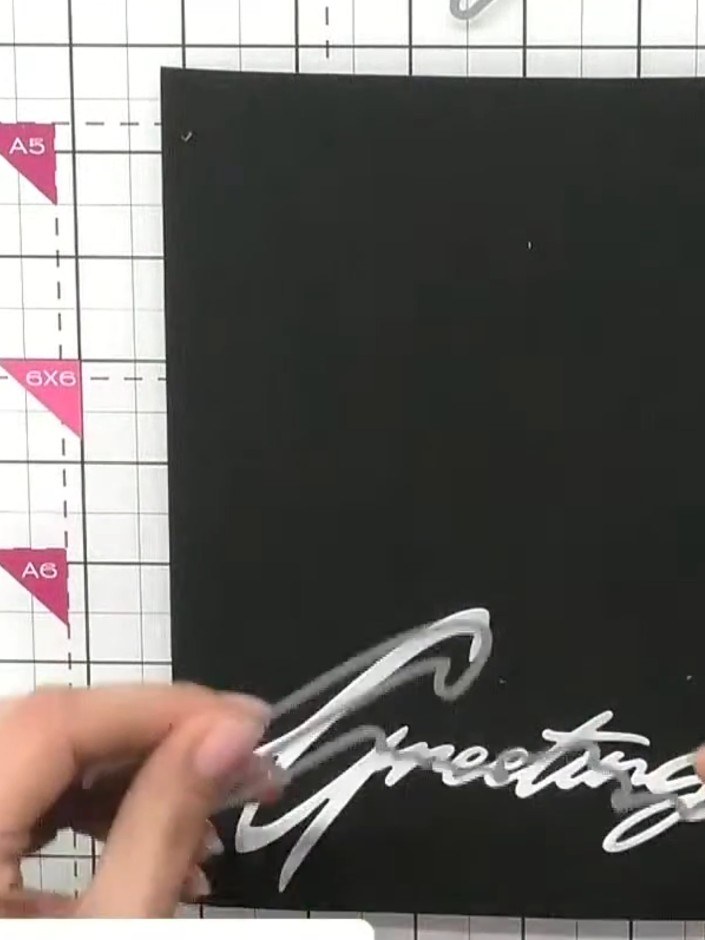 5
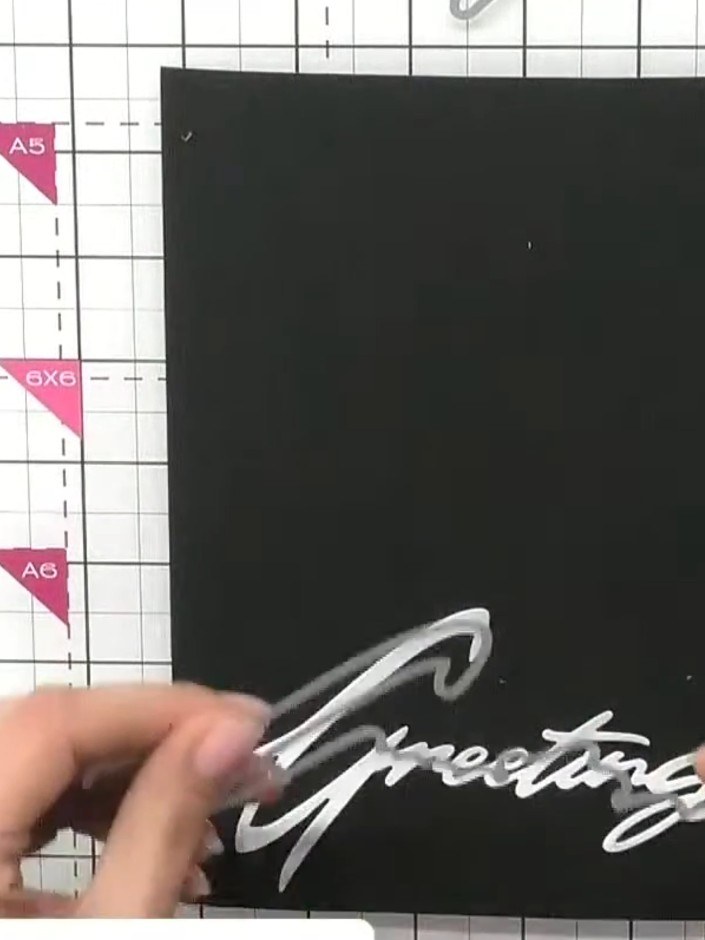
Cut the word 'Greetings' from black card using the Christmas Snow Drift die. Position the die-cut word at an angle on your card base.
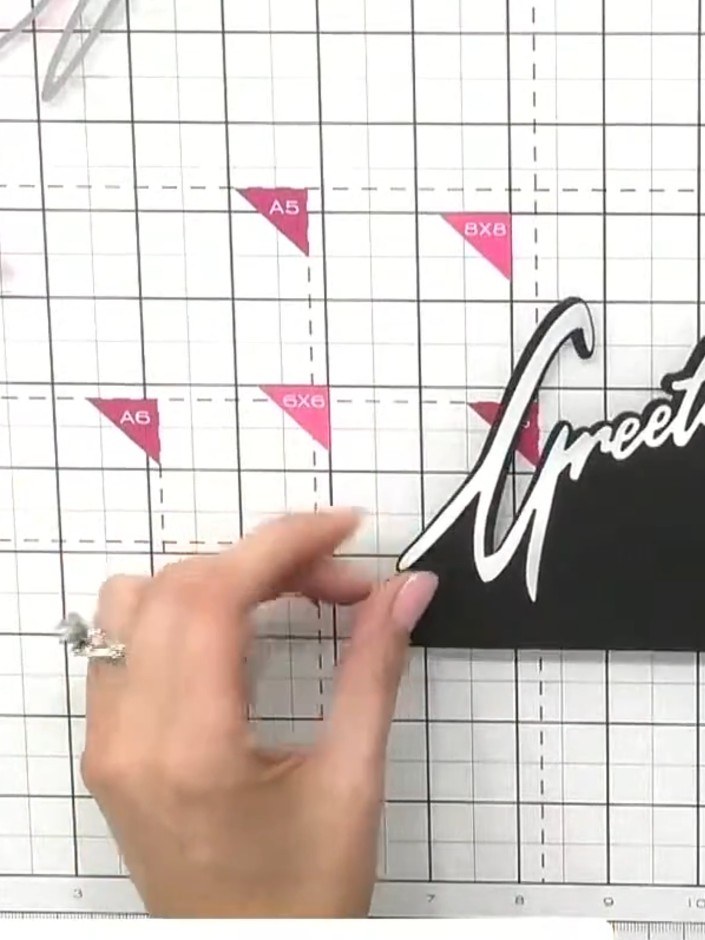 6
Select a pre-printed mounted scene from your collection that complements the colours of your ink blending. Position it on your craft mat to check the colour coordination.
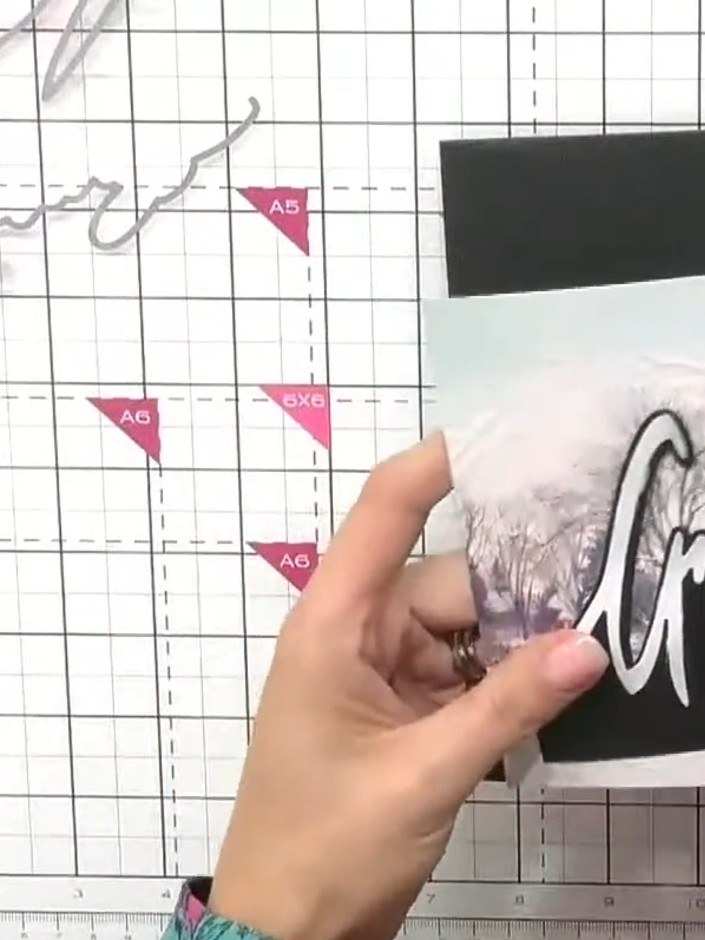 7
Apply glue to the back of the mounted scene piece. Position it on the black card base so the 'Greetings' snow drift word sits across the top of the scene, then press down firmly to adhere.
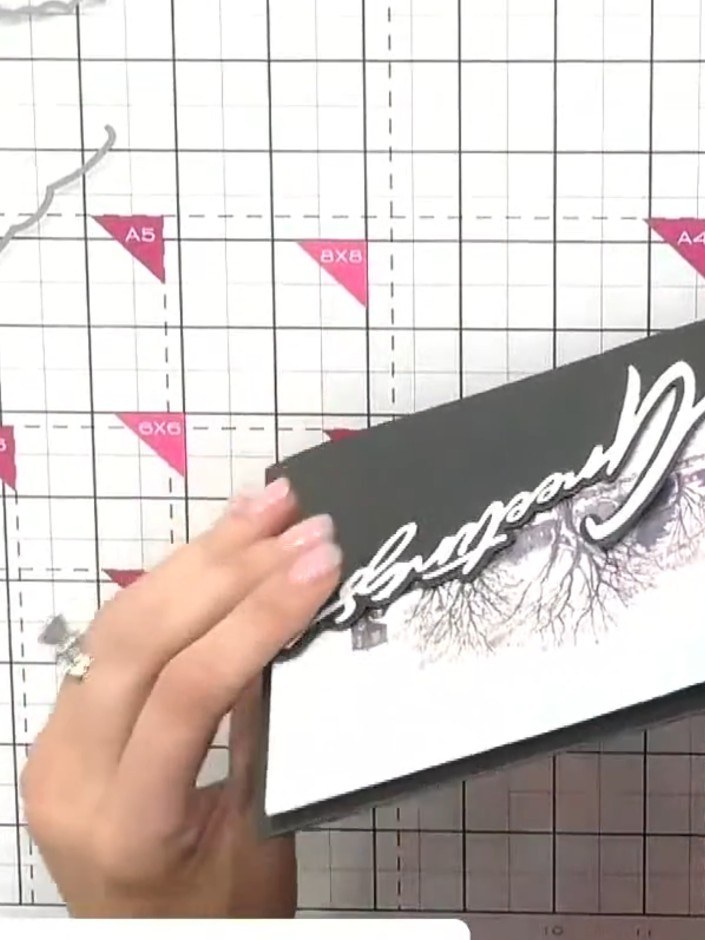 8
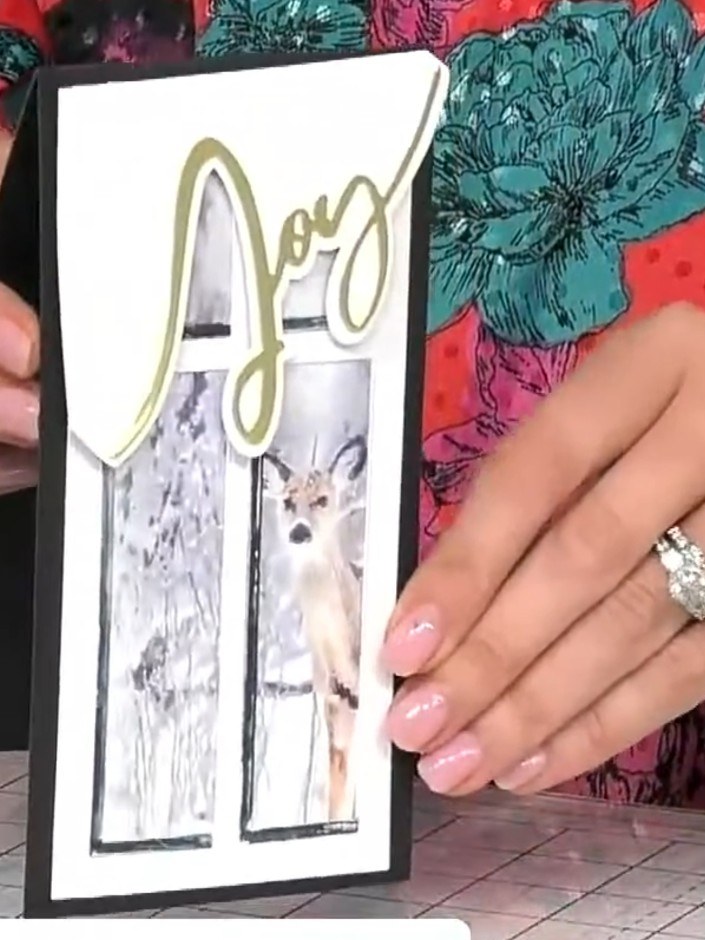
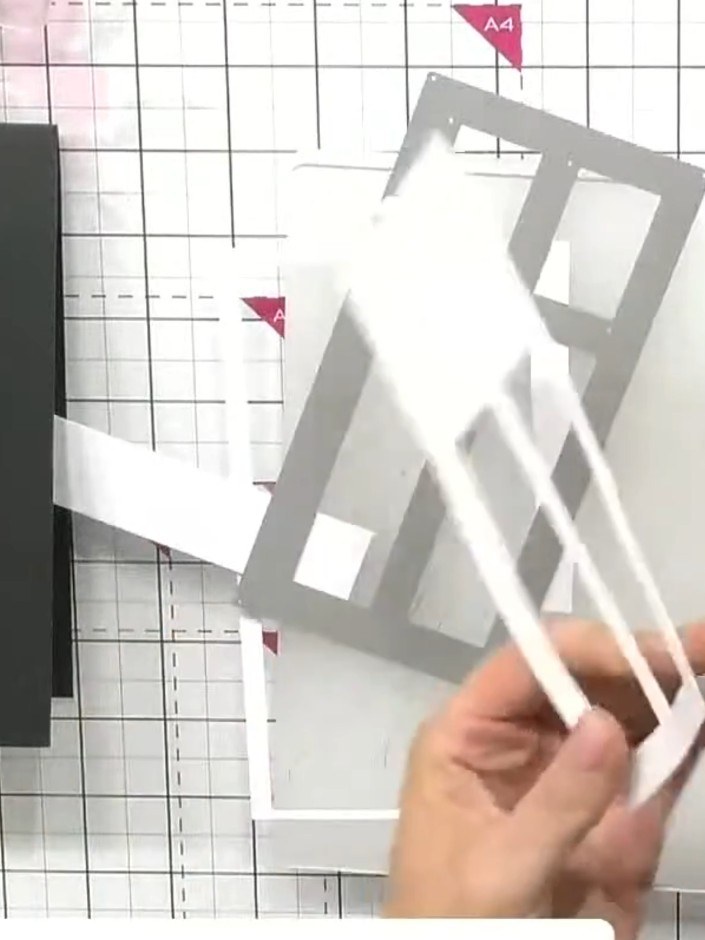
If using a window die, add the shadow pieces to the window frame. Colour them with ink to match your ink-blended word piece.
Partagez votre création avec la communauté Stamps By Me - et gardez ce tutoriel pour la prochaine fois.
Rédigé à partir de l’émission elle-même. Tous les tutoriels de nos émissions · tutoriels gratuits · en direct sur My Telly · l’ancienne présentation