Offrez à vos amis 10 $ de remise sur leur première commande !
Parrainez un AMI








 The Thursday DropDemain 13 h 00
 The Friday Final Cutven. 6 nov. 5 h 00
 Community Showcaselun. 9 nov. 5 h 00
Les prix sont mis à jour immédiatement. Chaque langue est notre propre traduction, pas Google.
Une création de notre émission en direct HSN PRODUCT INSPIRATION - Rejoignez-moi pour une émission pleine de bonne humeur, diffusée le 13 octobre 2026 · 10/13/2026
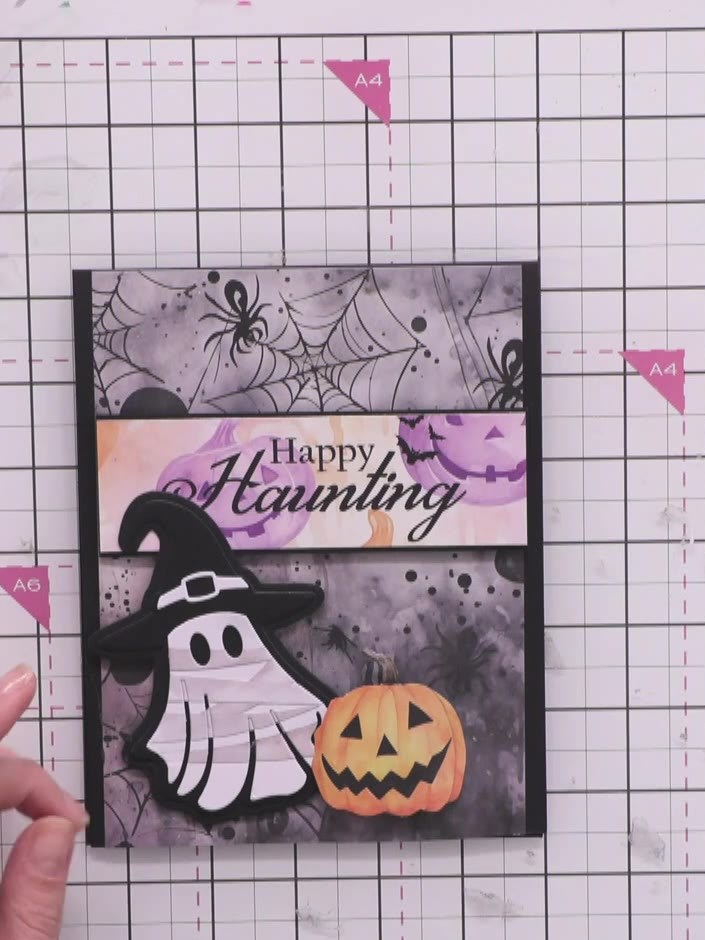
Créez une carte d'Halloween qui donne des frissons, avec un adorable fantôme momie enveloppé de bandelettes. Ce projet associe une découpe de fantôme blanc enveloppée de bandes de papier vieilli, superposée sur une base de carte noire avec des panneaux de papier imprimé et une banderole violette « Happy Haunting ». La technique d'enveloppement texturée effet grunge donne à votre fantôme un charme fait main unique, parfait pour vos vœux d'Halloween !
 1
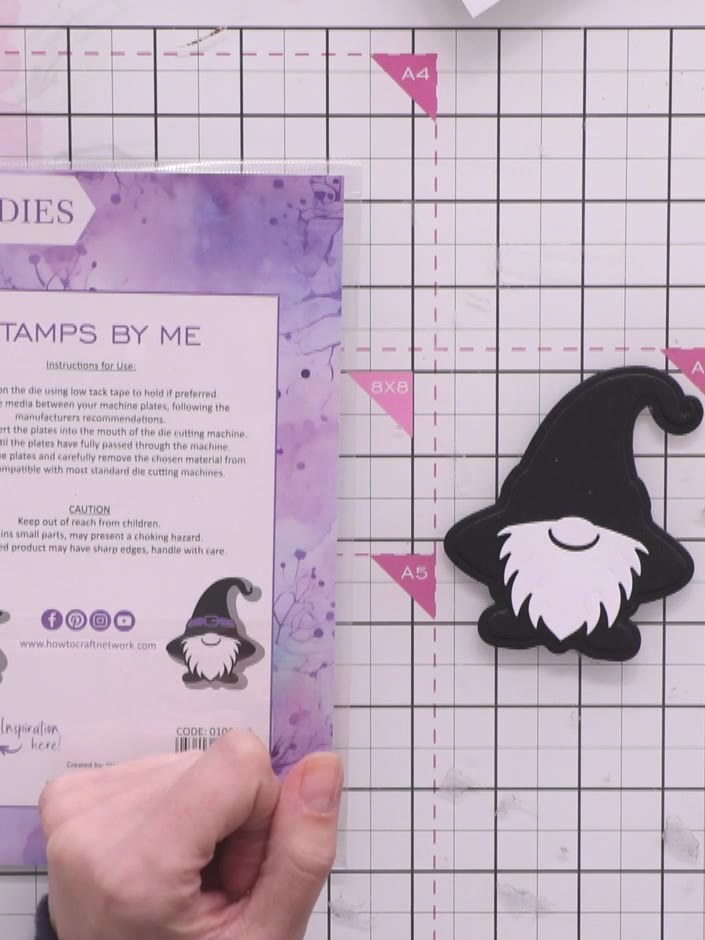
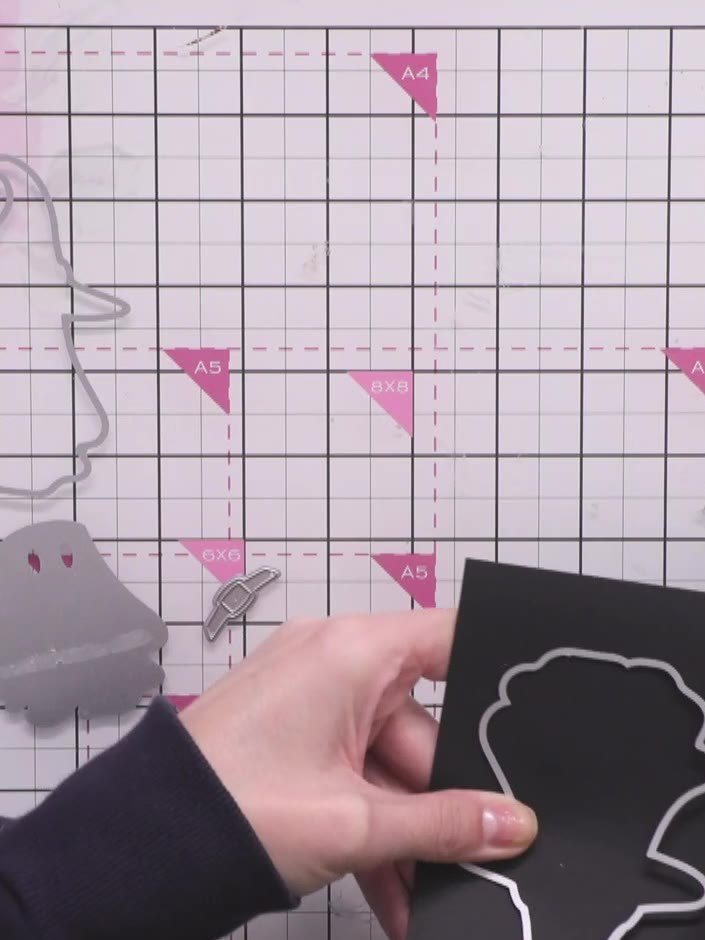
Découpez le contour du fantôme dans du papier cartonné noir. Use the die cutting machine to cut out the ghost shape.
 2
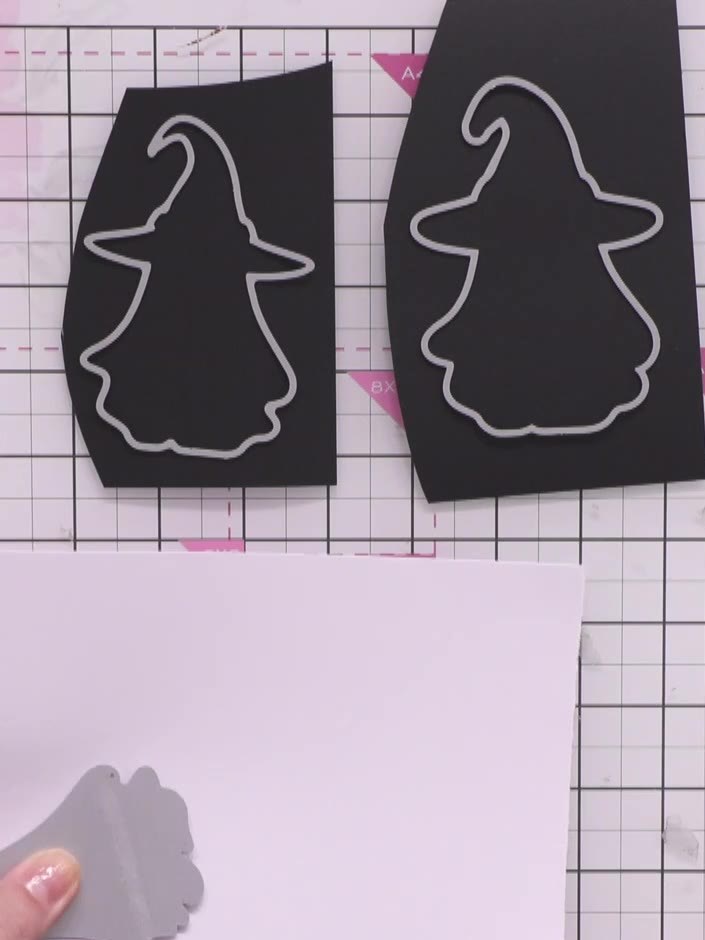
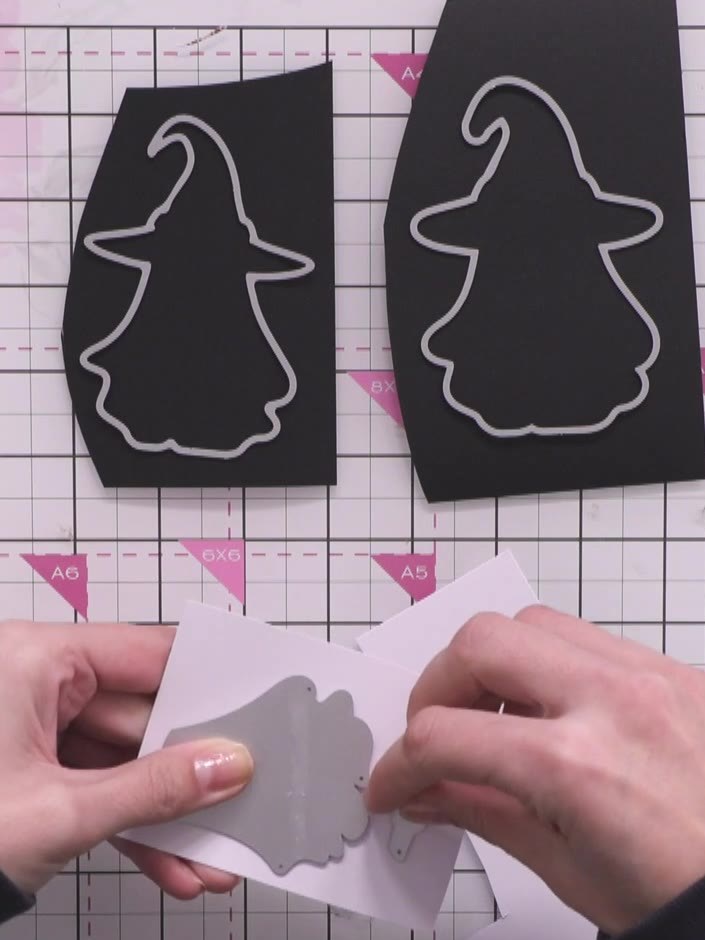
Cut out the ghost die-cut shapes from black card stock to create the matten layer for your ghost design.
 3
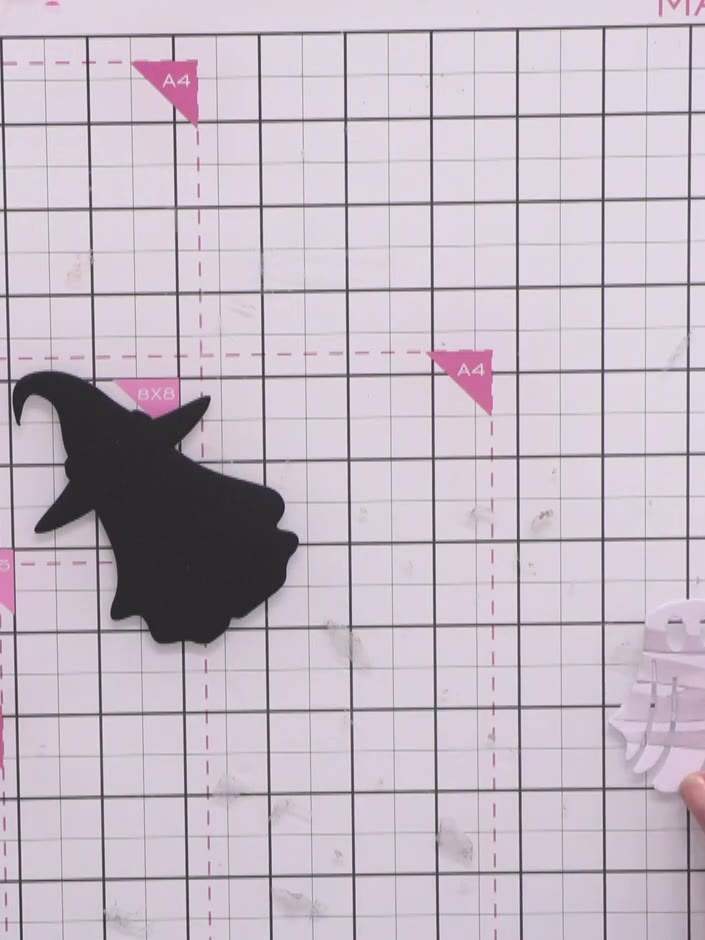
Using the witch die, cut the ghost's main body from white card stock. The die cuts out the witch shape which will form the body of your ghost character.
 4
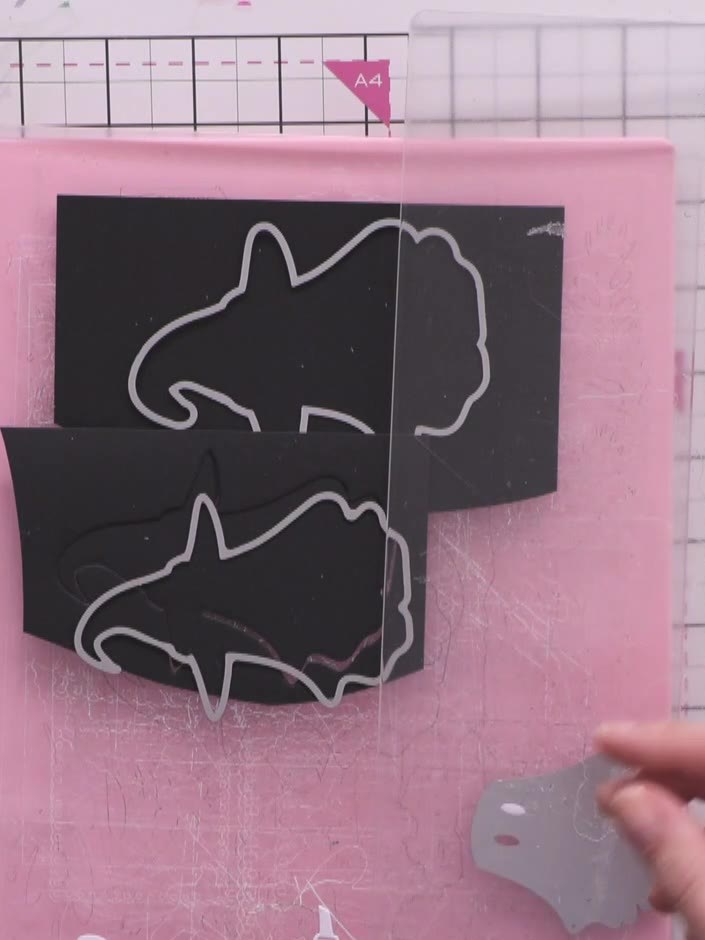
Cut out the ghost's belt piece from white card stock using the die-cut shape as a guide.
 5
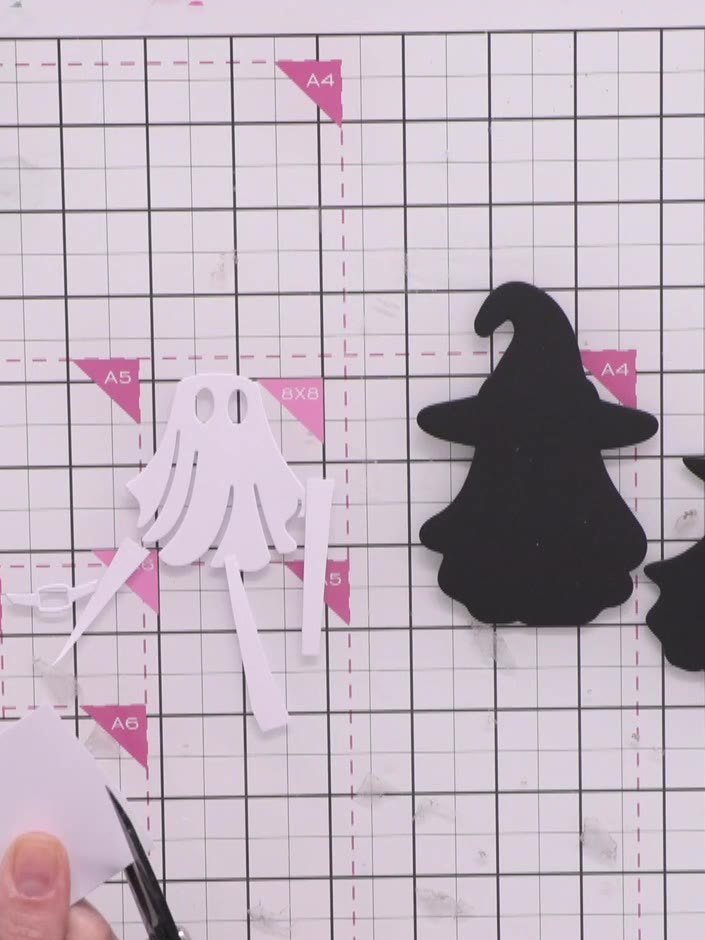
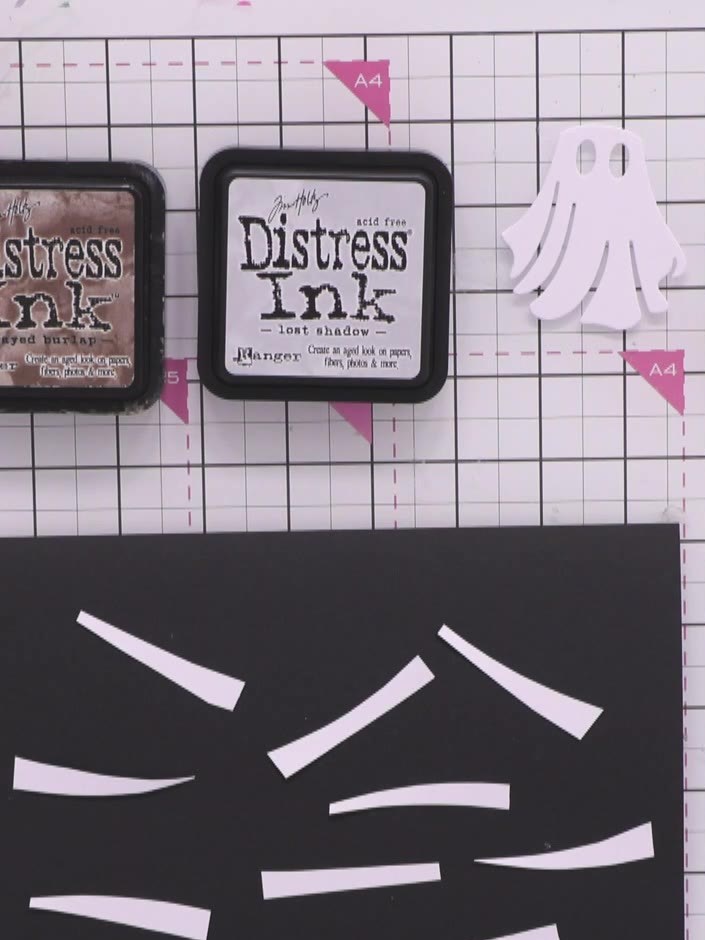
Tear or cut random strips from white scrap paper to create the mummy wraps. These strips will be used to wrap around the ghost shape.
 6
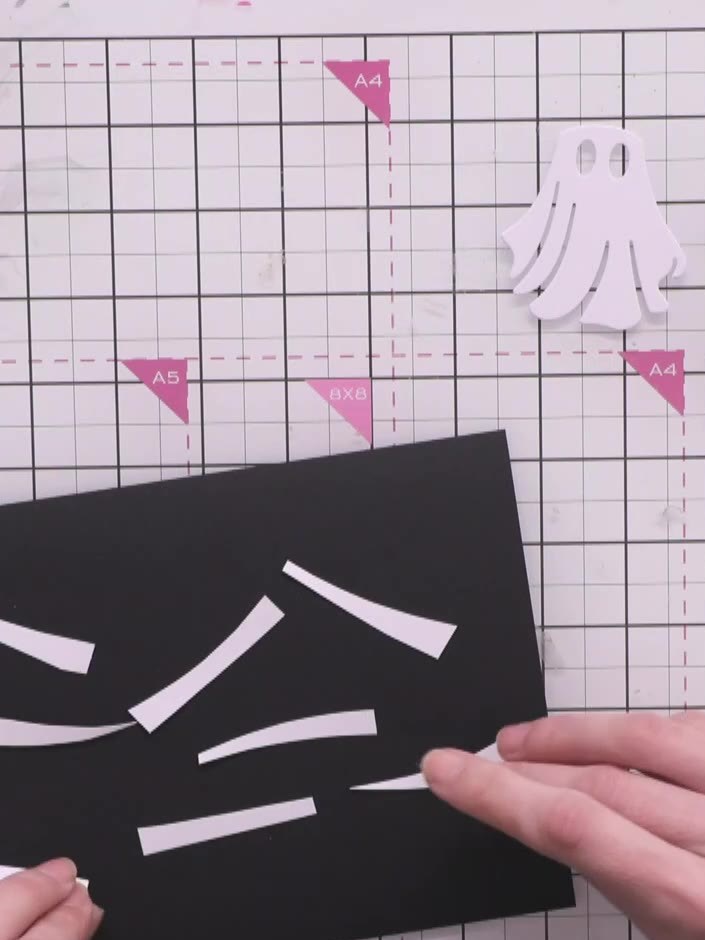
Appliquez de l'encre distress grise sur les bords des bandes de papier blanc à l'aide d'un outil d'estompage (blending tool). Work the ink along all edges of each strip to create a distressed, aged effect.
 7
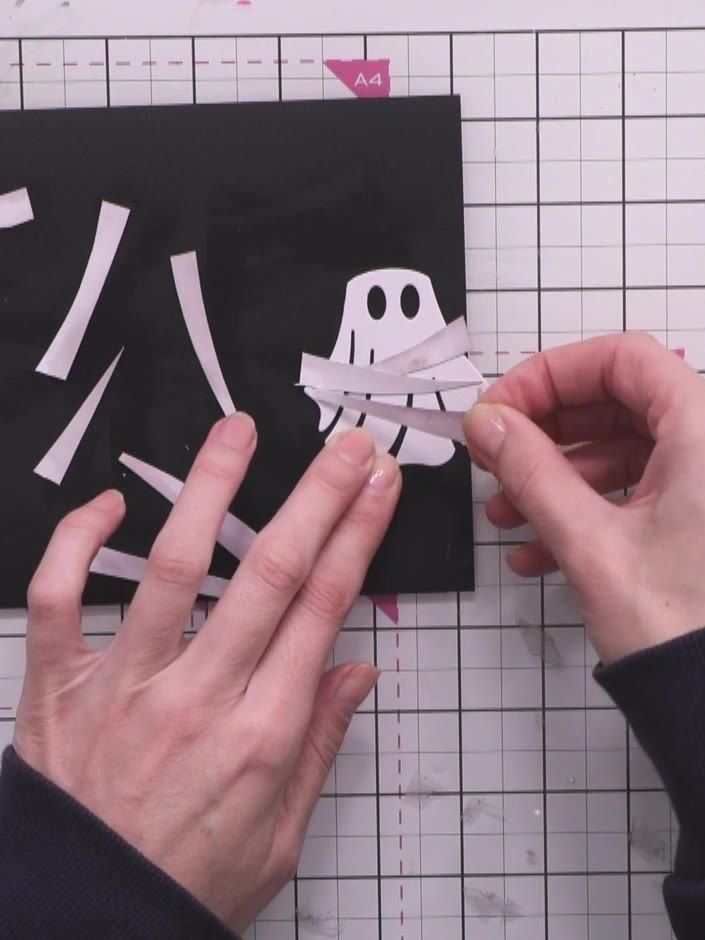
Layer the distressed white strips onto the black ghost body to create a wrapped mummy effect. Arrange the strips at various angles across the ghost shape, overlapping them to build up the bandaged appearance.
 8
Trim away any excess paper strips extending beyond the edges of the ghost shape using scissors or a craft knife.
 9
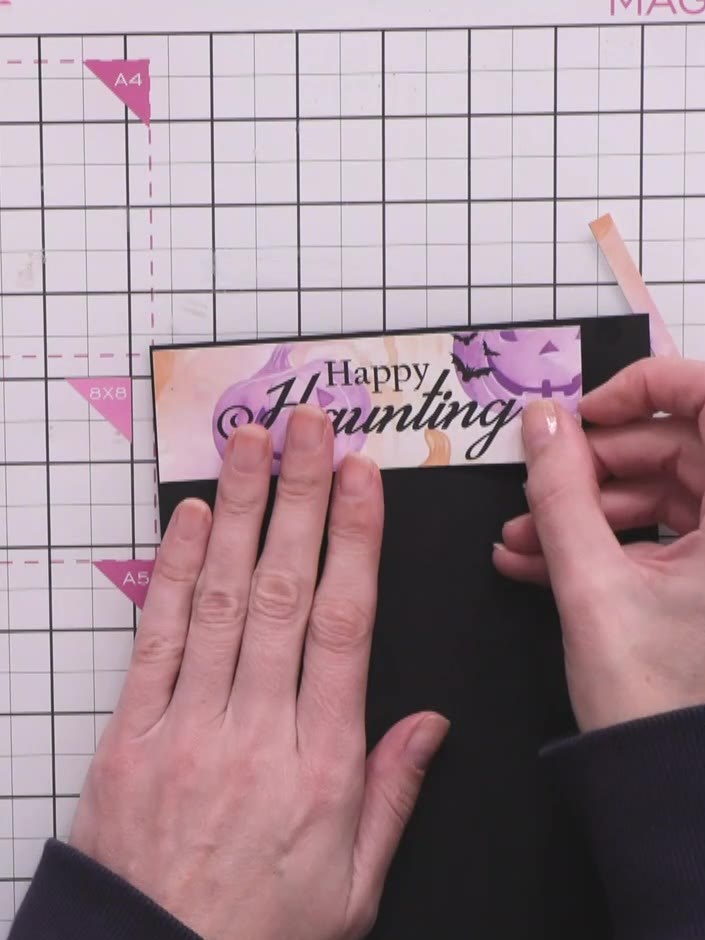
Découpez une banderole de texte dans le bloc de papier à l'aide de la matrice de contour. Run the die and paper through your die-cutting machine to create the banner shape.
 10
Cut thin black borders from black card stock. Attach one strip to the top of the card and one to the bottom, creating frames for the decorative panels.
 11
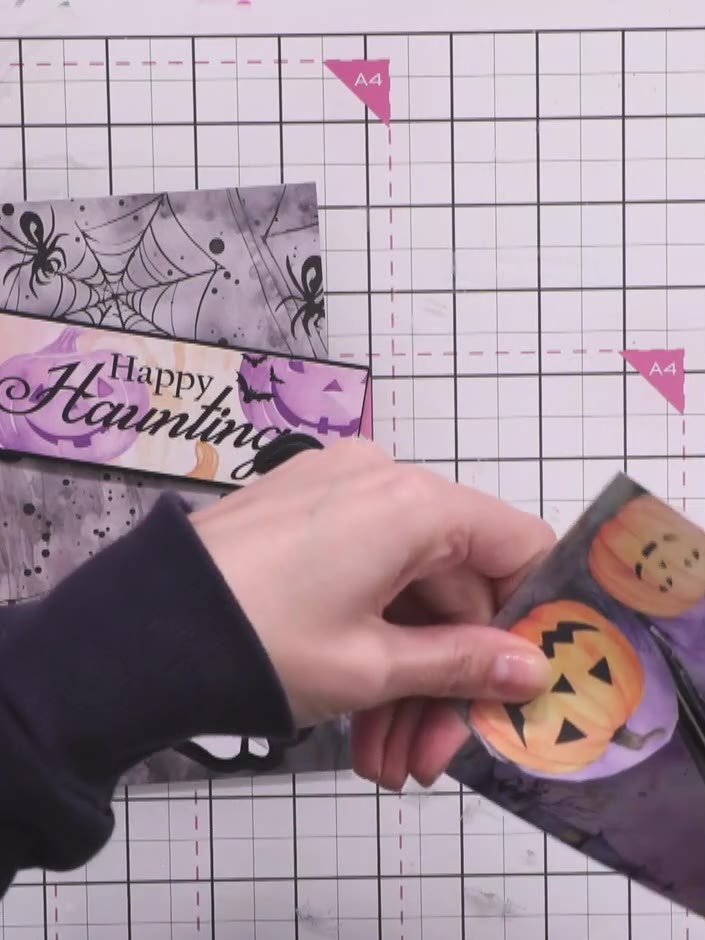
Fussy cut a small pumpkin from the decorative paper pack. This will add a pop of colour to your card.
 12
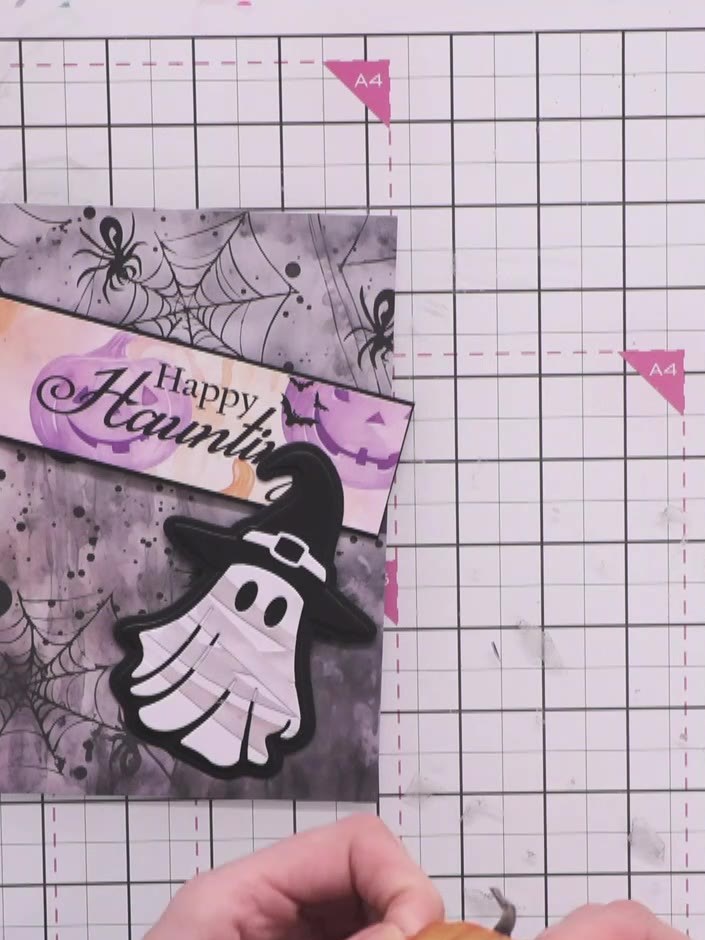
Mount the 'Happy Haunting' sentiment banner diagonally across the top of the decorated card front. Position the ghost character in the centre of the card below the banner.
 13
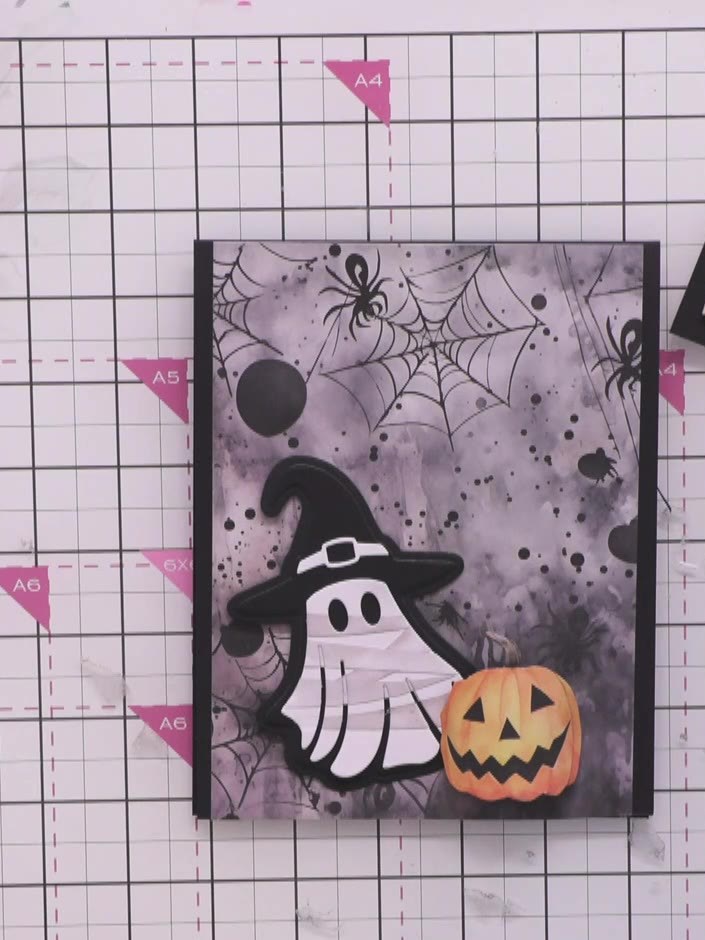
Attach foam pads to the back of the wrapped ghost. Position the ghost over the banner on the card front, ensuring it is centred and secure.
 14
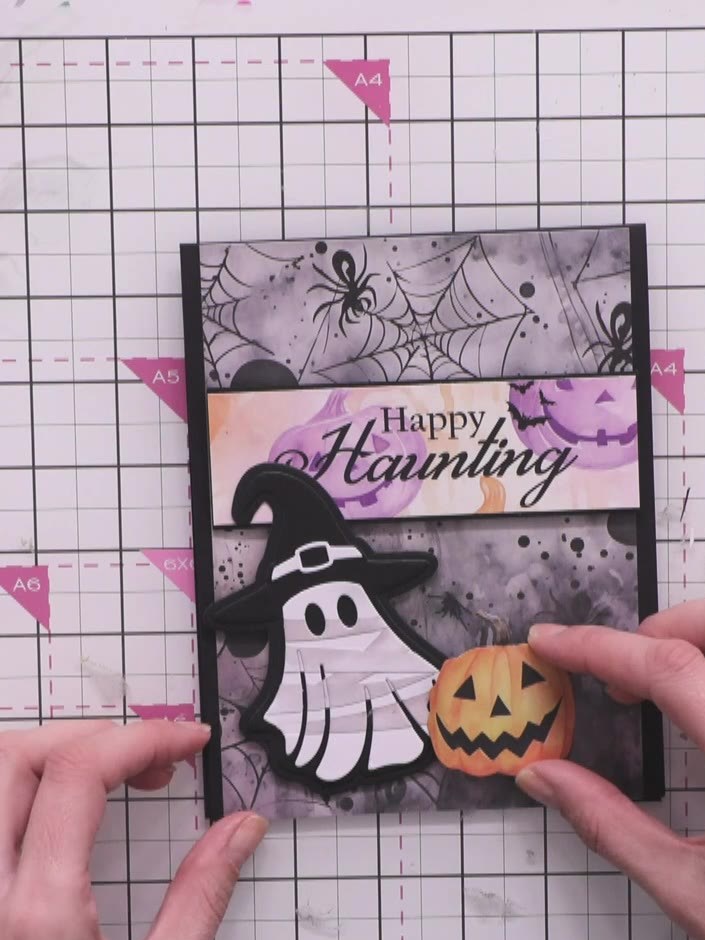
Attach the orange pumpkin embellishment to the lower right of the ghost using foam pads for dimension.
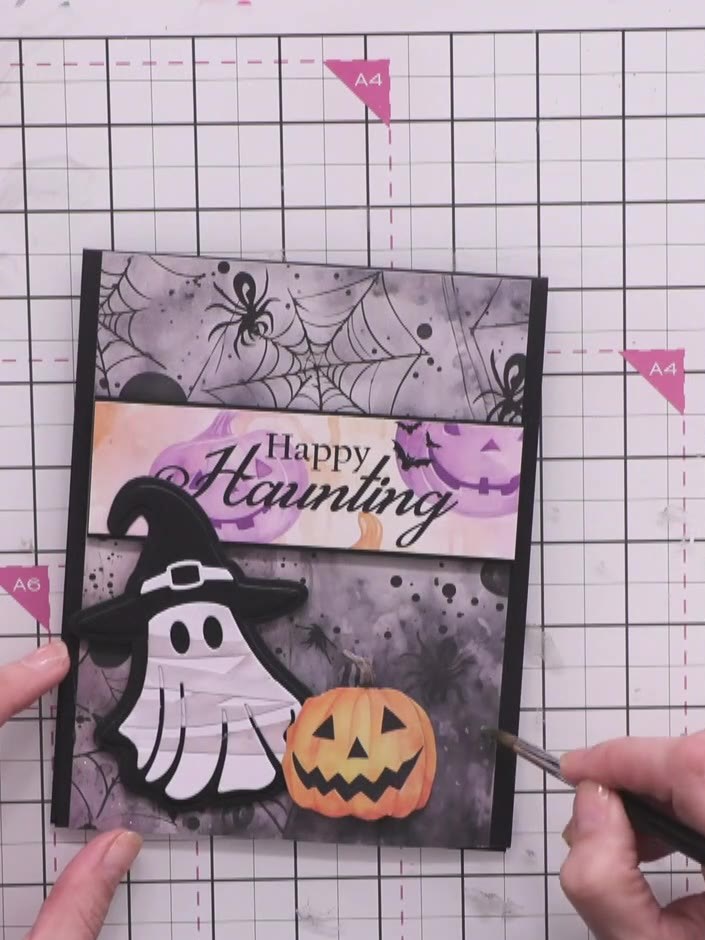 15
Apply clear sparkle or glitter to the spiderweb details on the background paper to add shimmer and dimension to the card.
Partagez votre création avec la communauté Stamps By Me - et gardez ce tutoriel pour la prochaine fois.
Rédigé à partir de l’émission elle-même. Tous les tutoriels de nos émissions · tutoriels gratuits · en direct sur My Telly · l’ancienne présentation