Offrez à vos amis 10 $ de remise sur leur première commande !
Parrainez un AMI








 The Friday Final Cutven. 6 nov. 5 h 00
 Community Showcaselun. 9 nov. 5 h 00
 Hobbymaker TVlun. 9 nov. 9 h 00
Les prix sont mis à jour immédiatement. Chaque langue est notre propre traduction, pas Google.
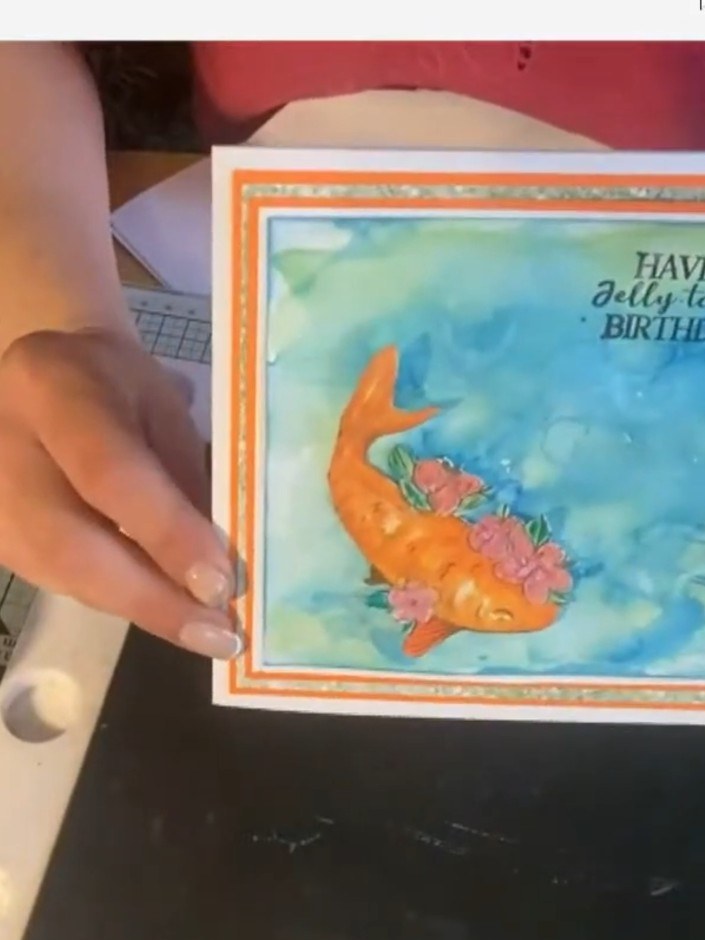
Une création de notre émission en direct ONE DAY SPECIAL - Retrouvez Toni pour son tout nouveau lancement - Diffusé le 25 avril 2025 · 04/25/2025
Créez une carte scène sous-marine unique en associant des tampons d'architecture à des éléments aquatiques. Les bâtiments du set « In Paradise » se transforment en ville engloutie grâce à l'eau et aux encres métallisées dans des tons turquoise et bleus, puis on y ajoute un poisson orange éclatant de la collection « Under the Sea ». Cette création originale qui mêle deux thèmes combine tamponnage, fondu d'encres et superposition pour une carte d'anniversaire saisissante, pleine d'imagination !
 1
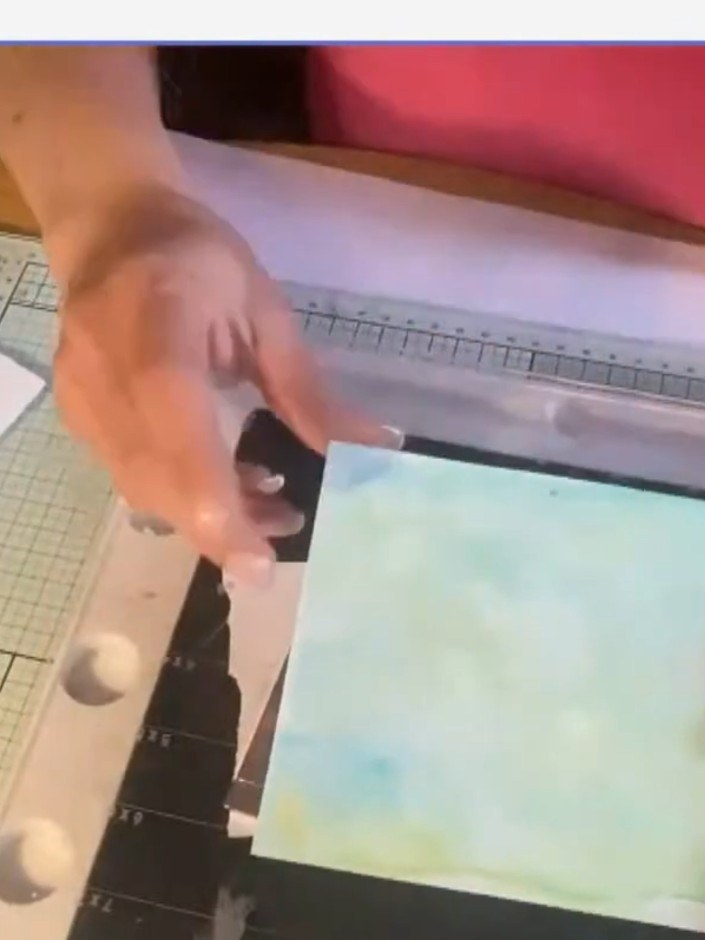
Apply a light watercolour wash to white card stock using diluted paint and water, blending soft colours across the surface. Allow the background to dry completely before proceeding.
 2
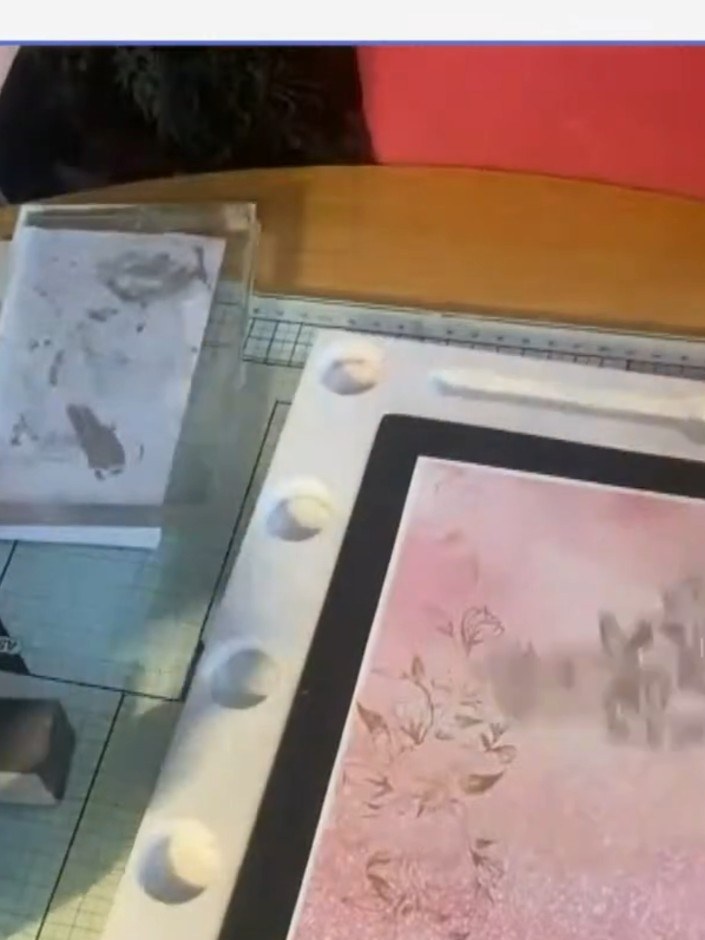
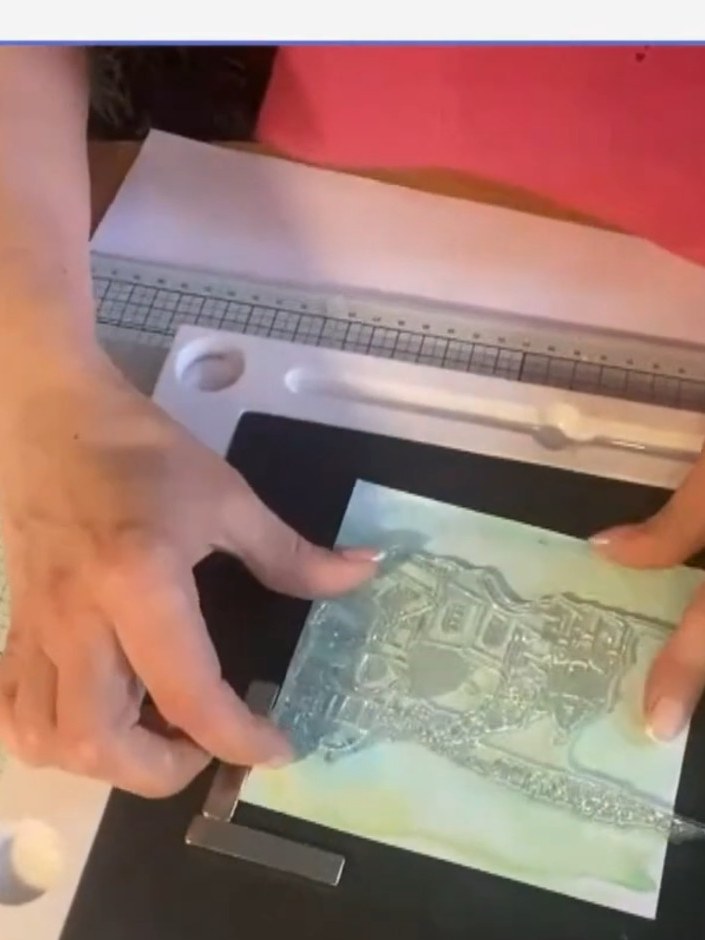
Using your stamp tool with broken china and mermaid lagoon distress oxide inks, stamp the rooftop scene from the 'In Paradise' stamp set onto your blended background panel.
 3
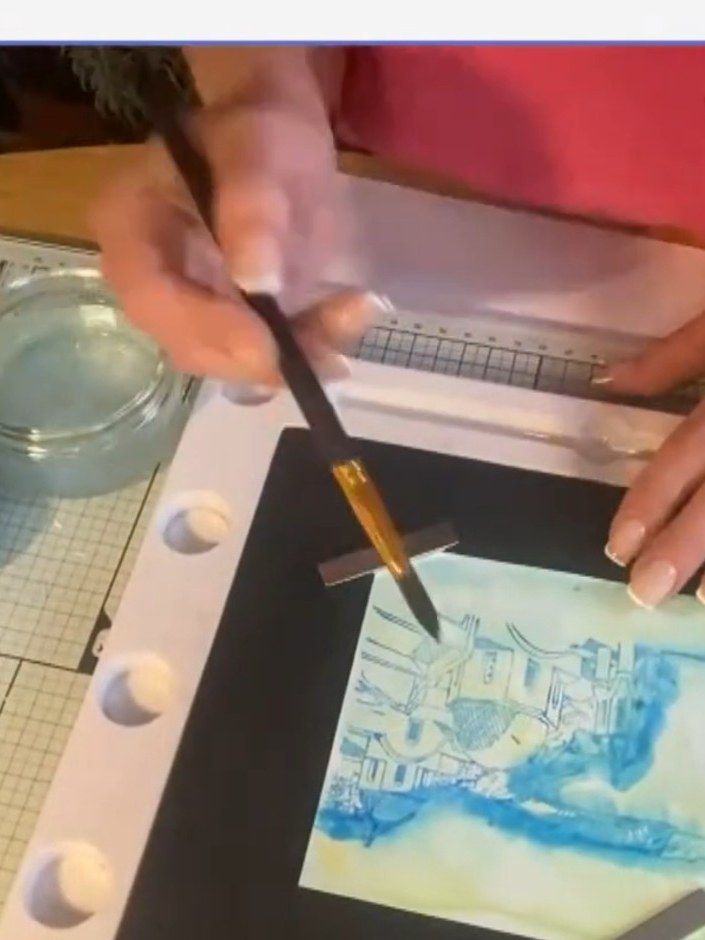
Using a small round brush dipped in clean water, gently blend the edges of the stamped image outward to create a soft, diffused watercolour effect.
 4
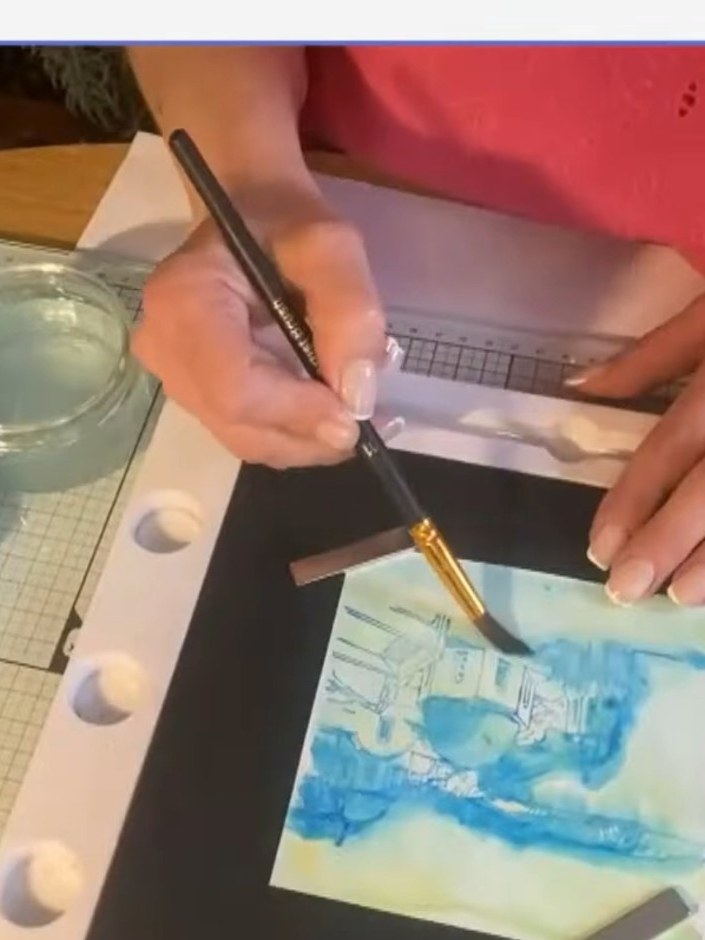
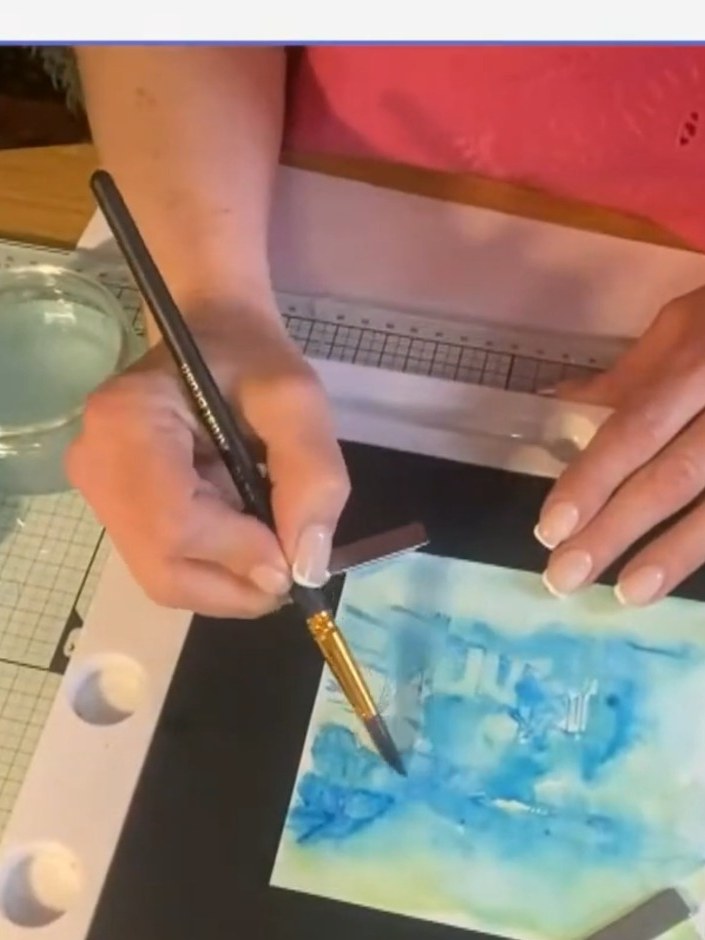
Using a water brush, add extra water lines beyond the blended blue area to help the colour seep further into the background, creating a natural transition.
 5
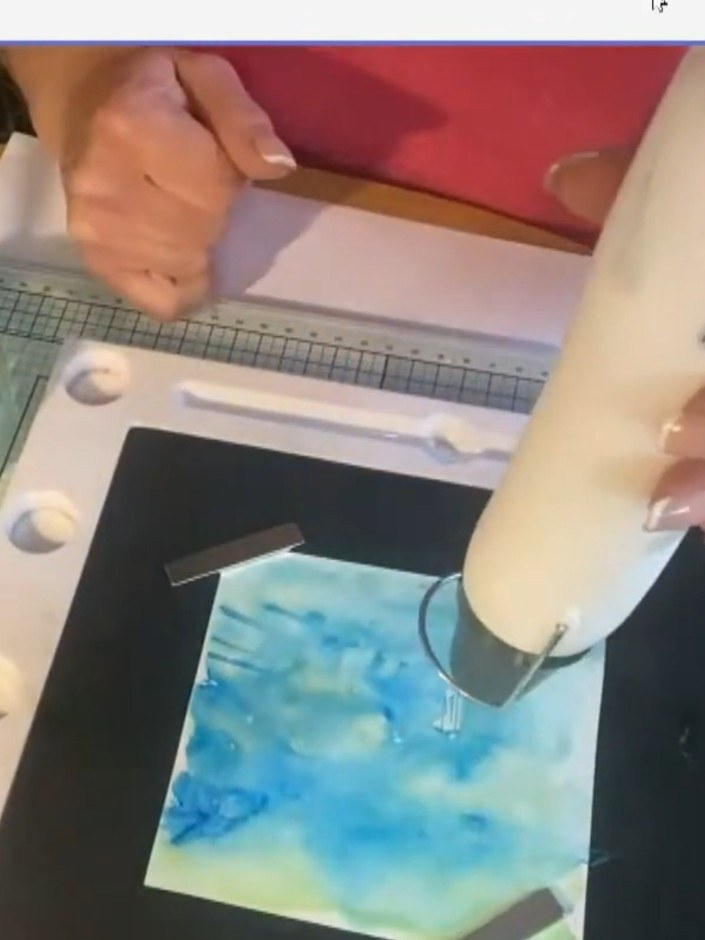
Heat dry the blended blue and green background completely. Using the handle end of a stamp pad, dab metallic ink onto the dried background to create bubble textures throughout the design.
 6
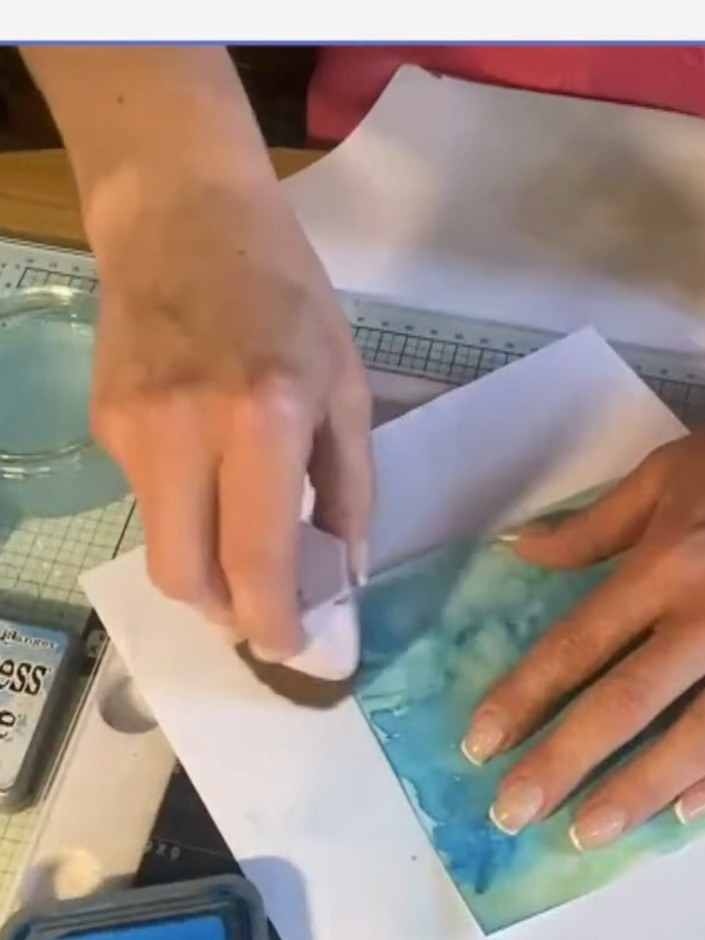
Using a heat tool, dry the blended background thoroughly to set the inks. Hold the heat tool above the card and move it gently across the surface until completely dry.
 7
Stamp the fish from the 'Under the Sea' stamp set onto clean white paper using your Eureka stamping tool. Position the stamp carefully to create a clear impression.
 8
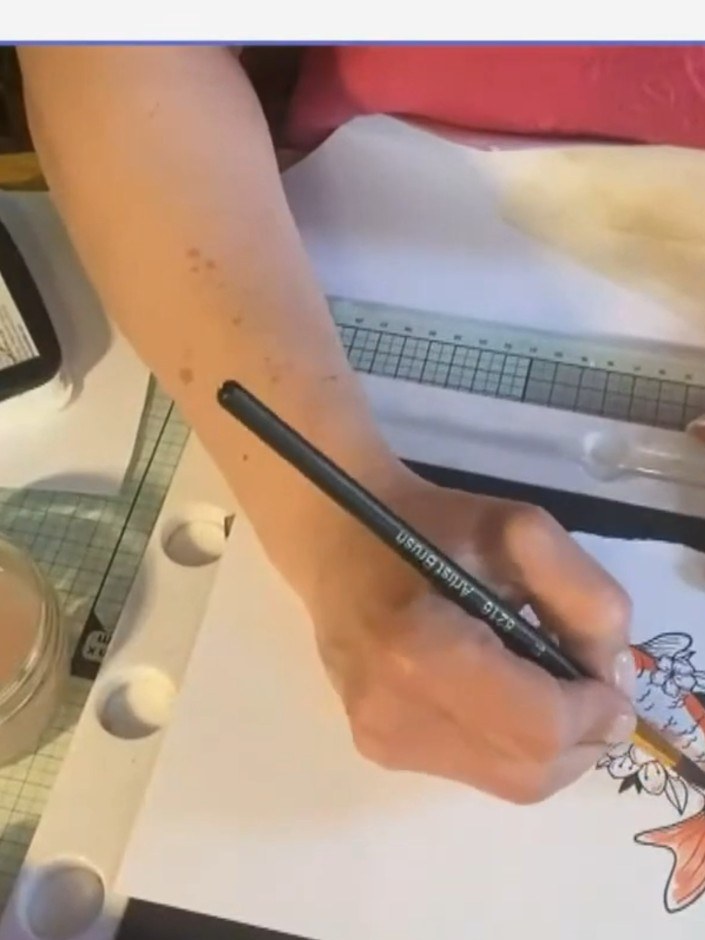
Colour the fish using Hemi paints, starting with lighter tones. Build up the colour gradually, then add depth by applying darker shades to create dimension.
 9
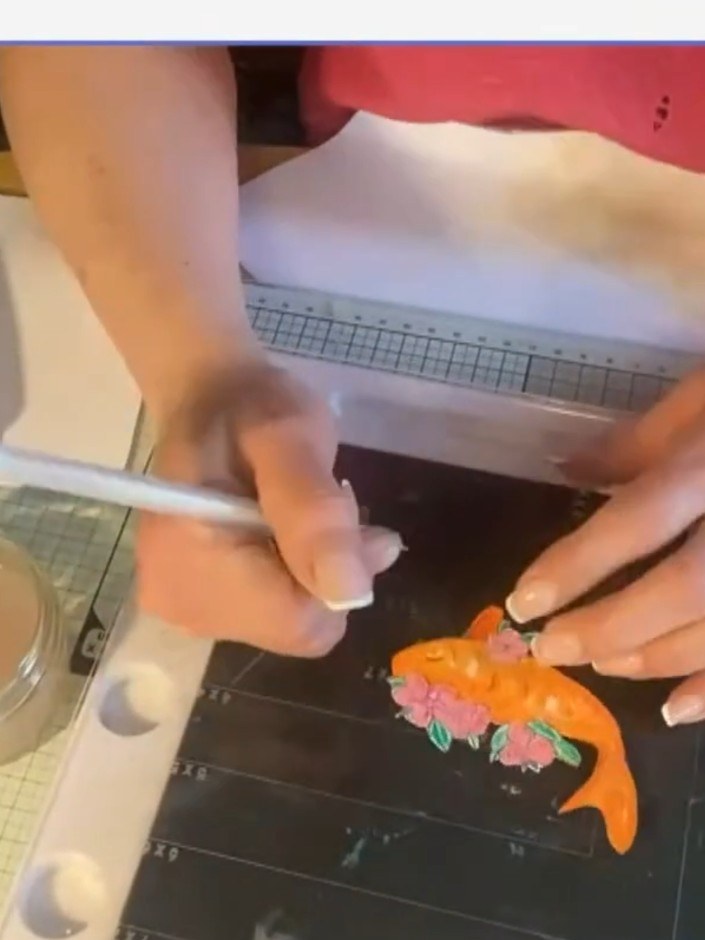
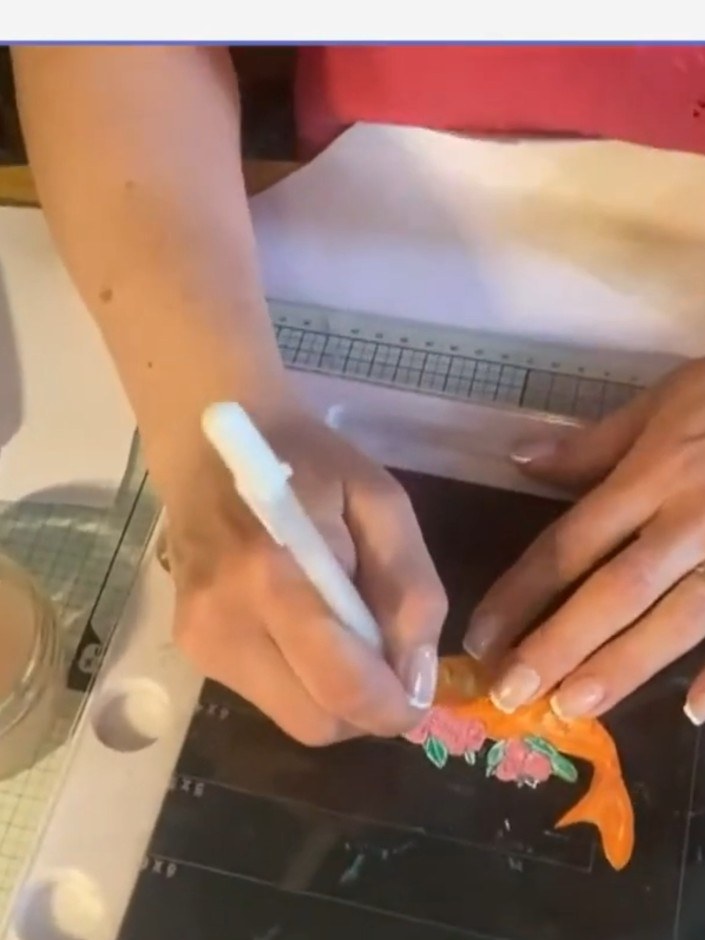
Use a white gel pen to add fine details to the fish, including eyes and highlights on the body.
 10
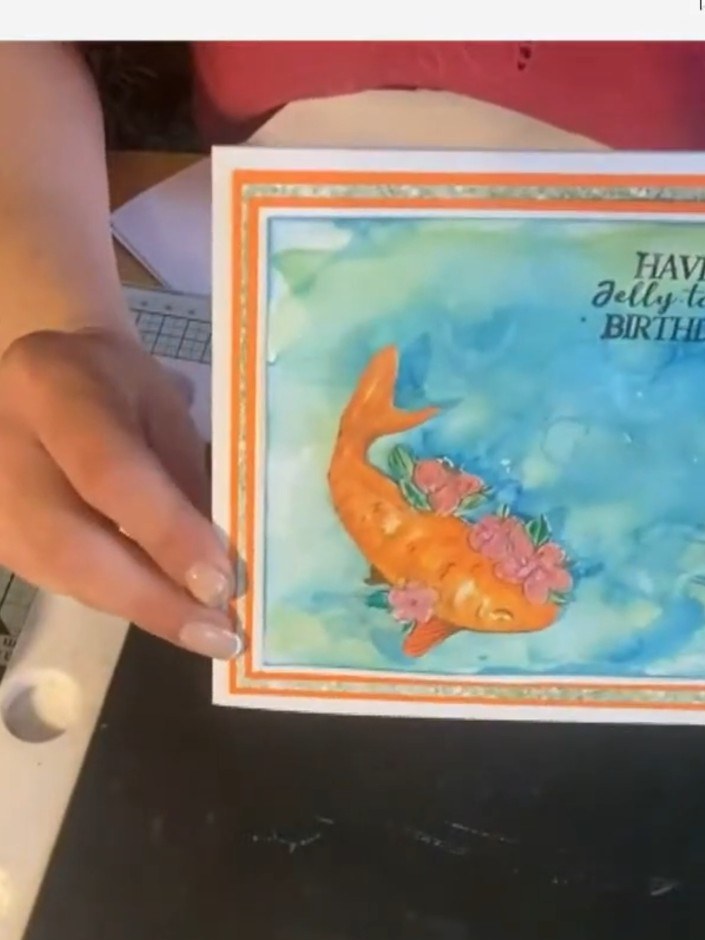
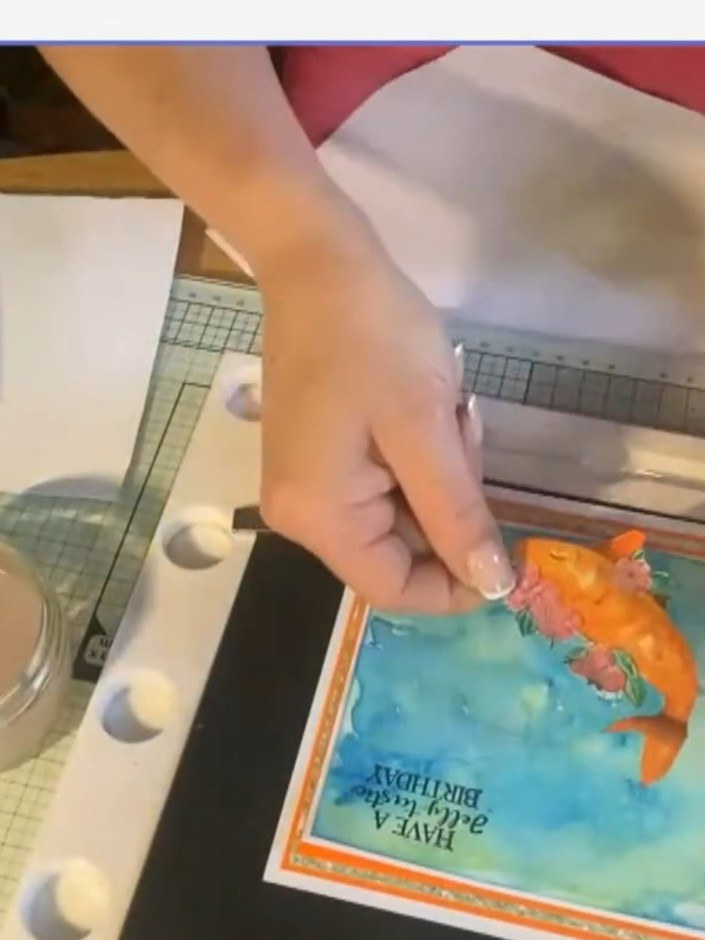
Attach the coloured fish die-cut to the blended background card using foam pads to add dimension. Position the orange fish centrally on the card front.
 11
Stamp a sentiment such as 'Have a Jellyastic Birthday' in black ink at the top of the card panel.
 12
Attach the sentiment layer to the front of the card to complete your underwater scene card with the orange fish and blended blue background.
Partagez votre création avec la communauté Stamps By Me - et gardez ce tutoriel pour la prochaine fois.
Rédigé à partir de l’émission elle-même. Tous les tutoriels de nos émissions · tutoriels gratuits · en direct sur My Telly · l’ancienne présentation