Offrez à vos amis 10 $ de remise sur leur première commande !
Parrainez un AMI








 The Friday Final Cutven. 6 nov. 5 h 00
 Community Showcaselun. 9 nov. 5 h 00
 Hobbymaker TVlun. 9 nov. 9 h 00
Les prix sont mis à jour immédiatement. Chaque langue est notre propre traduction, pas Google.
Une création de notre émission en direct Monday Madness - Retrouvez Simon, diffusée le 7 févr. 22 · 02/07/2022
Une carte carrée qui ne passe pas inaperçue, avec un motif d'écailles réalisé au pochoir à l'éponge et en plusieurs couleurs d'encre pour un effet psychédélique. Les strass dans les coins apportent éclat et relief, tout en gardant une carte bien plate, parfaite pour l'envoi par la poste.
Cut a 6-inch square card blank from thick cardstock (approximately 300 gsm).
Position the stylish scales die as a stencil on one side of the card blank.
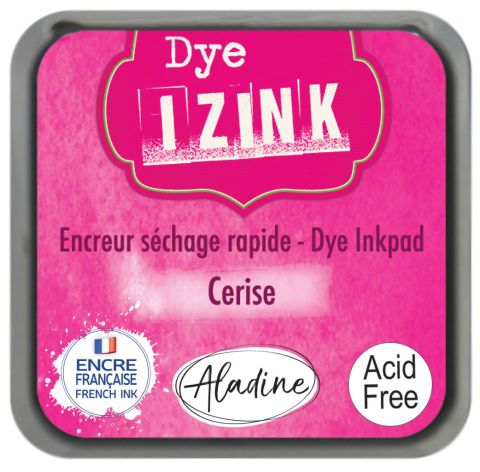
Dab the lightest ink colour (green) through the stencil openings using a sponge and light finger pressure.
Add the blue ink colour through the stencil, allowing colours to overlap slightly for variation.
Add the pink ink colour through the stencil to complete the first side.
Lift away the stencil to reveal the sponged scales pattern.
Flip the card and position the stencil on the reverse side.
Repeat the sponging process on the second side, starting with green, then blue, then pink.
Lift away the stencil to reveal the complete two-sided pattern.
Position the patterned card at a quirky angle on your card base.
Secure the patterned card using tape runner down the centre strip.
Trim the card to size using the card base as a guide, cutting level with the edges.
Stamp a sentiment onto the card using black Versafine ink.
Apply glue to the bottom corners and attach rainbow fish gem embellishments.
Apply glue to the top corners and attach rainbow fish gem embellishments.
Add smaller fern topaz gem embellishments above the larger gems for additional sparkle.
Partagez votre création avec la communauté Stamps By Me - et gardez ce tutoriel pour la prochaine fois.
Rédigé à partir de l’émission elle-même. Tous les tutoriels de nos émissions · tutoriels gratuits · en direct sur My Telly · l’ancienne présentation