Offrez à vos amis 10 $ de remise sur leur première commande !
Parrainez un AMI








 The Thursday DropDemain 13 h 00
 The Friday Final Cutven. 6 nov. 5 h 00
 Community Showcaselun. 9 nov. 5 h 00
Les prix sont mis à jour immédiatement. Chaque langue est notre propre traduction, pas Google.
Un projet de notre émission en direct CREATE TOGETHER CLUB - Émission 3 - Rejoignez Toni - Diffusion du 30 mars 22 · 03/30/2022 · à voir dès 7:45
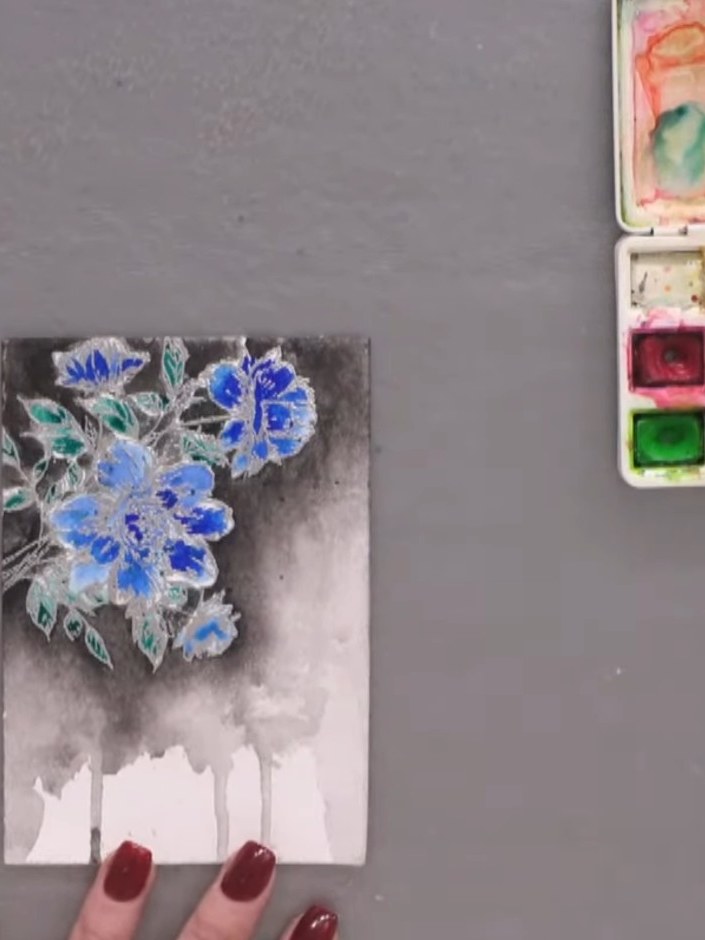
Create an elegant watercolour card featuring beautiful blue flowers with shimmering silver embossed outlines set against a soft grey graduated wash. This sophisticated design combines heat embossing with watercolour resist techniques to produce stunning depth and dimension. The flowing colour gradients blend beautifully around the embossed floral stamp, finished with delicate black ink details.
 CREATE TOGETHER CLUB- Chapter One - 030921a fblVOIR
 100133 - HTCN - LOT DE GRANDS ENCREURS PIGMENTÉS IZINK - TROPICAL - 201121aVOIR
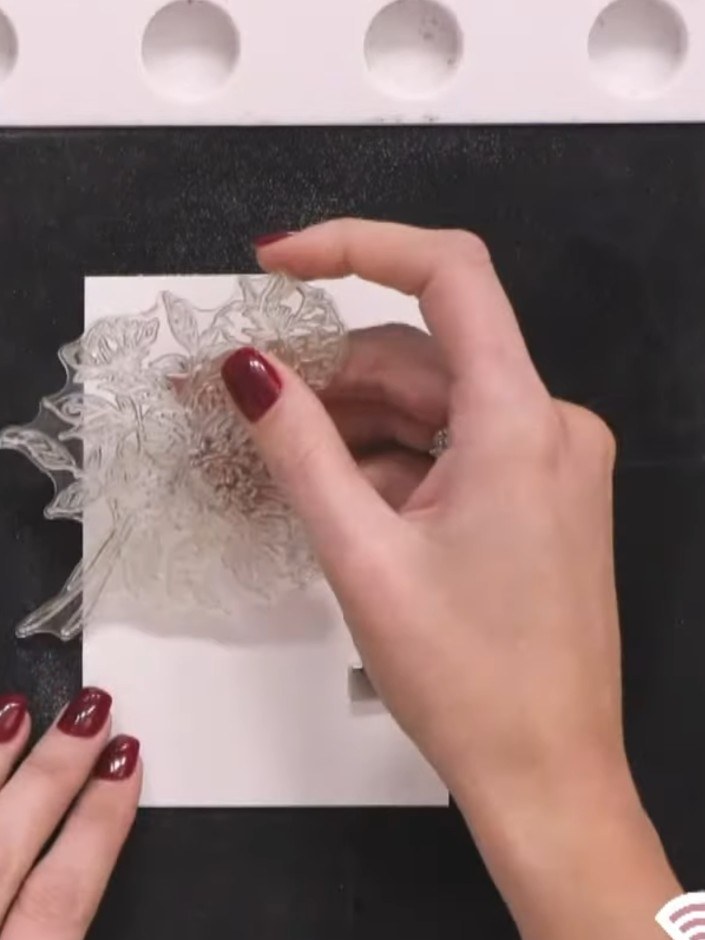
Place your watercolour card onto the stamping block. Position the bouquet stamp face down onto the card and press firmly to transfer the image.
▶ voir cette étape (8:00)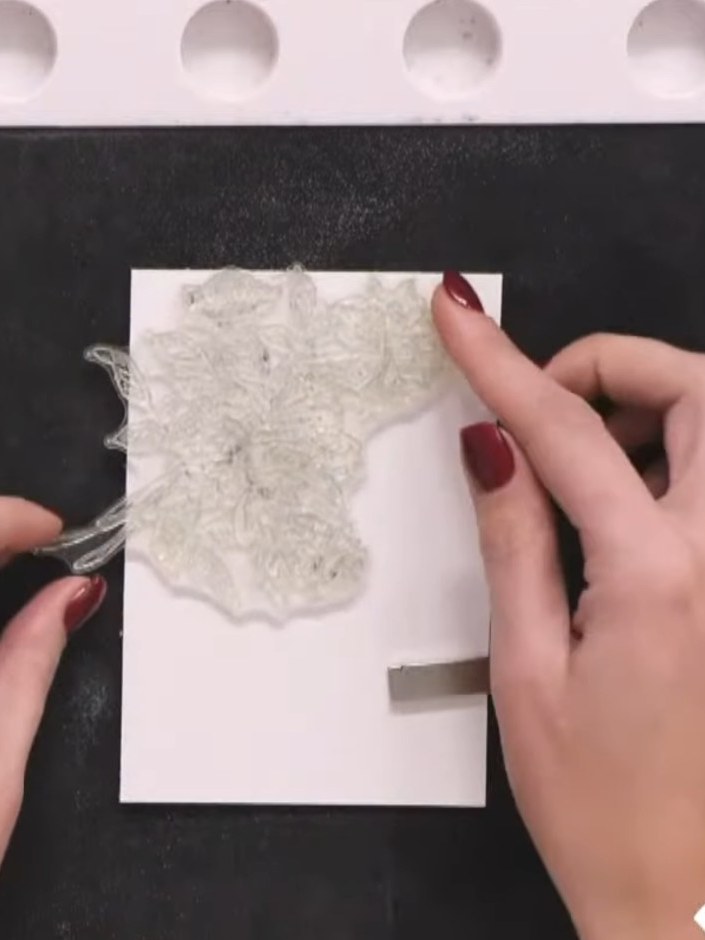
Stamp the floral bouquet image onto white watercolour card using pigment ink, pressing down firmly to capture all the detail.
▶ voir cette étape (8:15)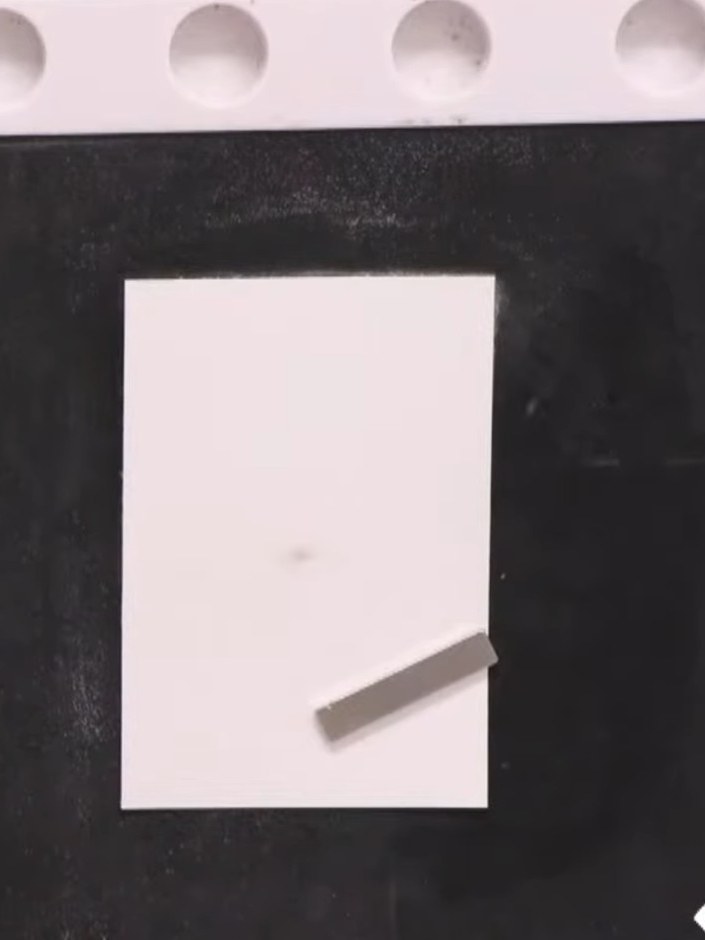
Use an anti-static bag to remove any dust or fingerprints from the stamped watercolour card panel.
▶ voir cette étape (8:30)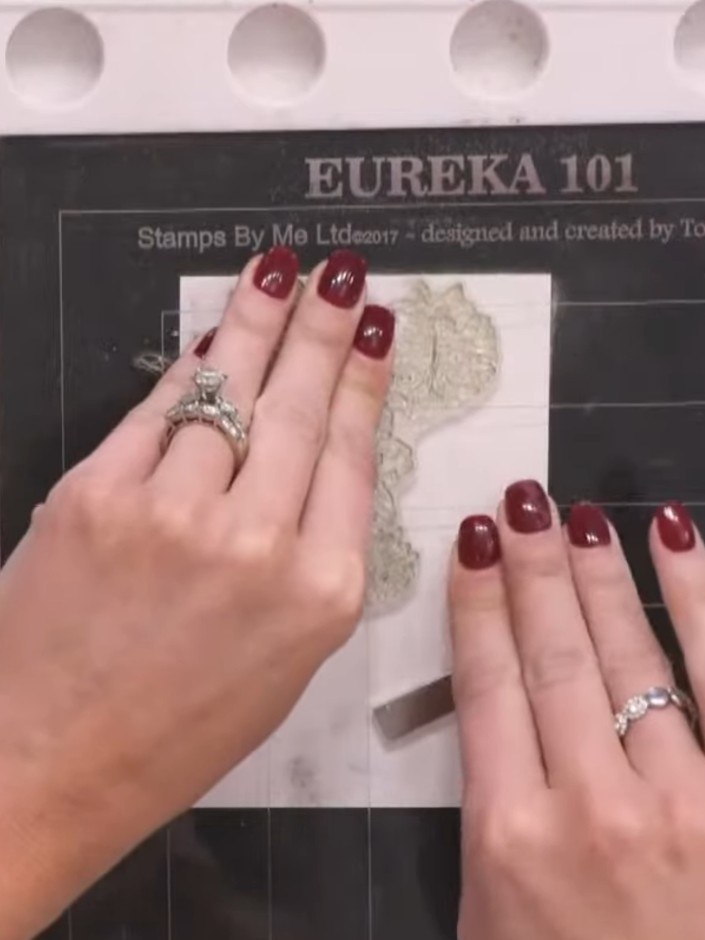
Apply silver heat embossing powder over the wet stamped image. Heat set with your heat gun until the powder melts and sparkles.
▶ voir cette étape (8:45)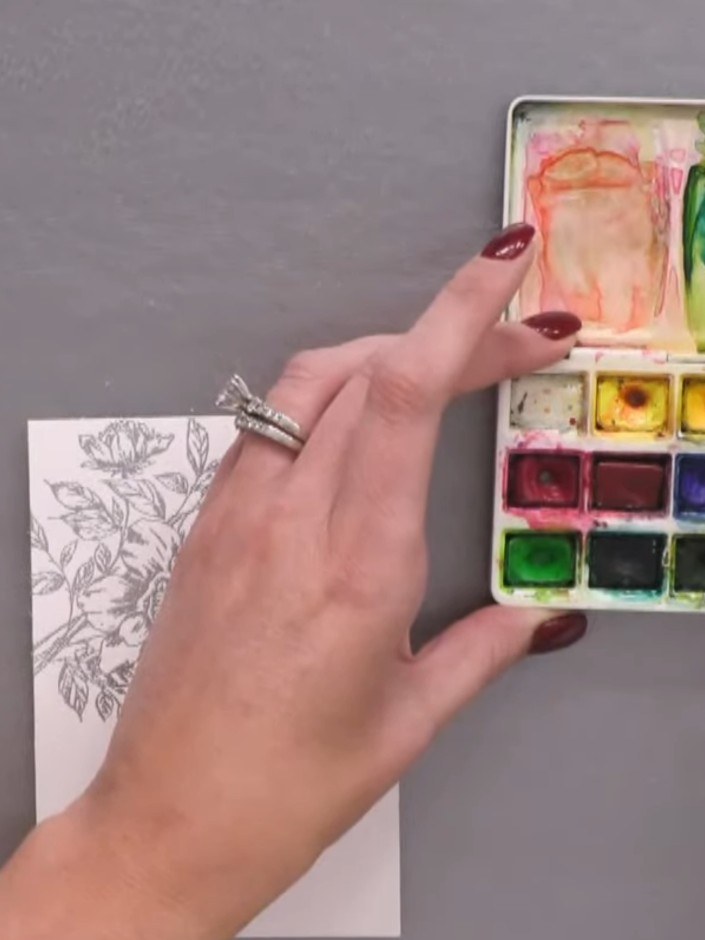
Using your brush, mix black watercolour pigment with water on your palette to create a very dark, concentrated consistency.
▶ voir cette étape (12:30)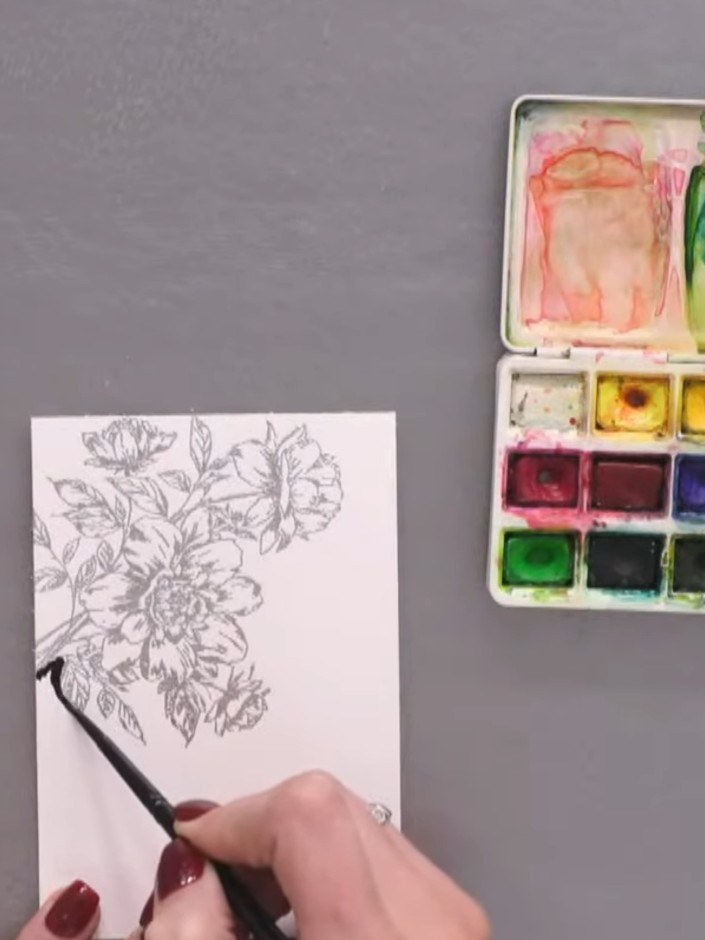
Using a fine brush and black pigment ink, carefully outline the embossed floral image. Work in small segments, following the stamped lines to create a dark black outline around the flowers and leaves.
▶ voir cette étape (12:45)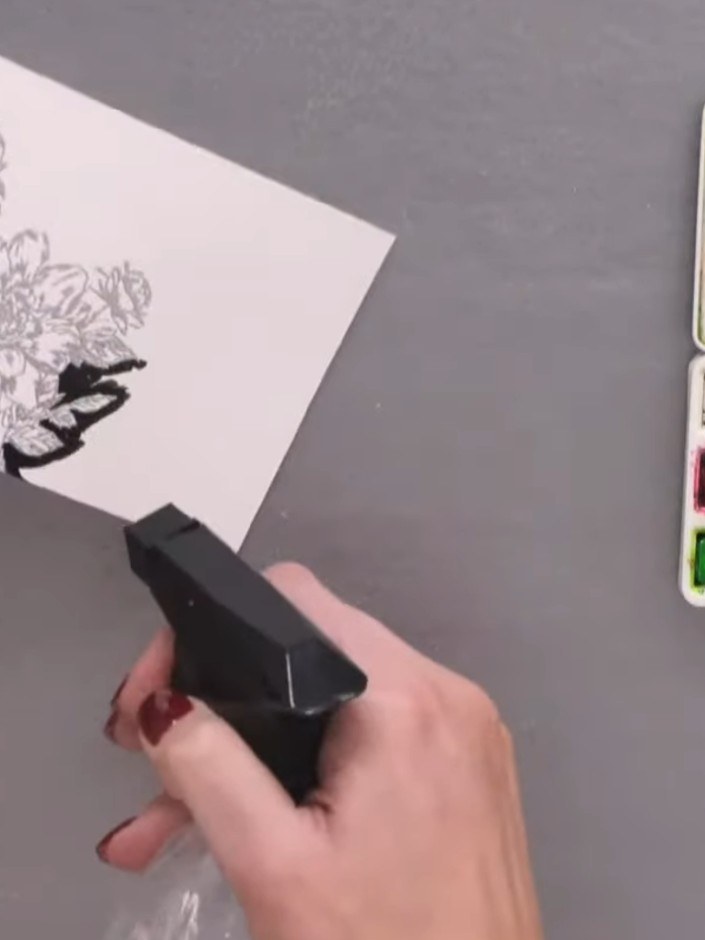
Spray the stamped card with water from a spray bottle. Hold the card at an angle to allow the black ink to flow downwards, creating a watercolour resist effect.
▶ voir cette étape (13:30)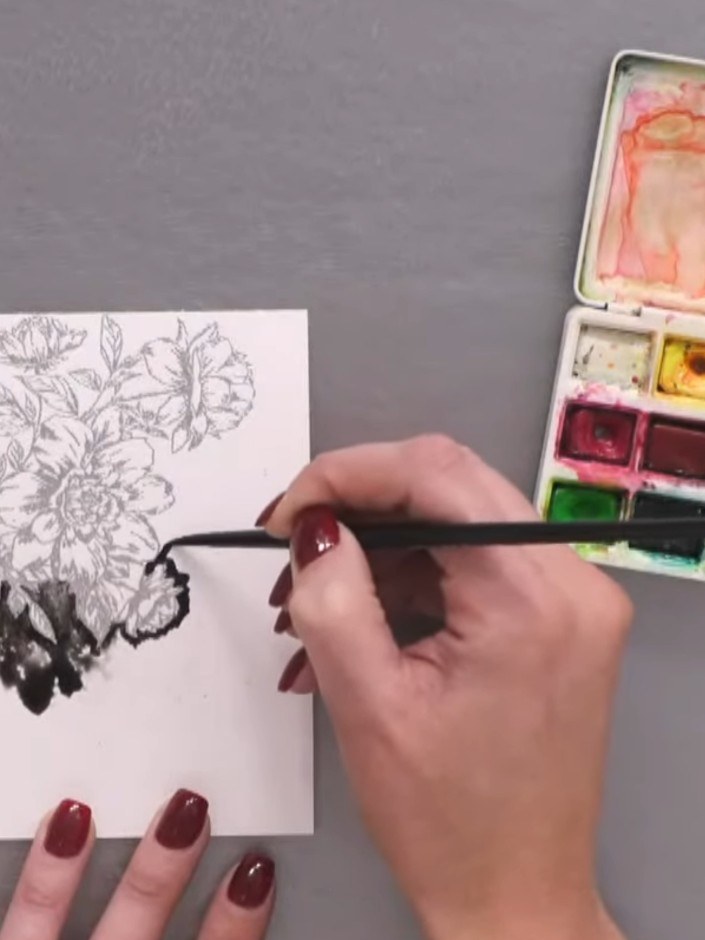
Continue adding more black pigment to intensify the design at the base of the floral image. Spray again with water to create the wash effect and allow the black ink to blend and spread.
▶ voir cette étape (14:00)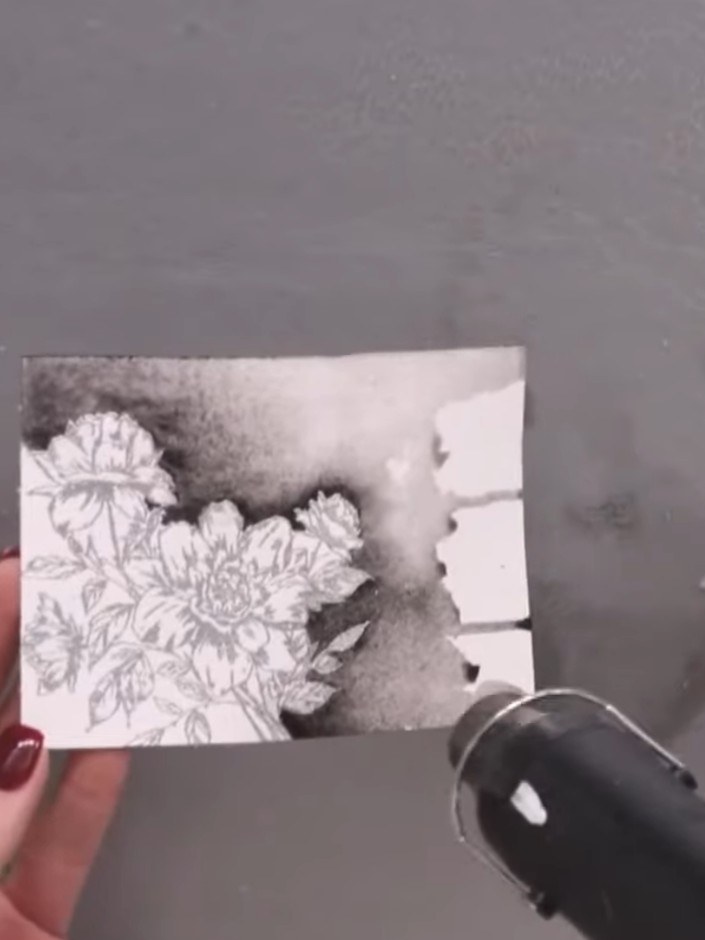
Allow the first layer to dry completely. Apply a second glaze layer using less water to add depth to the watercolour wash.
▶ voir cette étape (16:45)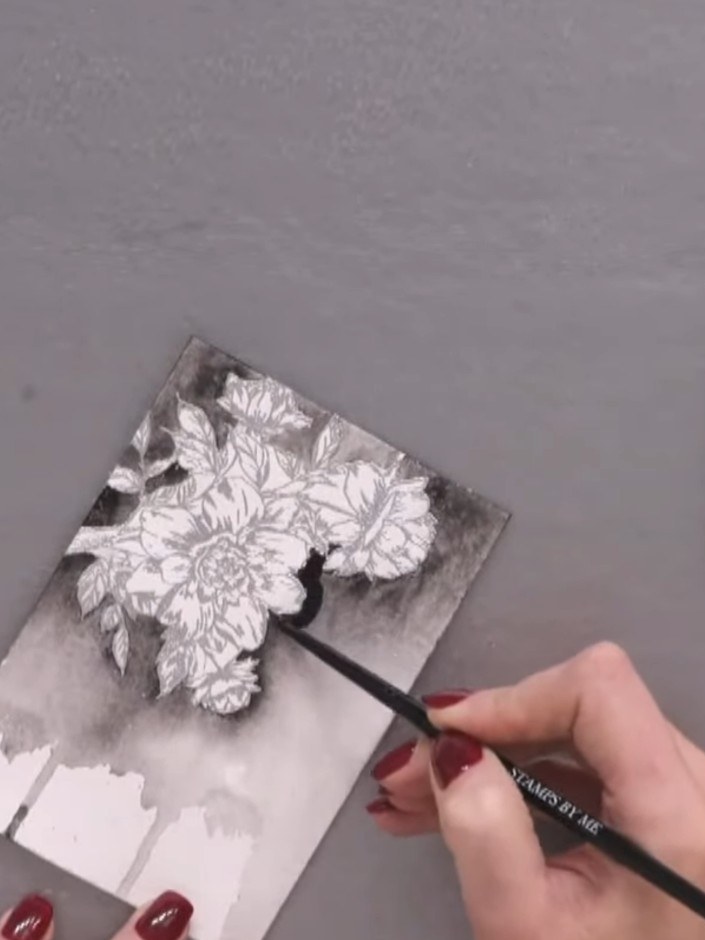
Add blue watercolour into the flower areas and green into the leaf areas, layering darker shades whilst still wet to create depth and dimension.
▶ voir cette étape (20:00)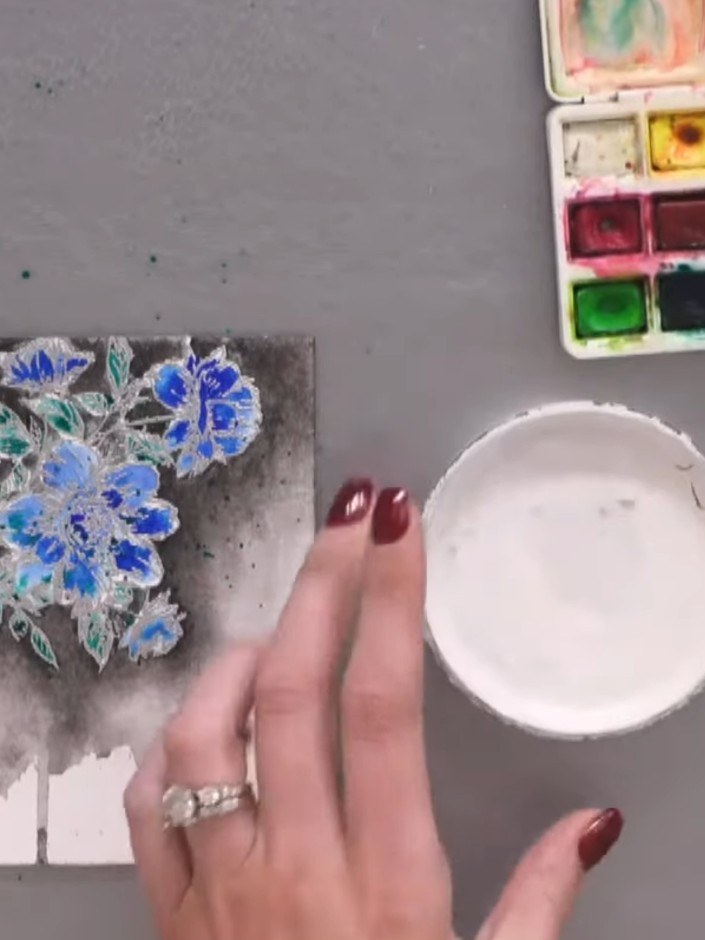
Ajoutez des éclaboussures blanches sur la carte avec des confettis blancs ou un médium à éclabousser pour unifier le tout.
▶ voir cette étape (27:30)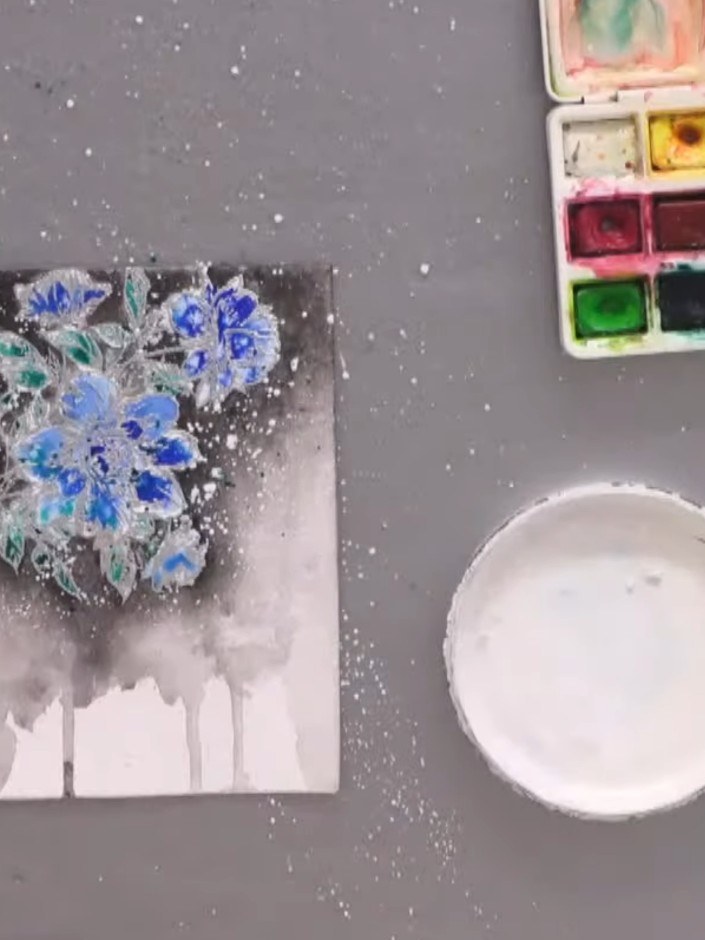
Laissez la carte sécher complètement à l'air libre avant de la manipuler ou de la chauffer. This ensures the watercolour and resist technique is fully set.
▶ voir cette étape (28:15)Rédigé à partir de l'émission elle-même. Découvrez tous les guides de nos émissions · tutoriels gratuits · regarder en direct sur My Telly