Offrez à vos amis 10 $ de remise sur leur première commande !
Parrainez un AMI








 The Friday Final Cutven. 6 nov. 5 h 00
 Community Showcaselun. 9 nov. 5 h 00
 Hobbymaker TVlun. 9 nov. 9 h 00
Les prix sont mis à jour immédiatement. Chaque langue est notre propre traduction, pas Google.
Une création de notre émission en direct MONDAY MADNESS – Retrouvez Simon d’AVAGO INK – Diffusion du 11 avril · 04/11/2022
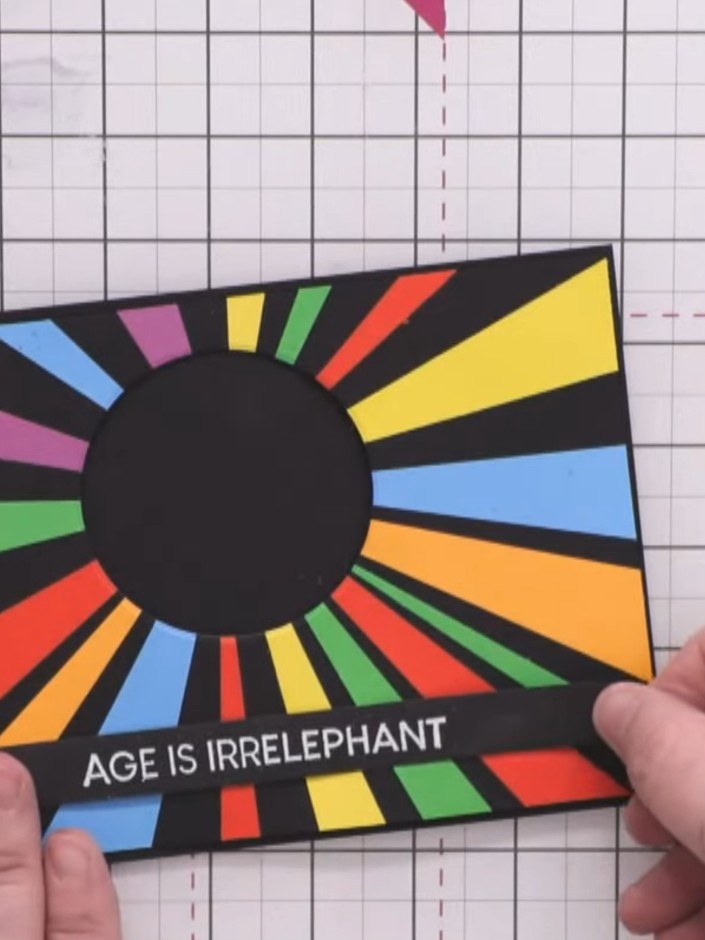
Réalisez une carte de vœux saisissante avec un joyeux éléphant au centre d'un éclatant motif en rayons de soleil. Des chutes de papier de couleur rose, vert, orange, jaune et bleu sont disposées en rayons triangulaires sur un fond noir, pour un motif géométrique audacieux. Ce projet fait appel à de simples techniques de paper piecing et de tamponnage pour créer une carte qui attire l'œil, parfaite pour un anniversaire ou une fête.
 1
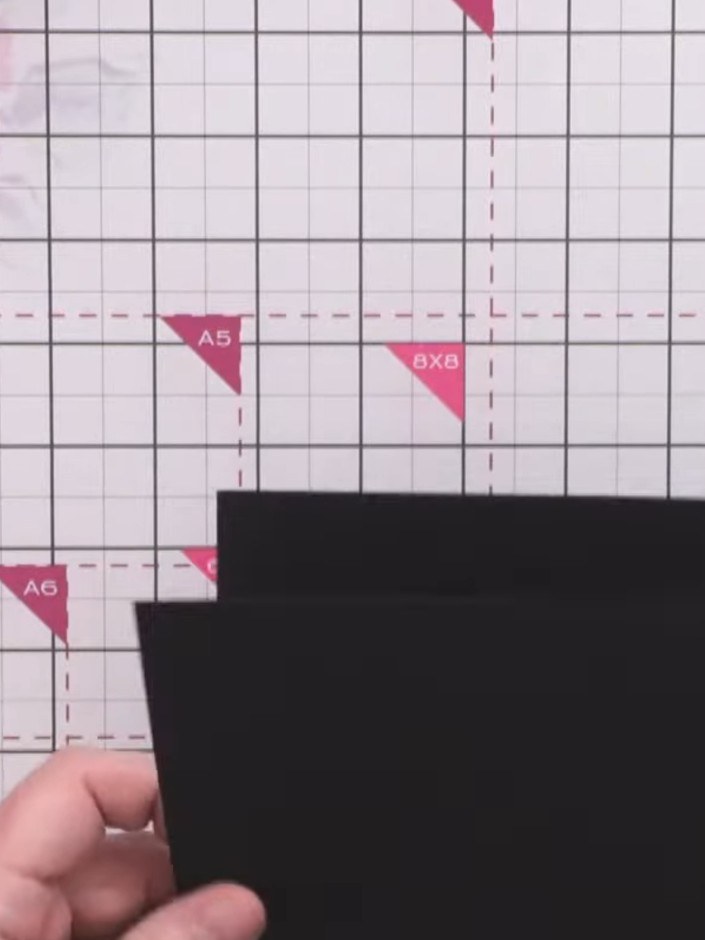
Cut a piece of black card slightly smaller than your card blank to create a border around the edge when mounted.
 2
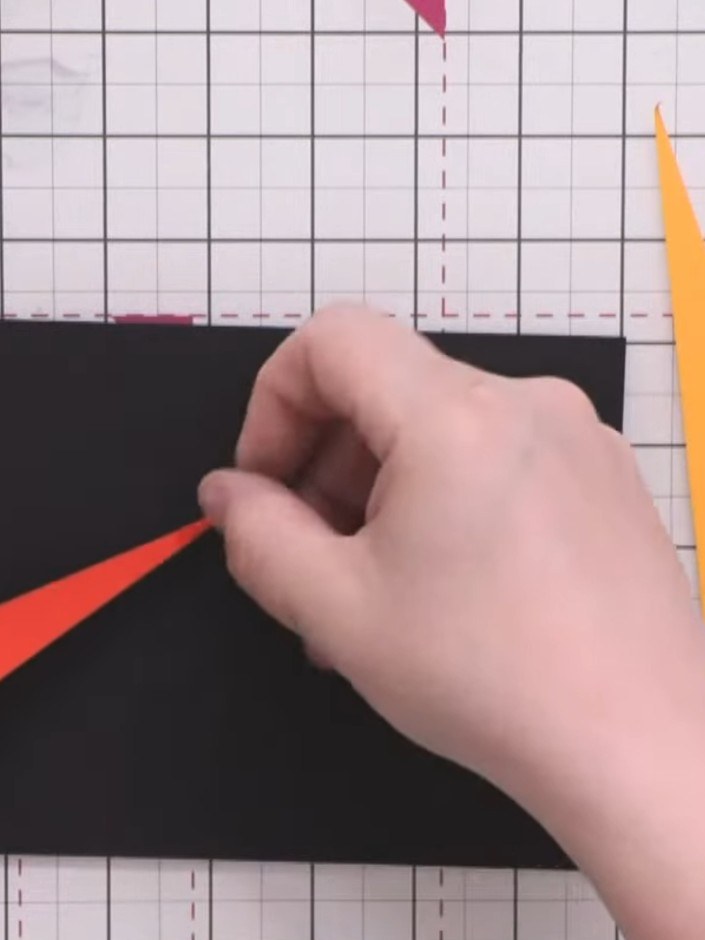
Cut small triangles from your coloured paper scraps in various widths and points to create variety. Arrange these triangles randomly on the black card.
 3
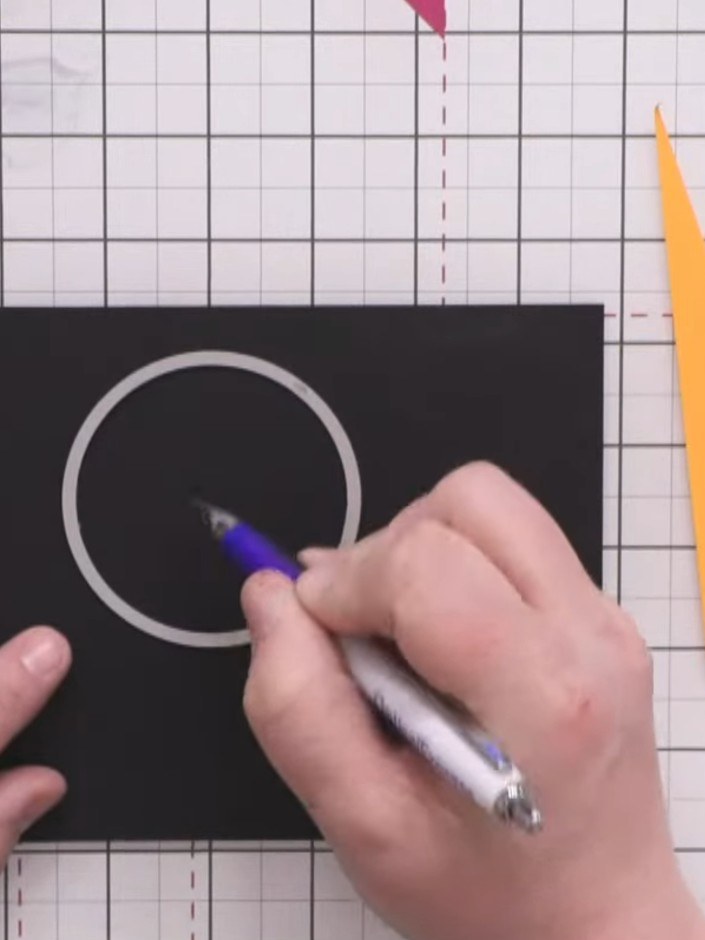
Using a white gel pen or similar marker, draw a small circle in the centre of the black card. This will serve as your aiming point for arranging the sunburst design.
 4
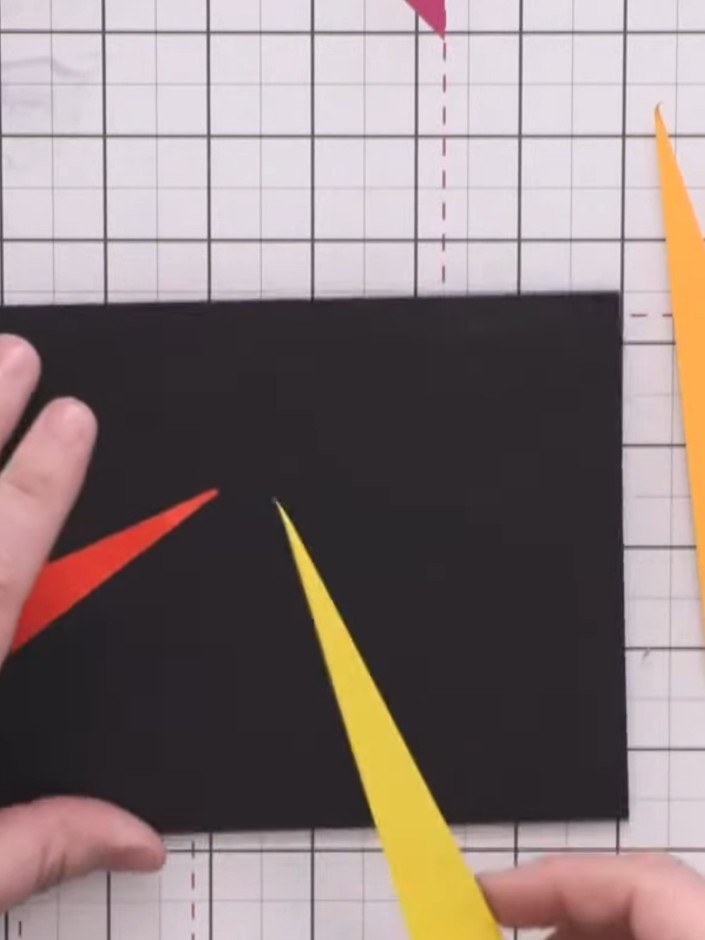
Apply glue to the black card and begin laying down the coloured triangles, positioning them so they point towards the centre circle. Continue adding triangles in different colours around the circle.
 5
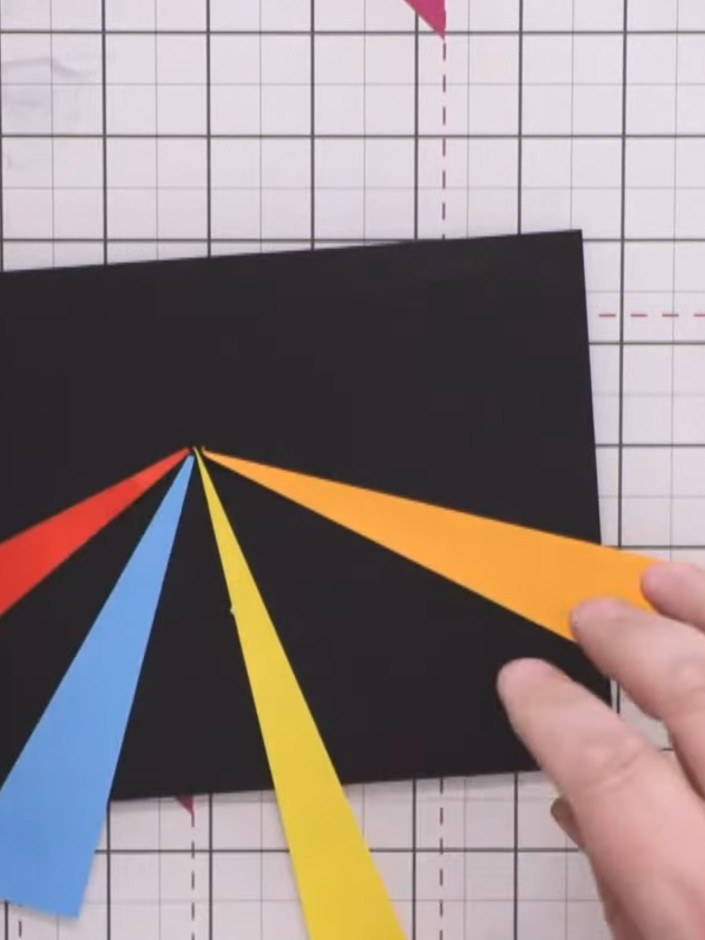
Build up the sunburst by adding triangles in different colours all around the black card, radiating from a central point. Leave small gaps of black between each piece to make the colours pop.
 6
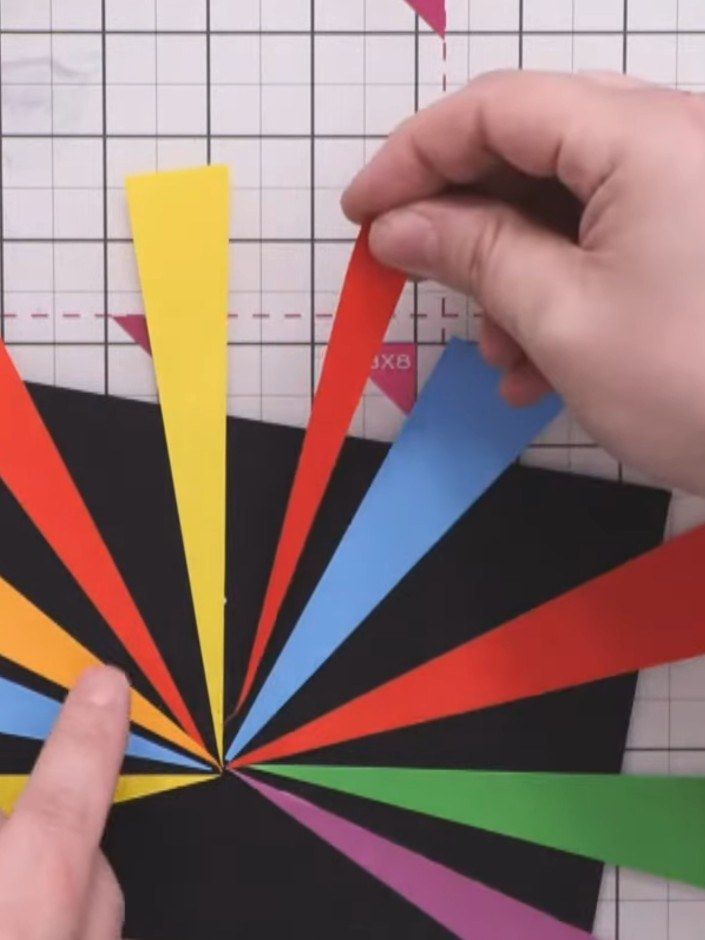
Fill in any larger gaps between the sunburst rays by adding smaller triangular pieces of coloured card. Continue to point all pieces towards the centre, maintaining the radiating pattern.
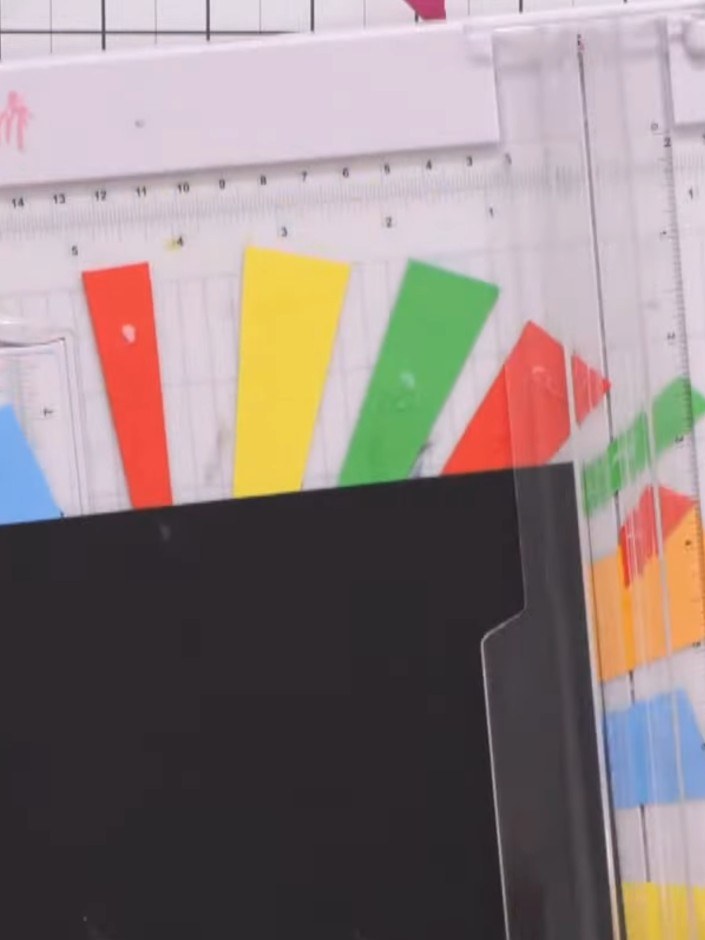 7
Using a paper trimmer, carefully trim away any overhanging pieces of coloured paper around the edges of the black card to neaten the sunburst design.
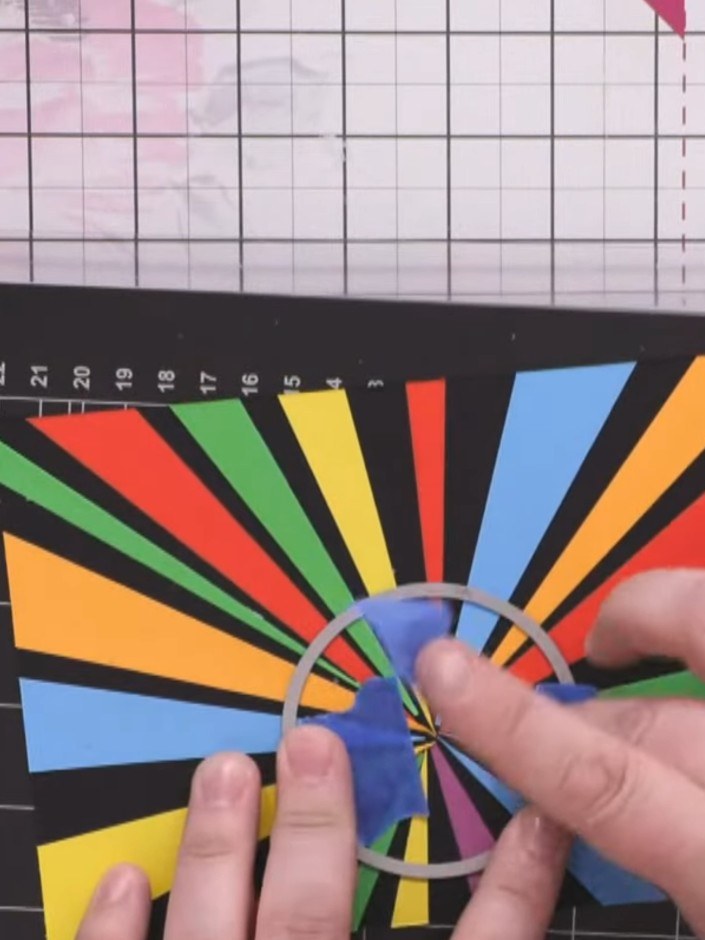 8
Use a circle die to cut out the centre of the sunburst design. This creates a neat circular frame and hides the messy inner edges where the coloured strips meet.
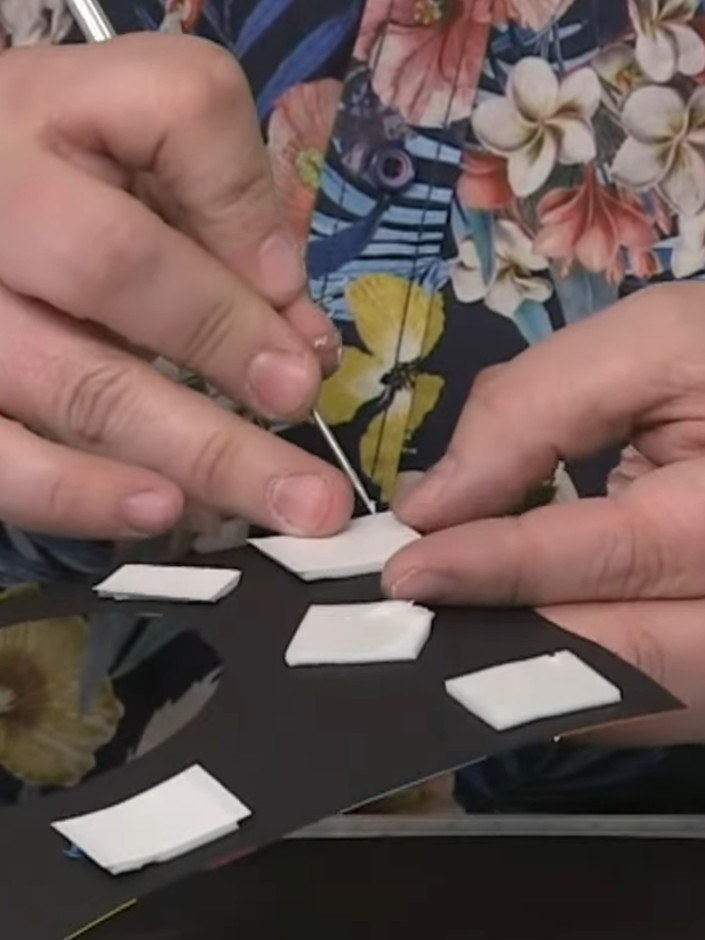 9
Mount the trimmed sunburst panel onto your black card blank using foam pads for dimension. Position the panel centrally on the card base, ensuring even spacing around all edges.
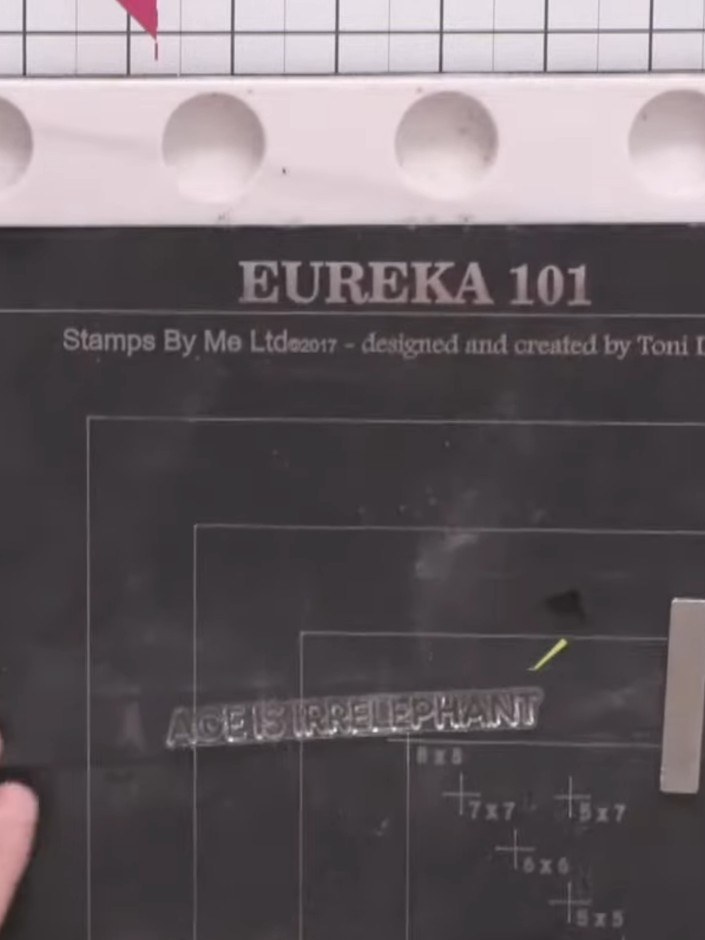 10
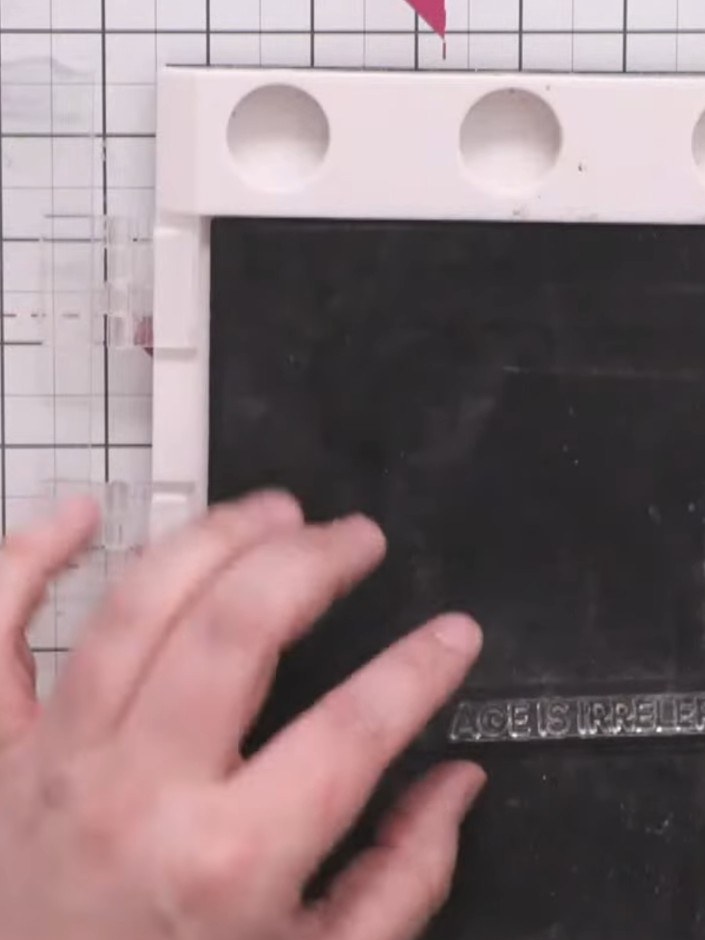
Stamp your chosen sentiment onto a contrasting strip of card using an embossing ink pad. Position the stamp carefully on the strip to ensure it is centred.
 11
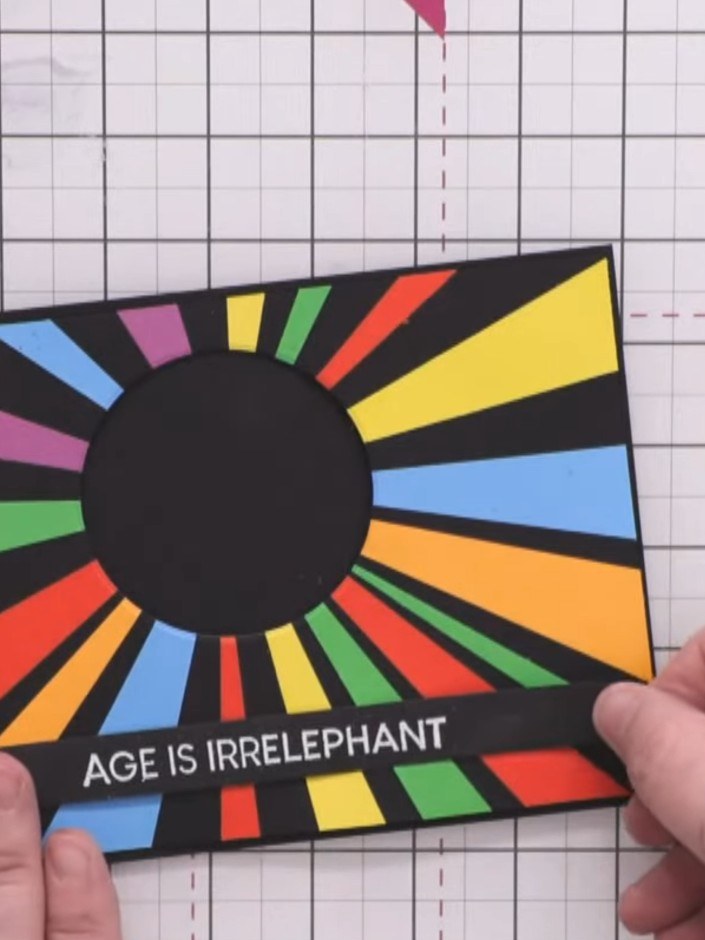
Cover the stamped sentiment with white embossing powder and tap away the excess. Heat-emboss the powder to create a crisp, raised white finish on the black cardstock.
 12
Position the embossed sentiment strip reading 'AGE IS IRRELEPHANT' across the bottom of the card front. Adhere it in place using glue to secure it straight across.
 13
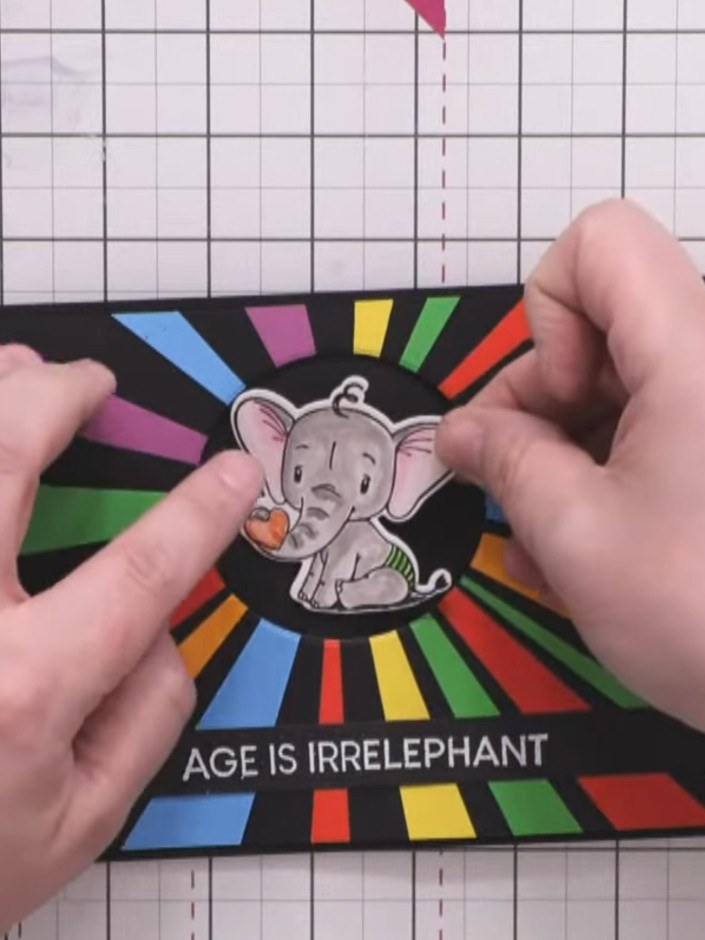
Mount the pre-coloured elephant character in the centre circle using a foam pad to add dimension.
 14
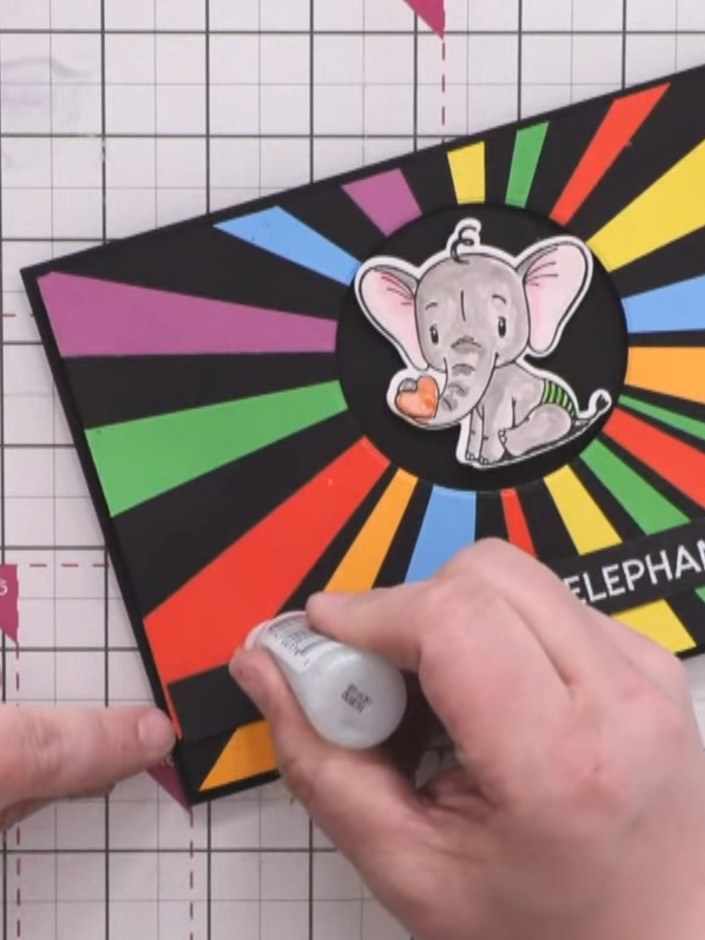
Apply glitter glue along the edges of the coloured triangles to add sparkle and definition to the sunburst design. Work your way around the card, adding glue wherever you wish to create extra dimension.
Partagez votre création avec la communauté Stamps By Me - et gardez ce tutoriel pour la prochaine fois.
Rédigé à partir de l’émission elle-même. Tous les tutoriels de nos émissions · tutoriels gratuits · en direct sur My Telly · l’ancienne présentation