Offrez à vos amis 10 $ de remise sur leur première commande !
Parrainez un AMI








 The Thursday DropDemain 13 h 00
 The Friday Final Cutven. 6 nov. 5 h 00
 Community Showcaselun. 9 nov. 5 h 00
Les prix sont mis à jour immédiatement. Chaque langue est notre propre traduction, pas Google.
Un projet de notre émission en direct QUATTRO-D ATELIER GRATUIT - Retrouvez Toni pour un moment RIEN QU'À VOUS, à la découverte du merveilleux univers de Q-D - Diffusion : 24 août 22 · 08/24/2022 · à voir dès 24:00
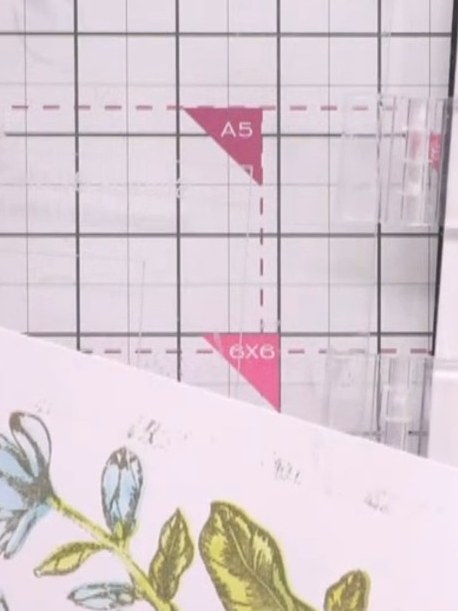
Create an elegant magnolia card featuring delicate floral imagery with soft, layered colours and luxurious gold embossed details. Using Quattro-D stencils and distress oxide inks, you'll build up ghosted layers in gentle greens and blues for a sophisticated, dimensional finish. This refined design combines subtle colour transitions with metallic accents for a truly beautiful result.
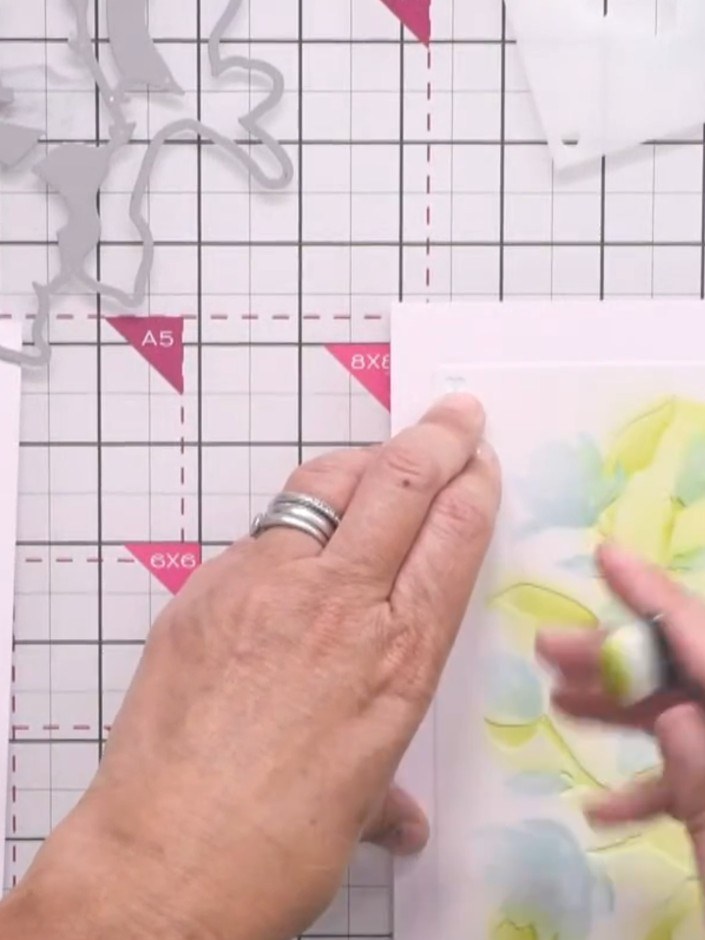
Position the first magnolia stencil layer over your card base. Apply salvage patina distress oxide ink through the stencil using a blending brush, building up the colour gradually.
▶ voir cette étape (24:30)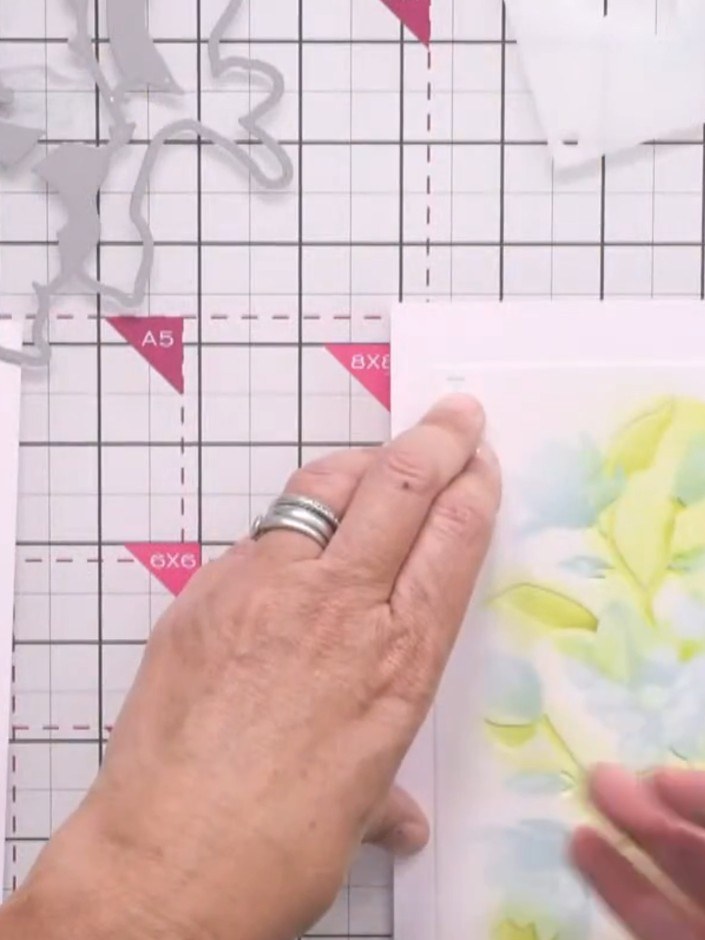
Apply ink to the floral design using a soft, ghosting technique. Build up the colour gradually by applying the ink very lightly in layers rather than heavily all at once.
▶ voir cette étape (25:00)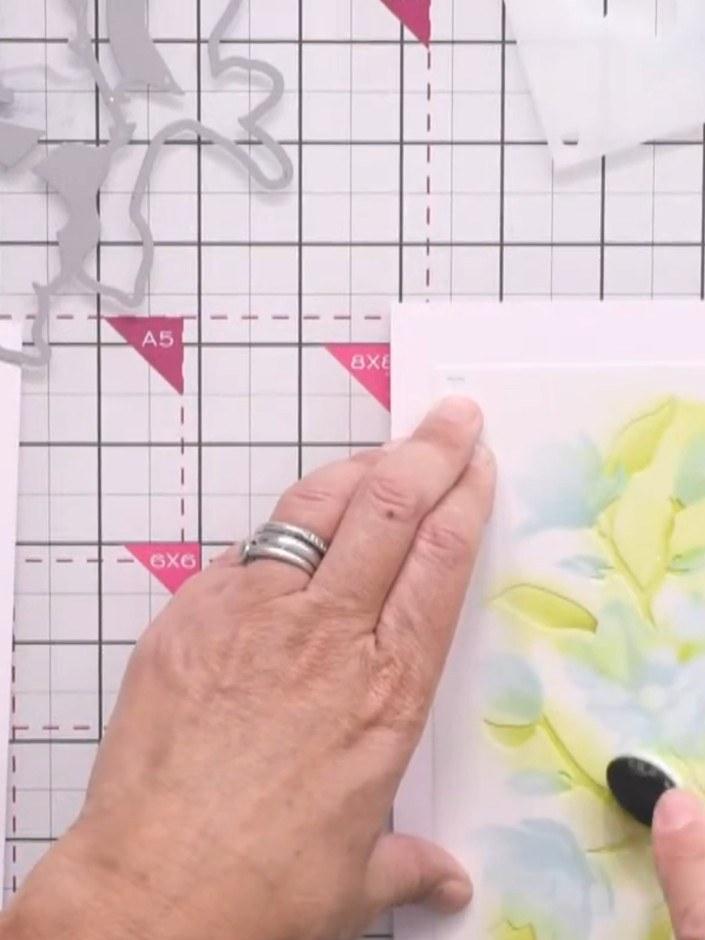
Position the second stencil layer over your card and apply Peacock Feathers Distress Oxide ink using a soft blending motion. The underneath layer is already protected by the stencil.
▶ voir cette étape (25:30)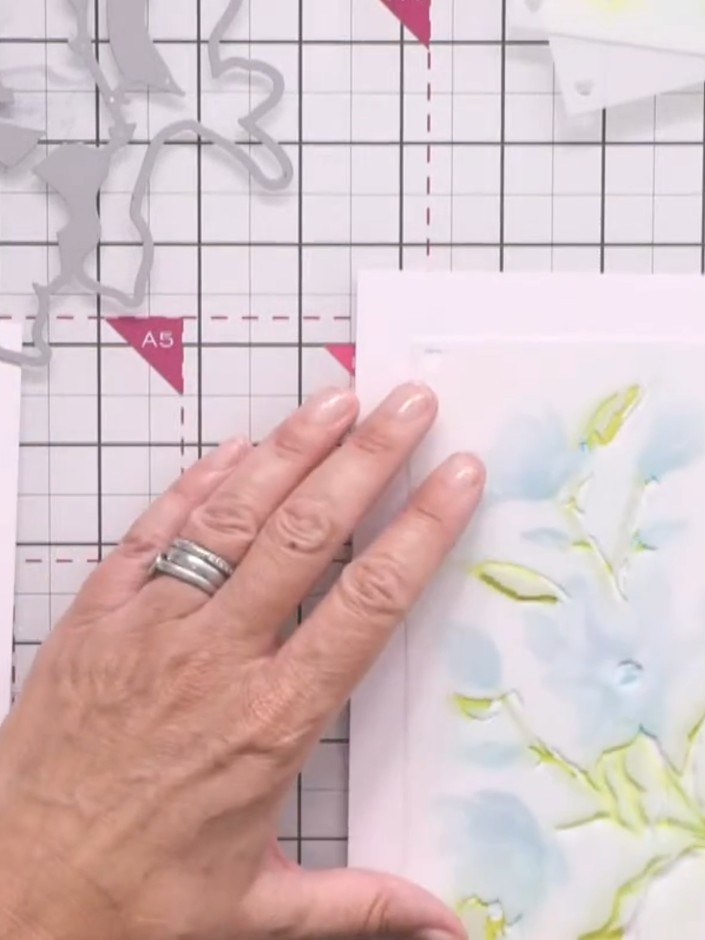
Apply the third layer of colour using crushed olive distress oxide ink through the stencil. This creates a subtle yellowy-green tone on the floral design.
▶ voir cette étape (26:00)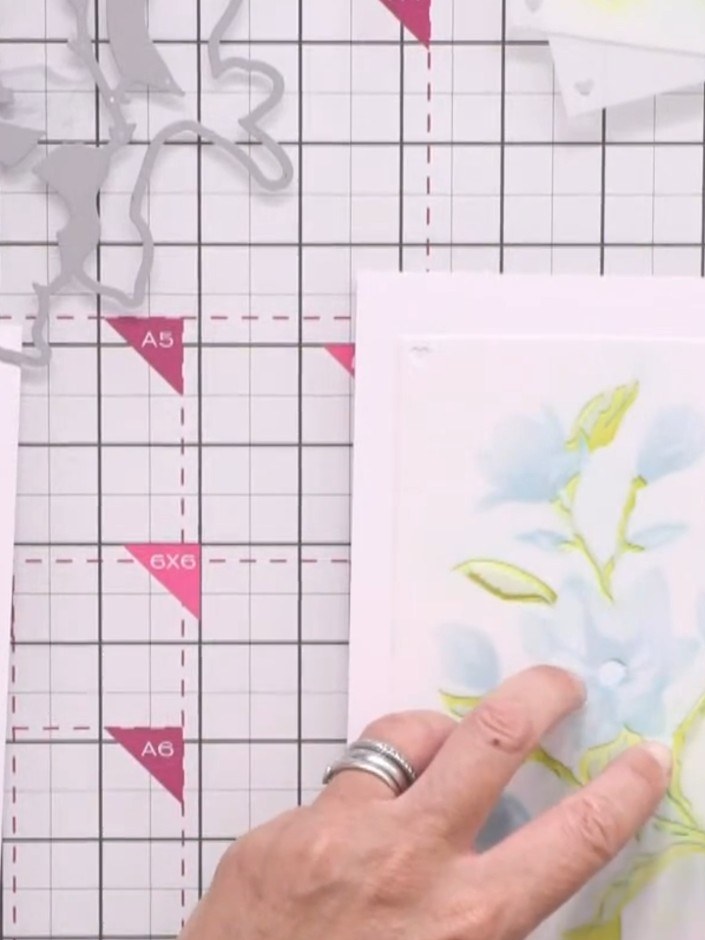
Apply the fourth stencil layer using peeled paint distress oxide ink to add final shading and depth to the magnolia design. Gently dab the ink through the stencil to build up the darker tones and create dimension.
▶ voir cette étape (26:30)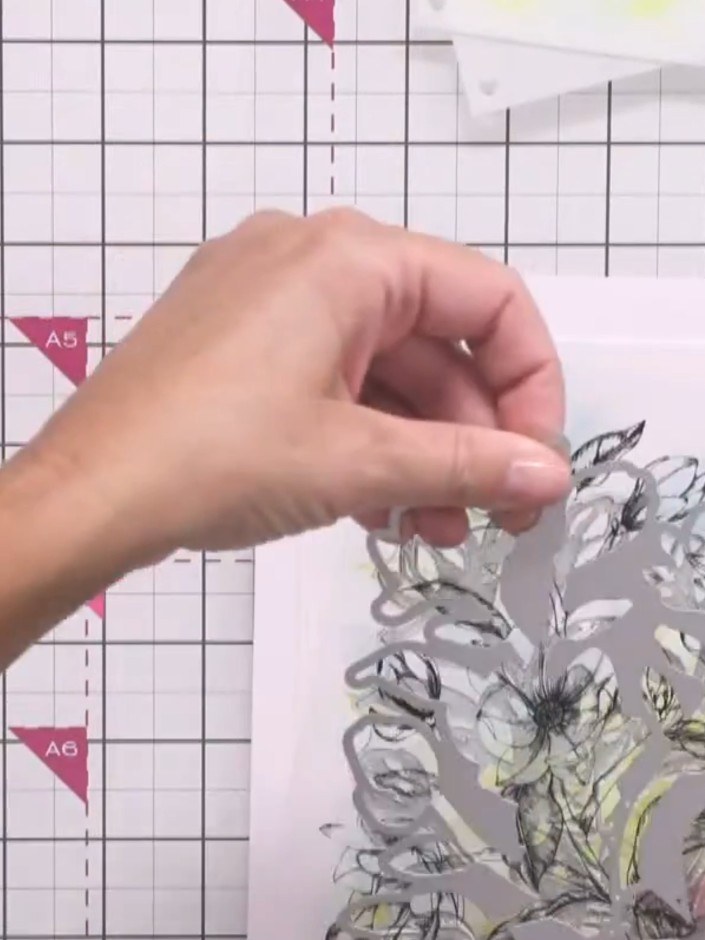
Stamp the magnolia image onto your card using black embossing ink. Position the stamp over your stencilled floral design to create a detailed outline.
▶ voir cette étape (27:00)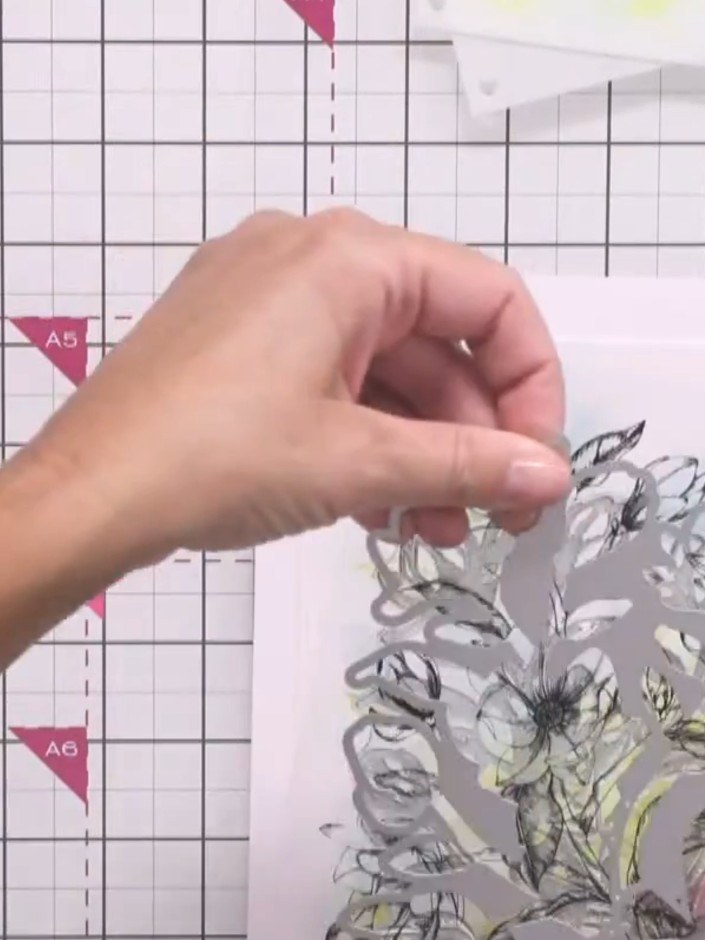
Heat-set the stamped magnolia image using gold embossing powder. Apply heat to melt the powder and create a raised, sparkly finish that brings out the design details.
▶ voir cette étape (27:30)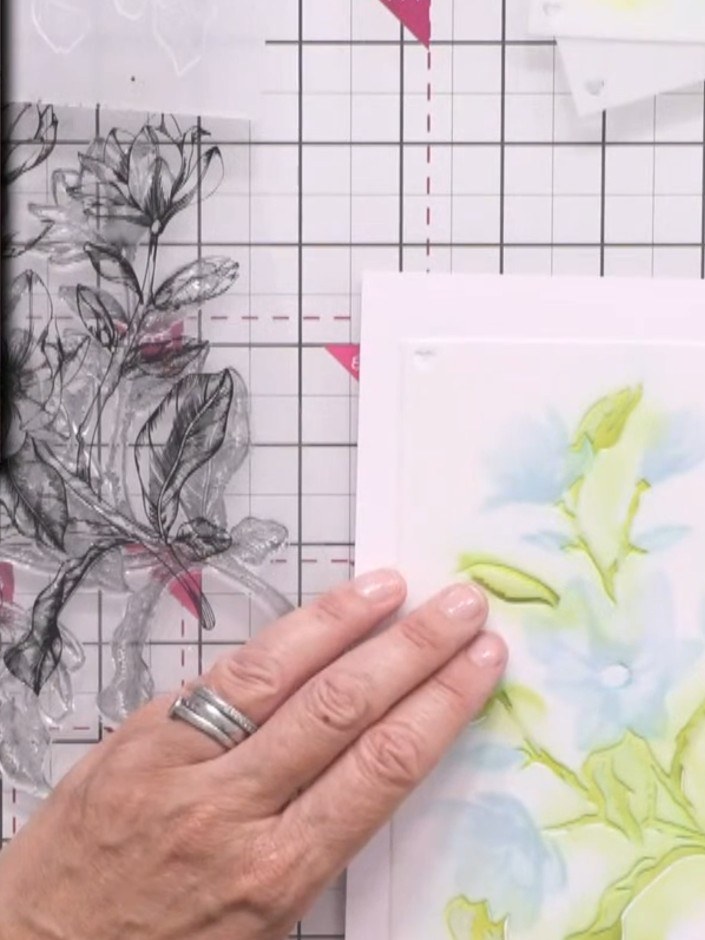
Once the embossing powder has cooled completely, you can either die-cut around the magnolia image or carefully snip out individual flower heads with scissors. These cut-out elements can then be used for dimensional layering on your card.
▶ voir cette étape (28:00)Rédigé à partir de l'émission elle-même. Découvrez tous les guides de nos émissions · tutoriels gratuits · regarder en direct sur My Telly
