Offrez à vos amis 10 $ de remise sur leur première commande !
Parrainez un AMI








 The Friday Final CutDemain 5 h 00
 Community Showcaselun. 9 nov. 5 h 00
 Hobbymaker TVlun. 9 nov. 9 h 00
Les prix sont mis à jour immédiatement. Chaque langue est notre propre traduction, pas Google.
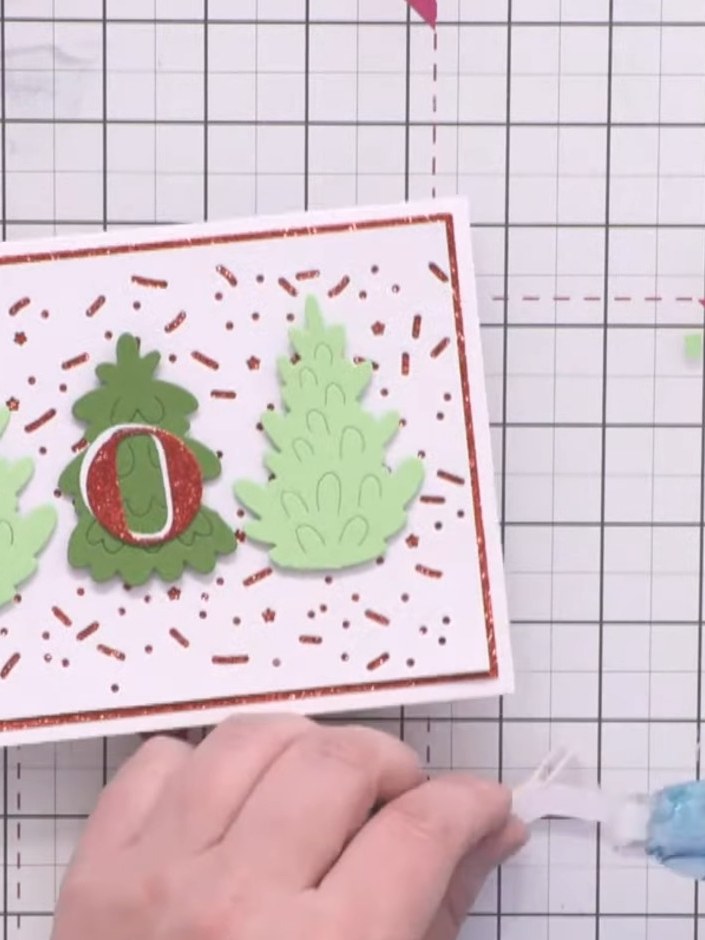
Une création de notre émission en direct MONDAY MADNESS - Rejoignez Simon d'AVAGO-INK pour sa dernière émission avant Noël - Diffusion du 12 déc. 22 · 12/12/2022
Réalisez une carte de Noël festive au design sobre et tout simple, avec trois sapins découpés dans différentes nuances de vert. Les sapins sont montés sur un panneau de papier cartonné blanc décoré d'un joyeux fond Sprinkle, lui-même superposé sur du papier cartonné pailleté rouge pour encore plus d'éclat. Pour finir, ajoutez un grand message « JOY » composé de lettres pailletées rouges et blanches superposées.
 1
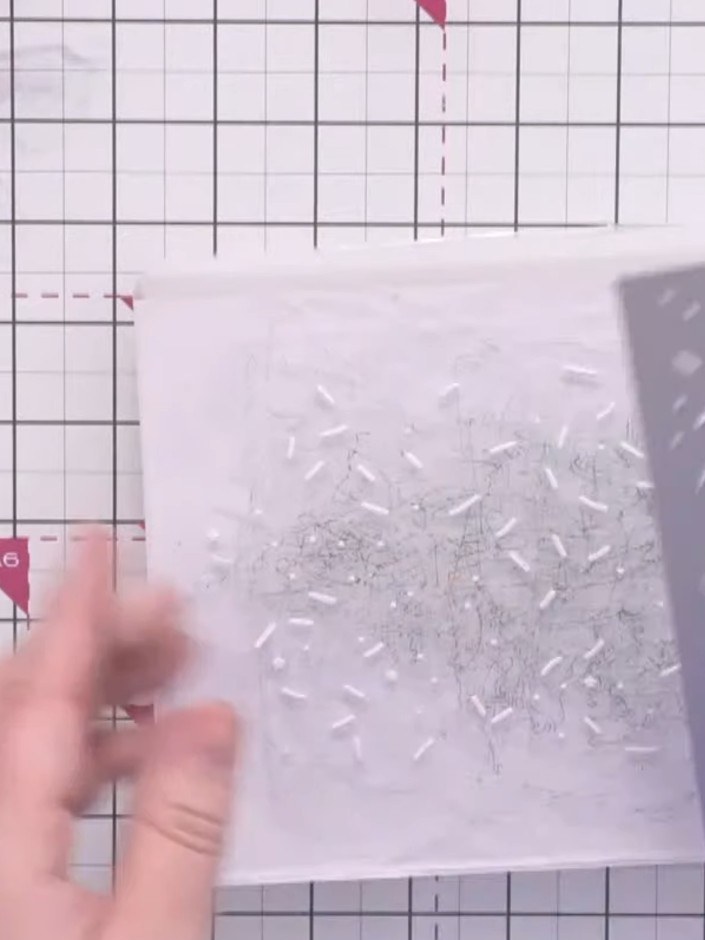
Die-cut the sprinkle background from white card using the A5 Sweet Sprinkles die, which features stars, sprinkles and dots creating a scattered pattern across the card.
 2
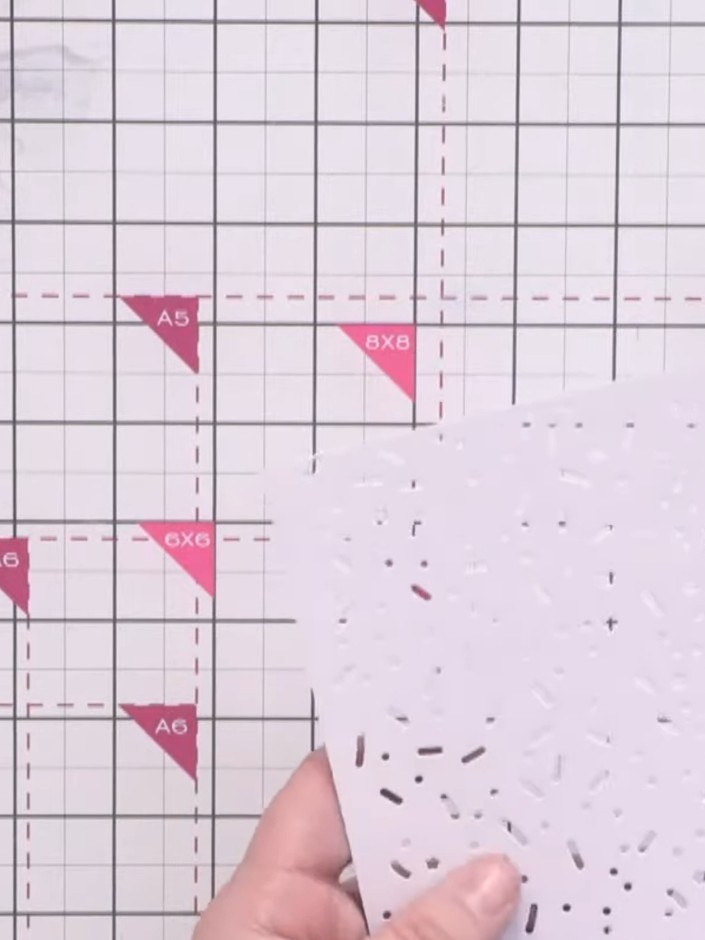
Brush away the small die-cut pieces from the sprinkle background die. Use a poker tool to release any stubborn offcuts from the die-cut card.
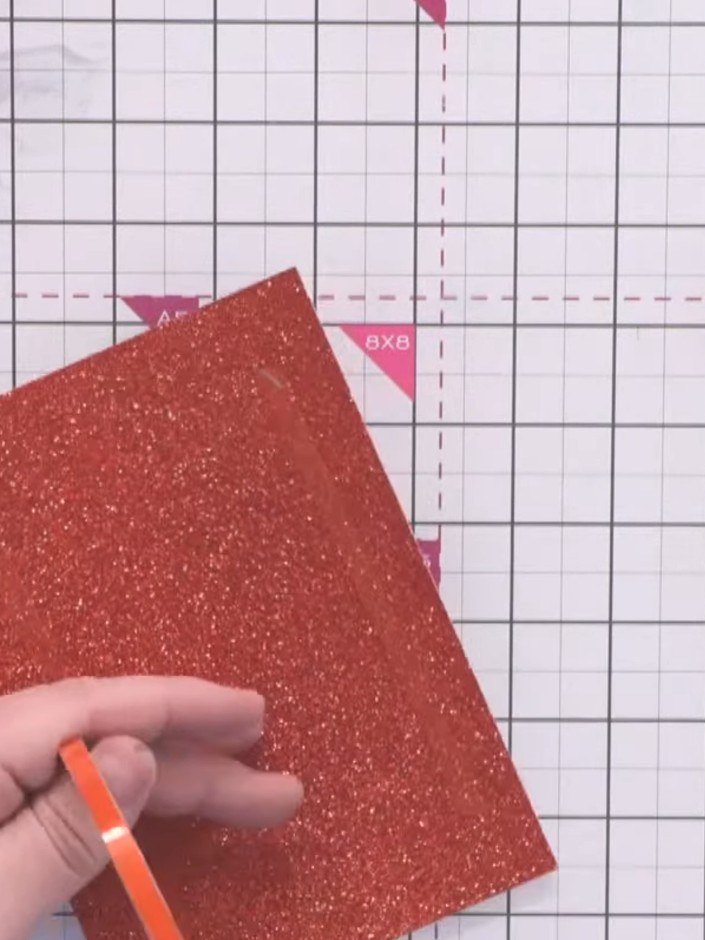 3
Mount the sprinkle background onto red glitter card using red line tape, positioning it centrally.
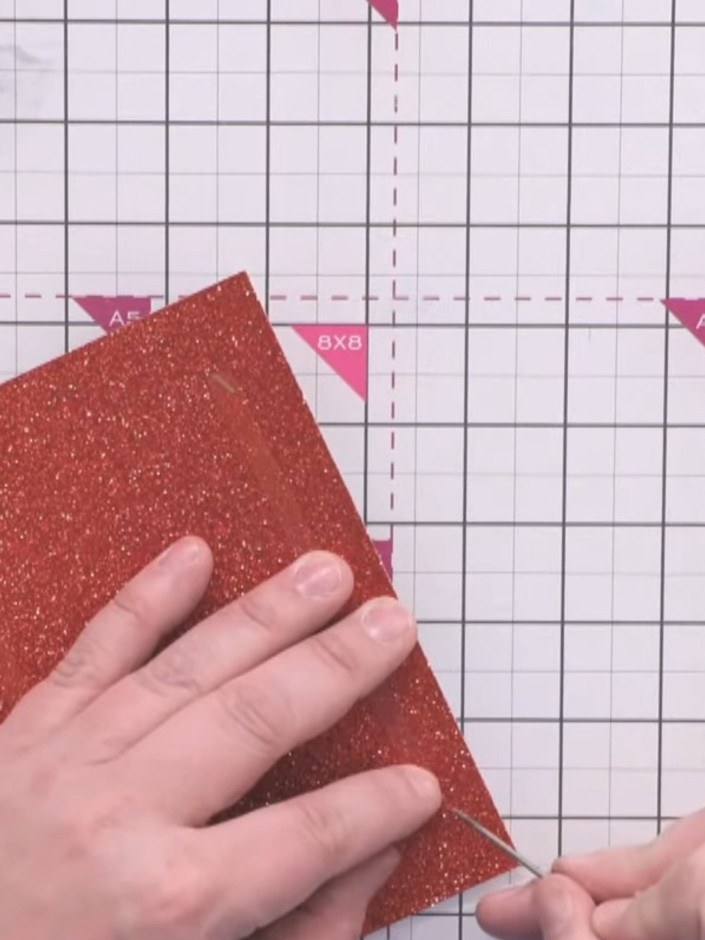 4
Attach the red glitter card layer onto your white card blank, positioning it centrally.
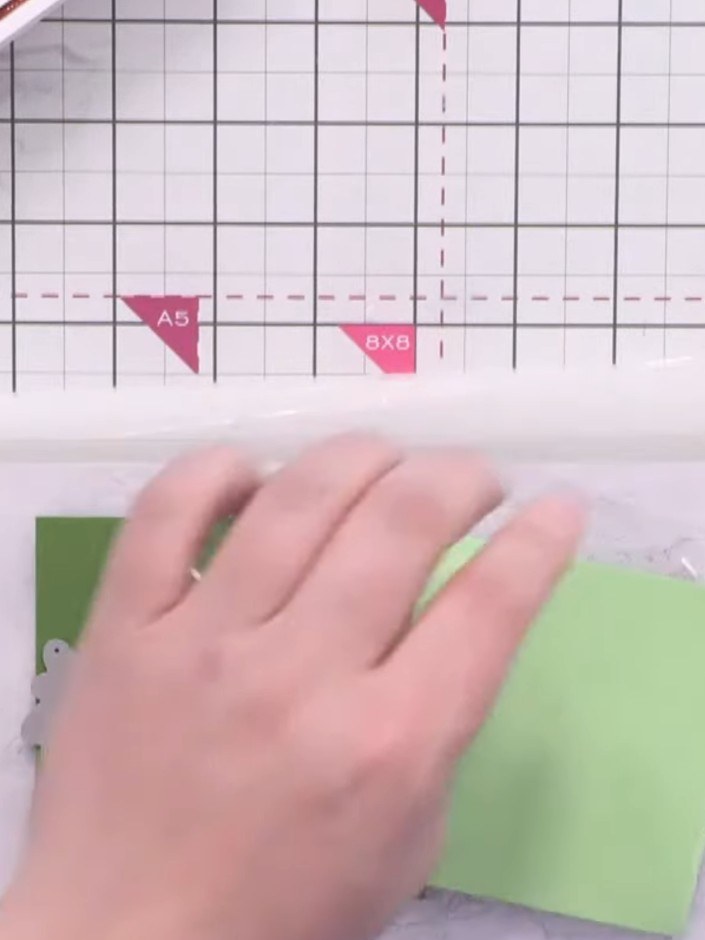 5
Die-cut one tree from dark green textured card using the terrific trees die.
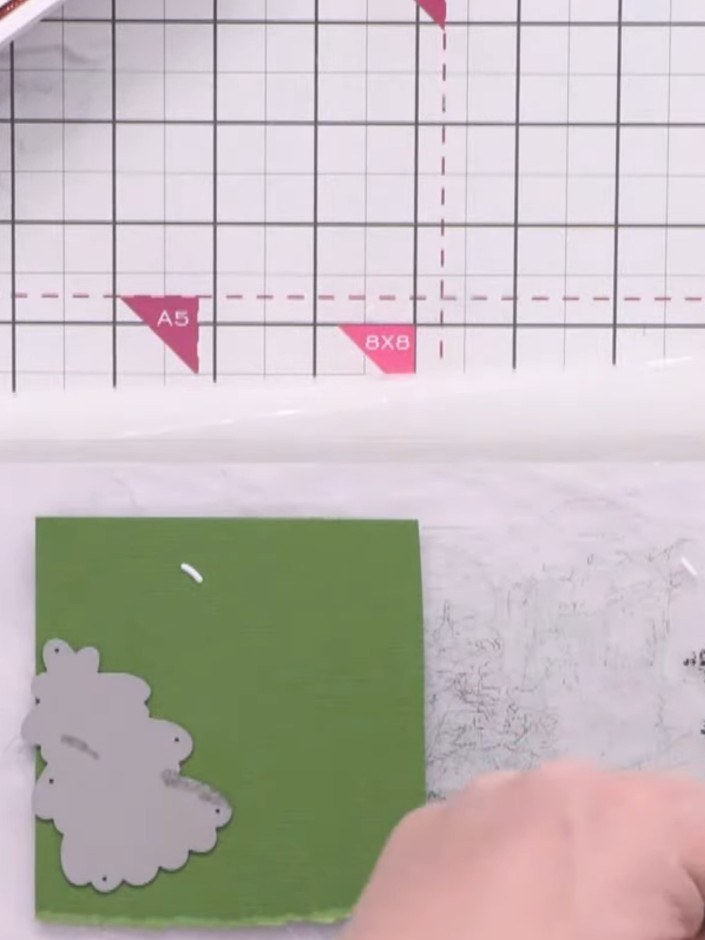 6
Die-cut two trees from light green textured card using the Terrific Trees die.
 7
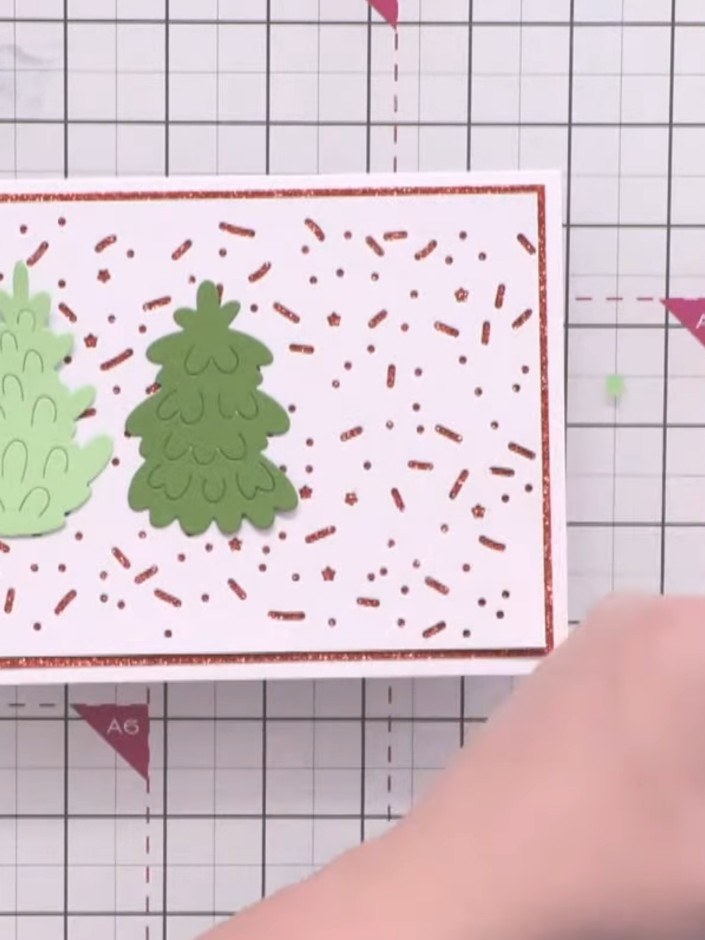
Trim the lighter green trees to a similar height. Gently curl the trees to give them shape and dimension.
 8
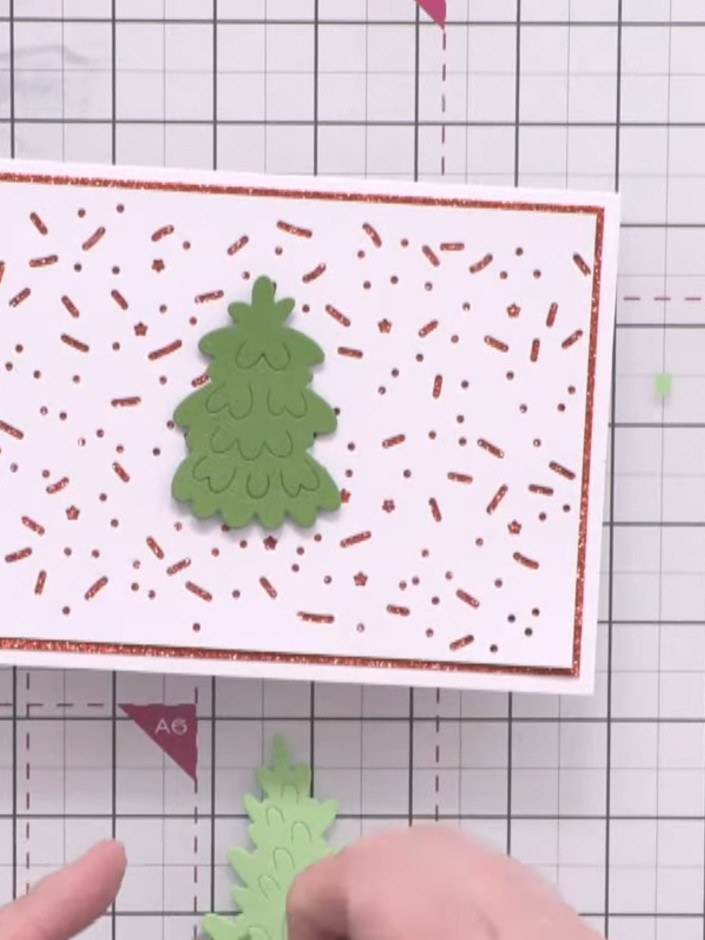
Attach the dark green tree in the centre of the card using foam pads. Position the two lighter green trees on either side of the centre tree.
Die-cut the 'Joy' sentiment from red glitter card using the Joy die.
Die-cut the word 'Joy' from white card using the Joy die set. This will create a layered effect when added to the card.
 11
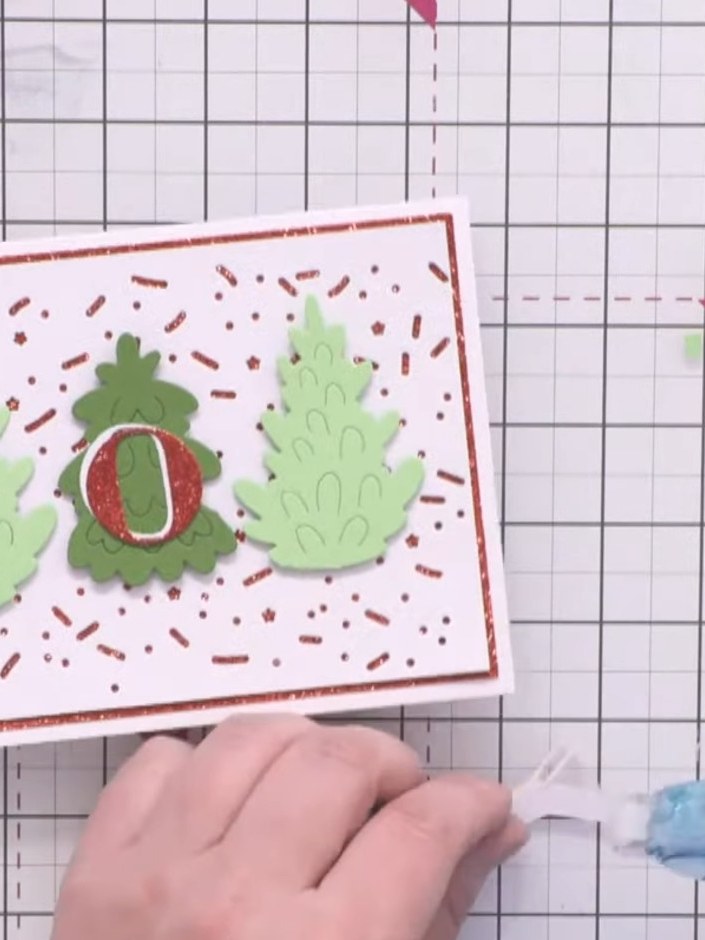
Position the white 'Joy' sentiment slightly offset towards the top and left of the red glitter 'Joy' layer to create a shadow effect.
Position and adhere the layered 'Joy' sentiment above the three trees to complete your card design.
Partagez votre création avec la communauté Stamps By Me - et gardez ce tutoriel pour la prochaine fois.
Rédigé à partir de l’émission elle-même. Tous les tutoriels de nos émissions · tutoriels gratuits · en direct sur My Telly · l’ancienne présentation