Offrez à vos amis 10 $ de remise sur leur première commande !
Parrainez un AMI








 The Friday Final Cutven. 6 nov. 5 h 00
 Community Showcaselun. 9 nov. 5 h 00
 Hobbymaker TVlun. 9 nov. 9 h 00
Les prix sont mis à jour immédiatement. Chaque langue est notre propre traduction, pas Google.
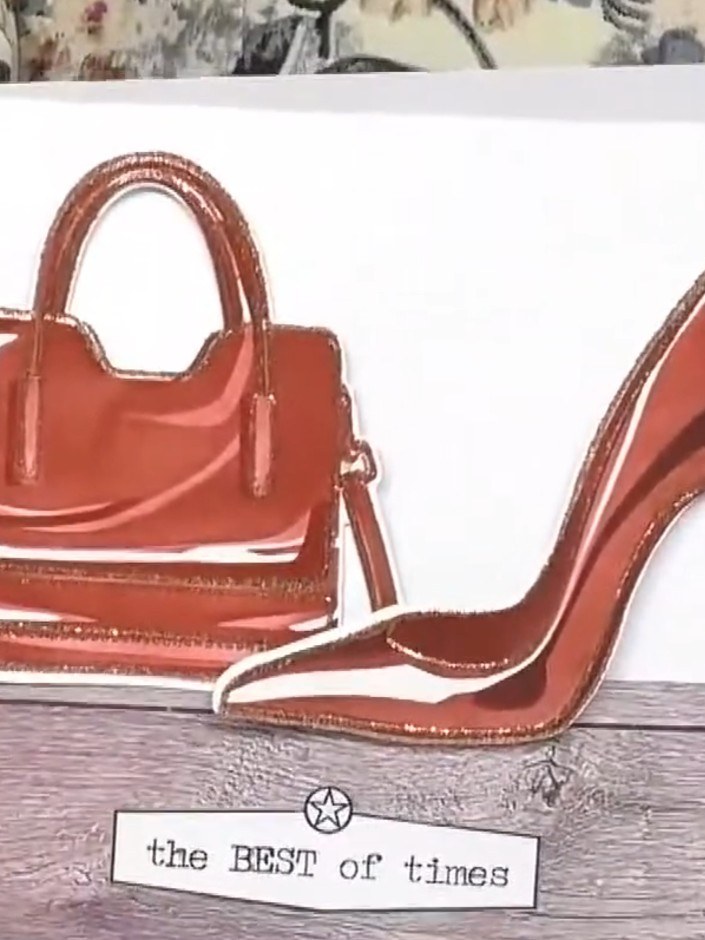
Une création de notre émission en direct Émission Create and Craft du 1er MARS 23 - Rejoignez Toni pour découvrir ses nouveautés et ses idées - émission 3 · 03/01/2023
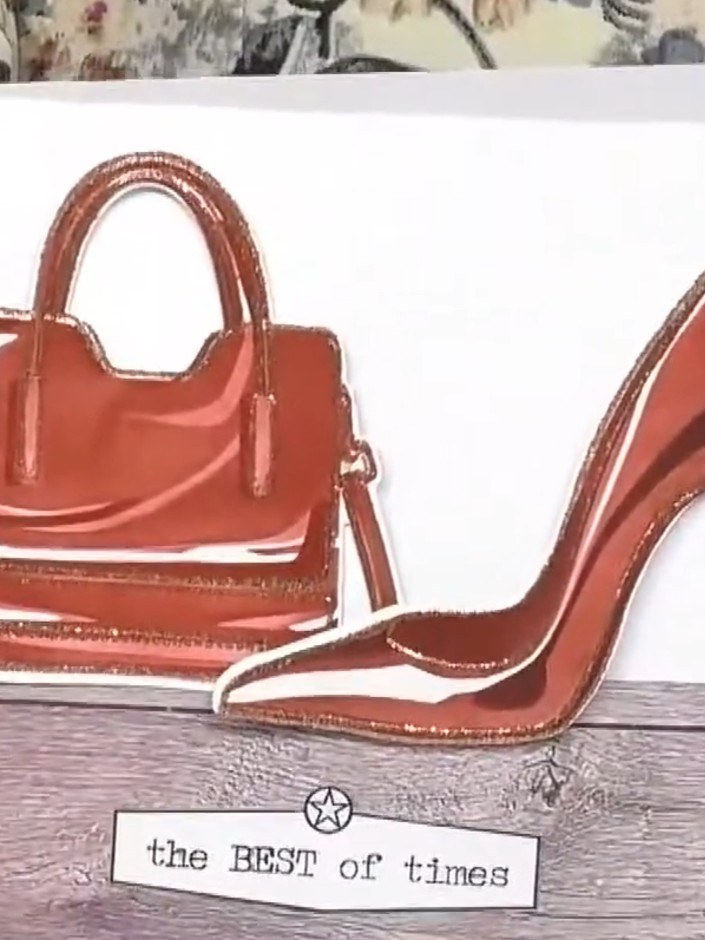
Réalisez une carte vitrine de boutique pleine de style, avec une composition de sac à main aux tons corail sur un fond effet bois. Cette élégante création met en scène des accessoires de mode tamponnés et découpés, disposés comme sur l'étagère d'une boutique de luxe. Ce projet associe superposition, découpe et tamponnage pour créer des embellissements en relief à la finition raffinée.
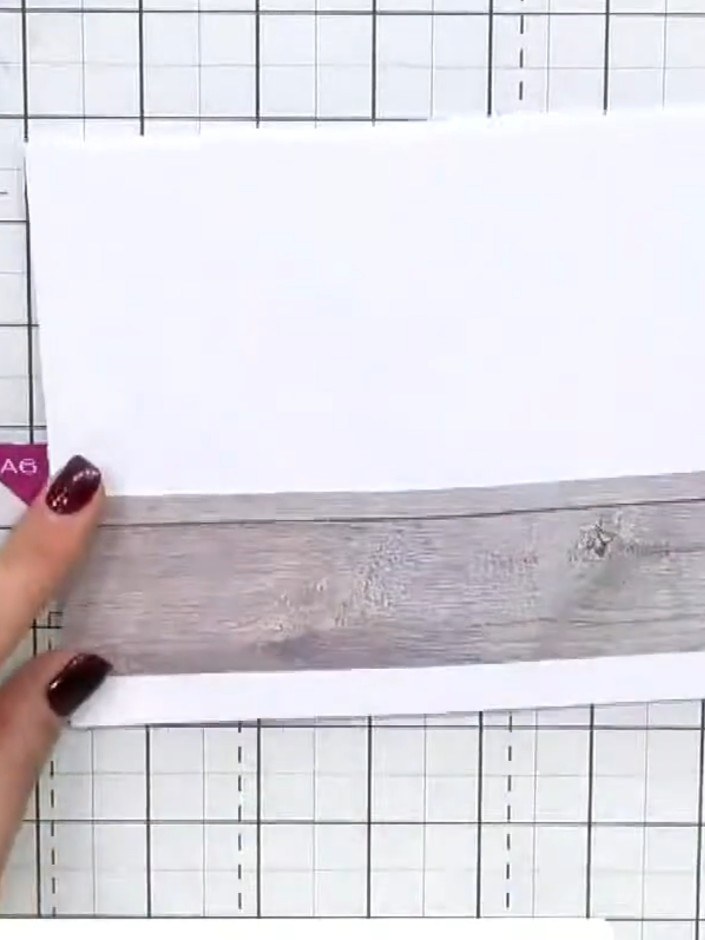 1
Create a side-fold card base from white cardstock. Cut a piece of wood-panel patterned paper and adhere it to the front of the card to represent a shop shelf.
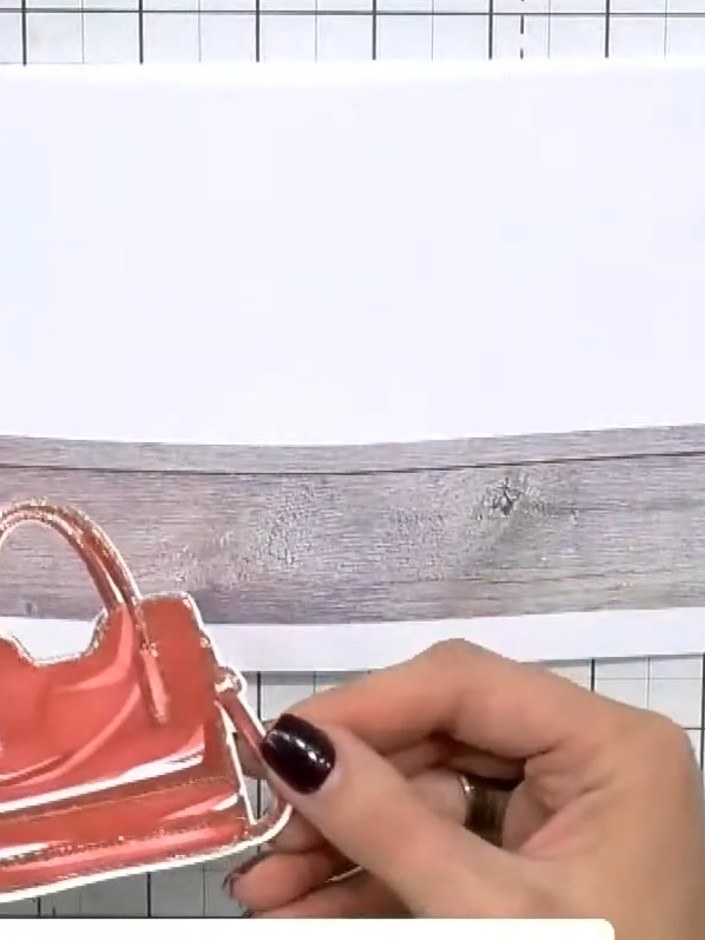 2
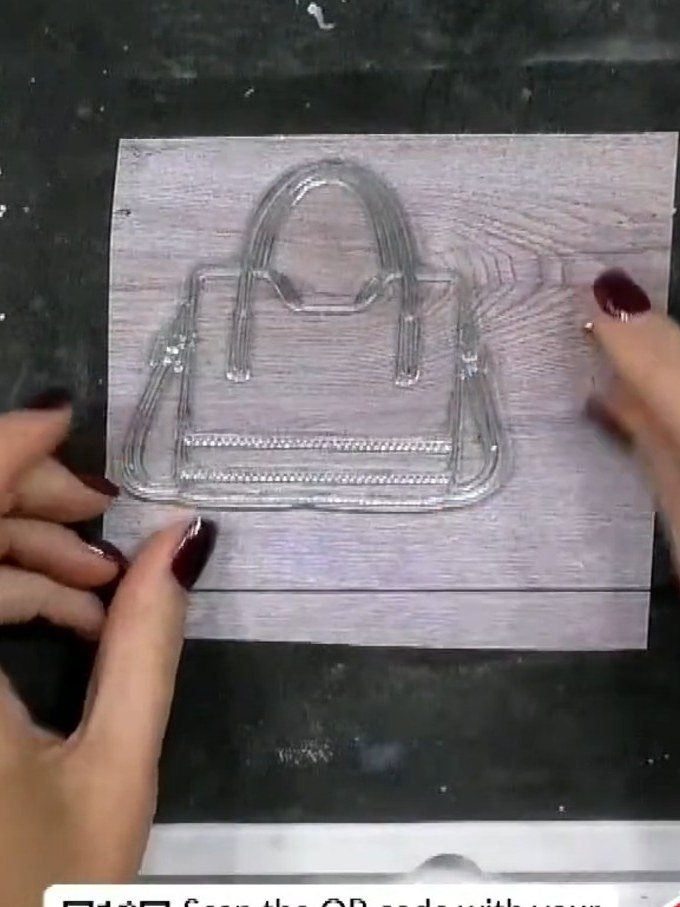
Position your completed sparkly handbag embellishment flat on the wooden shelf paper, arranging it centrally on the display.
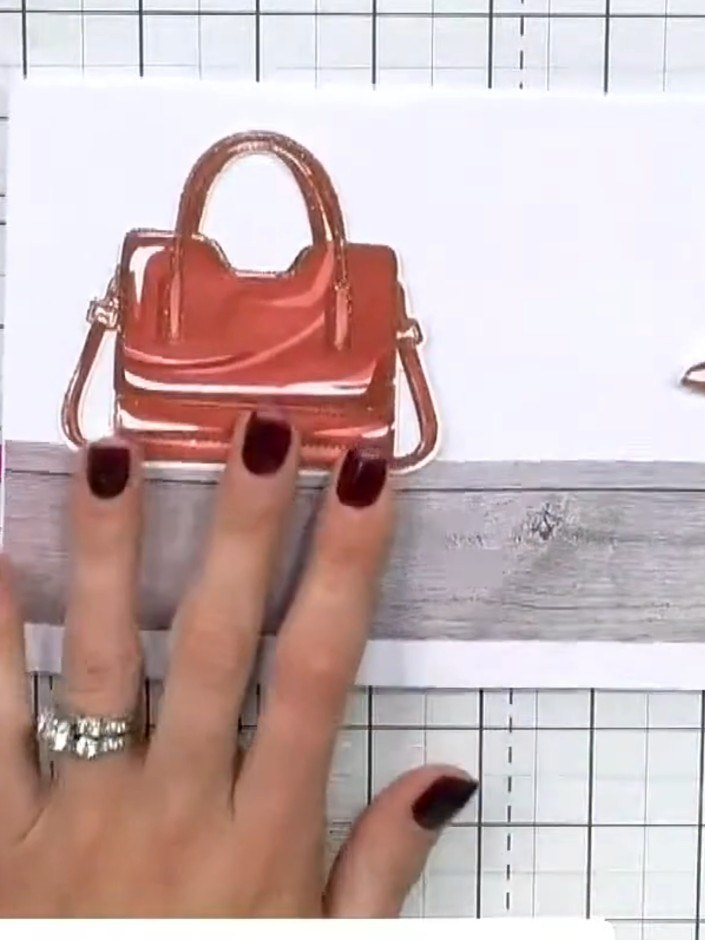 3
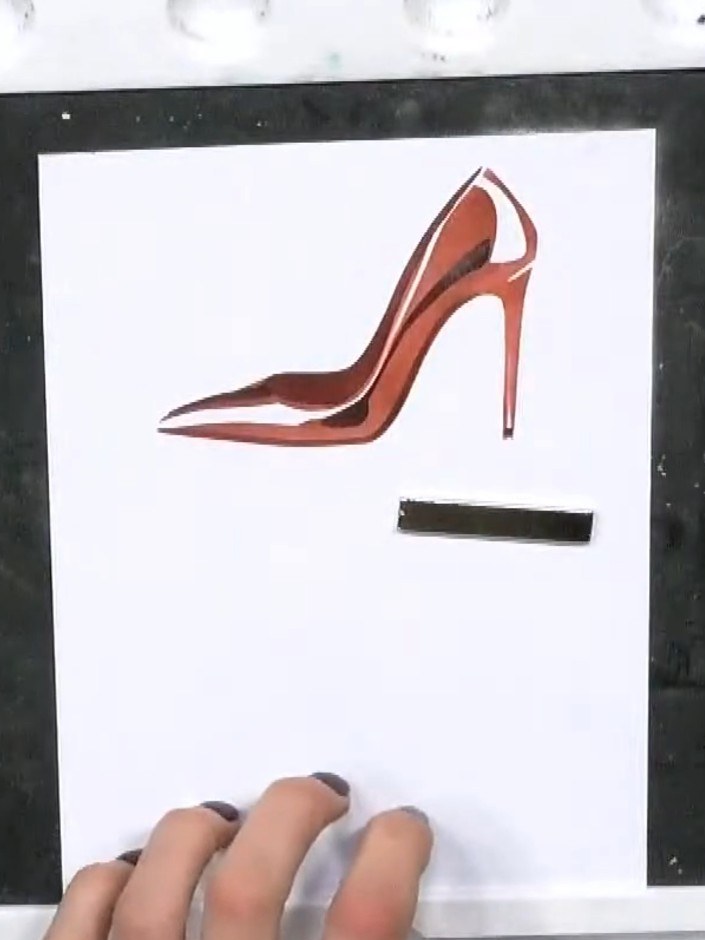
Position your completed shoe embellishments next to the handbag on the shelf panel, arranging them as if they are displayed on a shop shelf.
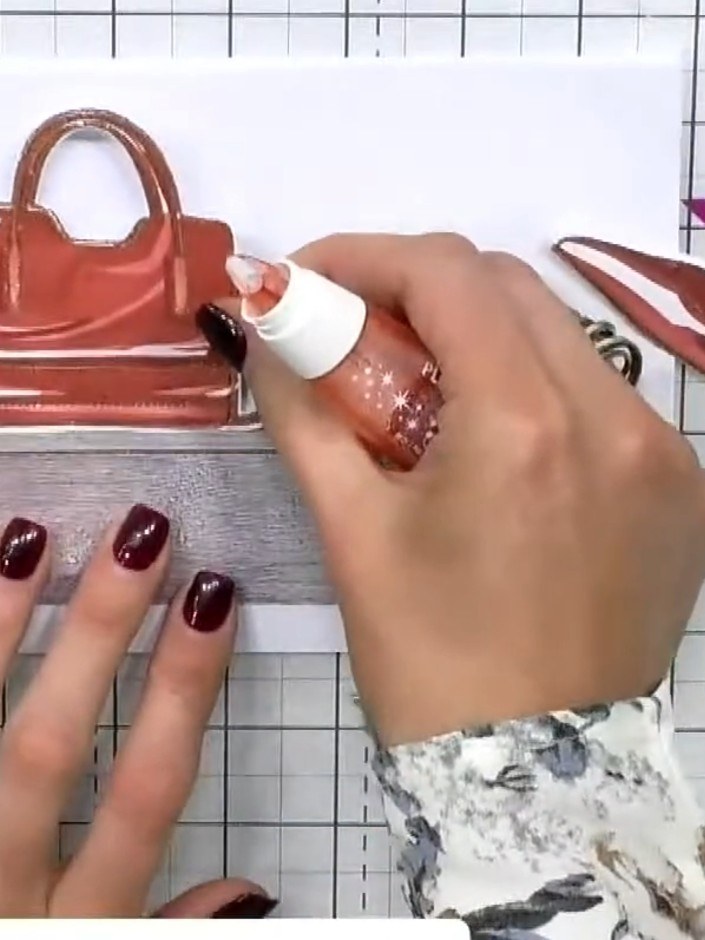 4
Apply glitter glue to the handbag to add sparkle. Use appropriate adhesive to attach all stamped and coloured embellishments (handbag, shoe, and sentiment tag) to the card base.
 5
Add a sentiment label to the bottom of the card. The example shows 'the BEST of times' placed centrally beneath the handbag and shoe design to complete the display card.
Partagez votre création avec la communauté Stamps By Me - et gardez ce tutoriel pour la prochaine fois.
Rédigé à partir de l’émission elle-même. Tous les tutoriels de nos émissions · tutoriels gratuits · en direct sur My Telly · l’ancienne présentation