Étape 1 sur 6
Take one of the 5 x 7 card blanks from the kit and score on the 7 inch side at 3 1/2’ .








 The Friday Final Cutven. 6 nov. 5 h 00
 Community Showcaselun. 9 nov. 5 h 00
 Hobbymaker TVlun. 9 nov. 9 h 00
Les prix sont mis à jour immédiatement. Chaque langue est notre propre traduction, pas Google.
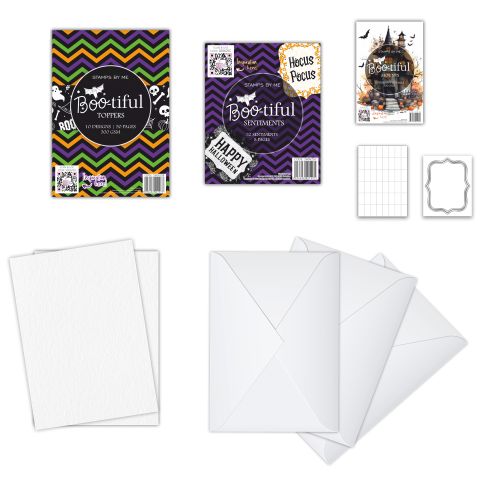 Stamps By Me - Bootiful KitBootiful Kit39,99 $ACHETER✓ AJOUTÉ
Take one of the 5 x 7 card blanks from the kit and score on the 7 inch side at 3 1/2’ .
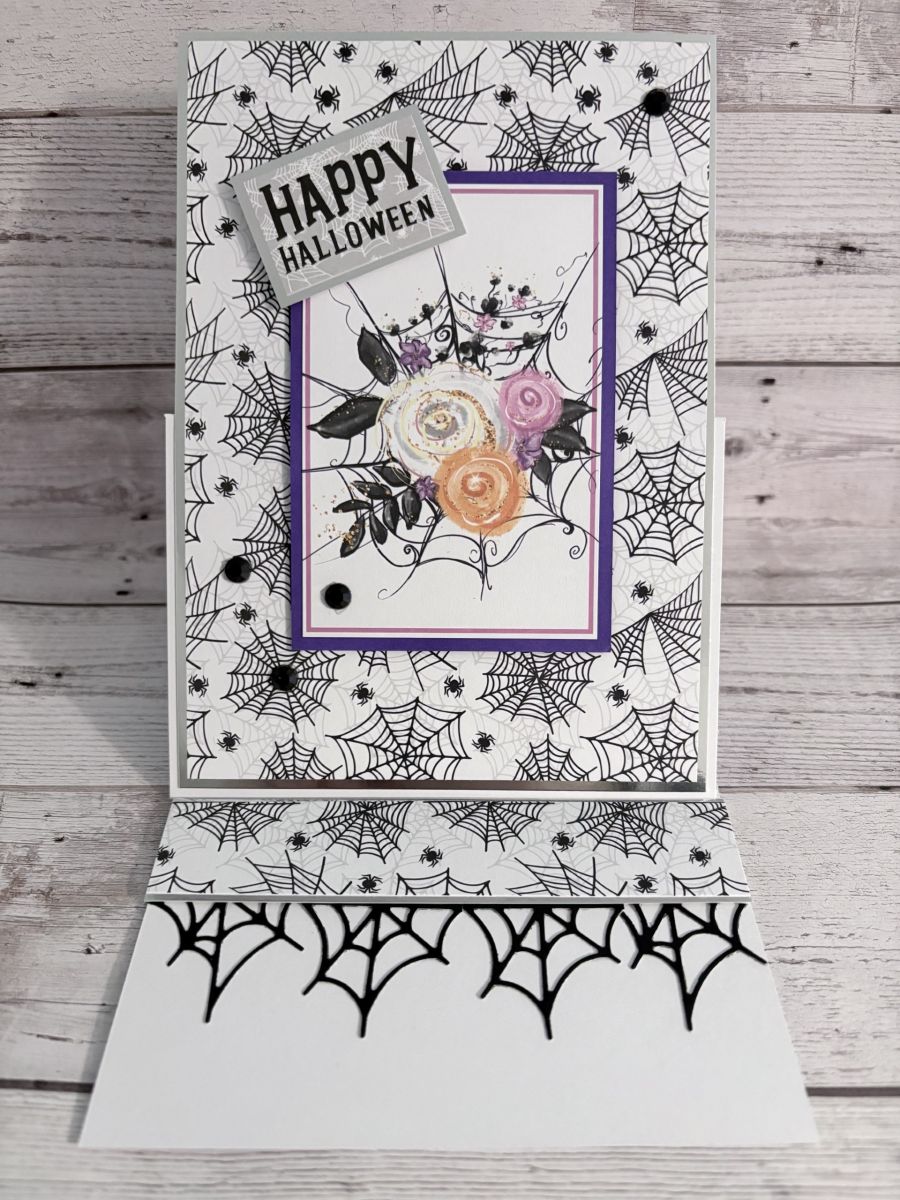
Choose a topper from the kit and mount on a piece of silver Mirri card, measuring 6 6/8 x 4 7/8. Then add your chosen mount and adhere to a piece of purple card measuring 4 1/4 x 2 7/8.
Adhere the topper to the front of the card blank, taking care to only add glue to the BOTTOM section, BELOW the scoreline. This creates the easel. Add the small mount using foam pads. Add your chosen sentiment.
Take the web from the Jasper, Matilda & Luna die set and die cut two from black card. Then cut both in half. Alternatively, you can use any halloween dies you may have in your crafty stash. If you don't have any, you can miss out this step.
Glue the die cuts just under the strip on the inside of the card. Finally add a few black gems and your easel card is complete.
Partagez votre création avec la communauté Stamps By Me - et gardez ce tutoriel pour la prochaine fois.
Vous préférez l’ancienne présentation ? Ouvrir l’ancienne page.



