Étape 1 sur 7
You will need your trimmed-down Teal card blank, a cream 5 x 7" frame mount, clear acetate trimmed to 5 x 7" and this painted mount.








 The Friday Final Cutven. 6 nov. 5 h 00
 Community Showcaselun. 9 nov. 5 h 00
 Hobbymaker TVlun. 9 nov. 9 h 00
Les prix sont mis à jour immédiatement. Chaque langue est notre propre traduction, pas Google.
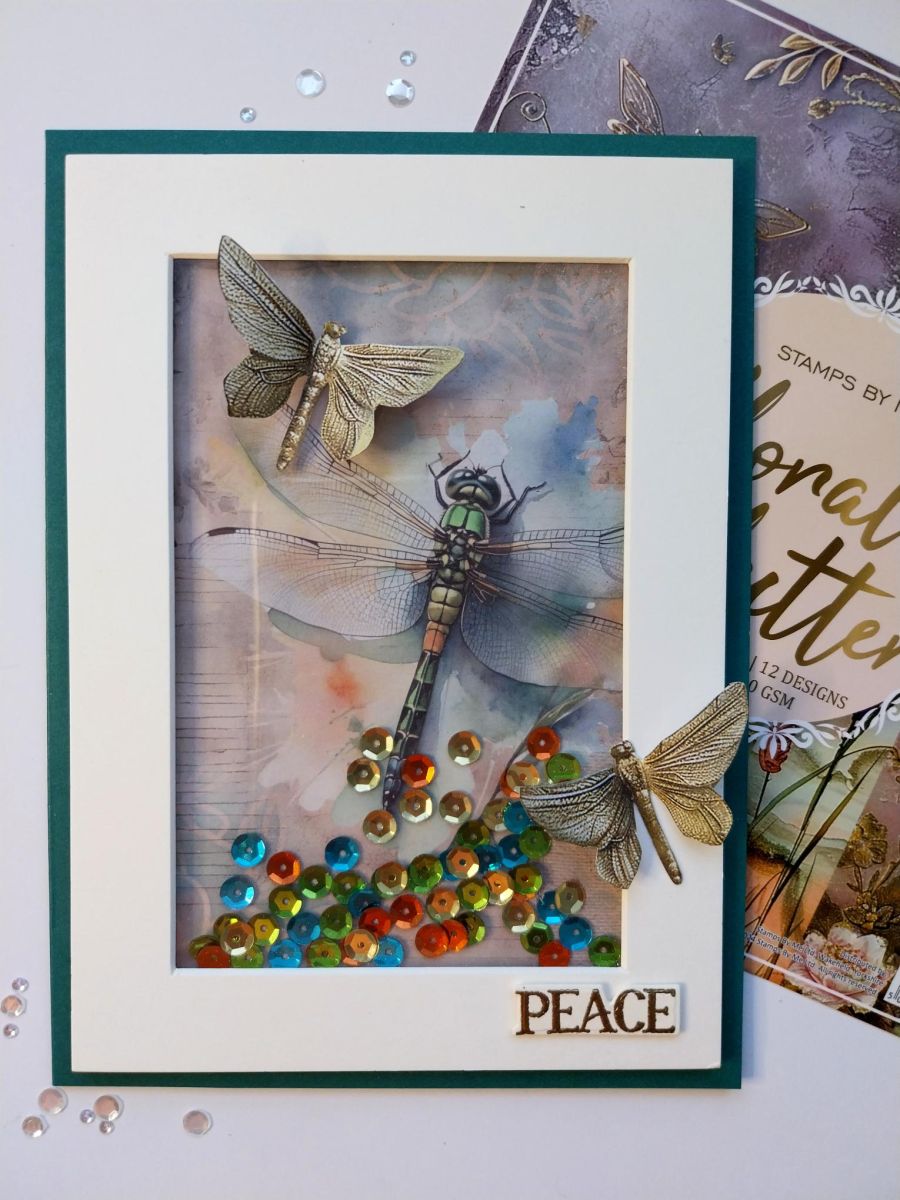
You will need your trimmed-down Teal card blank, a cream 5 x 7" frame mount, clear acetate trimmed to 5 x 7" and this painted mount.
Blend the Tiffany through the coordinating stencil in the collection, over random areas of the painted mount.
Adhere the clear acetate to the back of the cream frame, using red liner tape. Then adhere foam pads/tape around the edges of the frame, as shown here.
Wipe over the painted mount with your anti-static bag before putting your sequins in the middle area of the mount. Ensure they are spread out and laying flat, not bunched up together, so they will "shake" freely when you adhere the acetate frame over the top. You now have you "shaker" element!
Adhere this to the front of your Teal card blank.
Fussy cut some of the gilded butterflies/dragonflies from the decorative papers in the collection. I accentuated their wings using a touch of Gold Gilding Wax but this is purely optional.
Adere the butterflies/dragonflies onto your card where required.
On a scrap piece of cream card, stamp and heat emboss the sentiment with the Gold embossing powder then die-cut using the coordinating die. Adhere to the bottom right of your card to finish.
Partagez votre création avec la communauté Stamps By Me - et gardez ce tutoriel pour la prochaine fois.
Vous préférez l’ancienne présentation ? Ouvrir l’ancienne page.



