Étape 1 sur 7
Use the dies to cut out the flowers and leaves and assemble together with glue. You can die cut as many flowers as you want, depending on how full you want the flower to be.








 The Thursday DropDemain 13 h 00
 The Friday Final Cutven. 6 nov. 5 h 00
 Community Showcaselun. 9 nov. 5 h 00
Les prix sont mis à jour immédiatement. Chaque langue est notre propre traduction, pas Google.
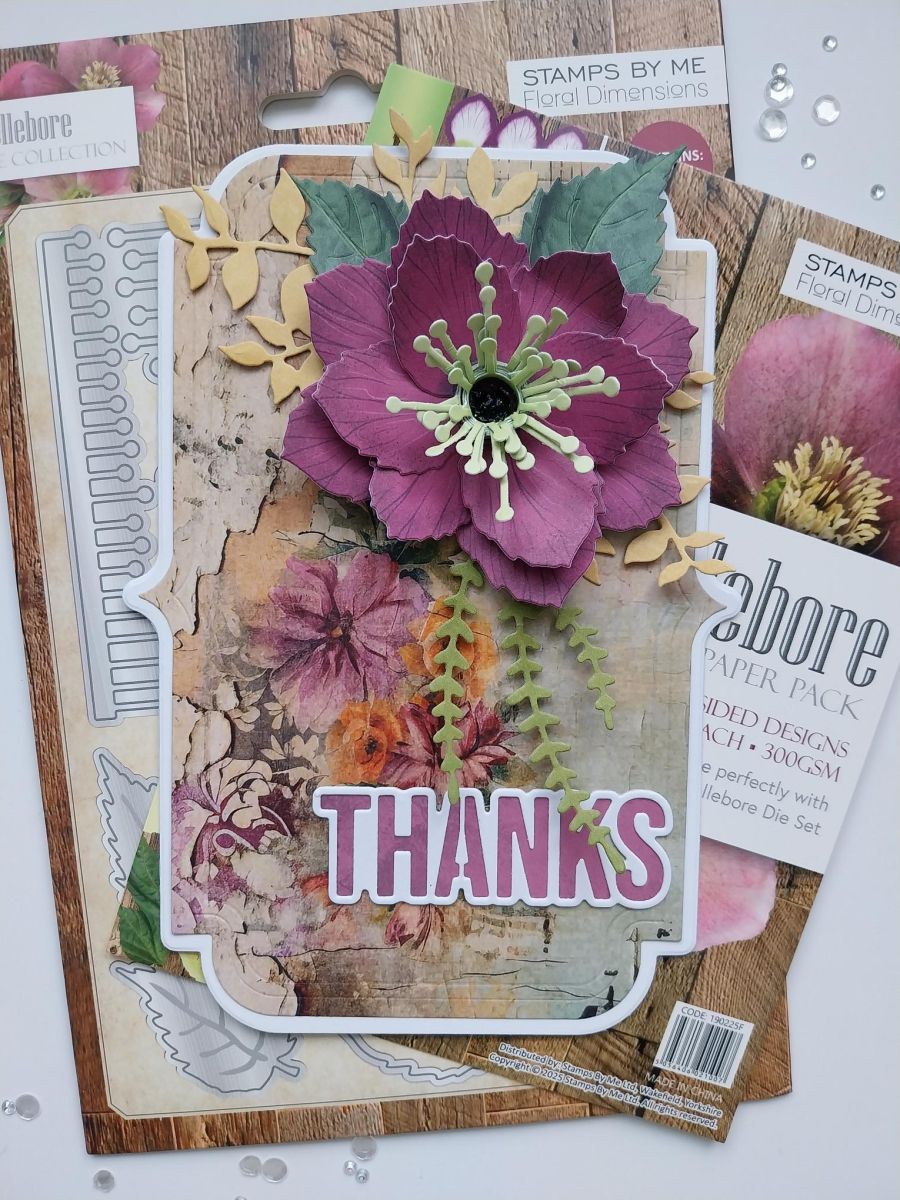
Use the dies to cut out the flowers and leaves and assemble together with glue. You can die cut as many flowers as you want, depending on how full you want the flower to be.
Use the Foliage Adornments to cut out the foliage from all your scraps of paper (I used a lot of the papers from the Special Effects pack). Multi-cut lots of these while you've got the dies out and pop what you don't use in a tub!
Use the largest Tradional Borders nesting die, to cut out TWO panels from white card.
Score across the top of ONE and apply red liner tape above the score line, to create a hinge for your shaped card blank.
Peel off the tape backing, line up the TWO die cut panels and adhere together to create your card blank.
Use this die to cut a panel from the Timeless paper pad.
Die cut a Foliage Banner from white card and a coordinating paper of your choice.
Decide on how you want your 3D floral display to be placed before adhering to the card using 3D glue gel and/or foam pads.
Finally die cut the "MERCI" from the Floral Fusion set, in white card and a coordinating paper.
Adhere to the bottom right of your card to finish.
Partagez votre création avec la communauté Stamps By Me - et gardez ce tutoriel pour la prochaine fois.
Vous préférez l’ancienne présentation ? Ouvrir l’ancienne page.



